> ## Documentation Index
> Fetch the complete documentation index at: https://notes.kodekloud.com/llms.txt
> Use this file to discover all available pages before exploring further.
# Tool and Environment Preparation
> Guide to preparing a Python development environment for LangGraph, installing dependencies, configuring virtual environments and API keys, and running a quick OpenAI integration test.
Before diving into LangGraph, confirm your local environment is ready. This guide keeps things lightweight and beginner-friendly while ensuring reproducible setups for development and experimentation.
Minimum requirements
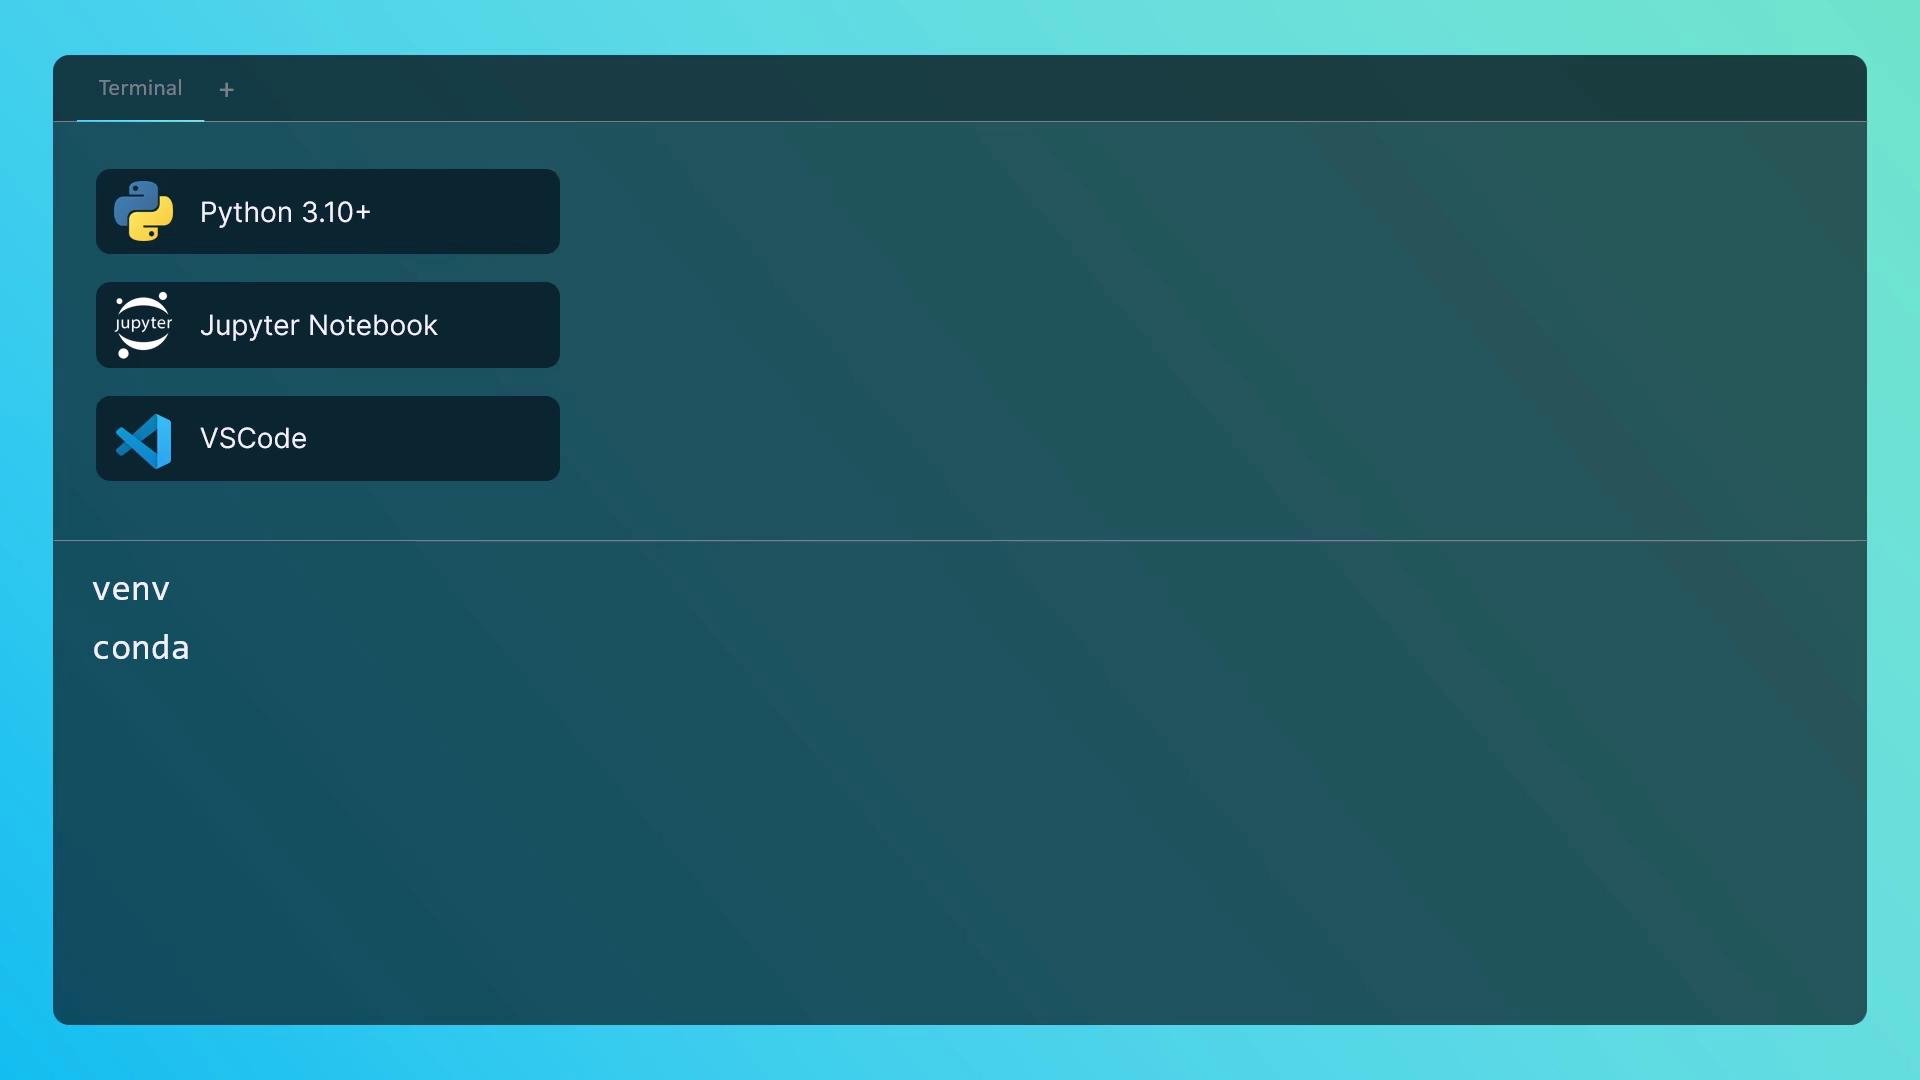
* Python 3.10 or later
* A code editor or Jupyter notebook (Jupyter is excellent for inline experimentation)
* A virtual environment (venv or Conda) to isolate dependencies
* A few Python packages (listed below)
We recommend Jupyter Notebook for interactive experimentation and Visual Studio Code for larger projects. Always use a virtual environment to avoid dependency conflicts.
 ## Install system prerequisites and pip
First, check whether `pip` is available:
```bash theme={null}
pip --version
```
If `pip` is missing, install it using your distribution's package manager. Use the appropriate command for your platform:
| Platform | Install pip |
| ---------------------------: | -------------------------------------------------------- |
| Ubuntu / Debian | `sudo apt update`
## Install system prerequisites and pip
First, check whether `pip` is available:
```bash theme={null}
pip --version
```
If `pip` is missing, install it using your distribution's package manager. Use the appropriate command for your platform:
| Platform | Install pip |
| ---------------------------: | -------------------------------------------------------- |
| Ubuntu / Debian | `sudo apt update`
`sudo apt install -y python3-pip` |
| RHEL / CentOS / Rocky / Alma | `sudo dnf install -y python3-pip` |
| Arch Linux | `sudo pacman -S python-pip` |
Once `pip` is available, proceed to install the Python packages.
## Install core Python packages
Install the minimal required packages and a few recommended utilities. The table below summarizes purpose and installation.
| Package(s) | Purpose |
| ---------------------------------- | ------------------------------------------------------------------- |
| `langgraph`, `langchain`, `openai` | Core libraries for building LLM workflows and calling OpenAI models |
| `tqdm` | Progress bars for long-running loops |
| `rich` | Pretty console output for better CLI readability |
| `langsmith` | Observability and tracing for LangChain/LangGraph workflows |
| `python-dotenv` | Load local `.env` files during development |
Install the packages:
```bash theme={null}
# Core dependencies
pip install --upgrade langgraph langchain openai
# Optional utilities (recommended)
pip install --upgrade tqdm rich langsmith python-dotenv
```
## Virtual environments
Use a virtual environment to isolate dependencies. Two common approaches:
Using venv (standard library):
```bash theme={null}
python -m venv .venv
# Activate:
# macOS / Linux
source .venv/bin/activate
# Windows (PowerShell)
.venv\Scripts\Activate.ps1
```
Using Conda:
```bash theme={null}
conda create -n langgraph-env python=3.10 -y
conda activate langgraph-env
```
## API keys and secure storage
To call OpenAI models (e.g., GPT-4, GPT-3.5), you need an API key from the OpenAI dashboard: [https://platform.openai.com/account/api-keys](https://platform.openai.com/account/api-keys)
Important best practices:
* Never hard-code API keys in source files.
* Use environment variables or a secrets manager for production.
* For local development, use a `.env` file with `python-dotenv` and add `.env` to `.gitignore`.
Example `.env` file:
```text theme={null}
OPENAI_API_KEY=sk-xxxxxxxxxxxxxxxxxxxxxxxxxxxxxxxx
```
Load it in Python:
```python theme={null}
from dotenv import load_dotenv
load_dotenv()
```
Store secrets in environment variables or a secure secrets manager. Use `python-dotenv` only for local development; never commit `.env` to version control.
Recommended project layout
* Keep an organized layout from the start. Example structure:
```text theme={null}
my-project/
├─ notebooks/ # Jupyter notebooks for experiments
├─ src/ # Reusable code and utilities
├─ data/ # Any data files
├─ .env # Local environment variables (gitignored)
└─ README.md
```
 ## Quick system test
Create a lightweight script to validate imports, verify the OpenAI API key is present, and make a minimal Chat API call. Save this as `system_test.py` and run it after activating your virtual environment and setting `OPENAI_API_KEY` or creating a `.env`.
```python theme={null}
# system_test.py
import os
import sys
# Optional: load .env for local development
try:
from dotenv import load_dotenv
load_dotenv()
except Exception:
pass
# Check Python version
print("Python:", sys.version.splitlines()[0])
# Import and check core packages
try:
import langgraph
print("langgraph: imported", getattr(langgraph, "__version__", "version unknown"))
except Exception as e:
print("langgraph: import failed:", e)
try:
import langchain
print("langchain: imported", getattr(langchain, "__version__", "version unknown"))
except Exception as e:
print("langchain: import failed:", e)
try:
import openai
print("openai: imported", getattr(openai, "__version__", "version unknown"))
except Exception as e:
print("openai: import failed:", e)
# Verify OpenAI API key is set
api_key = os.environ.get("OPENAI_API_KEY")
if not api_key:
print("OPENAI_API_KEY is not set. Set it as an environment variable or in a .env file.")
sys.exit(1)
openai.api_key = api_key
# Make a minimal test call to the Chat API (use gpt-3.5-turbo to reduce likelihood of missing access)
try:
response = openai.ChatCompletion.create(
model="gpt-3.5-turbo",
messages=[{"role": "system", "content": "You are a helpful assistant."},
{"role": "user", "content": "Say hello in one sentence."}],
max_tokens=50,
temperature=0.0,
)
reply = response.choices[0].message.content.strip()
print("OpenAI call successful. Model reply:", reply)
except Exception as e:
print("OpenAI call failed:", e)
sys.exit(1)
```
Expected minimal output (example):
```bash theme={null}
Python: 3.10.12 (or similar)
langgraph: imported version unknown
langchain: imported 0.x.x
openai: imported x.y.z
OpenAI call successful. Model reply: Hello! I'm here to help.
```
Using the OpenAI API may incur charges. Monitor usage and billing in your OpenAI dashboard, and prefer small test calls when validating integration.
If the script runs and the OpenAI call succeeds, your development environment is ready for the rest of the LangGraph material. If you see import errors, confirm your virtual environment is activated and the packages installed without errors.
Additional references
* OpenAI API keys: [https://platform.openai.com/account/api-keys](https://platform.openai.com/account/api-keys)
* Python virtual environments: [https://docs.python.org/3/library/venv.html](https://docs.python.org/3/library/venv.html)
* Conda docs: [https://docs.conda.io/](https://docs.conda.io/)
* LangChain docs: [https://docs.langchain.com/](https://docs.langchain.com/)
## Quick system test
Create a lightweight script to validate imports, verify the OpenAI API key is present, and make a minimal Chat API call. Save this as `system_test.py` and run it after activating your virtual environment and setting `OPENAI_API_KEY` or creating a `.env`.
```python theme={null}
# system_test.py
import os
import sys
# Optional: load .env for local development
try:
from dotenv import load_dotenv
load_dotenv()
except Exception:
pass
# Check Python version
print("Python:", sys.version.splitlines()[0])
# Import and check core packages
try:
import langgraph
print("langgraph: imported", getattr(langgraph, "__version__", "version unknown"))
except Exception as e:
print("langgraph: import failed:", e)
try:
import langchain
print("langchain: imported", getattr(langchain, "__version__", "version unknown"))
except Exception as e:
print("langchain: import failed:", e)
try:
import openai
print("openai: imported", getattr(openai, "__version__", "version unknown"))
except Exception as e:
print("openai: import failed:", e)
# Verify OpenAI API key is set
api_key = os.environ.get("OPENAI_API_KEY")
if not api_key:
print("OPENAI_API_KEY is not set. Set it as an environment variable or in a .env file.")
sys.exit(1)
openai.api_key = api_key
# Make a minimal test call to the Chat API (use gpt-3.5-turbo to reduce likelihood of missing access)
try:
response = openai.ChatCompletion.create(
model="gpt-3.5-turbo",
messages=[{"role": "system", "content": "You are a helpful assistant."},
{"role": "user", "content": "Say hello in one sentence."}],
max_tokens=50,
temperature=0.0,
)
reply = response.choices[0].message.content.strip()
print("OpenAI call successful. Model reply:", reply)
except Exception as e:
print("OpenAI call failed:", e)
sys.exit(1)
```
Expected minimal output (example):
```bash theme={null}
Python: 3.10.12 (or similar)
langgraph: imported version unknown
langchain: imported 0.x.x
openai: imported x.y.z
OpenAI call successful. Model reply: Hello! I'm here to help.
```
Using the OpenAI API may incur charges. Monitor usage and billing in your OpenAI dashboard, and prefer small test calls when validating integration.
If the script runs and the OpenAI call succeeds, your development environment is ready for the rest of the LangGraph material. If you see import errors, confirm your virtual environment is activated and the packages installed without errors.
Additional references
* OpenAI API keys: [https://platform.openai.com/account/api-keys](https://platform.openai.com/account/api-keys)
* Python virtual environments: [https://docs.python.org/3/library/venv.html](https://docs.python.org/3/library/venv.html)
* Conda docs: [https://docs.conda.io/](https://docs.conda.io/)
* LangChain docs: [https://docs.langchain.com/](https://docs.langchain.com/)