This article explores the concept of roles in Ansible for configuring servers and promoting code reusability across projects.
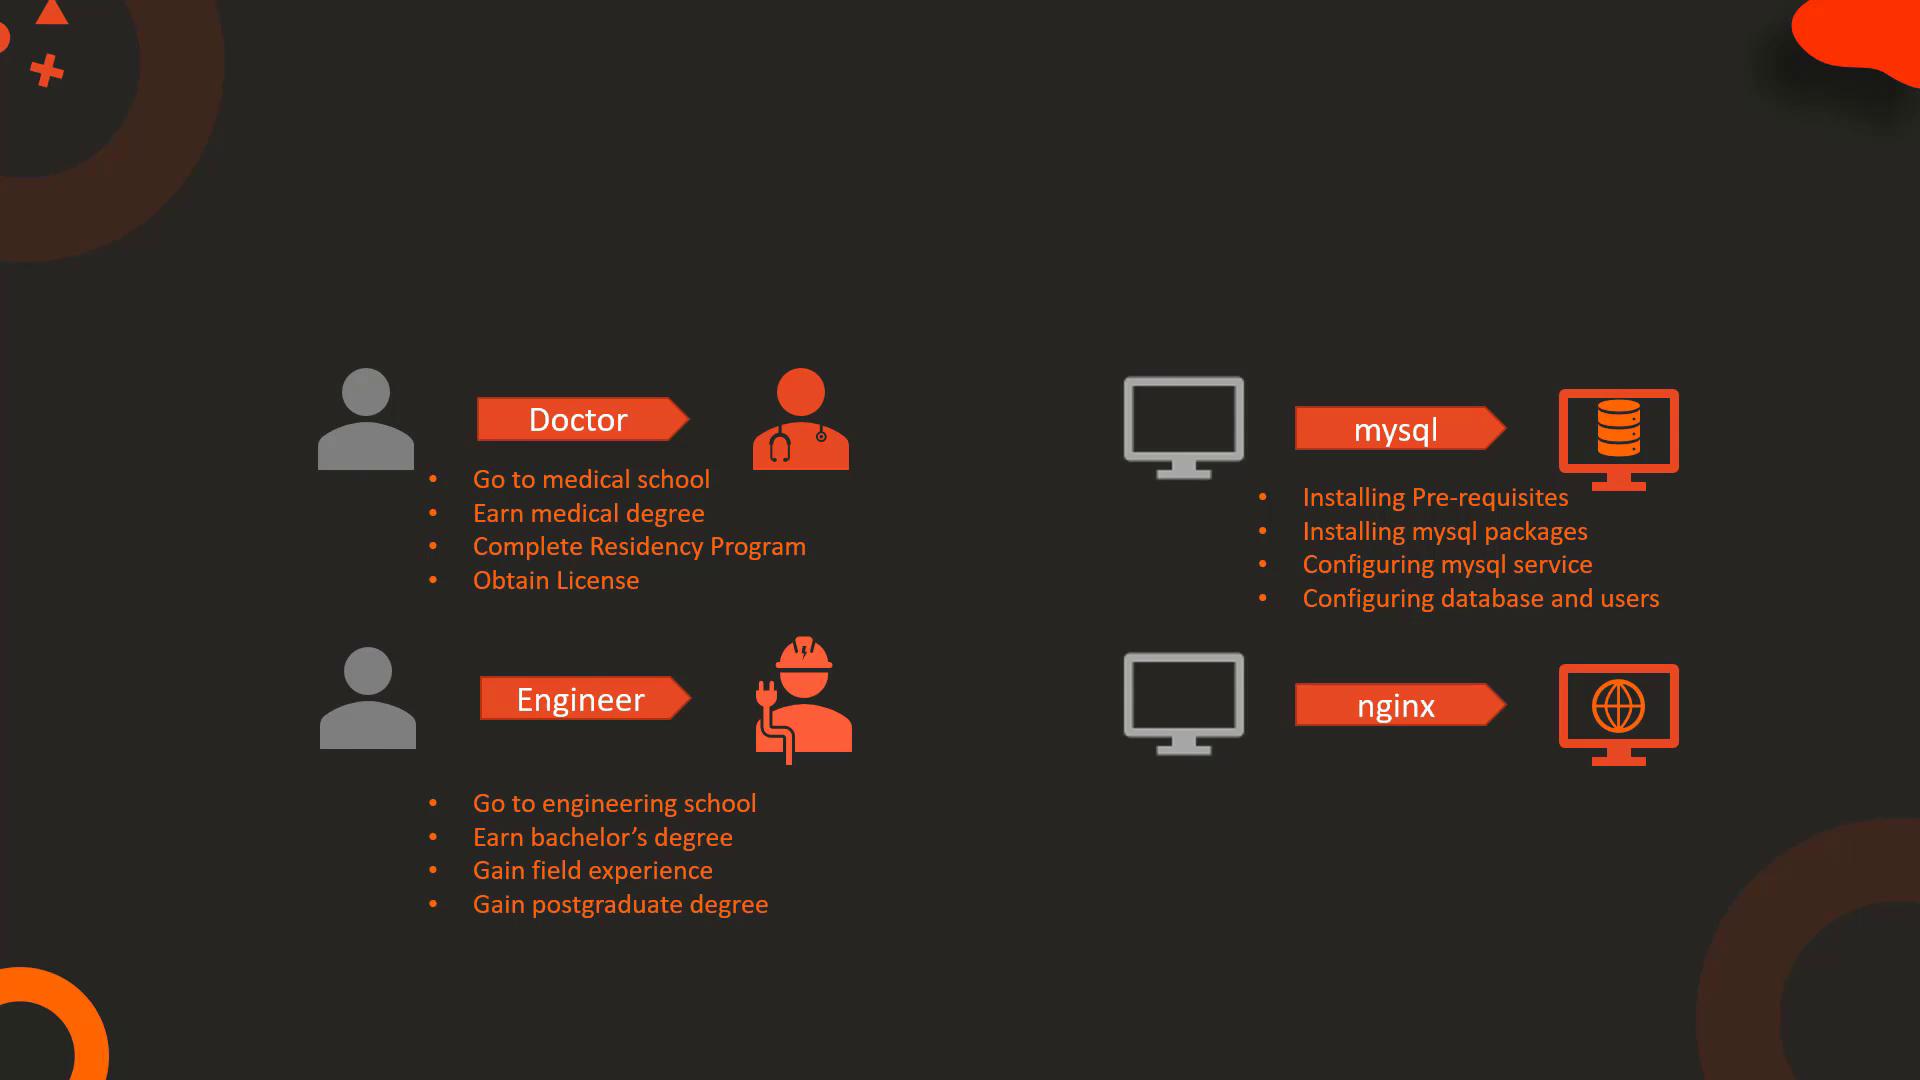
In this article, we explore the concept of roles in Ansible. Just like individuals have specific roles in society—such as doctors, engineers, police officers, or chefs—servers in your infrastructure can be designated with particular roles. A server might function as a database server, web server, Redis messaging server, or even a backup server based on the assigned role.Assigning a role involves executing every necessary step to configure a server for its intended purpose. For example, becoming a doctor involves attending medical school, completing a residency, and obtaining a license. Likewise, transforming a server into a MySQL database server entails installing prerequisites, adding MySQL packages, configuring the MySQL service, and setting up databases or users. Similarly, setting up a web server using Nginx includes installing prerequisites for Nginx, adding the necessary packages, configuring its service, and establishing custom web pages.
By now, you are familiar with how to perform these tasks using Ansible playbooks. Consider the following simple playbook that installs and configures MySQL:
Copy
- name: Install and Configure MySQL
  hosts: db-server
  tasks:
    - name: Install Pre-Requisites
      yum:
        name: pre-req-packages
        state: present

    - name: Install MySQL Packages
      yum:
        name: mysql
        state: present

    - name: Start MySQL Service
      service:
        name: mysql
        state: started

    - name: Configure Database
      mysql_db:
        name: db1
        state: present
Once you develop such a playbook, it can be reused by anyone who needs to install MySQL. Instead of rewriting the same code repeatedly, you can package these tasks into a role. Your playbook can then simply reference the role. For example, whether you are configuring one server or scaling to hundreds, your playbook might look like this:
Copy
- name: Install and Configure MySQL
  hosts: db-server1,...,db-server100
  roles:
    - mysql
Roles promote code reusability across projects, encourage best practices by organizing files into directories such as tasks, vars, defaults, handlers, and templates, and simplify code sharing within the community.
Below is an example structure inside a role:
Copy
tasks: - name: Install Pre-Requisites yum: name: pre-req-packages state: present - name: Install MySQL Packages yum: name: mysql state: present - name: Start MySQL Service service: name: mysql state: started - name: Configure Database mysql_db: name: db1 state: presentvars: mysql_packages: - mysql - mysql-server db_config: db_name: db1defaults: mysql_user_name: root mysql_user_password: root
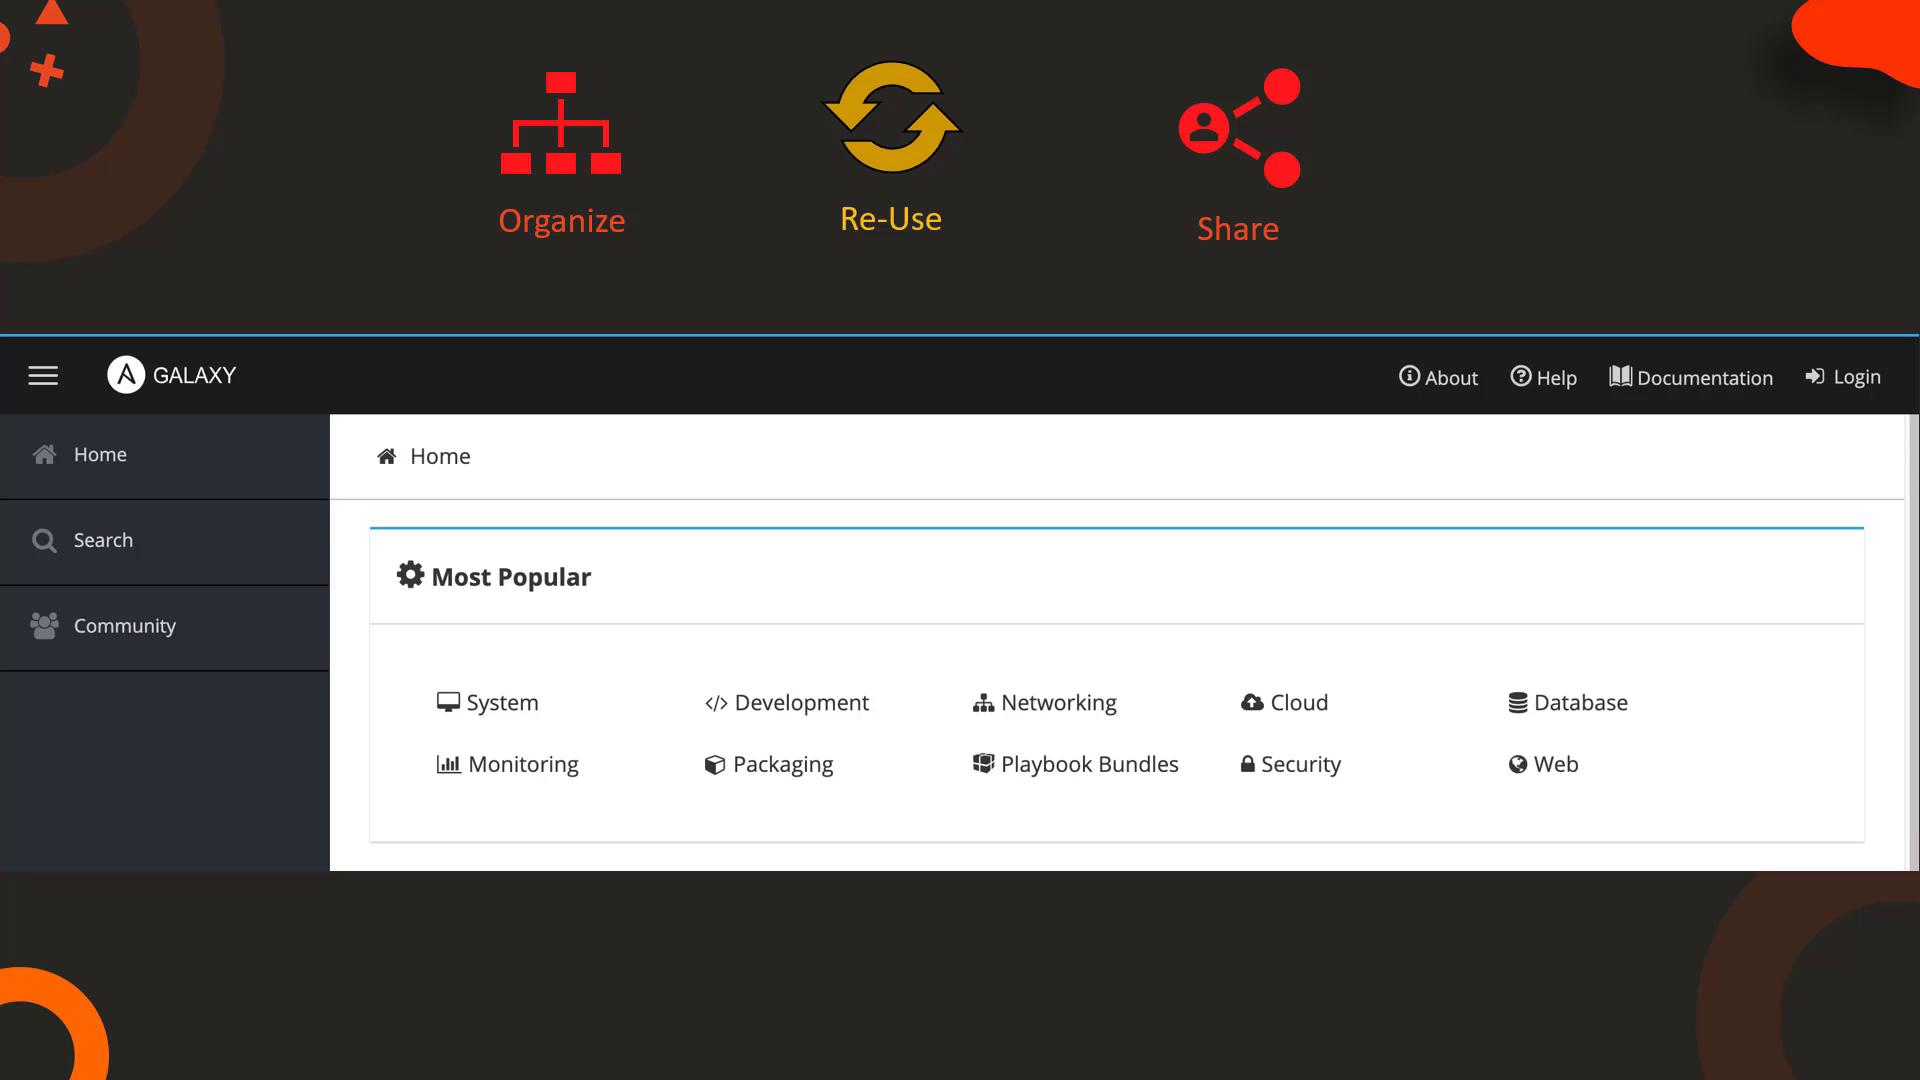
Roles not only simplify local development but also enable you to share your solutions with the broader Ansible community. Ansible Galaxy is a widely used hub where you can find thousands of roles for diverse tasks like setting up web servers, database servers, automation tools, monitoring systems, packaging tools, and security software.
Before writing your own playbooks, it is worthwhile to explore Ansible Galaxy; someone may have already created the role you need.
Creating a role is straightforward. Although you can manually create the required directory structure, Ansible Galaxy offers a convenient command-line tool to generate a role skeleton. To initialize a new role, run:
Copy
$ ansible-galaxy init mysql
After initializing, move your code into the appropriate directories (e.g., tasks, vars, defaults, handlers, templates) as needed. To ensure your playbook can locate the role, place it in a directory named “roles” within your playbook’s folder or in a common path (by default, /etc/ansible/roles) defined in your Ansible configuration.For example:
Copy
- name: Install and Configure MySQL
  hosts: db-server
  roles:
    - mysql
Your Ansible configuration file (typically at /etc/ansible/ansible.cfg) might include the following setting to designate the default roles path:
If you prefer using an existing role from Ansible Galaxy, you can search for and install one via the command line. For instance, to install the community-provided MySQL role, run:
Copy
$ ansible-galaxy install geerlingguy.mysql
During installation, you might see output similar to this:
Copy
- downloading role 'mysql', owned by geerlingguy- downloading role from https://github.com/geerlingguy/ansible-role-mysql/archive/2.9.5.tar.gz- extracting geerlingguy.mysql to /etc/ansible/roles/geerlingguy.mysql- geerlingguy.mysql (2.9.5) was installed successfully
You can reference the installed role in your playbook as follows:
Copy
- name: Install and Configure MySQL
  hosts: db-server
  roles:
    - geerlingguy.mysql
Roles can also be declared as dictionaries if you need to pass additional options such as privilege escalation or extra parameters. For example, to assign roles for both MySQL and Nginx, your playbook might include:
Copy
- name: Install and Configure MySQL and Nginx
  hosts: db-and-webserver
  roles:
    - geerlingguy.mysql
    - nginx
By leveraging roles, you can simplify the development, reuse, and sharing of your Ansible playbooks—whether you’re configuring a single server or managing setups across hundreds of servers.