> ## Documentation Index
> Fetch the complete documentation index at: https://notes.kodekloud.com/llms.txt
> Use this file to discover all available pages before exploring further.
# Introduction to Templating
> This article introduces Jinja2, a Python templating engine, and explores its features, use cases, and dynamic content generation capabilities.
In this lesson, we delve into Jinja2—a robust templating engine for Python known for its flexibility and power. Templating enables you to design a foundational content structure (the template) and dynamically substitute specific values using variables. Imagine a CEO wishing to send out party invitations where each email includes unique details such as the recipient's name and family members. In this case, the invitation layout serves as the template while the names become the dynamic variables. This approach is widely used in IT for creating customized web pages and generating configuration files with automation tools.

!!! note "Tip"
For further reading on templating fundamentals, consider exploring other related concepts in your automation projects.
## Use Cases
One of the most common applications of Jinja2 is the generation of dynamic HTML pages and configuration files. Below are examples that illustrate how you can leverage Jinja2 in different scenarios.
### Generating HTML Pages
```html theme={null}
{{ title }}
{{ msg }}
```
When rendering this template with variables such as `title` set to "Our Site" and `msg` set to "Welcome!", the output becomes:
```html theme={null}
Our Site
Welcome!
```
### Automating Configuration Files
Jinja2 is also valuable in automation tools to customize playbooks or auto-generate configuration files. Consider a snippet for configuring a MySQL database using Ansible:
```yaml theme={null}
- hosts: web1
tasks:
- file:
path: "{{ file }}"
state: touch
```
```ini theme={null}
[mysqld]
innodb-buffer-pool-size={{ pool_size }}
datadir={{ datadir }}
user={{ mysql }}
```
When the appropriate variables are applied, these templates yield valid and ready-to-use configuration files.
## Jinja2 Overview
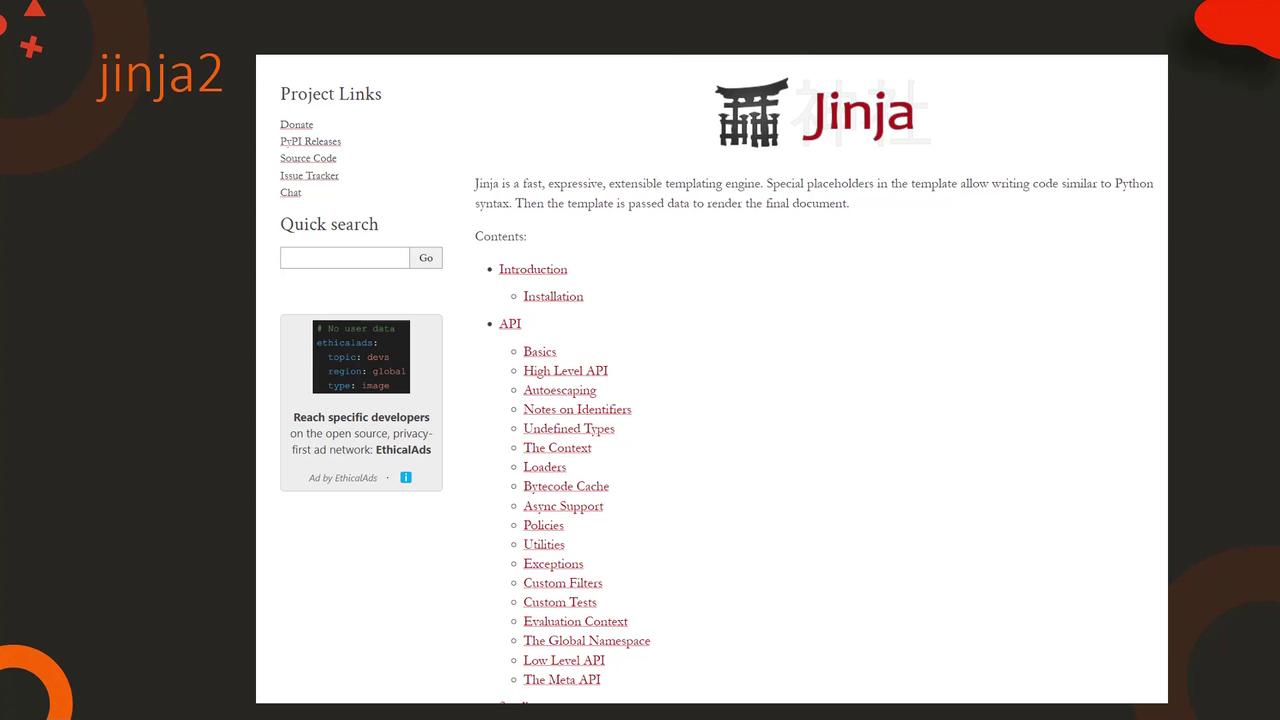
Jinja2 offers an extensive set of features making it a top choice for templating in Python-based projects. Its elegant syntax and comprehensive documentation make it accessible for both beginners and advanced users. For more detailed information and advanced examples, refer to the official [Jinja2 documentation](https://jinja.palletsprojects.com/).
## Basic Substitution and Filters
Dynamic value substitution is a core functionality of Jinja2. For example, if you set the variable `my_name` to "Bond", then the following template:
```jinja theme={null}
The name is {{ my_name }}
```
renders as:
The name is Bond
Jinja2 supports various filters to transform data on the fly. Examples include converting text to uppercase, lowercase, or title case, and even replacing parts of strings. Consider these transformations:
```jinja theme={null}
The name is {{ my_name }} => The name is Bond
The name is {{ my_name | upper }} => The name is BOND
The name is {{ my_name | lower }} => The name is bond
The name is {{ my_name | title }} => The name is Bond
The name is {{ my_name | replace("Bond", "Bourne") }} => The name is Bourne
```
To handle cases where a variable might be undefined, apply the `default` filter to prevent errors:
```jinja theme={null}
The name is {{ first_name | default("James") }} {{ my_name }} => The name is James Bond
```
!!! note "SEO Tip"
Remember to include relevant keywords such as "Jinja2 templating", "Python templating engine", and "dynamic configuration" throughout your content to improve search engine visibility.
## Working with Lists and Sets
Jinja2 is not limited to strings; it provides a suite of filters to manipulate lists and sets. Consider the following examples that demonstrate common operations:
```jinja theme={null}
{{ [1, 2, 3] | min }} => Returns the minimum value: 1
{{ [1, 2, 3] | max }} => Returns the maximum value: 3
{{ [1, 2, 3, 2] | unique }} => Returns unique elements: [1, 2, 3]
{{ [1, 2, 3, 4] | union([4, 5]) }} => Combines arrays and returns unique results: [1, 2, 3, 4, 5]
{{ [1, 2, 3, 4] | intersect([4, 5]) }} => Returns common elements between arrays: [4]
```
Other useful filters like `random` and `join` can also be used to generate random outputs or concatenate an array of words into a single string.
## Control Structures
Jinja2 supports classic programming control structures including loops and conditionals, making it highly flexible for dynamic content generation.
### Loop Example
```jinja theme={null}
{{ number }}
```
### Conditional Example
```jinja theme={null}
{{ number }}
```
This concludes our lesson on Jinja2 templating basics. For additional resources on templating practices and advanced Jinja2 techniques, explore more guides and documentation available online.