Comparing ext2, ext3, and ext4
Both ext2 and ext3 file systems support a maximum file size of 2 TB and a maximum volume size of 4 TB. While they efficiently store data, ext2 may experience long boot times after an unclean shutdown (for example, due to a power outage). In contrast, ext3 adds journaling features that enable a faster system startup following such events. Ext4 further enhances these capabilities and is one of the most popular general-purpose file systems today—it supports files up to 16 TB and volumes as large as 1 exabyte. Additionally, ext4 (as well as ext3) offers backward compatibility: a file system created with ext4 can be mounted as ext3 or ext2, and an ext3 file system can be mounted as ext2.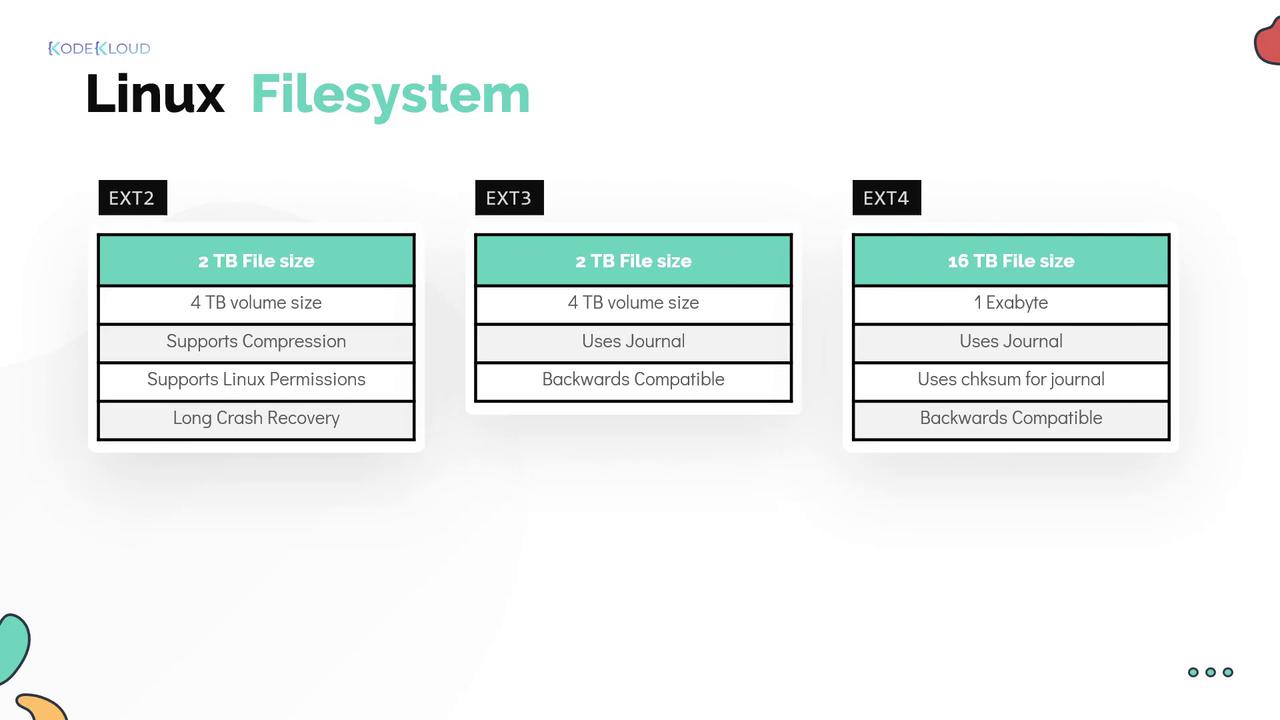
Creating and Mounting an ext4 File System
Follow these steps to create an ext4 file system on the device /dev/sdb1:- Use the
mkfs.ext4command to format the device. - Create a mount point directory.
- Mount the file system.
Verifying the Mounted File System
You can confirm that the file system is mounted correctly by using themount command combined with grep:
Configuring Automatic Mounting at Boot
To automatically mount the file system during system boot, add an entry to the/etc/fstab file. This enables persistent mounting and ensures the file system is available after a reboot. For example:
In the fstab entry:
- The first field indicates the device or filesystem.
- The second field specifies the directory where the file system is mounted.
- The third field designates the type of file system, here ext4.
- The fourth field lists mount options. A commonly used option is
rw, which mounts the file system in read-write mode. - The fifth field (often set to zero) indicates whether a dump backup is scheduled.
- The sixth field determines the order in which file systems are checked during boot-up; a
0means the check is skipped, while1is typically reserved for the root filesystem.