> ## Documentation Index
> Fetch the complete documentation index at: https://notes.kodekloud.com/llms.txt
> Use this file to discover all available pages before exploring further.
# Adding and Removing Clusters
> This guide covers managing Kubernetes clusters using Lens, including adding, configuring, and removing clusters, as well as utilizing metrics and deployment features.
In this guide, you’ll master Kubernetes cluster management using Lens. You will learn to:
* Launch the Lens application
* Add a cluster automatically via detected kubeconfig
* Add a cluster manually with a pasted kubeconfig
* View and customize cluster settings
* Enable and explore Lens Metrics powered by Prometheus
* Utilize the built-in smart terminal
* Navigate cluster overview and inspect pod details
* Edit a live pod manifest in the UI
* Create, view, and scale an Nginx deployment
* Remove a cluster from Lens safely
***
## Launching Lens
Start the Lens desktop application to reach the Home screen, where you can connect and manage multiple Kubernetes clusters.
***
## Adding a Cluster Automatically
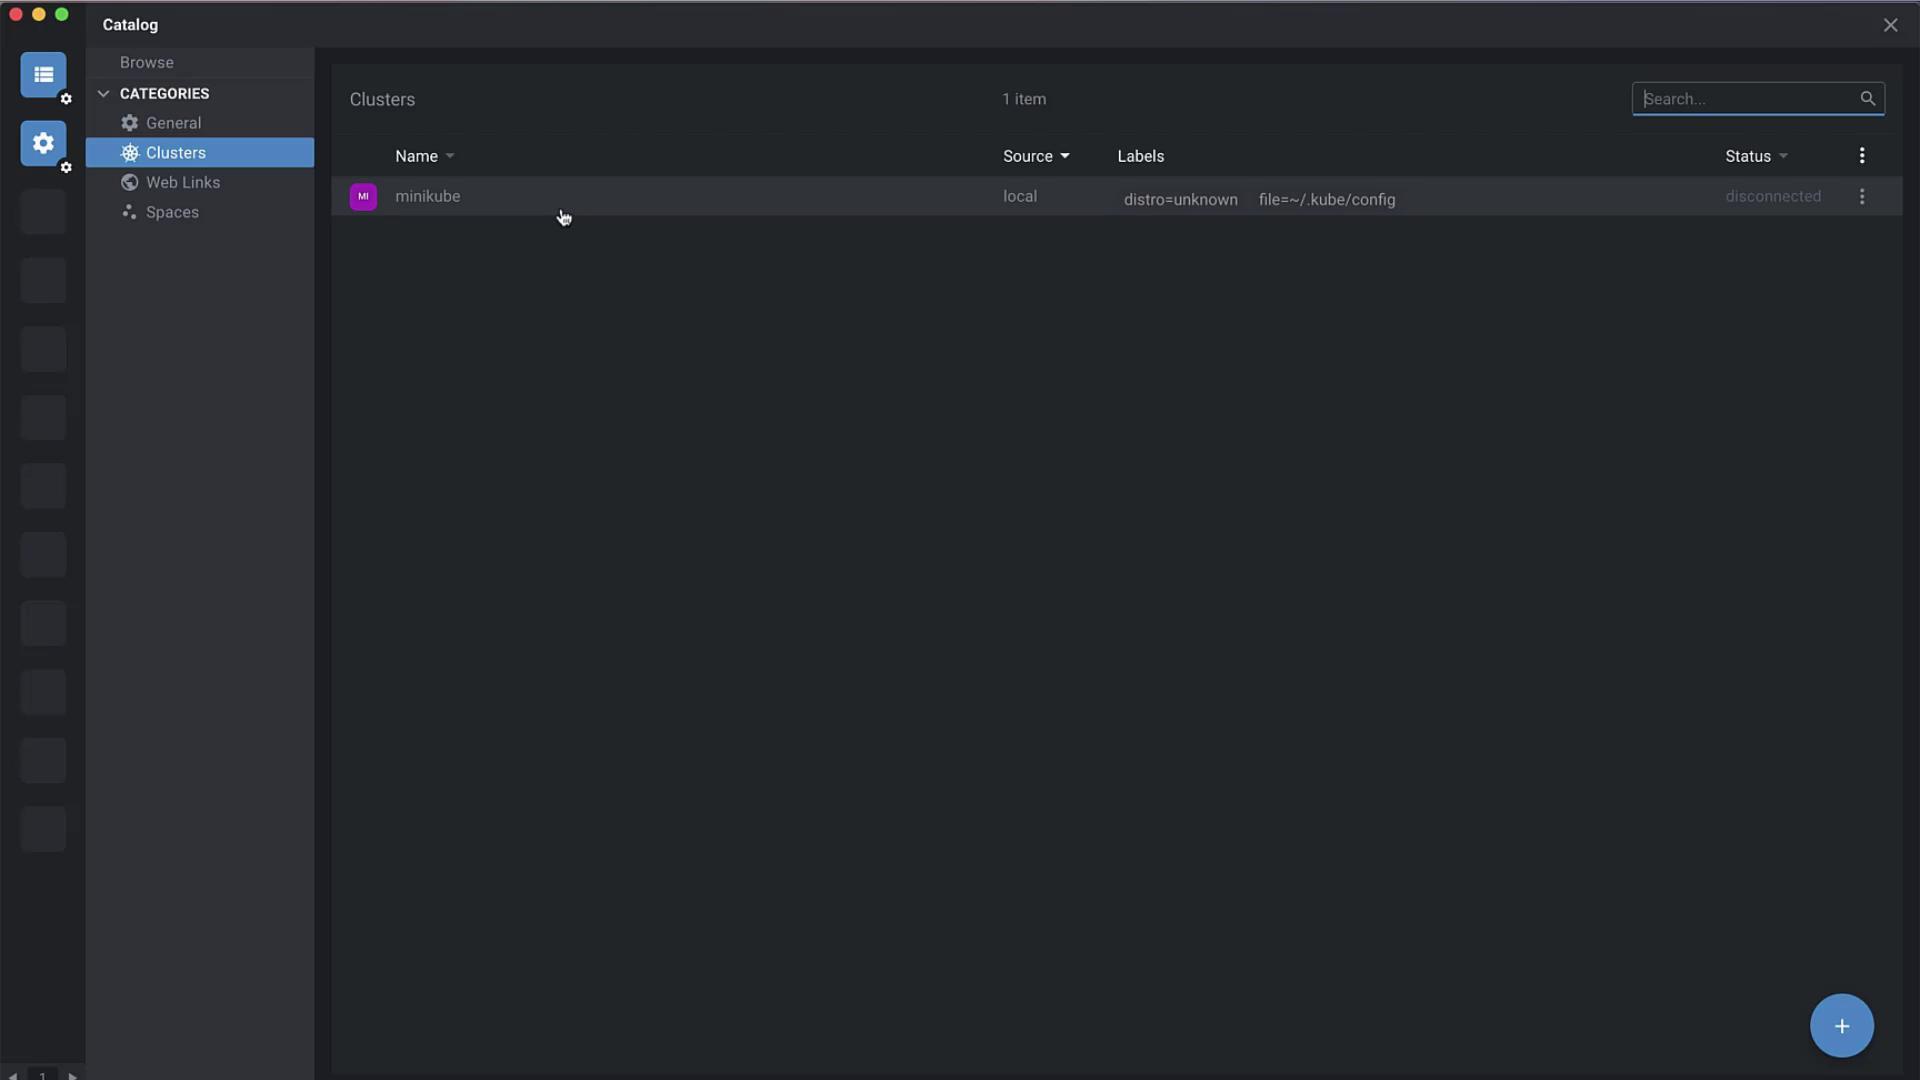
1. Click **Browse Clusters** in the catalog sidebar.
2. Lens scans your system for kubeconfig files.
3. Select a detected cluster (e.g., `minikube`) and hit **Open**.
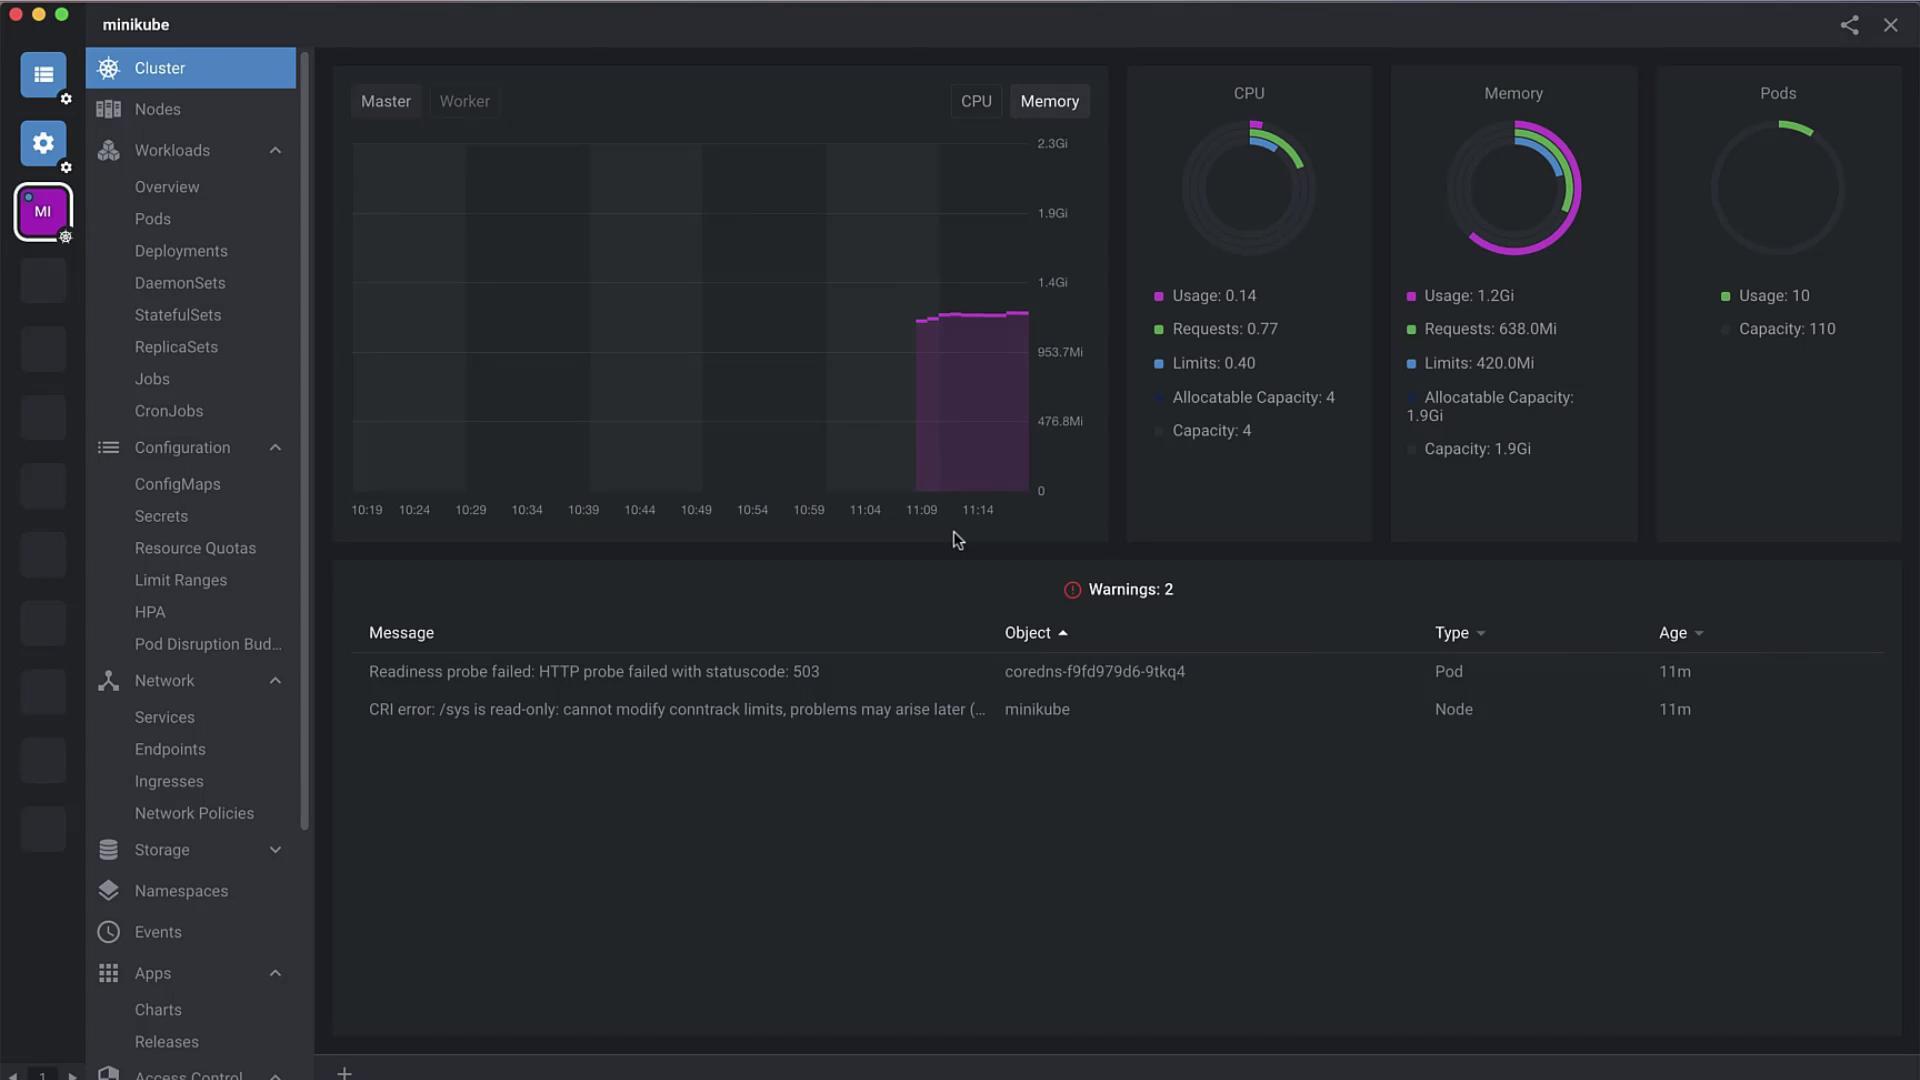
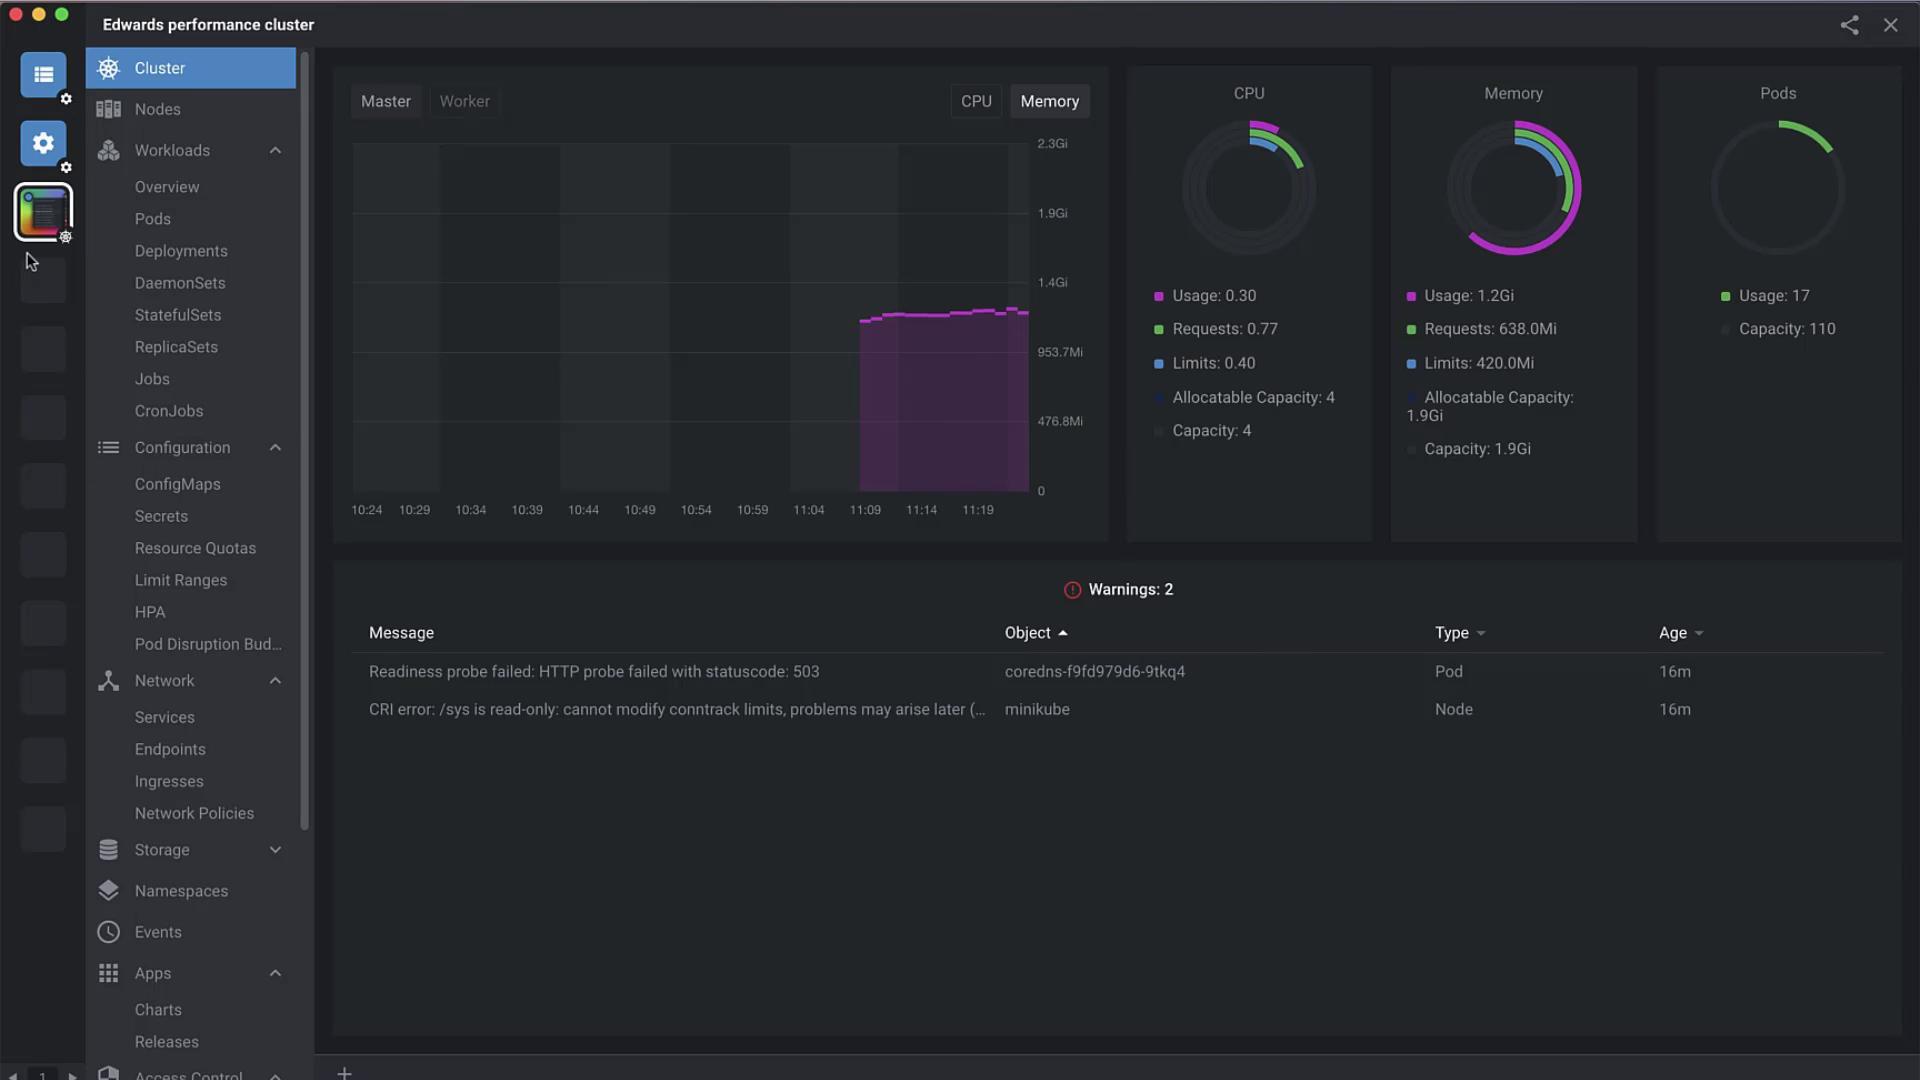
Once added, Lens presents performance metrics over the last hour using a built-in Prometheus dashboard:
***
## Adding a Cluster Manually
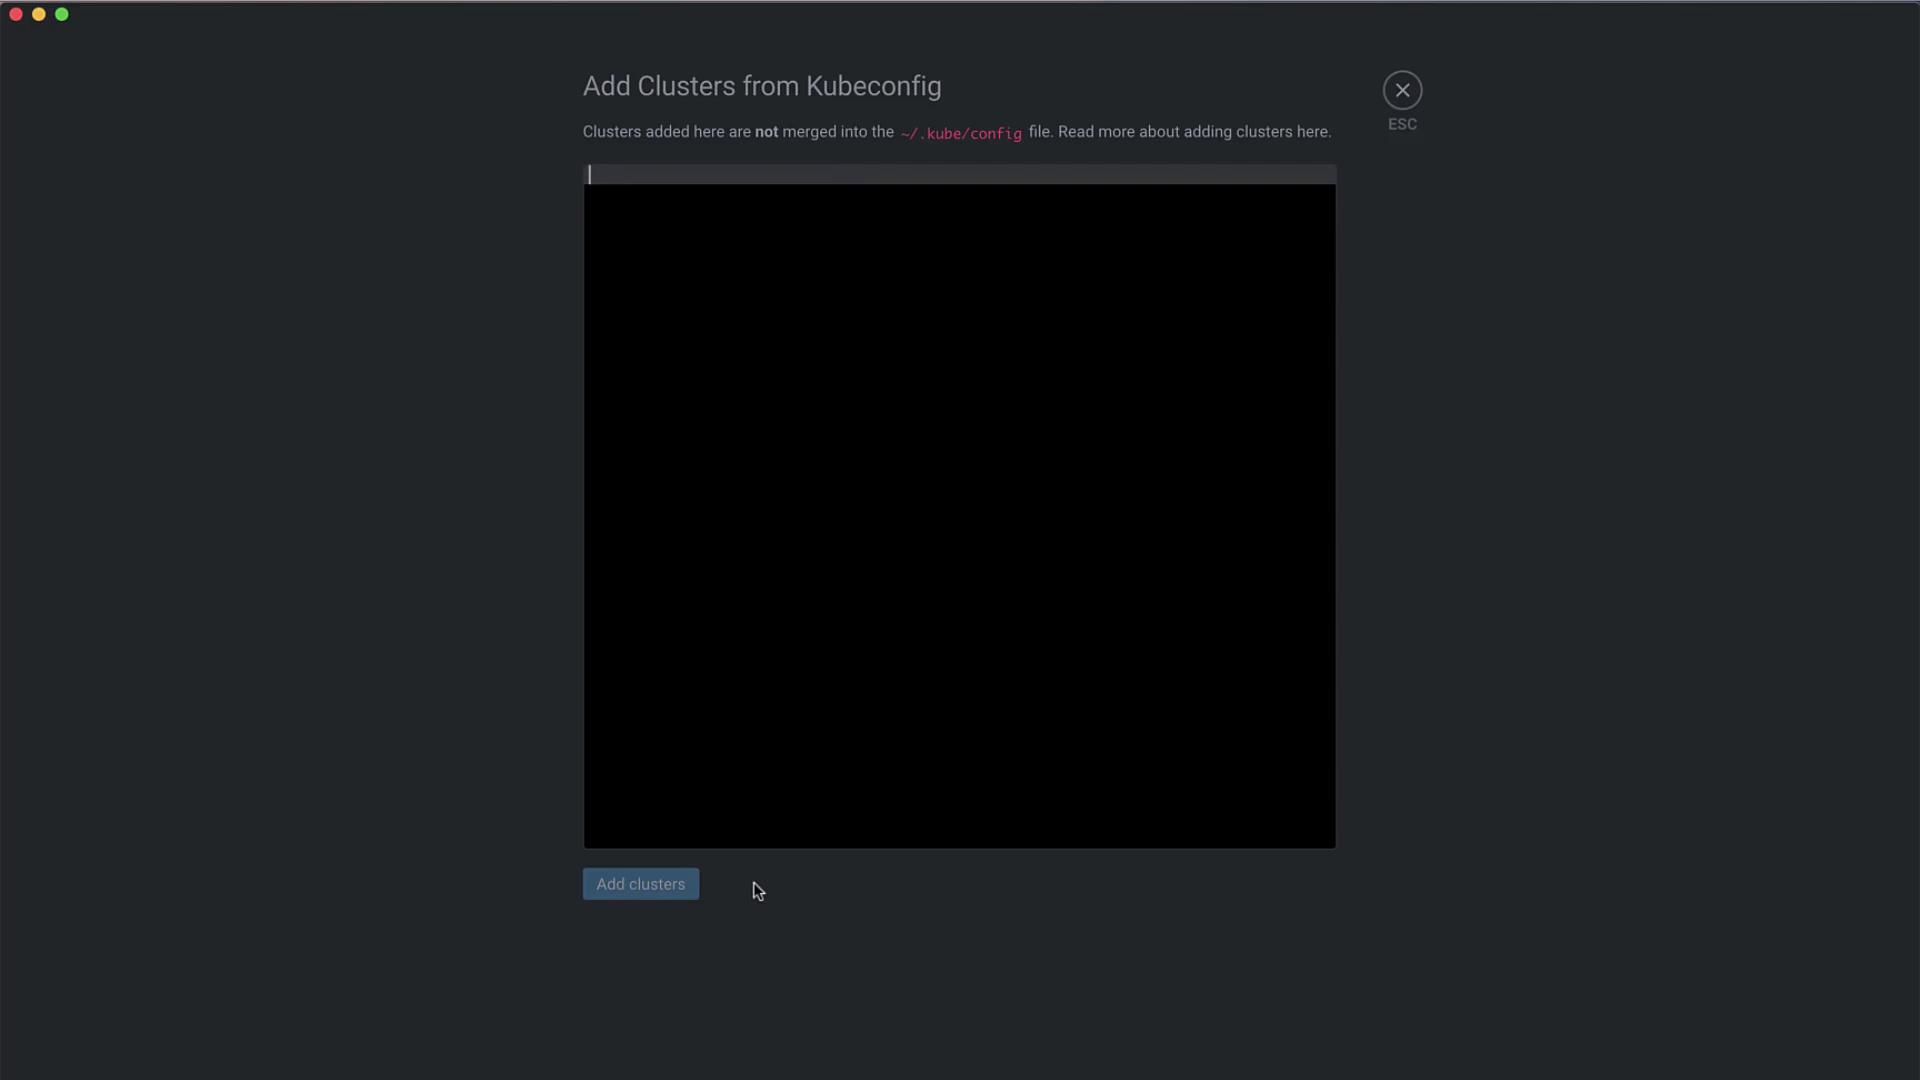
If your kubeconfig isn’t auto-detected, you can paste it directly:
Ensure your kubeconfig includes the correct `contexts` and `clusters` entries for the target environment.
1. Navigate to **File** → **Add Cluster**.
2. Paste the full kubeconfig YAML into the editor.
3. Click **Add Cluster** to register it in Lens.
***
## Viewing and Configuring Cluster Settings
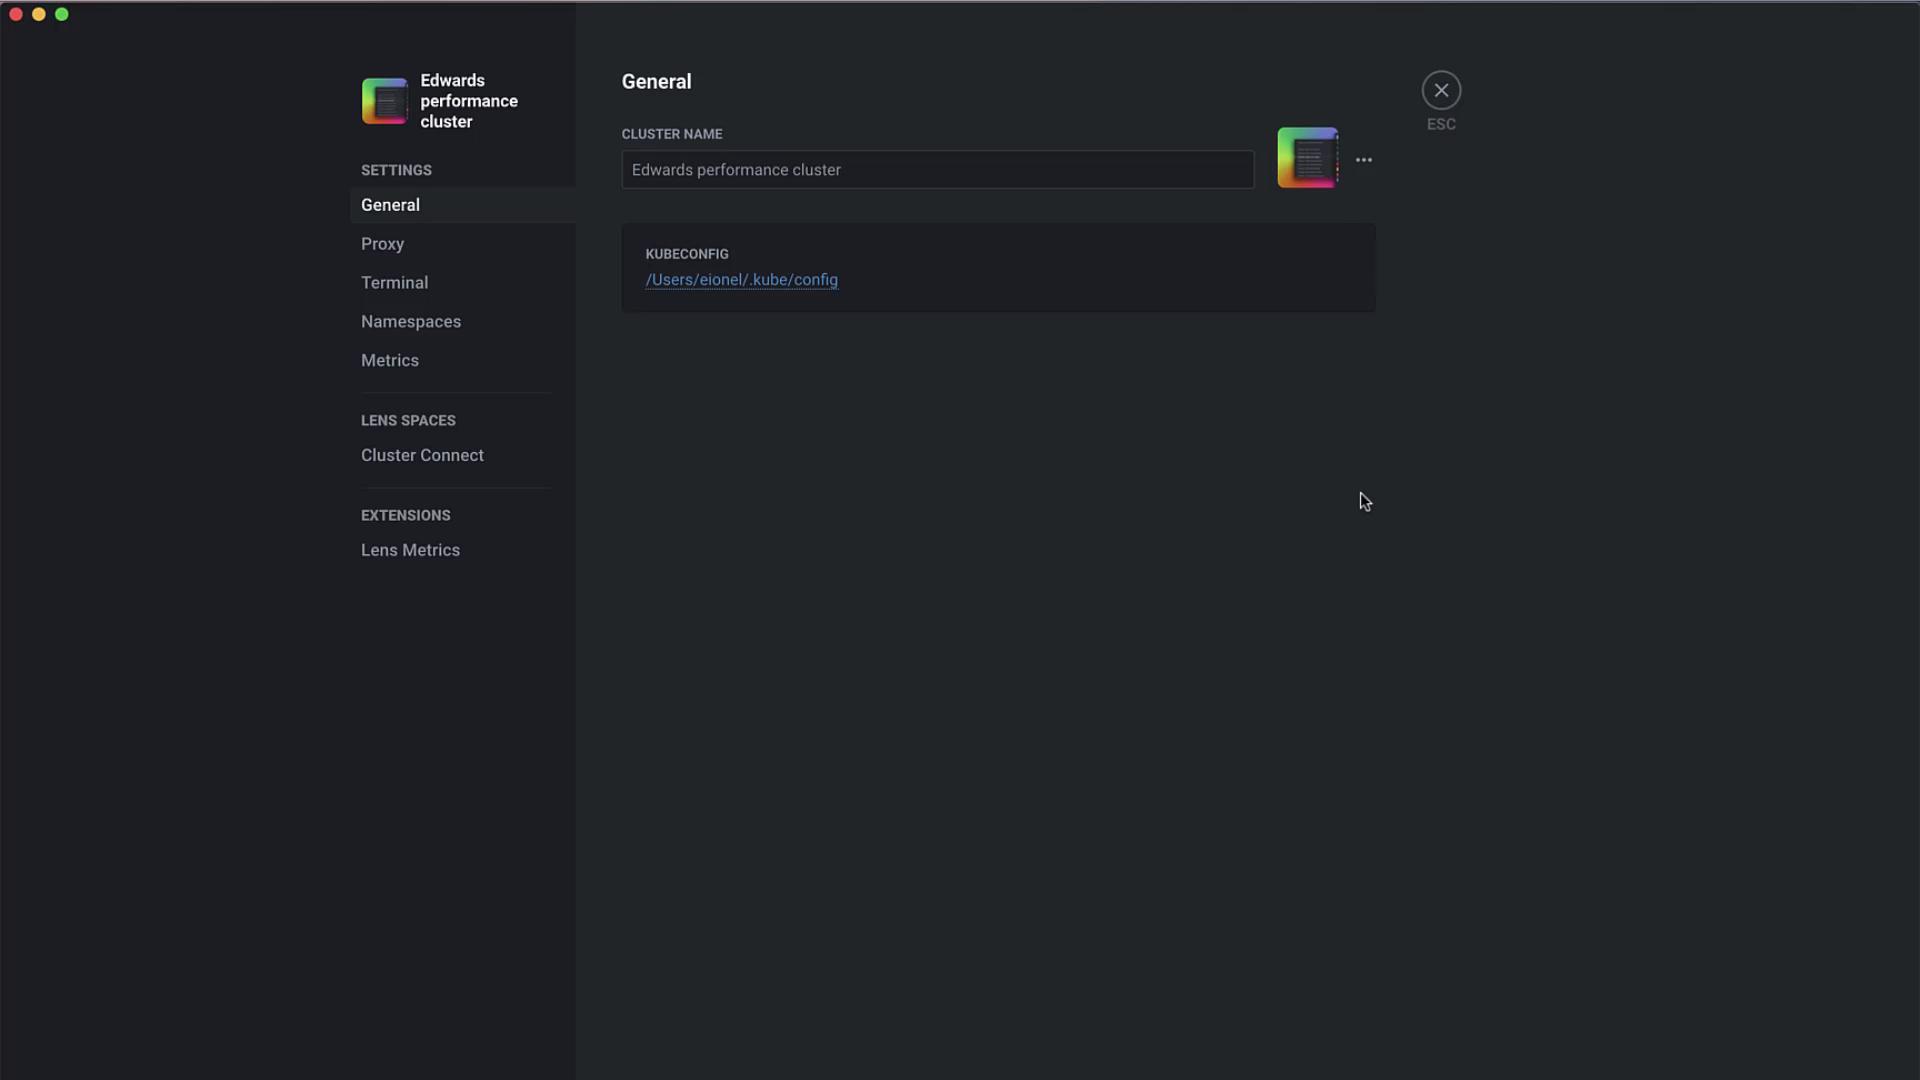
Select your cluster and open **Settings** to:
* Rename the cluster (e.g., *Edwards Performance Cluster*)
* Upload a custom icon
* Manage namespace visibility
* Configure HTTP/HTTPS proxy
* Tweak metrics collection intervals
***
## Enabling Lens Metrics
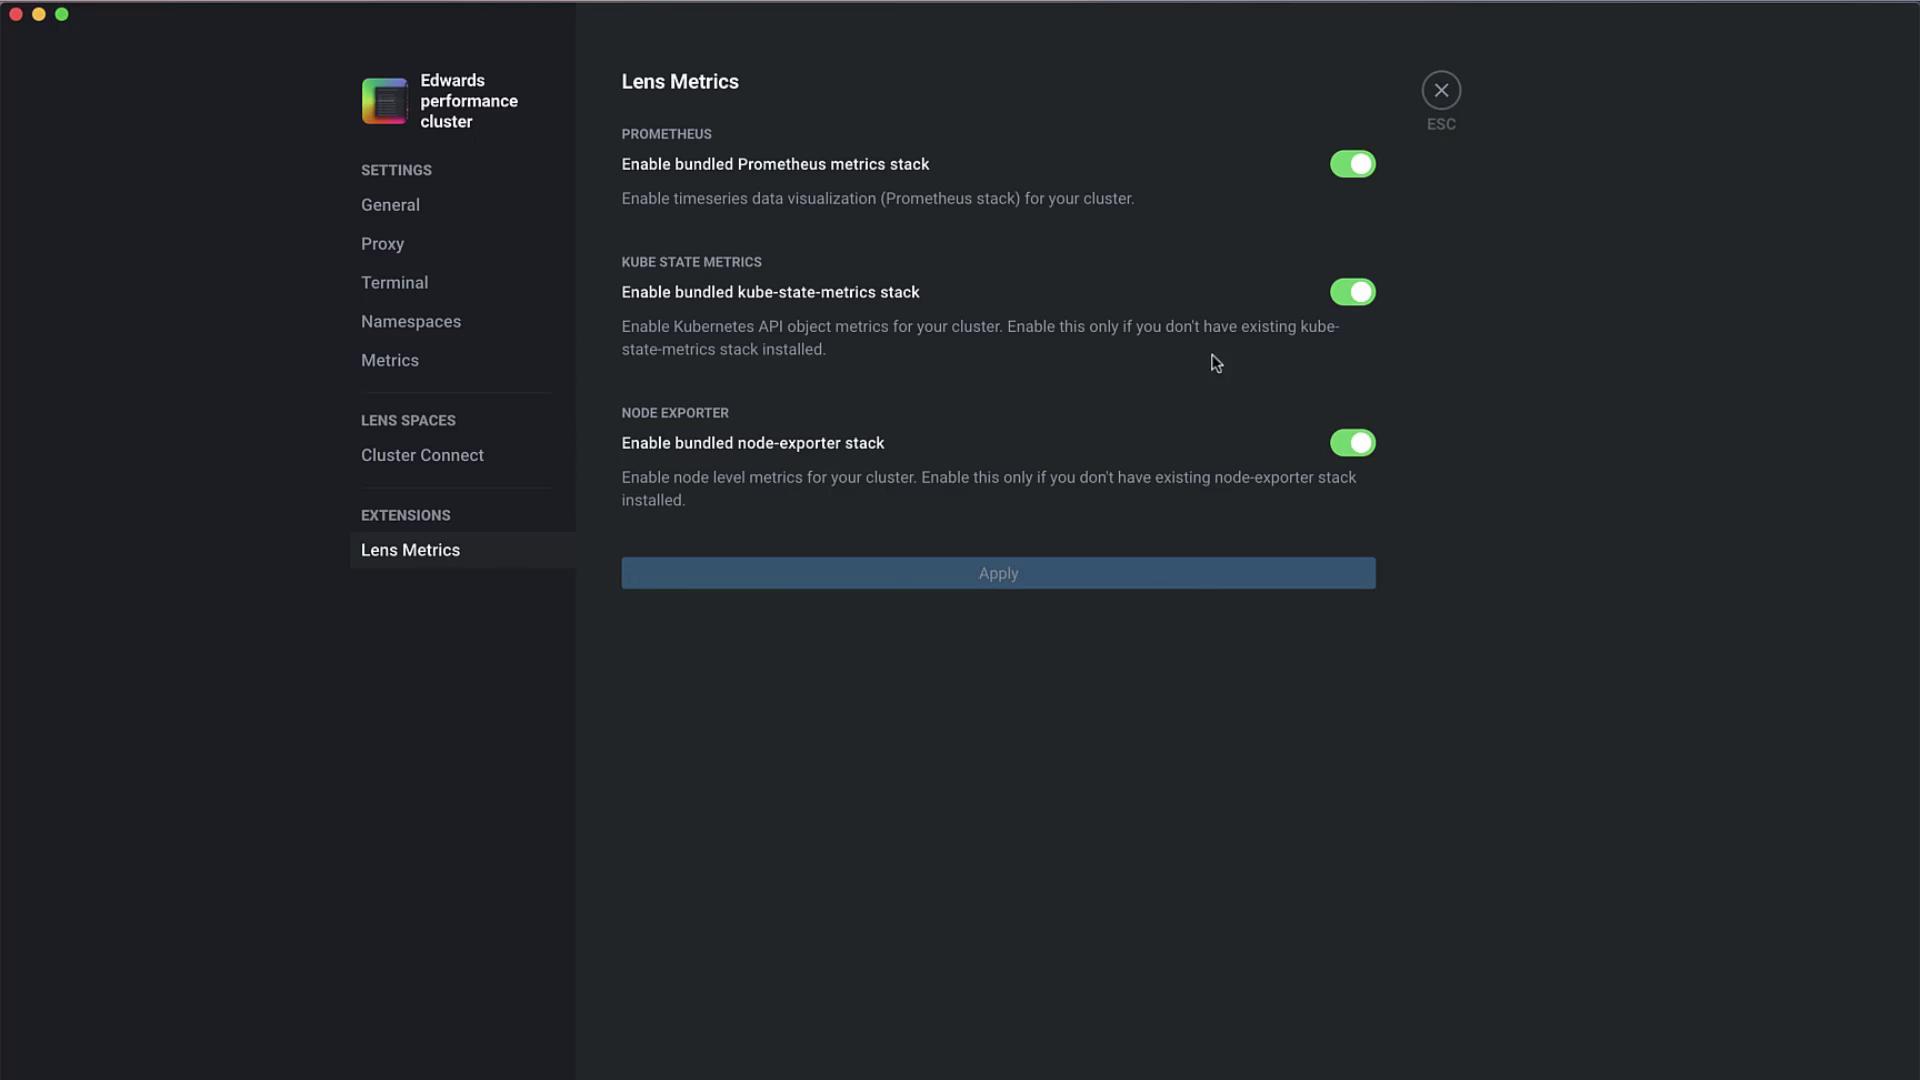
Under the **Metrics** tab, install a Prometheus monitoring stack to get detailed resource insights:
| Stack Component | Metrics Collected |
| ------------------ | ------------------------------ |
| Prometheus | CPU, Memory, Disk, Network |
| kube-state-metrics | Deployment, Pod, Node statuses |
| node-exporter | Host system metrics |
Click **Enable** next to each component to deploy it on your cluster.
***
## Smart Terminal
Lens’ built-in terminal automatically switches context to the active cluster. No extra `kubectl config use-context` commands are needed when you switch clusters in the UI.
***
## Cluster Overview
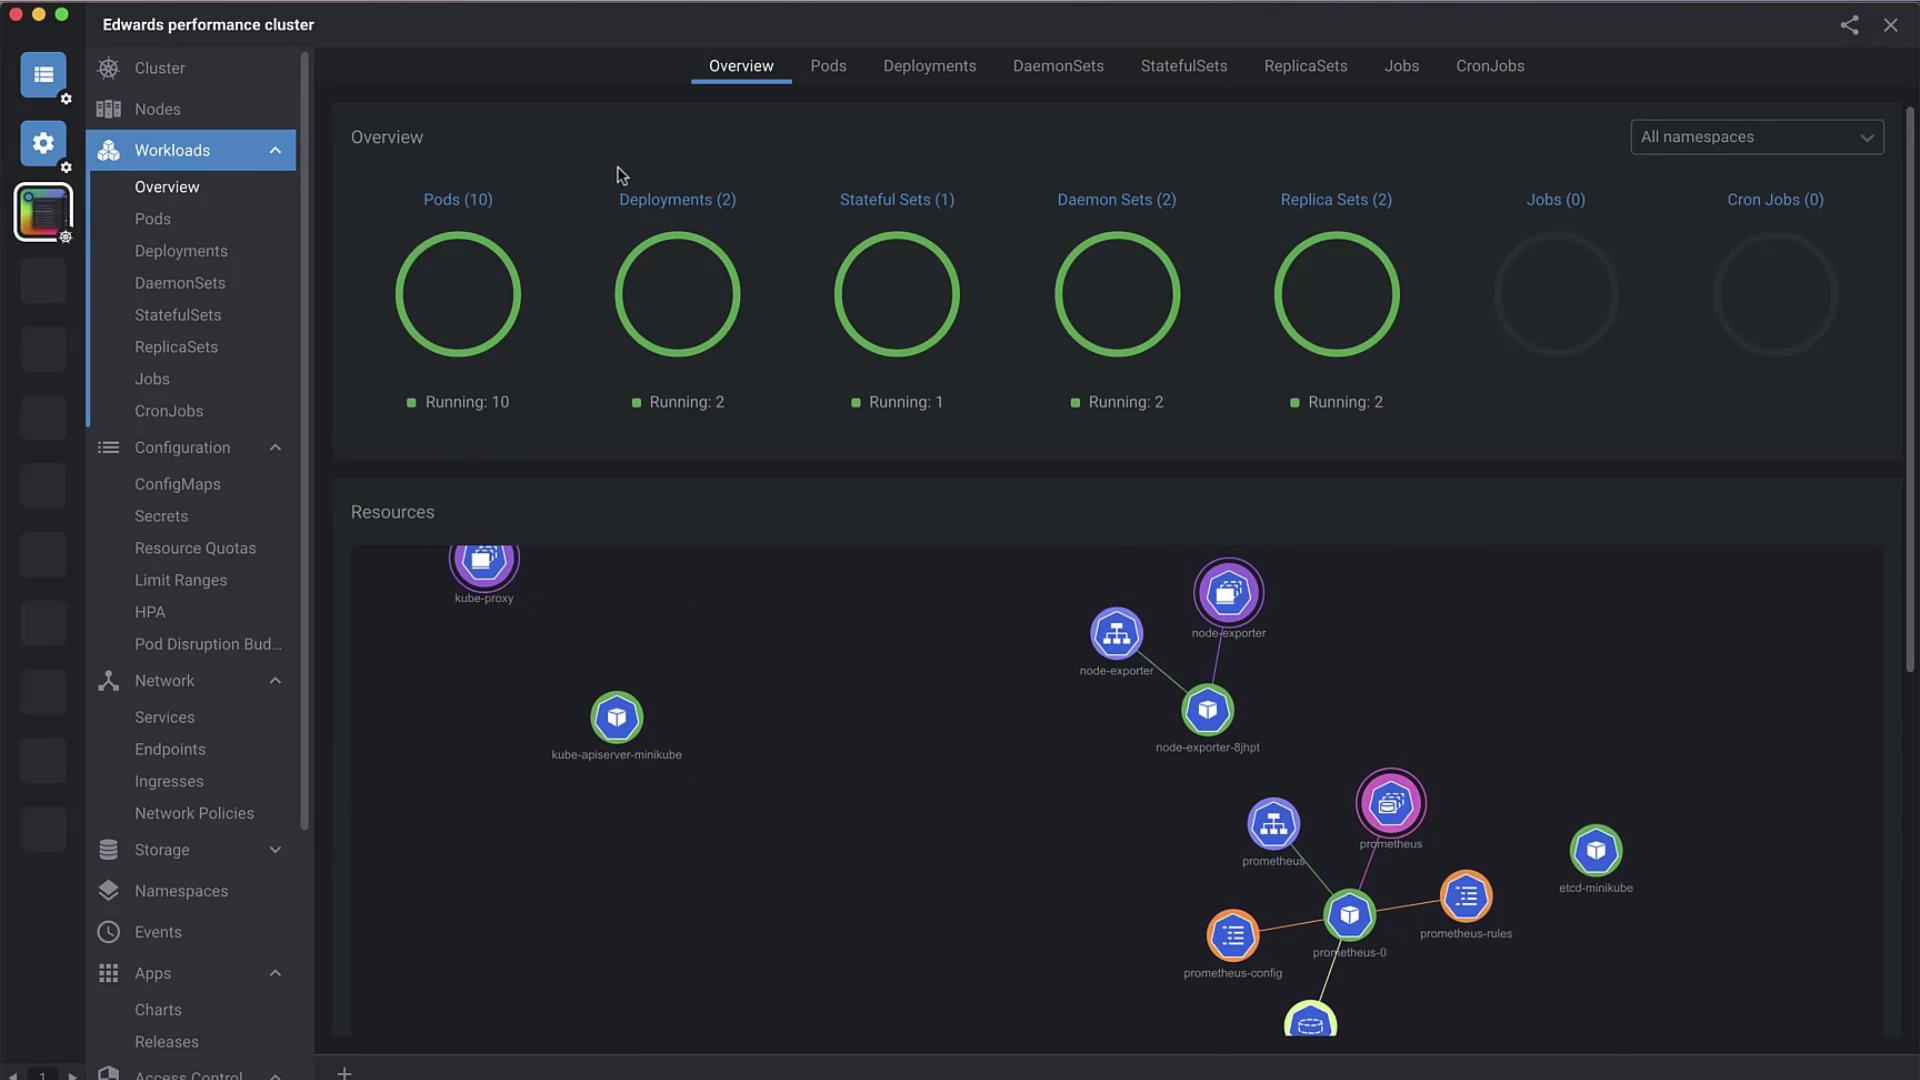
The **Overview** dashboard gives you a high-level look at all workloads:
| Resource Type | Description |
| ------------- | ------------------------------- |
| Pods | Running containers |
| Deployments | Replica set controllers |
| DaemonSets | Node-level pod orchestration |
| StatefulSets | Stateful application management |
| Services | Network endpoints |
| ConfigMaps | Configuration objects |
***
## Pod Details and Logs
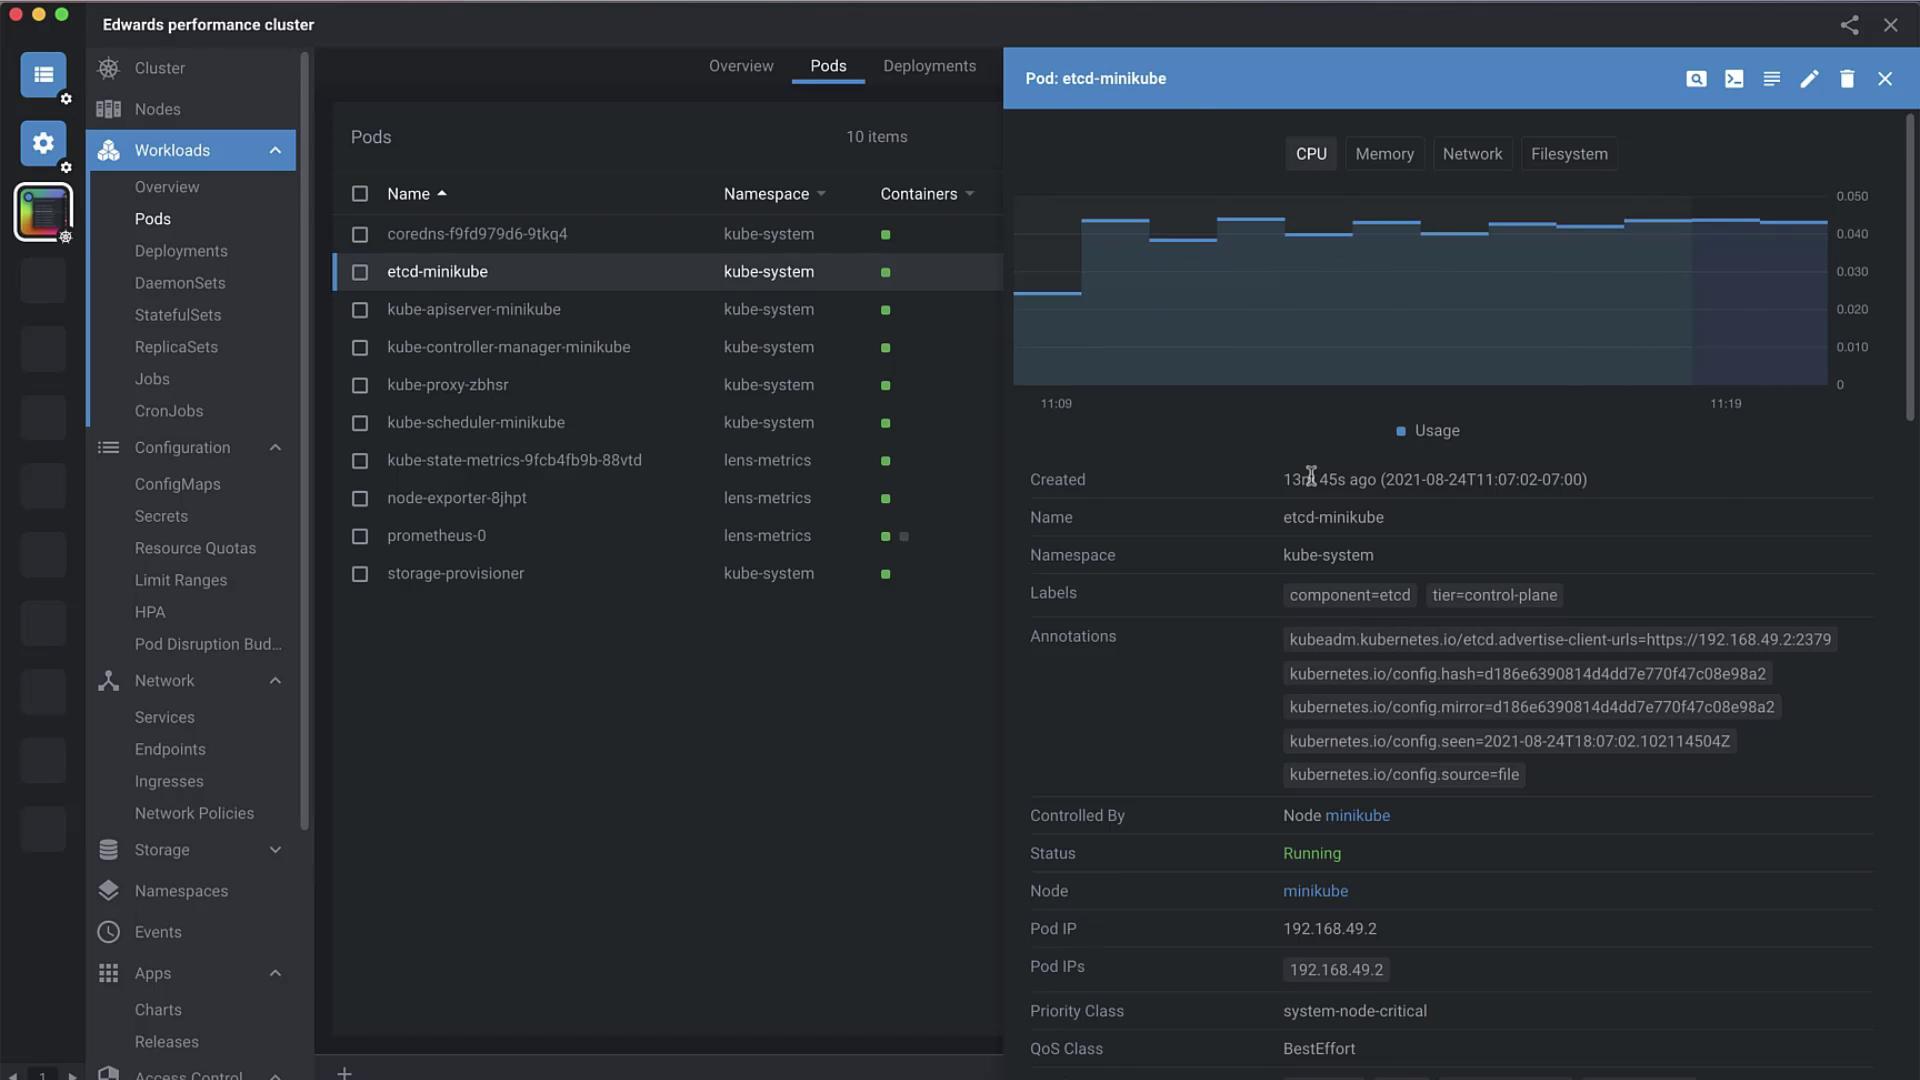
Click **Pods** to inspect each pod’s metrics over the last hour—CPU, memory, network I/O, and filesystem usage. You can also:
* `exec` or `attach` to a pod shell
* View container logs
* Edit the live manifest
### Editing a Pod Manifest
Hit **Edit**, modify the YAML in place, then **Save** to apply changes instantly:
```yaml theme={null}
apiVersion: v1
kind: Pod
metadata:
name: kube-apiserver-minikube
namespace: kube-system
labels:
tier: control-plane
annotations:
kubedam.kubernetes.io/kube-apiserver.advertise-address.endpoint: "192.168.49.2:8443"
kubernetes.io/config.hash: e30e12caf2cdbac2939b18e4
kubernetes.io/config.mirror: e30e12caf2cdbac2939b18e4
kubernetes.io/config.seam: "2021-08-24T18:07:09Z"
kubernetes.io/config.source: file
ownerReferences:
- apiVersion: v1
kind: Node
name: minikube
uid: 7deb6c0a-5ab5-46b9-8975-ec5398777a71
controller: true
blockOwnerDeletion: true
```
***
## Creating an Nginx Deployment
Lens simplifies resource creation—no CLI required. Select **Add Resource** and paste:
```yaml theme={null}
apiVersion: apps/v1
kind: Deployment
metadata:
name: nginx-deployment
labels:
app: nginx
spec:
replicas: 3
selector:
matchLabels:
app: nginx
template:
metadata:
labels:
app: nginx
spec:
containers:
- name: nginx
image: nginx:1.14.2
ports:
- containerPort: 80
```
Click **Create & Close**. Once the deployment is live, select **nginx-deployment** to view its status and annotations:
```yaml theme={null}
kubectl.kubernetes.io/last-applied-configuration: >
{"apiVersion":"apps/v1","kind":"Deployment","metadata":{"annotations":{},"name":"nginx-deployment","namespace":"default"},"spec":{"replicas":3,"selector":{"matchLabels":{"app":"nginx"}},"template":{"metadata":{"labels":{"app":"nginx"}},"spec":{"containers":[{"name":"nginx","image":"nginx:1.14.2","ports":[{"containerPort":80}]}]}}}}
```
***
## Scaling the Deployment
1. Select your **nginx-deployment**.
2. Click the **Scale** icon.
3. Adjust the replica count slider or input a number.
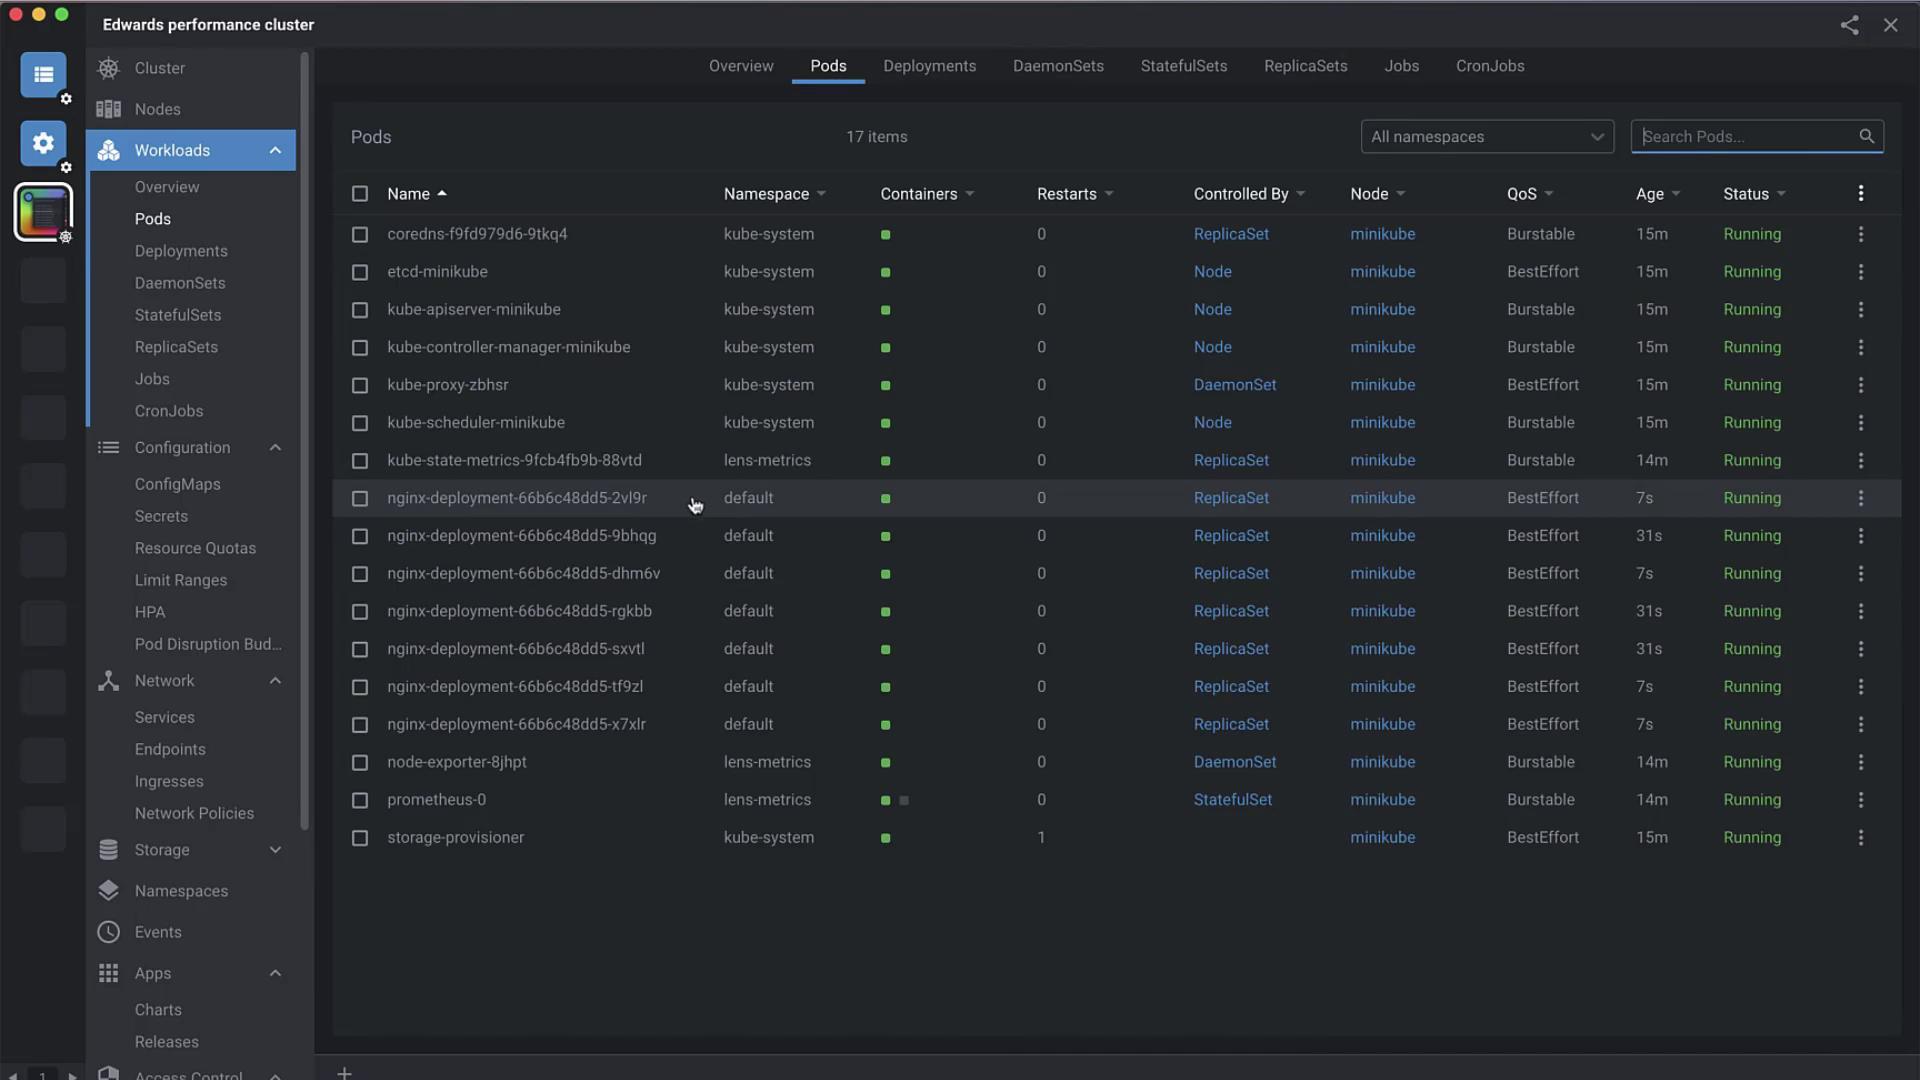
Lens will automatically reflect new pods under **Pods** as they come online:
***
## Removing a Cluster
When you no longer need a cluster in Lens:
Deleting a cluster in Lens removes its entry from your Lens config but does **not** delete the cluster itself.
* Right-click the cluster icon in the sidebar.
* Select **Delete** to remove its kubeconfig entry and dashboards.
After removal, your Lens Home screen will show no connected clusters.
***
## Further Reading and References
* [Lens Documentation](https://k8slens.dev/)
* [Kubernetes Basics](https://kubernetes.io/docs/concepts/overview/what-is-kubernetes/)
* [Prometheus Official Site](https://prometheus.io/)
For advanced cluster operations, explore the [Kubernetes API Reference](https://kubernetes.io/docs/reference/).