> ## Documentation Index
> Fetch the complete documentation index at: https://notes.kodekloud.com/llms.txt
> Use this file to discover all available pages before exploring further.

# Lens Spaces

> Centralized cloud-based extension for Lens IDE enabling secure real-time collaboration on Kubernetes clusters without VPNs or firewall adjustments.

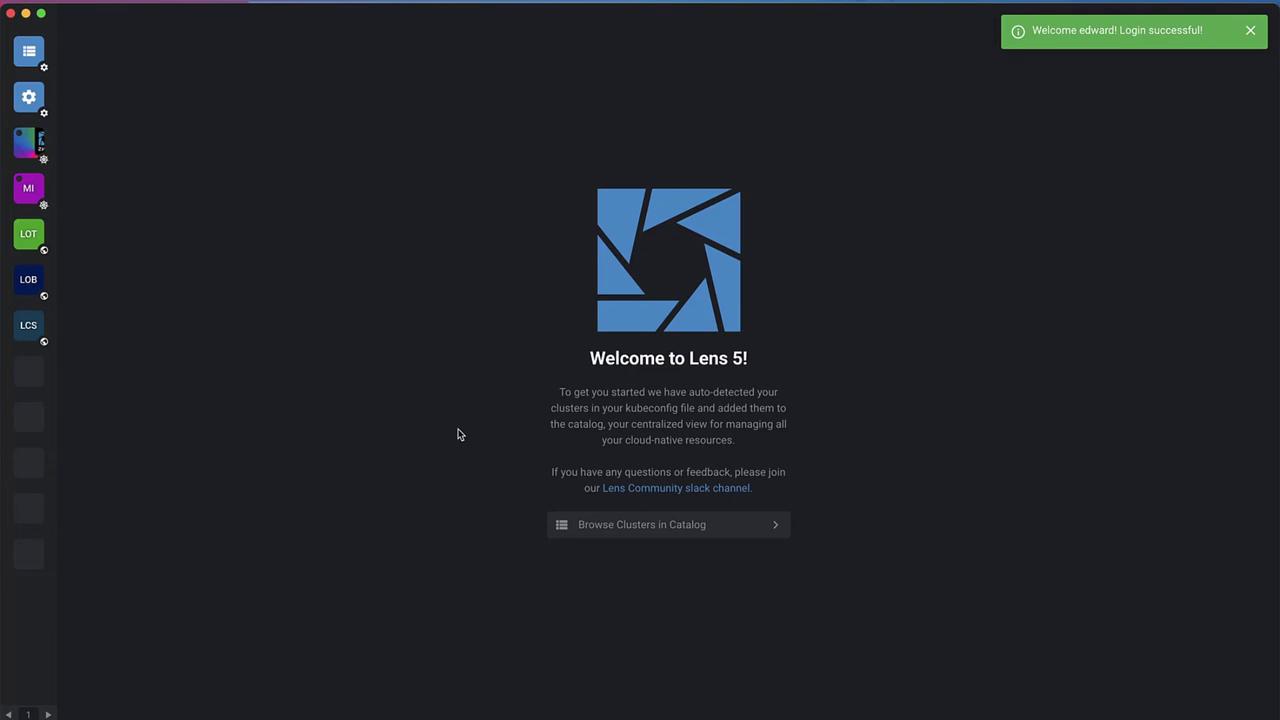
Lens Spaces is a centralized, cloud-based extension for Lens IDE, providing secure, real-time collaboration on Kubernetes clusters. Built on TeamLens’s cloud platform and Lens 5+, it removes the need for VPNs, kubeconfig juggling, or firewall adjustments. Follow this guide to set up, share, and manage clusters using Lens Spaces.
<Frame>
  ![The image shows the welcome screen for Lens 5, a Kubernetes management tool, with a sidebar containing various icons and a message indicating a successful login.](https://kodekloud.com/kk-media/image/upload/v1752881183/notes-assets/images/Lens-Kubernetes-IDE-Lens-Spaces/lens-5-welcome-screen-login.jpg)
</Frame>

***

## 1. Prerequisites & Versions

Before you begin, ensure you have the following:

| Requirement    | Details                                                 |
| -------------- | ------------------------------------------------------- |
| Lens IDE       | Version 5.0 or later (we recommend 5.13+)               |
| Lens Account   | Sign up with email, GitHub, or Google                   |
| Network Access | Outbound HTTPS for Lens Spaces and ClusterConnect proxy |

<Callout icon="lightbulb" color="#1CB2FE">
  Verify your Lens version via **Help › About Lens** in the desktop app.
</Callout>

***

## 2. Login to Lens Spaces

1. In Lens, click **Lens Login** in the bottom-right corner.
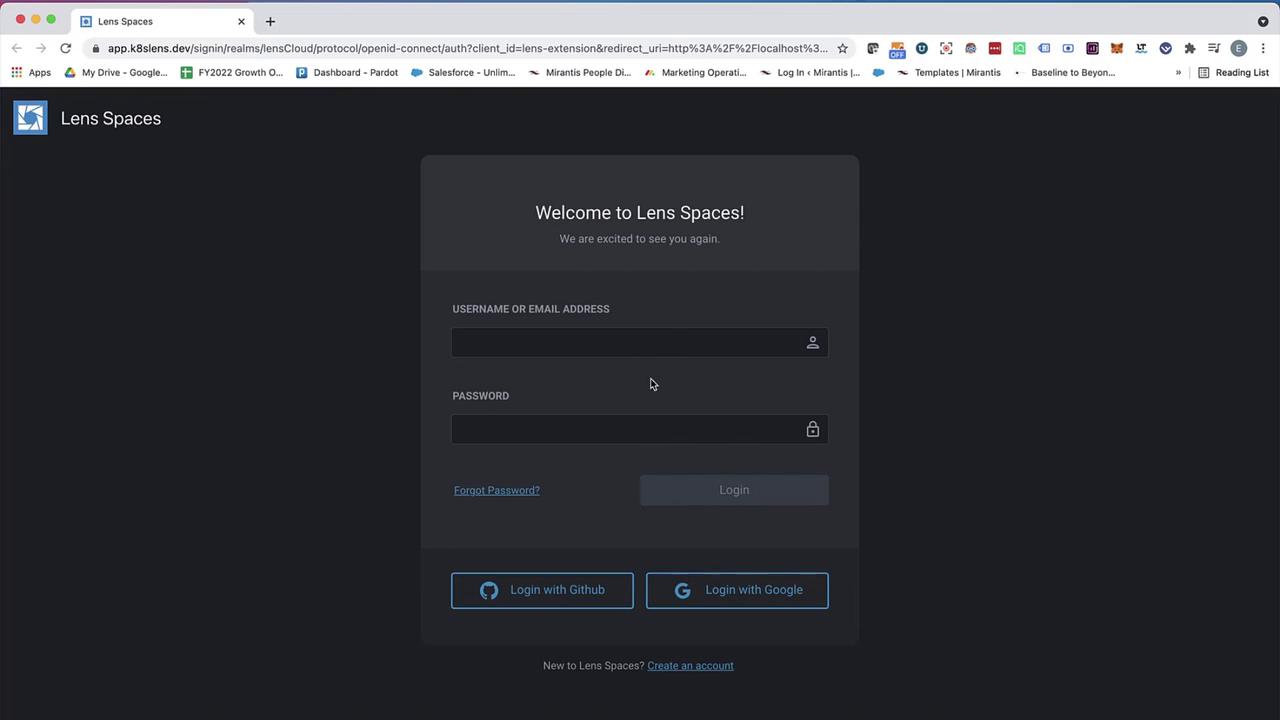
2. Your browser opens the Lens Spaces sign-up page—authenticate via GitHub, Google, or email.
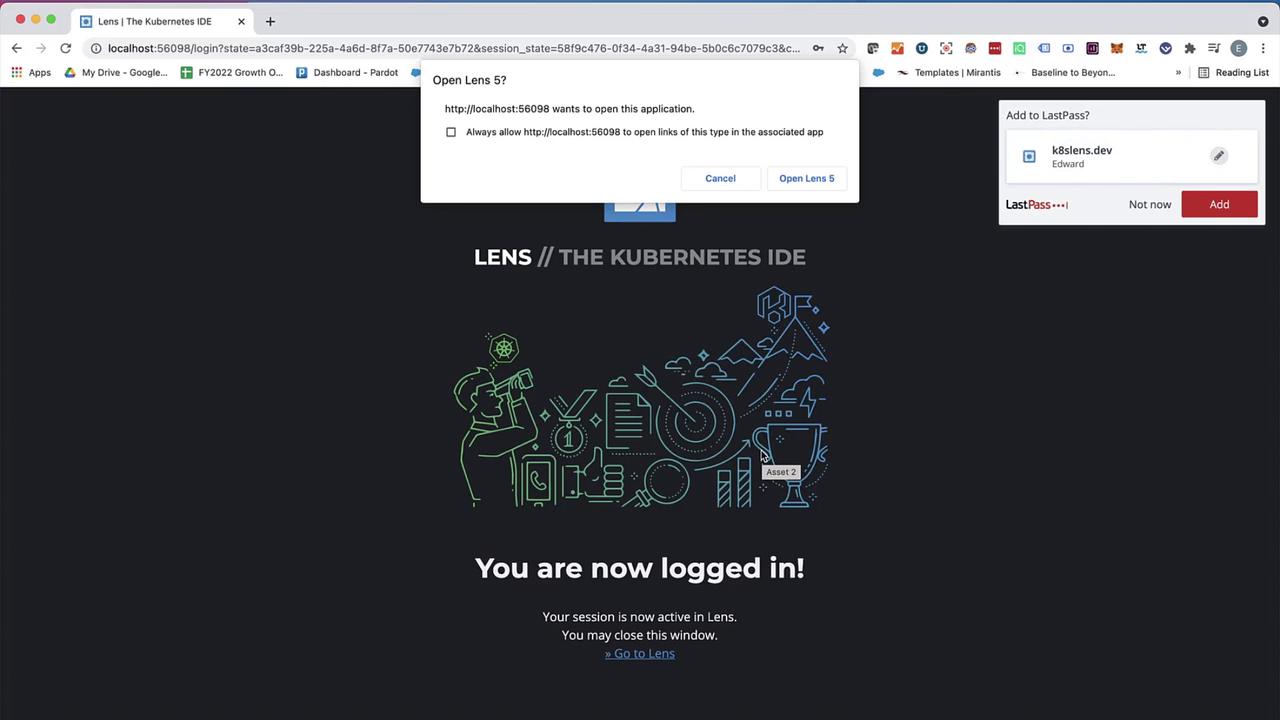
3. Confirm the “Open Lens” prompt in your browser to return to the desktop app.
<Frame>
  ![The image shows a login page for "Lens Spaces" with fields for a username or email address and password, along with options to log in using GitHub or Google.](https://kodekloud.com/kk-media/image/upload/v1752881184/notes-assets/images/Lens-Kubernetes-IDE-Lens-Spaces/lens-spaces-login-page.jpg)
</Frame>

<Frame>
  ![The image shows a browser window with a login confirmation for "Lens // The Kubernetes IDE," indicating the user is now logged in. There is also a pop-up asking to open "Lens 5" and a LastPass prompt to add a site.](https://kodekloud.com/kk-media/image/upload/v1752881185/notes-assets/images/Lens-Kubernetes-IDE-Lens-Spaces/lens-kubernetes-ide-login-confirmation.jpg)
</Frame>

Once logged in, your account name appears in the bottom-right corner of Lens.

***

## 3. Explore the Cluster Catalog

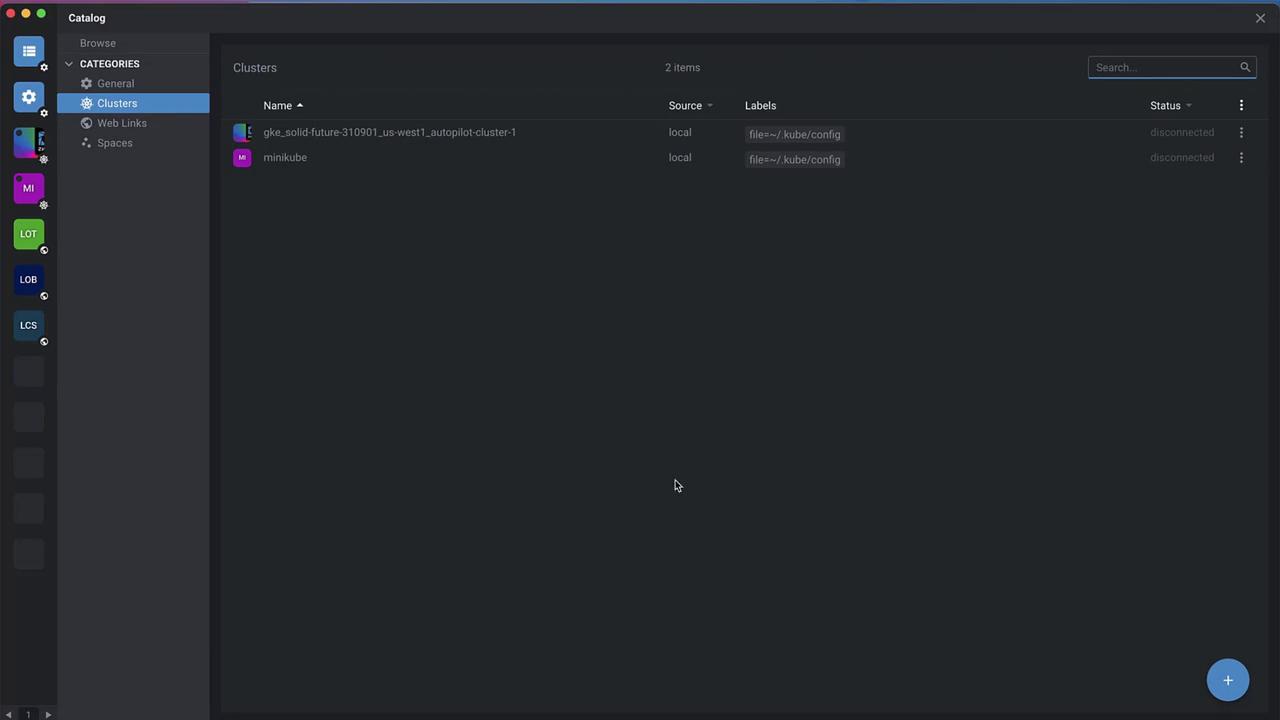
Navigate to **Catalog** in the sidebar to see all registered clusters. Disconnected clusters (e.g., GKE, Minikube) display until they’re launched.
<Frame>
  ![The image shows a software interface displaying a catalog of clusters, with two items listed as disconnected. The left sidebar contains various category icons.](https://kodekloud.com/kk-media/image/upload/v1752881185/notes-assets/images/Lens-Kubernetes-IDE-Lens-Spaces/software-interface-cluster-catalog.jpg)
</Frame>

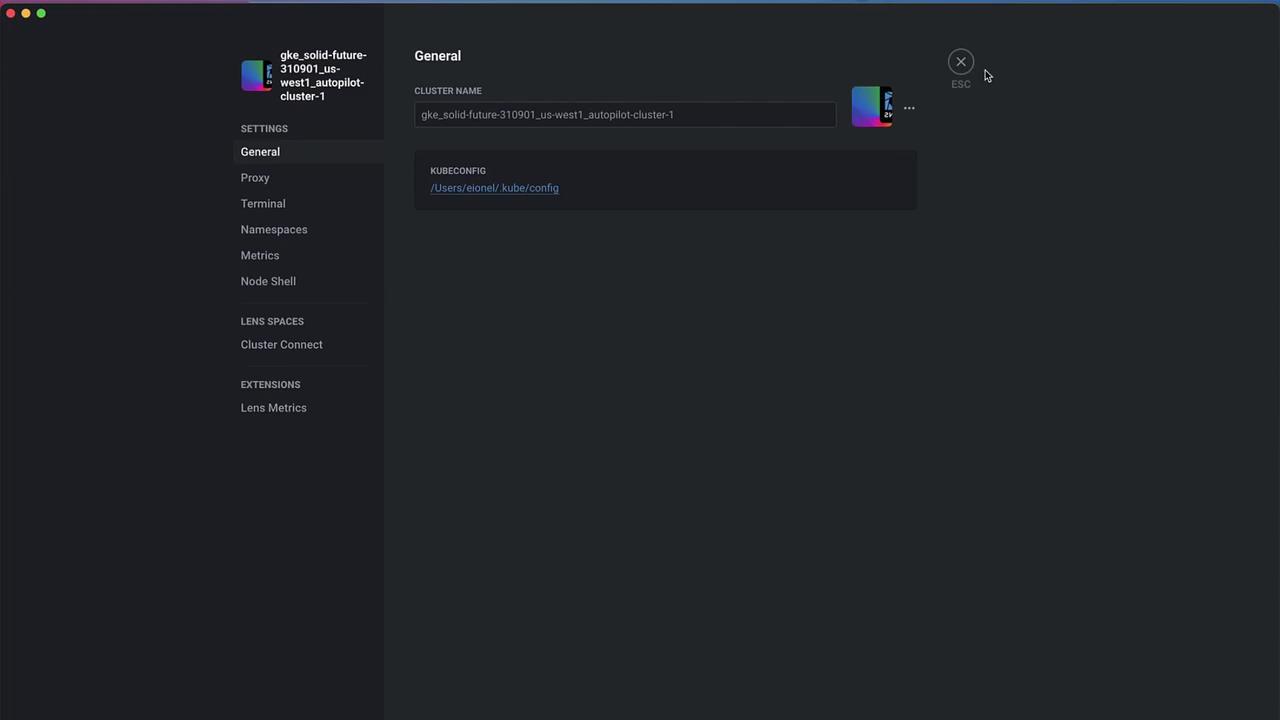
Click any cluster to inspect its details—node performance, metrics, proxy settings, and more.
<Frame>
  ![The image shows a dark-themed user interface of a software application, displaying settings for a Kubernetes cluster with options like General, Proxy, Terminal, and more on the left sidebar.](https://kodekloud.com/kk-media/image/upload/v1752881186/notes-assets/images/Lens-Kubernetes-IDE-Lens-Spaces/kubernetes-cluster-settings-ui.jpg)
</Frame>

***

## 4. Create a Space

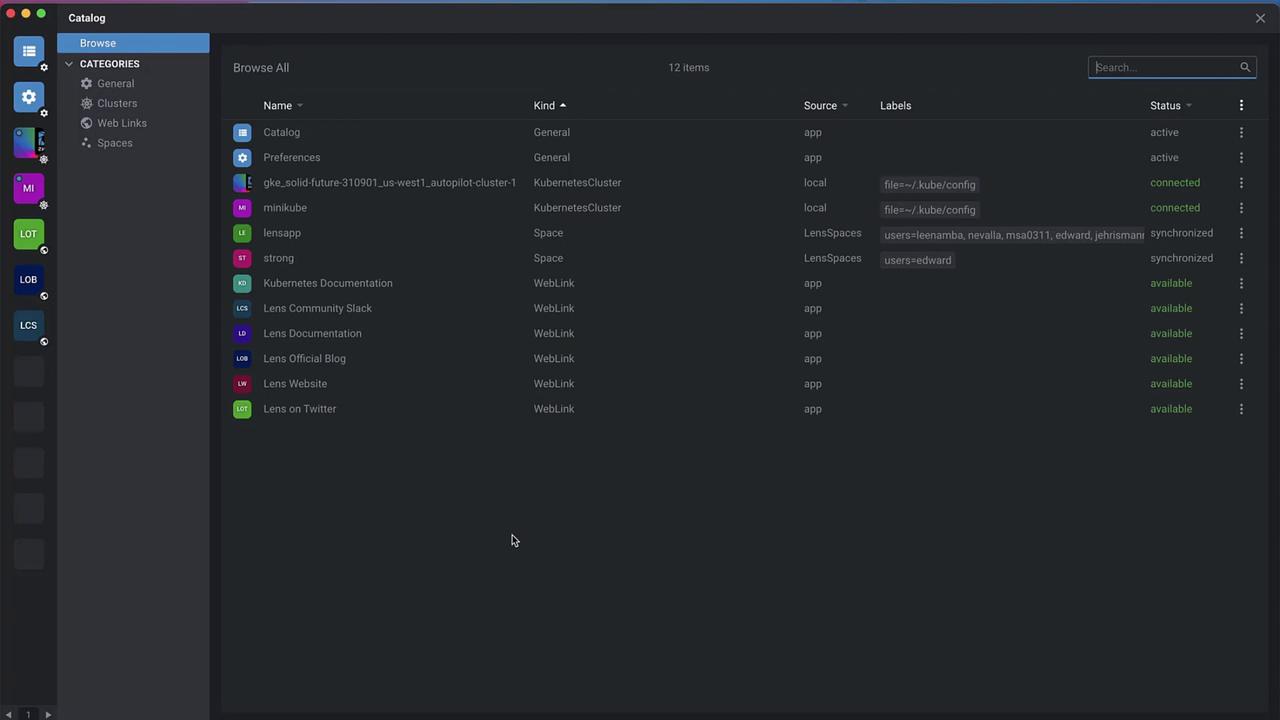
Spaces are collaborative workspaces for sharing clusters.

1. Go to **Catalog › Spaces**.
2. Click the **+** icon (or your username › **Add Space**).
3. Enter a unique name (e.g., `CodeCloudDemo1`) and press Enter.
<Frame>
  ![The image shows a software interface with a catalog of items, including clusters and web links, displayed in a table format with columns for name, kind, source, labels, and status. The left sidebar contains navigation options and icons.](https://kodekloud.com/kk-media/image/upload/v1752881187/notes-assets/images/Lens-Kubernetes-IDE-Lens-Spaces/software-interface-catalog-table.jpg)
</Frame>

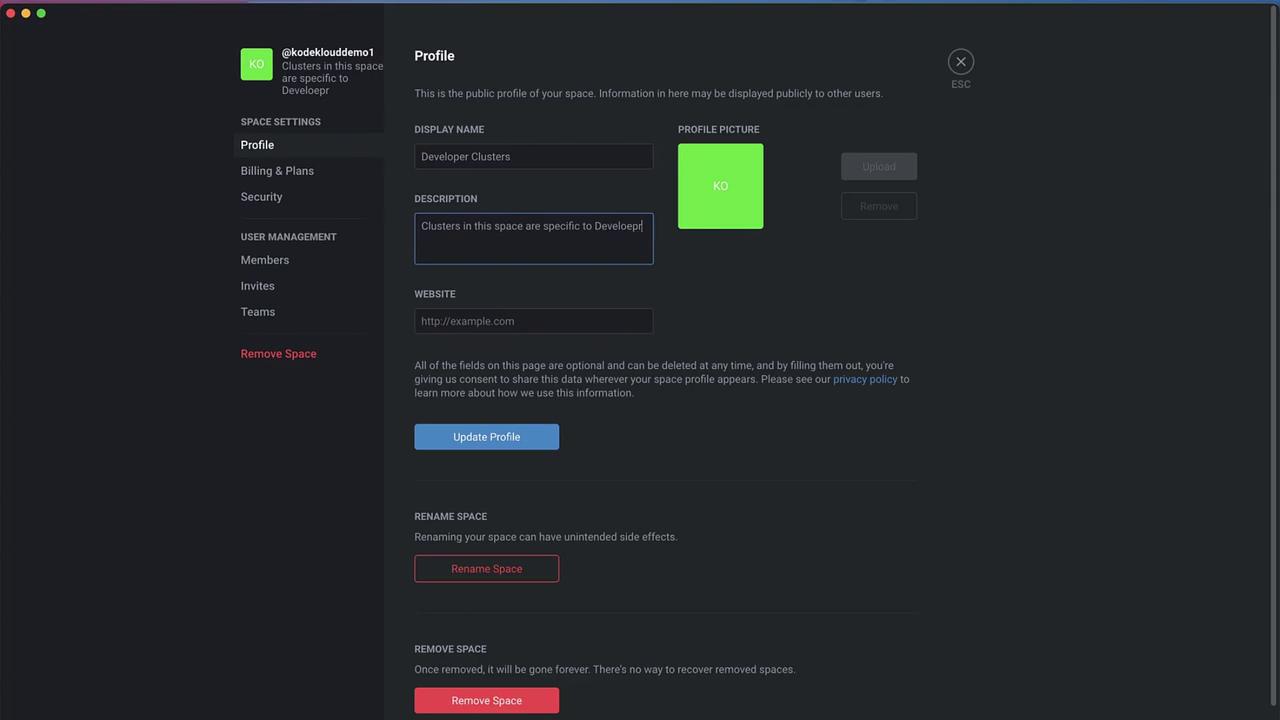
4. In **Space Settings**, update the **Display name** and **Description** (e.g., “Developer Clusters – Shared by TeamLens”).
<Frame>
  ![The image shows a user interface for managing a profile, including options to update the display name, description, and website, as well as buttons to update, rename, or remove the space.](https://kodekloud.com/kk-media/image/upload/v1752881189/notes-assets/images/Lens-Kubernetes-IDE-Lens-Spaces/profile-management-user-interface.jpg)
</Frame>

***

## 5. Invite Members

Add collaborators by username, email, or shareable link.

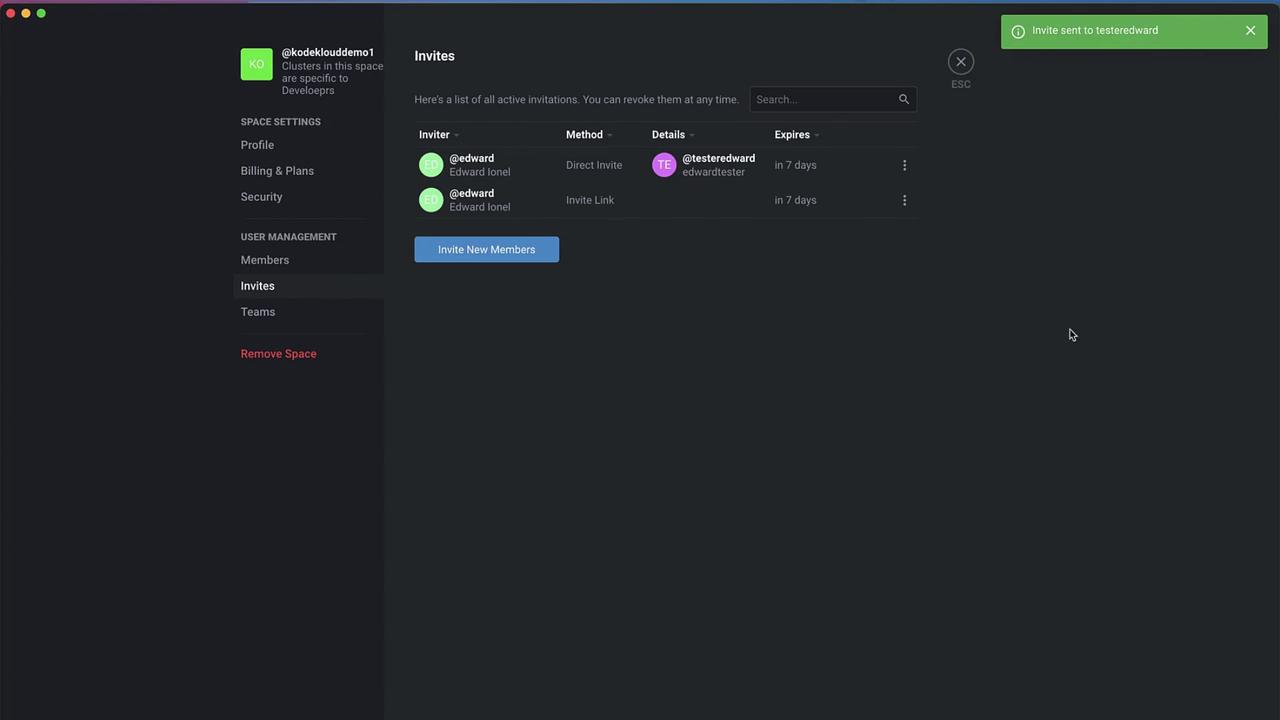
1. In **Spaces › Members**, click **Invite**.
2. Enter a username or email (e.g., `TesterEdward`) and send the invite.
<Frame>
  ![The image shows a user interface for managing invitations in a software application, displaying a list of active invitations with details such as inviter, method, and expiration. A notification confirms an invite was sent.](https://kodekloud.com/kk-media/image/upload/v1752881190/notes-assets/images/Lens-Kubernetes-IDE-Lens-Spaces/invitation-management-user-interface.jpg)
</Frame>

Once accepted, members can access clusters shared within this space.

***

## 6. Share Your Kubernetes Cluster

To share a cluster:

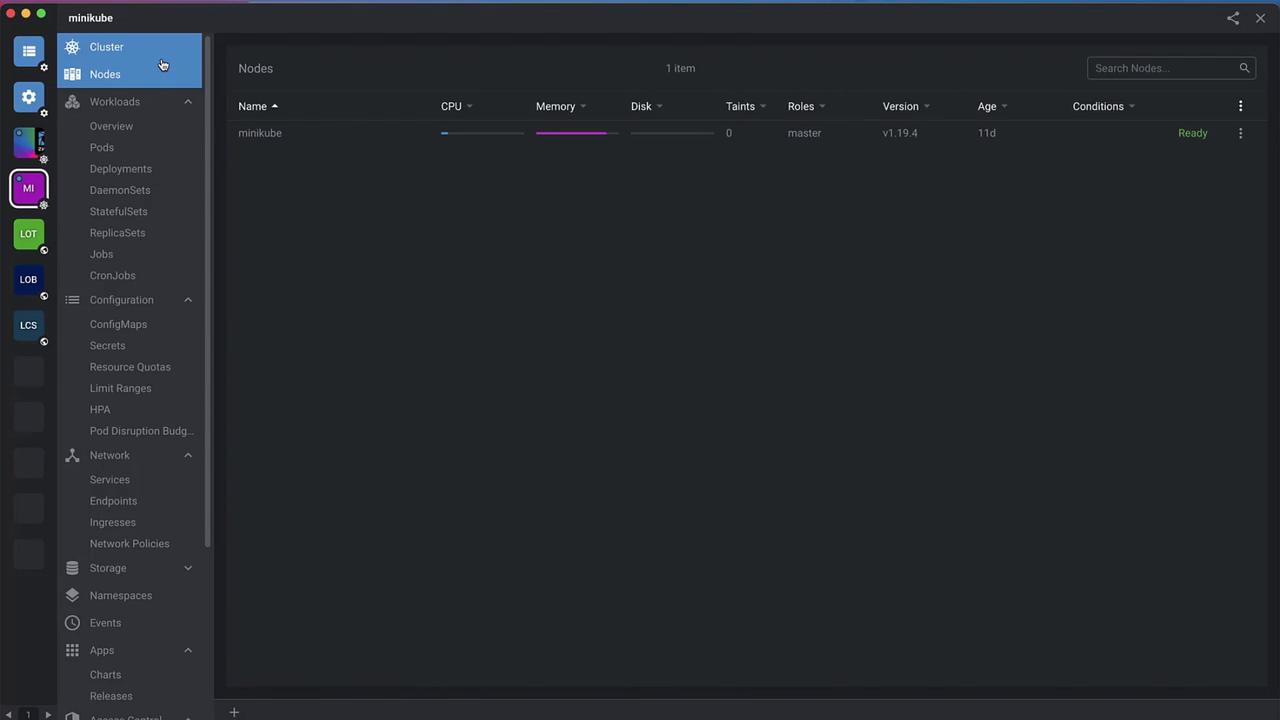
1. In **Clusters**, select your target cluster (e.g., Minikube).
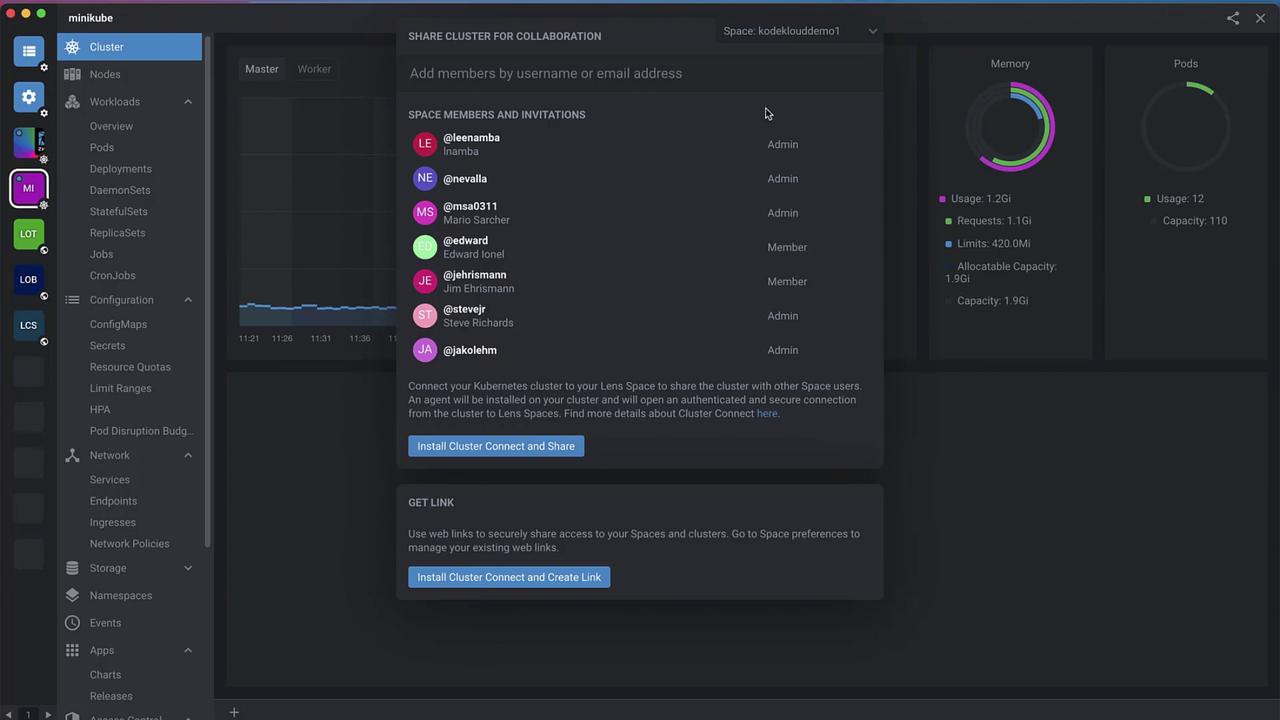
2. Click the **Share Cluster** icon.
3. Choose your space (`CodeCloudDemo1`).
4. Install **ClusterConnect** when prompted.
<Frame>
  ![The image shows a dashboard interface for managing a Kubernetes cluster using Minikube, displaying node details such as CPU, memory, and status. The left sidebar contains various options for managing workloads, configurations, and network settings.](https://kodekloud.com/kk-media/image/upload/v1752881191/notes-assets/images/Lens-Kubernetes-IDE-Lens-Spaces/kubernetes-minikube-dashboard-interface.jpg)
</Frame>

<Frame>
  ![The image shows a software interface for managing a Kubernetes cluster, with options to add members for collaboration and view cluster metrics like memory and pod usage.](https://kodekloud.com/kk-media/image/upload/v1752881192/notes-assets/images/Lens-Kubernetes-IDE-Lens-Spaces/kubernetes-cluster-management-interface.jpg)
</Frame>

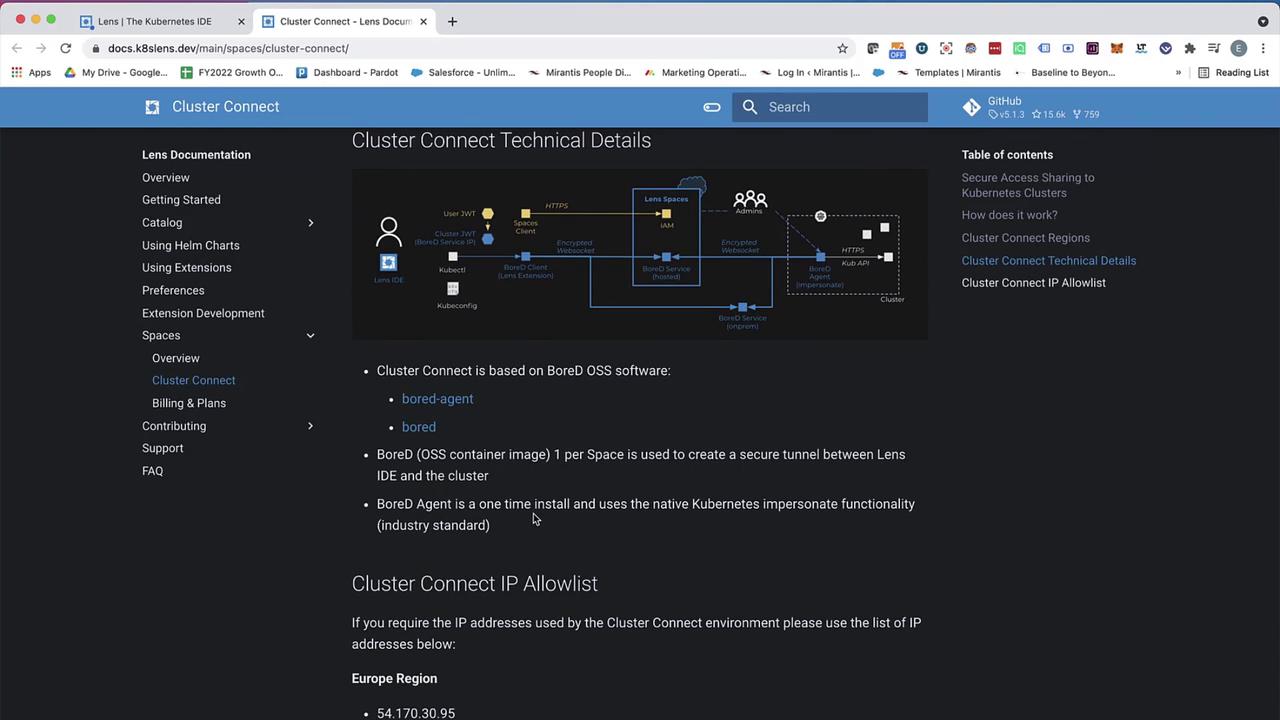
ClusterConnect establishes a secure, end-to-end encrypted tunnel using a client-side reverse proxy and WebSocket. The BoreD daemon never inspects encrypted traffic.\
For architecture details, see the [ClusterConnect documentation](https://docs.k8slens.dev/latest/spaces/cluster-connect/technical-details).
<Frame>
  ![The image shows a webpage from the Lens documentation, specifically detailing "Cluster Connect Technical Details" with a diagram and text explaining the use of BoreD OSS software for secure tunneling.](https://kodekloud.com/kk-media/image/upload/v1752881194/notes-assets/images/Lens-Kubernetes-IDE-Lens-Spaces/lens-cluster-connect-technical-details.jpg)
</Frame>

<Callout icon="triangle-alert" color="#FF6B6B">
  By default, shared clusters are **read-only**. To grant write permissions or restrict namespaces, configure teams and role bindings.
</Callout>

***

## 7. Configure Teams & Permissions

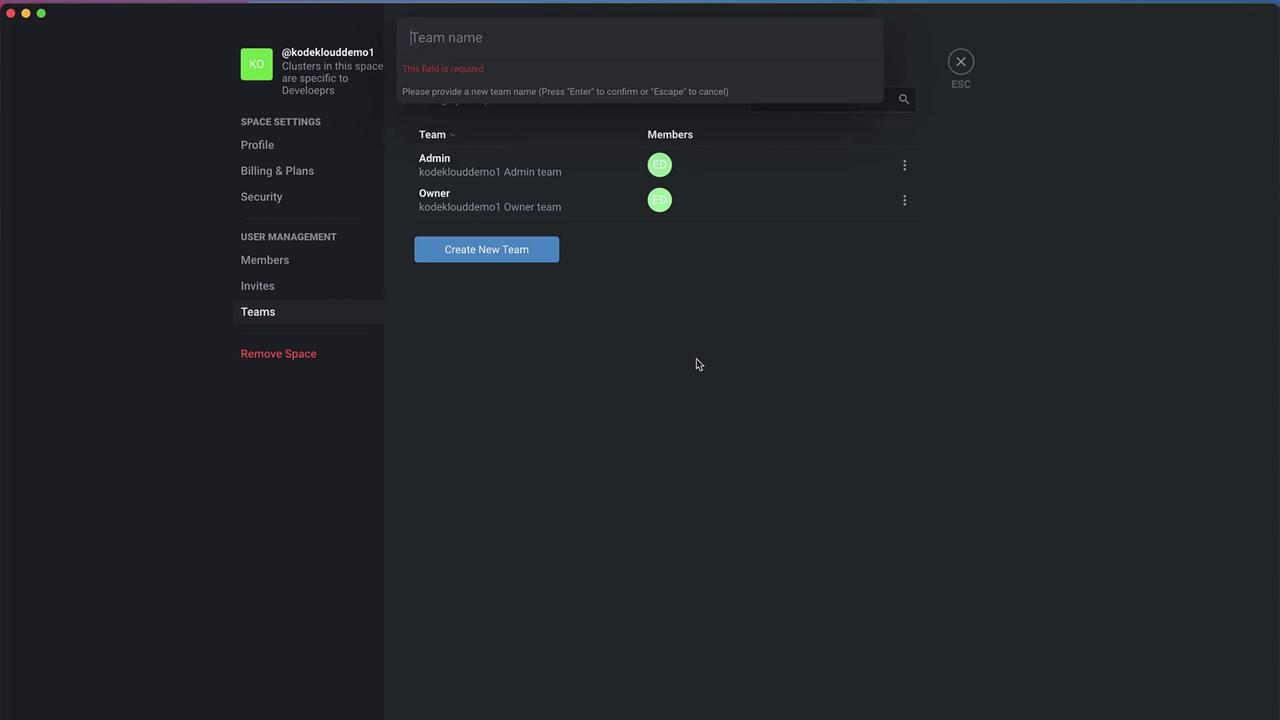
Create teams for granular access control:

1. Under **Teams**, click **Add Team** (e.g., `Developers`).
2. Assign members and define RoleBindings (e.g., restrict to the `monitoring` namespace).
<Frame>
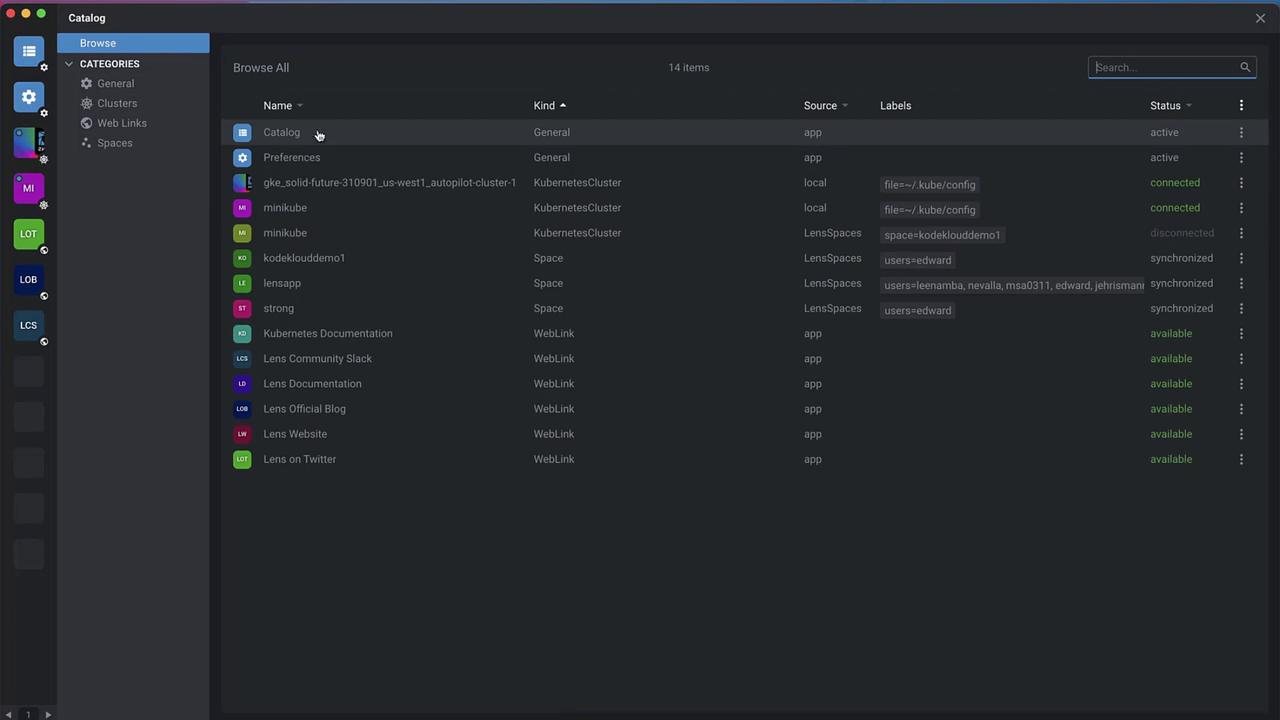
  ![The image shows a software interface displaying a catalog of items, including Kubernetes clusters and web links, with their status and source information. The interface has a sidebar with categories and a search bar at the top.](https://kodekloud.com/kk-media/image/upload/v1752881194/notes-assets/images/Lens-Kubernetes-IDE-Lens-Spaces/kubernetes-catalog-interface-display.jpg)
</Frame>

<Frame>
  ![The image shows a user interface for managing teams, with options to create a new team and view existing teams and members. The left sidebar includes settings and user management options.](https://kodekloud.com/kk-media/image/upload/v1752881195/notes-assets/images/Lens-Kubernetes-IDE-Lens-Spaces/team-management-user-interface.jpg)
</Frame>

***

## 8. Accepting an Invitation

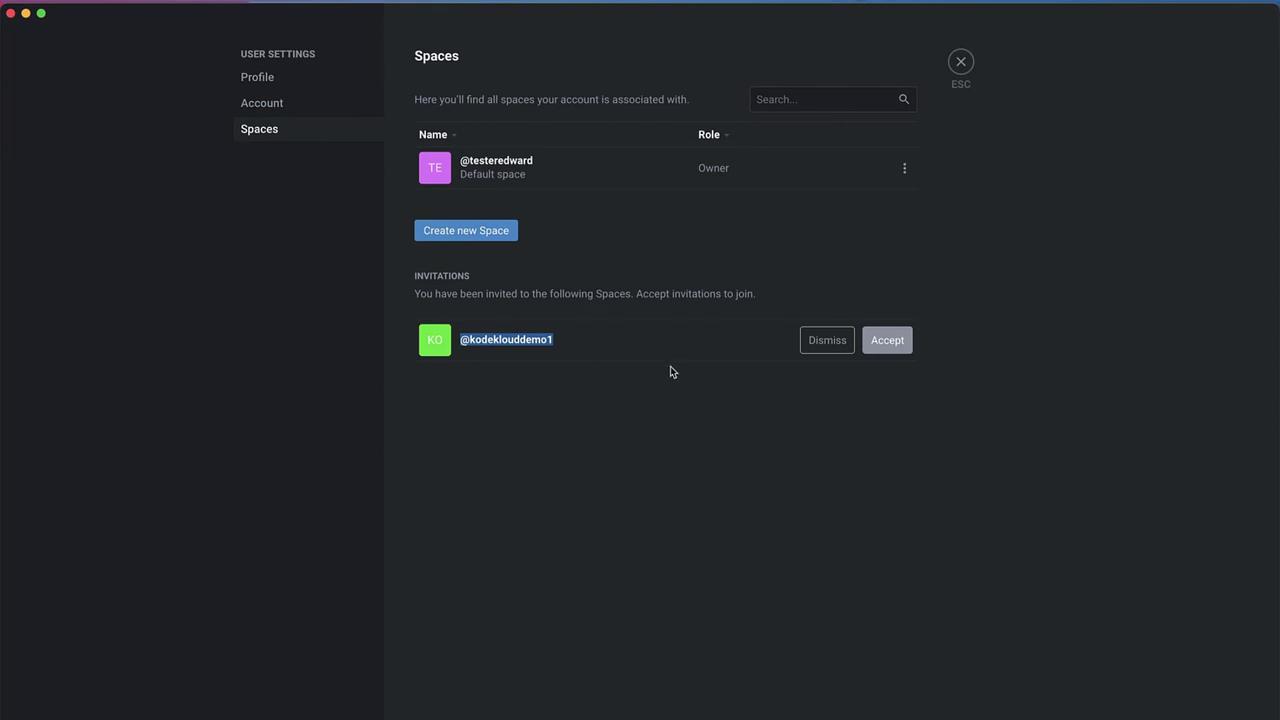
As the invited user:

1. Log out and sign in with your invitee account (e.g., `TesterEdward`).
2. Navigate to **My Profile › Spaces**. The pending invitation appears.
3. Click **Accept**.
<Frame>
  ![The image shows a user interface for managing spaces, with options to create a new space and accept or dismiss invitations. It includes a list of spaces with roles and an invitation to join another space.](https://kodekloud.com/kk-media/image/upload/v1752881196/notes-assets/images/Lens-Kubernetes-IDE-Lens-Spaces/user-interface-managing-spaces-invitations.jpg)
</Frame>

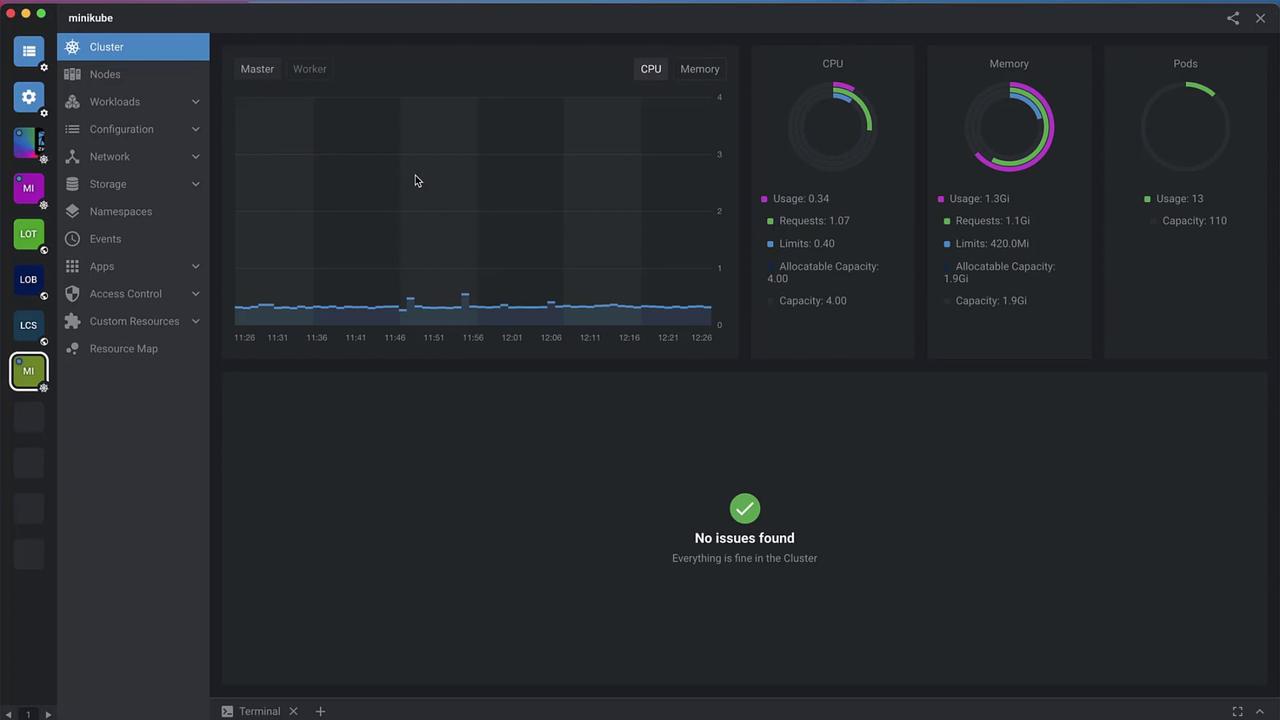
Return to **Clusters**—you’ll see the shared cluster listed alongside your local ones.
<Frame>
  ![The image shows a dashboard interface for monitoring a Kubernetes cluster using Minikube, displaying CPU, memory, and pod usage statistics, with a message indicating no issues found.](https://kodekloud.com/kk-media/image/upload/v1752881197/notes-assets/images/Lens-Kubernetes-IDE-Lens-Spaces/kubernetes-minikube-dashboard-monitoring.jpg)
</Frame>

Open the cluster to explore workloads, metrics, configurations, and more—without manual kubeconfig management.

***

## Conclusion

Lens Spaces unifies cluster management and collaboration under a single, secure platform. By combining ClusterConnect’s encrypted tunnels with team-based roles, your team can work on Kubernetes clusters confidently and efficiently—no VPNs or networking hurdles required.

***

## Links & References

* [Lens Spaces Documentation](https://docs.k8slens.dev/latest/spaces/)
* [ClusterConnect Technical Details](https://docs.k8slens.dev/latest/spaces/cluster-connect/technical-details)
* [Kubernetes Official Docs](https://kubernetes.io/docs/)
* [Lens IDE GitHub](https://github.com/kubernetes-helm/helm)

<CardGroup>
  <Card title="Watch Video" icon="video" cta="Learn more" href="https://learn.kodekloud.com/user/courses/lens-kubernetes-ide/module/5612678e-a690-4e4e-b43d-966183dffdbf/lesson/b9a3df61-1fd0-443c-b993-2120a3a95e1d" />
</CardGroup>
