Linux Foundation Certified System Administrator (LFCS)

Operations Deployment

Create systemd Services

In this lesson, we'll learn how to create a systemd service file through a practical exercise. Imagine you have an application that must always be running on your servers. Since applications can occasionally crash, a mechanism is required to monitor and automatically restart them. Additionally, you may want the application to start automatically when the system boots. Systemd services offer these features and more by defining the instructions to manage your application's lifecycle.

Building the Sample Application

Let's begin by creating a sample application. Open your preferred text editor with the following command:

jeremy@kodekloud:~$ sudo vim /usr/local/bin/myapp.sh
[sudo] password for jeremy:

Add the following content to the file. The first echo statement logs an informational message that "MyApp" has started, while the second statement logs an error after a five-second delay to simulate a crash:

#!/bin/sh
echo "MyApp Started" | systemd-cat -t MyApp -p info
sleep 5
echo "MyApp Crashed" | systemd-cat -t MyApp -p err

Explanation

systemd-cat sends messages directly to the system log.
• The -t option attaches a tag (MyApp) to every log message.
• The -p option sets the logging priority (using info for normal status and err for error).
• The sleep 5 command simulates a delay of five seconds before logging a crash.

Save the file and make it executable:

jeremy@kodekloud:~$ sudo chmod +x /usr/local/bin/myapp.sh

Understanding Systemd Service Options

Detailed explanations for service unit files and configuration options are available in the systemd manual pages. For example, you can learn more by using:

man systemd.service

The image shows a manual page for "systemd.service," detailing the configuration of service unit files in systemd. It includes sections like NAME, SYNOPSIS, and DESCRIPTION, explaining how these files encode information about processes.

The manual explains useful configuration options. For instance, the 
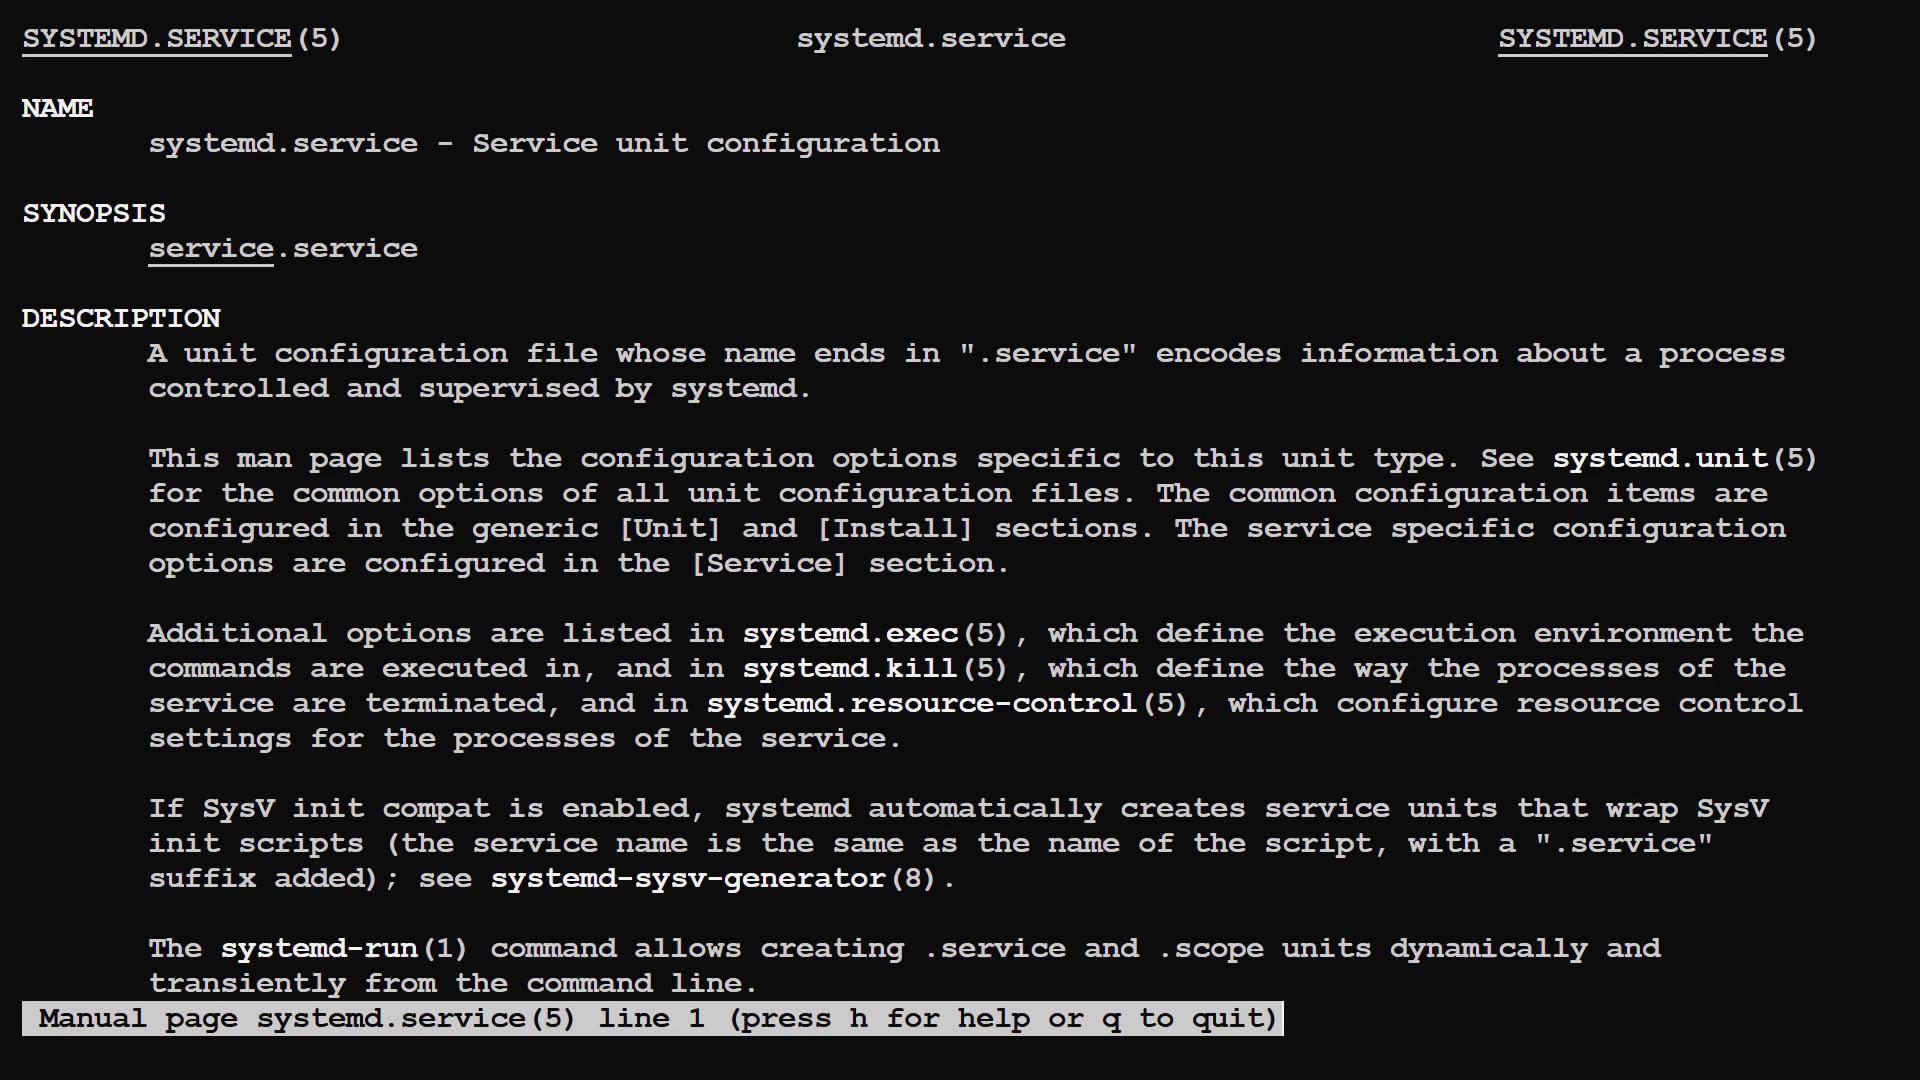
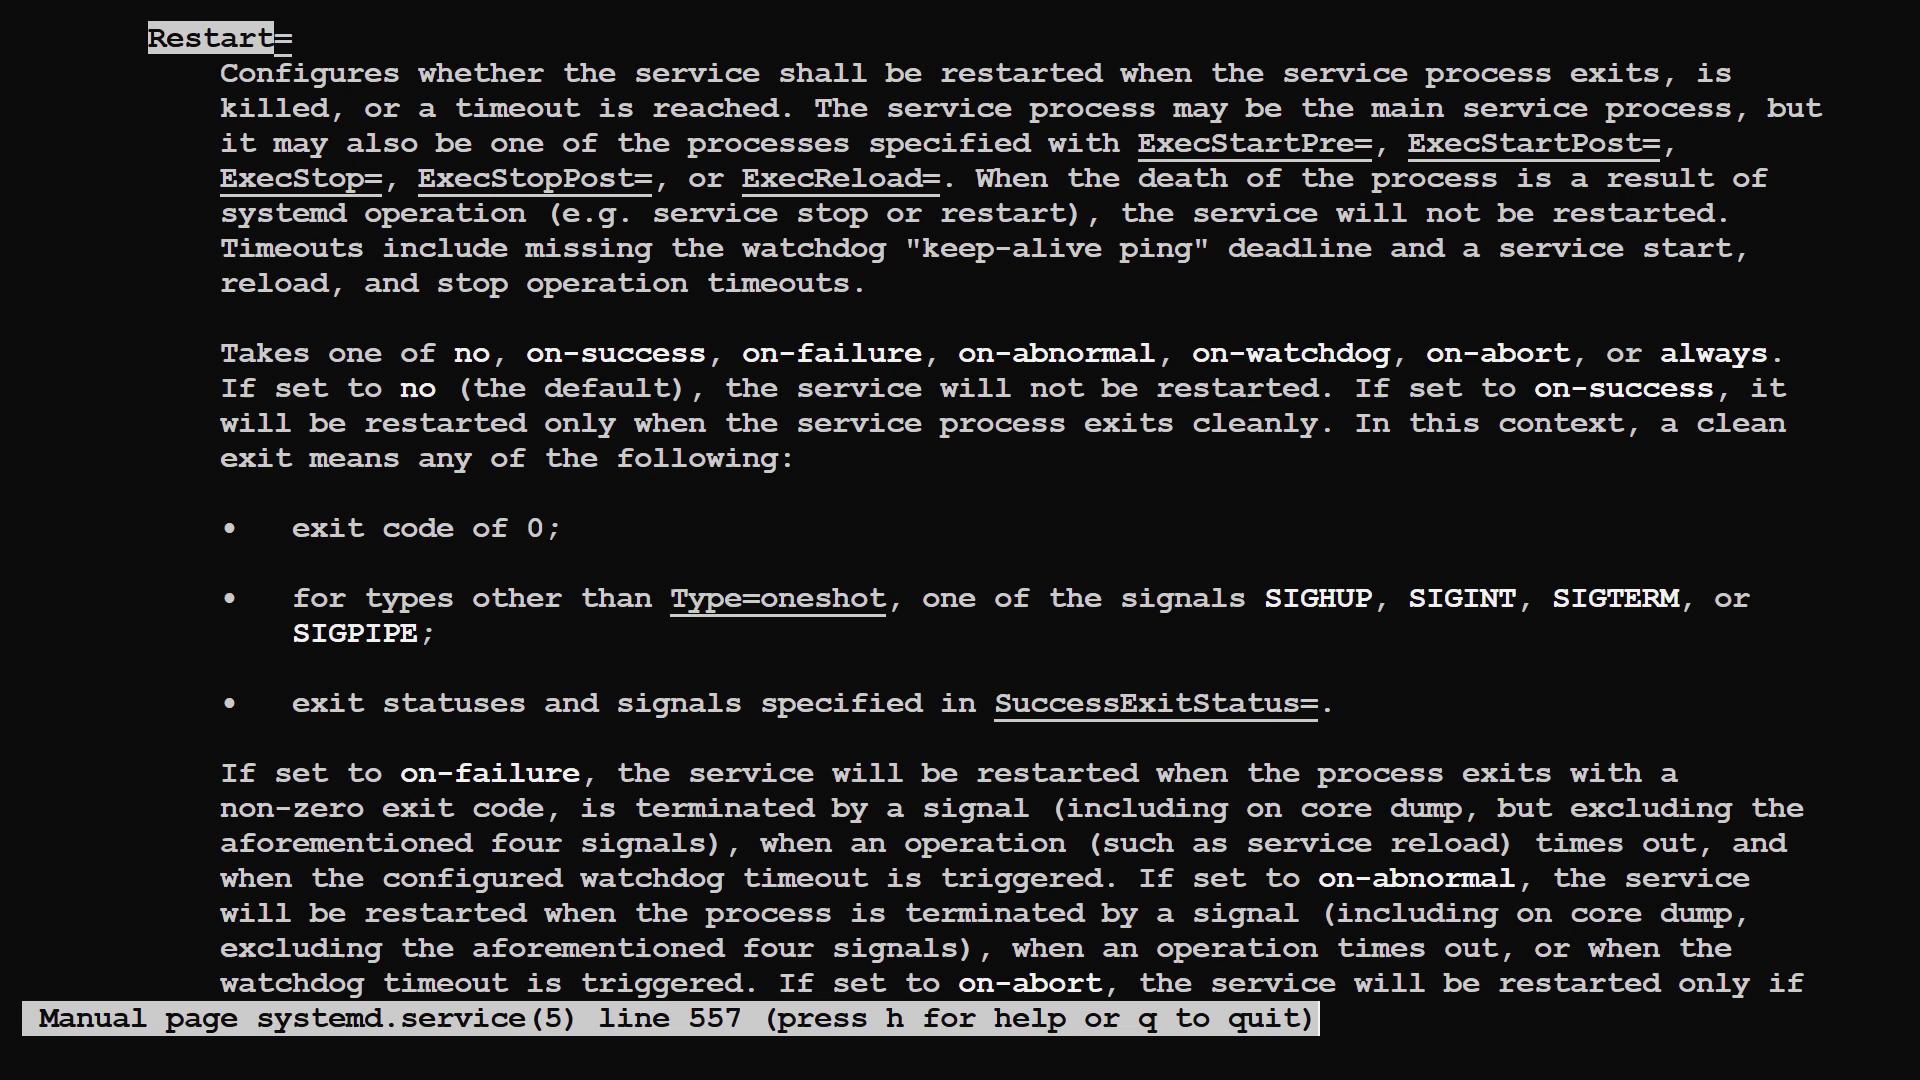
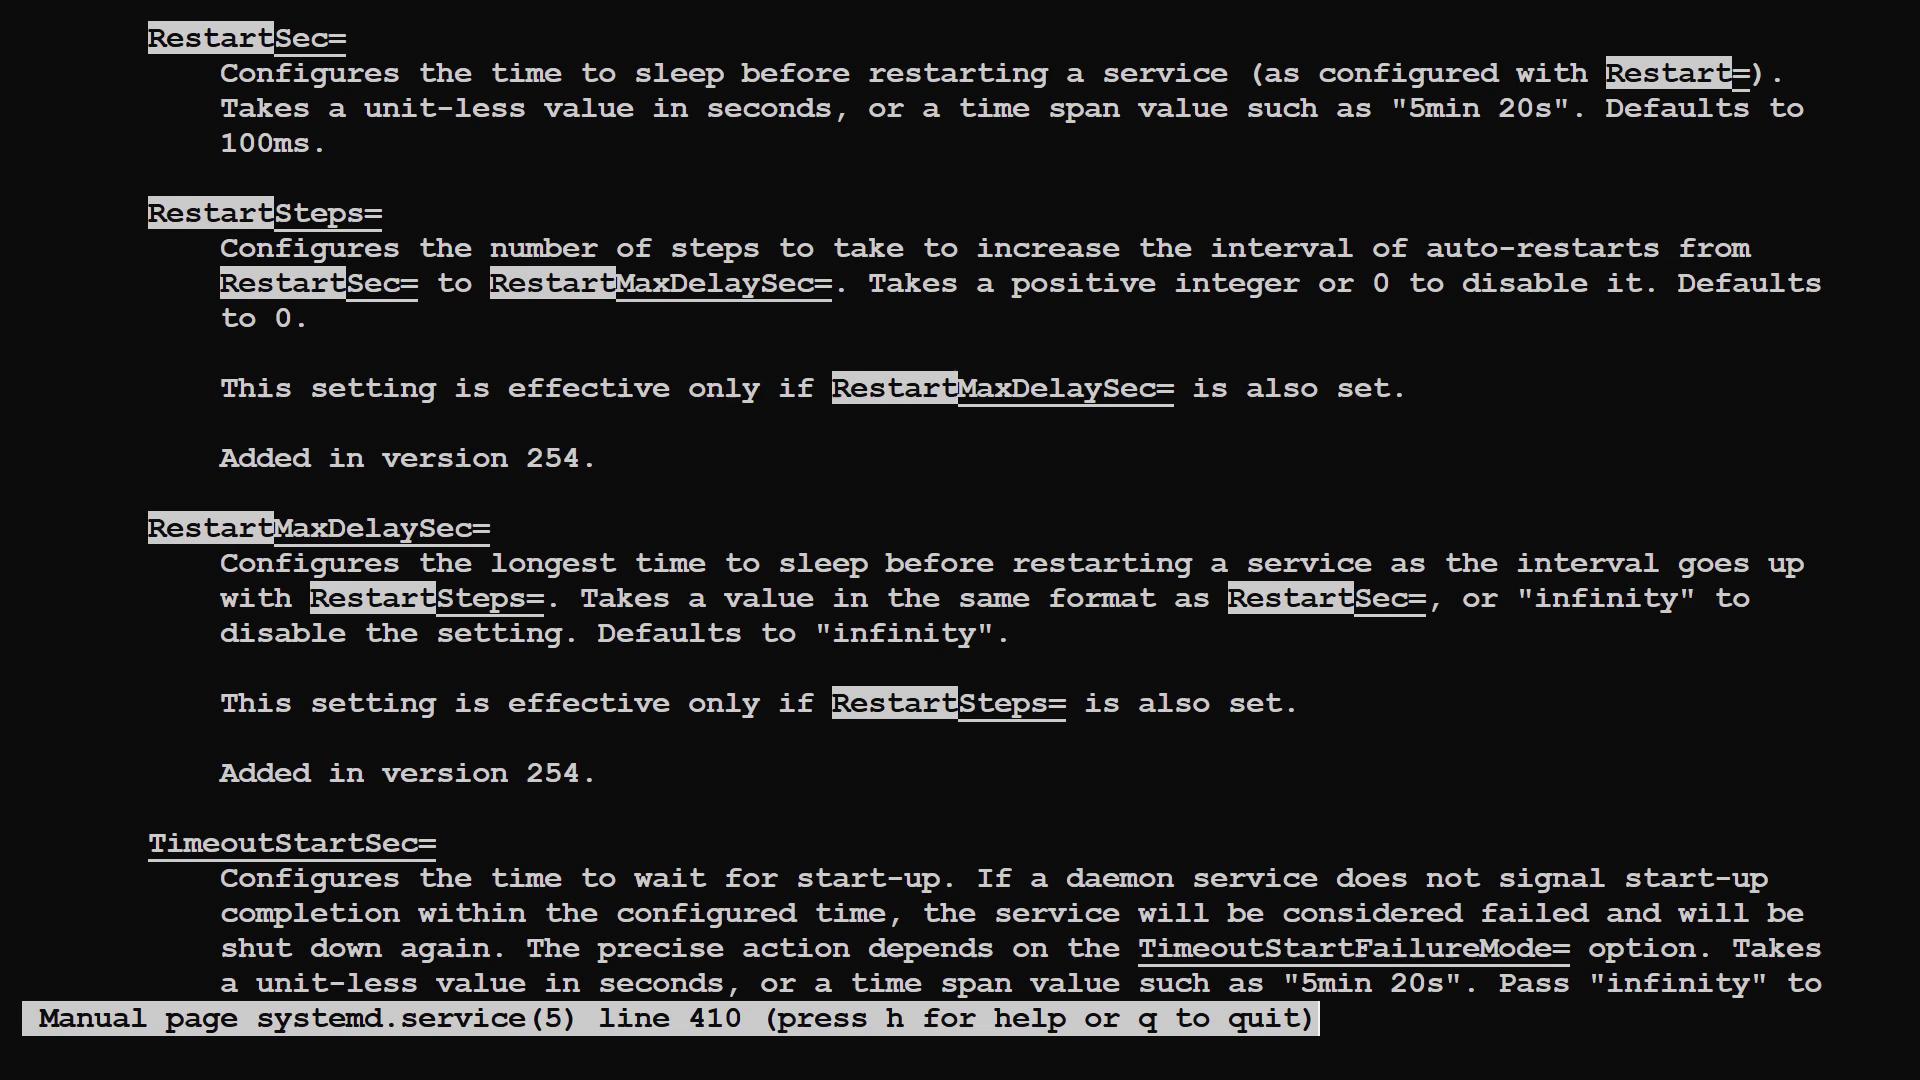
Restart option specifies under which conditions systemd will restart your application. Even if your application always returns a zero exit code, configuring it to restart every time it exits can be beneficial. Additionally, the RestartSec option introduces a delay before restarting, which helps avoid creating a rapid restart loop that can overwhelm the system.

The image shows a section of a manual page for `systemd.service`, detailing the configuration options for the `Restart=` setting, which controls when a service should be restarted based on various conditions and exit statuses.

Other parameters, such as RestartSec, RestartSteps, RestartMaxDelaySec, and TimeoutStartSec, offer fine-tuned control over the timing and behavior of service restarts in different scenarios.

The image shows a manual page for systemd service configuration options, detailing parameters like `RestartSec`, `RestartSteps`, `RestartMaxDelaySec`, and `TimeoutStartSec`. These settings control service restart intervals and timeouts.

Creating a Service Template

Instead of starting from scratch, you can use an existing service file as a template. Pre-existing service files are typically stored in the /lib/systemd/system directory. List the contents of this directory with:

jeremy@kodekloud:~$ ls /lib/systemd/system

As a starting point, copy the SSH service file to create your application service file:

sudo cp /lib/systemd/system/ssh.service /etc/systemd/system/myapp.service

After copying, open the file for editing. A standard service file is divided into three sections: [Unit], [Service], and [Install].

Modifying the Unit Section

In the [Unit] section, update the description to better reflect your application. Additionally, adjust dependencies so the service starts only after critical services like networking and audit are available:

[Unit]
Description=My Application
After=network.target auditd.service

Tip

Some examples might include conditions like ConditionPathExists=!/etc/ssh/sshd_not_to_be_run. This condition prevents the service from starting if the file exists. For our simple application, you can omit such conditions.

Configuring the Service Section

In the [Service] section, define how systemd should manage your application's lifecycle. Remove any settings that are irrelevant to a simple script, and insert a pre-start command that logs when systemd is about to start MyApp. Then specify your application script as the start command:

[Service]
ExecStartPre=/bin/echo "Systemd is preparing to start MyApp"
ExecStart=/usr/local/bin/myapp.sh
KillMode=process
Restart=always
RestartSec=1
Type=simple

Key configuration options include:

KillMode=process instructs systemd to terminate only the main process.
Restart=always ensures that the service is restarted regardless of its exit status.
RestartSec=1 sets a one-second delay before each restart.
Type=simple is appropriate since the application does not send a readiness notification to systemd.

Setting Up the Install Section

The [Install] section controls how the service integrates with the system startup process. Typically, you would include the service in the multi-user.target to ensure it runs in a multi-user environment:

[Install]
WantedBy=multi-user.target

Your final service unit file should resemble the following:

[Unit]
Description=My Application
After=network.target auditd.service

[Service]
ExecStartPre=/bin/echo "Systemd is preparing to start MyApp"
ExecStart=/usr/local/bin/myapp.sh
KillMode=process
Restart=always
RestartSec=1
Type=simple

[Install]
WantedBy=multi-user.target

Activating the Service

After saving your service file in /etc/systemd/system/myapp.service, reload the systemd daemon so that it recognizes your new service:

jeremy@kodekloud:~$ sudo systemctl daemon-reload

Next, start the service with the following command:

jeremy@kodekloud:~$ sudo systemctl start myapp.service

Monitoring the Service Logs

To view your service's logs in real time, use the journalctl command with the follow option:

sudo journalctl -f

A typical log output might look like this:

May 22 16:46:55 kodekloud MyApp[1838]: MyApp Started
May 22 16:47:00 kodekloud MyApp[1842]: MyApp Crashed
May 22 16:47:00 kodekloud systemd[1]: myapp.service: Deactivated successfully.
May 22 16:47:00 kodekloud systemd[1]: myapp.service: Scheduled restart job, restart counter is at 4.
May 22 16:47:01 kodekloud systemd[1]: Starting myapp.service - My Application...
May 22 16:47:03 kodekloud systemd[1]: Started myapp.service - My Application.
May 22 16:47:04 kodekloud sudo[1852]:     jeremy : TTY=pts/0 ; PWD=/home/jeremy ; USER=root ; COMMAND=/usr/local/bin/myapp.sh
May 22 16:47:07 kodekloud MyApp[1856]: MyApp Crashed
May 22 16:47:07 kodekloud systemd[1]: myapp.service: Deactivated successfully.
May 22 16:47:07 kodekloud systemd[1]: myapp.service: Scheduled restart job, restart counter is at 5.
May 22 16:47:08 kodekloud systemd[1]: Starting myapp.service - My Application...
May 22 16:47:08 kodekloud systemd[1]: Started myapp.service - My Application.
May 22 16:47:08 kodekloud MyApp[1863]: MyApp Started

When you have finished reviewing the logs, press Ctrl-C to exit.

Further Exploration

To learn more about the systemd options we used in this lesson, consult the following manual pages:

man systemd.service
man systemd.unit
man systemd.exec
man systemd.kill

Additionally, you can explore existing service files in the /lib/systemd/system directory to better understand various service configurations:

jeremy@kodekloud:~$ ls /lib/systemd/system

This command will list several service and target files that showcase different configurations used in practice.

Conclusion

This lesson has guided you through the process of creating a systemd service file, explaining each configuration option and demonstrating how to monitor and manage a service. Although there are many configuration options available, understanding the basics of setting up a service file makes managing your applications much more straightforward. As you continue working with systemd, you'll discover even more advanced configurations and options.

Happy coding, and see you in the next lesson!

Watch Video

Watch video content

Practice Lab

Practice lab

Previous
Manage Startup Process and Services In Services Configuration