> ## Documentation Index
> Fetch the complete documentation index at: https://notes.kodekloud.com/llms.txt
> Use this file to discover all available pages before exploring further.
# Control Mounting and Unmounting of Filesystems Part 1 Mount on demand
> Learn to optimize Linux performance by mounting filesystems on demand, reducing network traffic and server load for rarely accessed directories.
In this lesson, you’ll learn how to optimize Linux system performance by mounting filesystems only when they’re accessed. This technique, known as **on-demand mounting**, reduces unnecessary network traffic—especially for remote filesystems like NFS—and keeps your server load light.
## Why On-Demand Mounting?
* Defers mounting until a path is accessed
* Saves network bandwidth for NFS and CIFS shares
* Automatically unmounts after inactivity
* Simplifies management of rarely used mount points
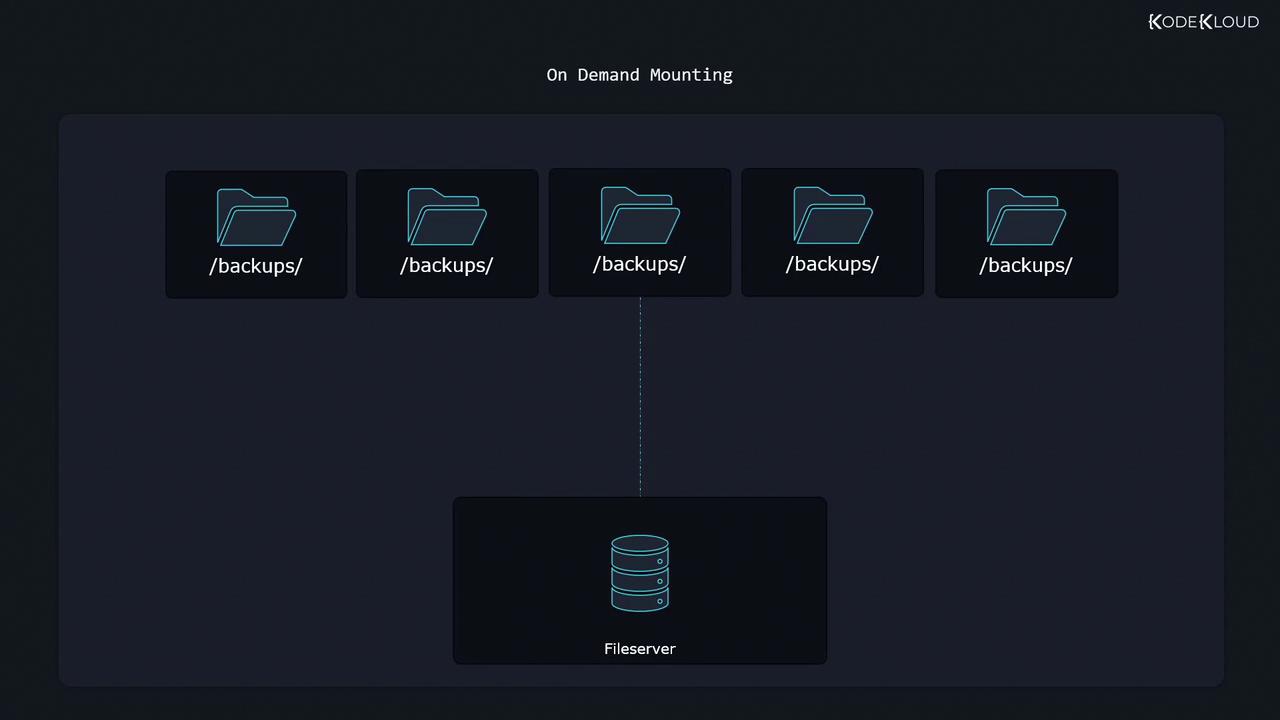
Consider a rarely used directory such as `/backups`. With on-demand mounting, nothing is mounted at boot or during idle periods. As soon as an application or user reads or writes `/backups`, the OS mounts the remote share automatically:
## Prerequisites
* A Linux distribution with `dnf` or `yum` (RHEL, CentOS, Fedora)
* Root or sudo privileges
* Basic knowledge of NFS or other network filesystems
***
## 1. Install and Enable AutoFS
The most common tool for on-demand mounts is **autofs**. Install and start the service:
```bash theme={null}
sudo dnf install autofs
sudo systemctl enable --now autofs.service
```
If you’re using a different package manager such as `yum` or `apt`, adjust the install command accordingly.
***
## 2. Set Up a Simple NFS Server
To demonstrate, we’ll configure a basic NFS export on the local machine.
1. Install NFS utilities:
```bash theme={null}
sudo dnf install nfs-utils
```
2. Start and enable the NFS server:
```bash theme={null}
sudo systemctl enable --now nfs-server.service
```
3. Add an export in `/etc/exports`:
```bash theme={null}
sudo vim /etc/exports
```
```text theme={null}
/etc 127.0.0.1(ro)
```
4. Reload the server to apply changes:
```bash theme={null}
sudo systemctl reload nfs-server.service
```
***
## 3. Configure AutoFS Maps
AutoFS uses a **master map** and one or more **map files** to define mounts.
### 3.1 /etc/auto.master
Open the master configuration:
```bash theme={null}
sudo vim /etc/auto.master
```
Add at the end:
```bash theme={null}
/shares /etc/auto.shares --timeout=300
```
* **/shares**: Parent directory that AutoFS will create
* **/etc/auto.shares**: Map file listing the mounts
* **--timeout=300**: Unmount after 300 seconds of inactivity
### 3.2 /etc/auto.shares
Edit the map file to define individual mounts:
```bash theme={null}
sudo vim /etc/auto.shares
```
```text theme={null}
# Mount definitions for /shares
mynetworkshare -fstype=auto 127.0.0.1:/etc
mynetworkshare -fstype=nfs4 127.0.0.1:/etc
mynetworkshare -fstype=auto,ro 127.0.0.1:/etc
myext4files -fstype=auto :/dev/vdb2
```
| Mount Name | fstype Options | Source | Description |
| -------------- | -------------- | -------------- | ---------------------- |
| mynetworkshare | auto | 127.0.0.1:/etc | Auto-detect filesystem |
| mynetworkshare | nfs4 | 127.0.0.1:/etc | Force NFSv4 |
| mynetworkshare | auto,ro | 127.0.0.1:/etc | Read-only mount |
| myext4files | auto | :/dev/vdb2 | Local ext4 partition |
Reload AutoFS:
```bash theme={null}
sudo systemctl reload autofs.service
```
***
## 4. Test the On-Demand Mount
1. Verify that `/shares` is empty:
```bash theme={null}
ls /shares
# (no output; nothing is mounted yet)
```
2. Access the share to trigger the mount:
```bash theme={null}
ls /shares/mynetworkshare/
# mysharedfile1 mysharedfile2
```
3. After 5 minutes of inactivity, AutoFS will unmount the share automatically.
***
## 5. Direct Mount Points (No Common Parent)
If you prefer absolute mount paths instead of a shared parent:
1. Update **/etc/auto.master**:
```bash theme={null}
sudo vim /etc/auto.master
```
Replace the `/shares` entry with:
```text theme={null}
/- /etc/auto.shares --timeout=400
```
2. Modify **/etc/auto.shares**:
```bash theme={null}
sudo vim /etc/auto.shares
```
```text theme={null}
/mynetworkshare -fstype=auto 127.0.0.1:/etc
/localfiles/myext4files -fstype=auto :/dev/vdb2
```
3. Reload AutoFS:
```bash theme={null}
sudo systemctl reload autofs.service
```
Now you can access directly:
```bash theme={null}
ls /mynetworkshare/
ls /localfiles/myext4files/
# mysharedfile3 mysharedfile4
```
***
## Next Steps
You’ve successfully configured on-demand mounting with AutoFS and NFS. In the next lesson, we’ll explore advanced unmounting controls and troubleshooting techniques.
***
## Links and References
* [AutoFS Manual Page](https://linux.die.net/man/5/auto.master)
* [NFS Documentation](https://nfs.sourceforge.io/)
* [Red Hat AutoFS Guide](https://access.redhat.com/documentation/en-us/red_hat_enterprise_linux/8/html/managing_file_systems/assembly_managing-network-file-systems_managing-file-systems)