Linux Professional Institute LPIC-1 Exam 101

GNU and Unix Commands

GNU Screen

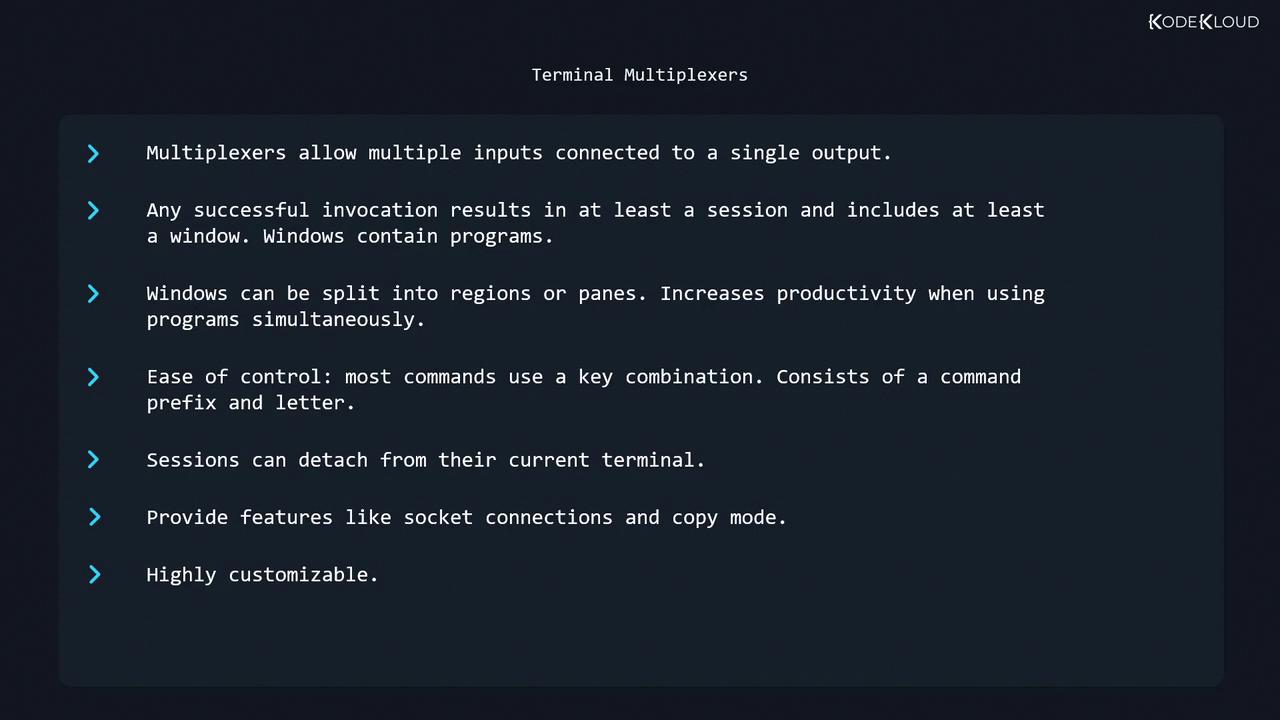
GNU Screen is a terminal multiplexer that lets you manage multiple shell sessions within a single terminal. Acting like an electronic MUX, it handles several inputs (shells) to one output (your terminal). Key features include:

  • Multiple sessions, each containing one or more windows
  • Independent windows running separate programs
  • Splitting windows into regions (panes)
  • A command prefix (default Ctrl-a) followed by command keys
  • Detachable sessions that continue running in the background
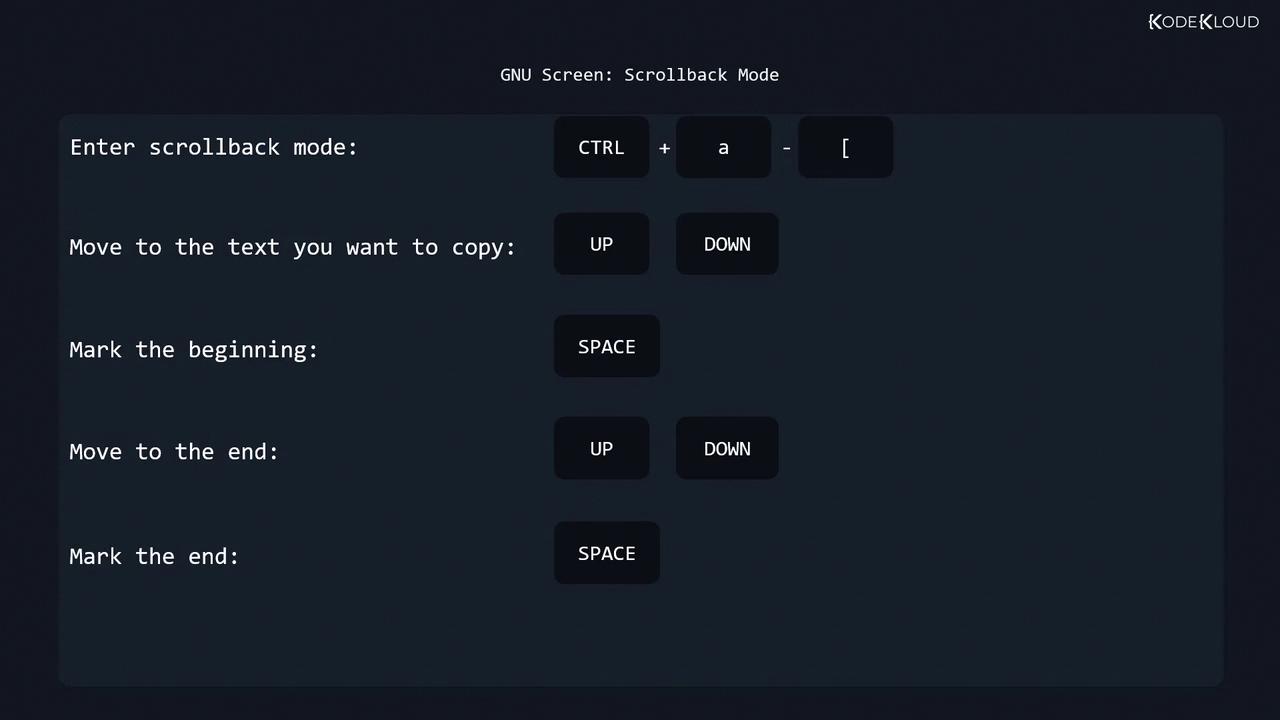
  • Socket connections, copy/scrollback mode, and extensive customization

The image is a text description of terminal multiplexers, highlighting features like multiple inputs, session management, window splitting, ease of control, detachment, socket connections, and customization.

Table of Contents


History

In the era of physical VT100 terminals (1970s/80s), users had no windowing system. GNU Screen, introduced in 1987, emulated multiple VT100 sessions on a single terminal, transforming remote and local shell workflows.


Getting Started

To launch a new Screen session:

$ screen
GNU Screen version 4.05.00 (GNU) 10-Dec-16
...

Press Space or Enter to dismiss the welcome message. Behind the scenes, Screen has created session 0 and window 0, presenting you with a familiar shell prompt.


Prefix & Window Management

All Screen commands begin with the default prefix: Ctrl-a (denoted C-a), followed by a command key.

ActionKey CombinationAlternative Command
List windowsC-a w
Create a new windowC-a c
Rename current windowC-a A
Create named windowscreen -t <name>

Example: Managing Windows

  1. In window 0, run:
    $ ps
    PID TTY          TIME CMD
    974 pts/2    00:00:00 bash
    981 pts/2    00:00:00 ps
    
  2. Press C-a c to create window 1, then run ps again.
  3. Press C-a w to view the window list:
    Num  Name  Flags
    0    bash  $
    1    bash  *$
    
  4. Rename window 1:
    • Press C-a A
    • Enter ps
  5. Create window 2 named “yetanotherwindow”:
    $ screen -t yetanotherwindow
    

Switching Windows

ActionKey Combination
Next windowC-a n
Previous windowC-a p
Jump to window number NC-a N
Choose from listC-a "

After C-a ", use ↑/↓ and Enter:

Num  Name               Flags
0    bash               $
1    ps                 $
2    yetanotherwindow   $

Closing Windows

  • Exit the shell/program inside the window
  • Or press C-a k, then confirm with y:
    Really kill this window [y/n] y
    Window 0 (bash) killed.
    

Session Exit

When the last window closes, the Screen session terminates automatically.


Splitting into Regions (Panes)

Divide your window into multiple regions for side-by-side workflows.

ActionKey Combination
Split horizontallyC-a S
Split verticallyC-a |
Move between regionsC-a Tab
Close current regionC-a X
Close all but currentC-a Q

Empty regions display as two hyphens. Closing a region does not kill its window; it simply hides the view.


Sessions: Listing, Naming & Killing

Listing Active Sessions

$ screen -ls
There is a screen on:
	1037.pts-0.debian (Attached)
1 Socket in /run/screen/S-user.
  • 1037: Session PID
  • pts-0.debian: Terminal and host

Naming a New Session

$ screen -S "my session"

Now screen -ls shows:

There are screens on:
	1009.my session   (Attached)
	1037.pts-0.debian (Attached)
2 Sockets in /run/screen/S-user.

Killing a Session

$ screen -S 1037 -X quit

You can use the session name instead of the PID.


Detaching & Reattaching

ActionCommand
Detach (leave session running)C-a d
Reattach (single detached session)screen -r
Reattach by PIDscreen -r 1009
Reattach by namescreen -r "my session"
Detach everywhere & reattach herescreen -d -r
Create if missing, then attach (strong)screen -RR
Start a session in detached mode (for scripts)screen -d -m
Detach remote session & reattach herescreen -D -r

Pro Tip

Use man screen for the complete list of attach/detach options: https://man7.org/linux/man-pages/man1/screen.1.html


Copy/Scrollback Mode

Screen’s scrollback mode allows you to browse history and copy text across windows:

  1. Enter mode: C-a [
  2. Move cursor to the start of the text (arrow keys)
  3. Press Space to begin selection
  4. Move to the end of the text
  5. Press Space to complete selection
  6. Paste with: C-a ]

The image shows instructions for using GNU Screen's scrollback mode, detailing key combinations for entering scrollback mode, moving to text, and marking the beginning and end of a selection.


Configuration

Screen reads two primary config files:

FileScopeTypical Content
/etc/screenrcSystem-wideGlobal defaults and modules
~/.screenrcUser-specificPersonal key bindings, layouts

Each config file may include:

  1. General settings
    defscrollback 10000
    
  2. Key bindings
    bind | split ____
    
  3. Terminal settings
    defnonblock 5
    
  4. Startup screens
    screen -t top top
    

Edit these files to tailor Screen’s behavior. Consult the GNU Screen man page for a full directive reference.


Watch Video

Watch video content

Previous
Create Monitor and Kill Processes
Next
tmux