> ## Documentation Index
> Fetch the complete documentation index at: https://notes.kodekloud.com/llms.txt
> Use this file to discover all available pages before exploring further.
# Work on the Command Line Part 1 Single shell commands and one line command sequences
> This guide covers four primary Linux login methods, providing practical examples and best practices for sysadmins and Linux enthusiasts.
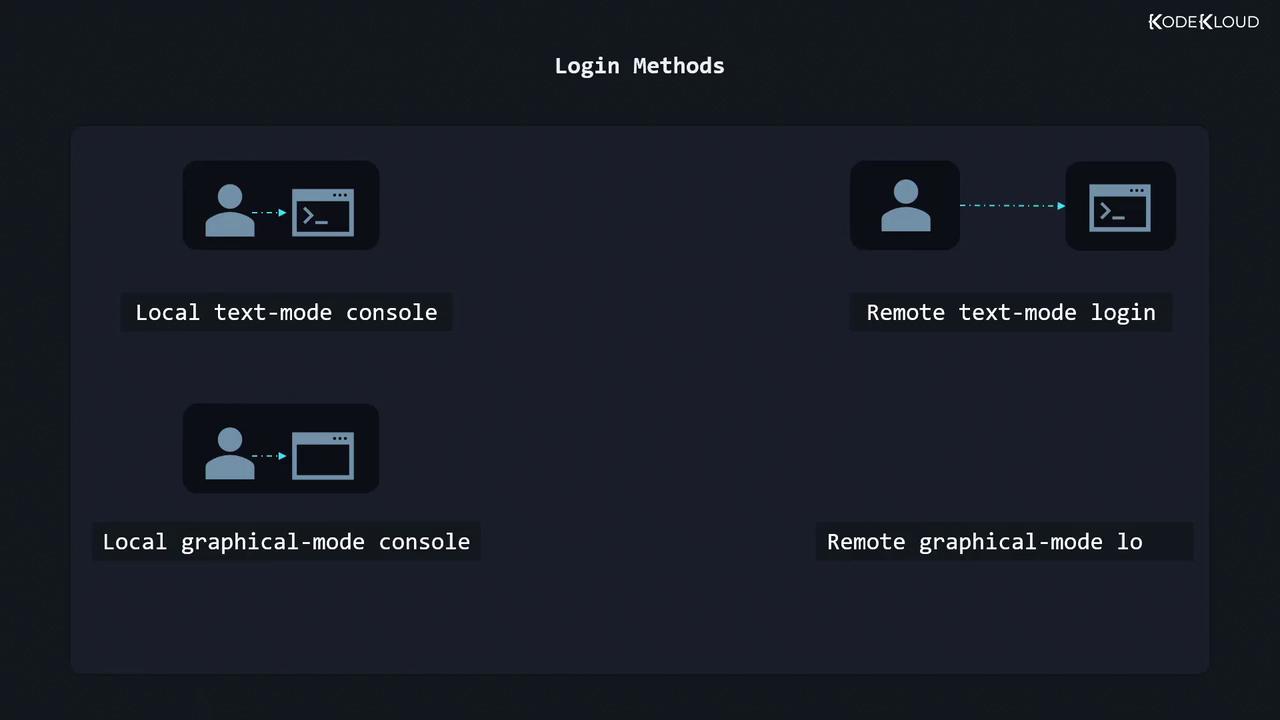
In this guide, you’ll master four primary Linux login methods—both local and remote, text-based and graphical-mode. We’ll begin with a high-level overview, then dive into each approach with hands-on examples and best practices. This structured, practical walkthrough is perfect for sysadmins, DevOps engineers, and Linux enthusiasts.
## Four Primary Linux Login Methods
| Login Method | Description | Use Case |
| ------------------------------------ | ----------------------------------------- | ------------------------------------ |
| Local text-mode console | Direct tty login via Ctrl+Alt+Fn | Servers without X11/Wayland |
| Local graphical-mode console | GUI login manager (GDM, LightDM, SDDM) | Workstations and desktops |
| Remote text-mode via SSH | Secure Shell connection | Headless servers, automation scripts |
| Remote graphical-mode via VNC or RDP | Remote Desktop Protocol (RDP/VNC clients) | Remote GUI access, support, demos |
***
## Consoles vs. Terminal Emulators
A *console* historically meant a physical keyboard and monitor connected to a host. Today it usually refers to virtual terminals (VTs) that display boot messages or provide text logins. A *terminal emulator* is a GUI application (GNOME Terminal, Konsole, xterm) that mimics a console within your desktop.
```plaintext theme={null}
[ OK ] Mounted Mount unit for snapd, revision 13270.
[ OK ] Finished Tell Plymouth To Write Out Runtime Data...
[ OK ] Starting Network Time Synchronization...
[ OK ] Reached target Network Name Lookups.
```
After boot, switch to VT2 with:
```bash theme={null}
Ctrl + Alt + F2
```
Use `Ctrl + Alt + F1` (or F7) to return to your GUI session.
Virtual terminals let you run multiple independent login sessions in text mode.\
Use `chvt N` as root to switch from the shell.
***
## Local Text-Mode Login
On a headless server or in a VM without X11/Wayland, you log in at the console:
```plaintext theme={null}
CentOS Stream 8
Kernel 4.18.0-338.el8.x86_64 on an x86_64
LFCS-CentOS login: aaron
Password:
```
1. Type your username at the `login:` prompt and press Enter.
2. Enter your password (no characters appear on screen).
3. To end the session, type:
```bash theme={null}
exit
```
Passwords aren’t echoed for security. If you mistype, press Enter and retry.
***
## Local Graphical-Mode Login
Graphical login managers (GDM, LightDM, SDDM) present a friendly GUI:
1. Select or type your username.
2. Enter your password in the input field.
3. Press Enter or click **Sign In**.
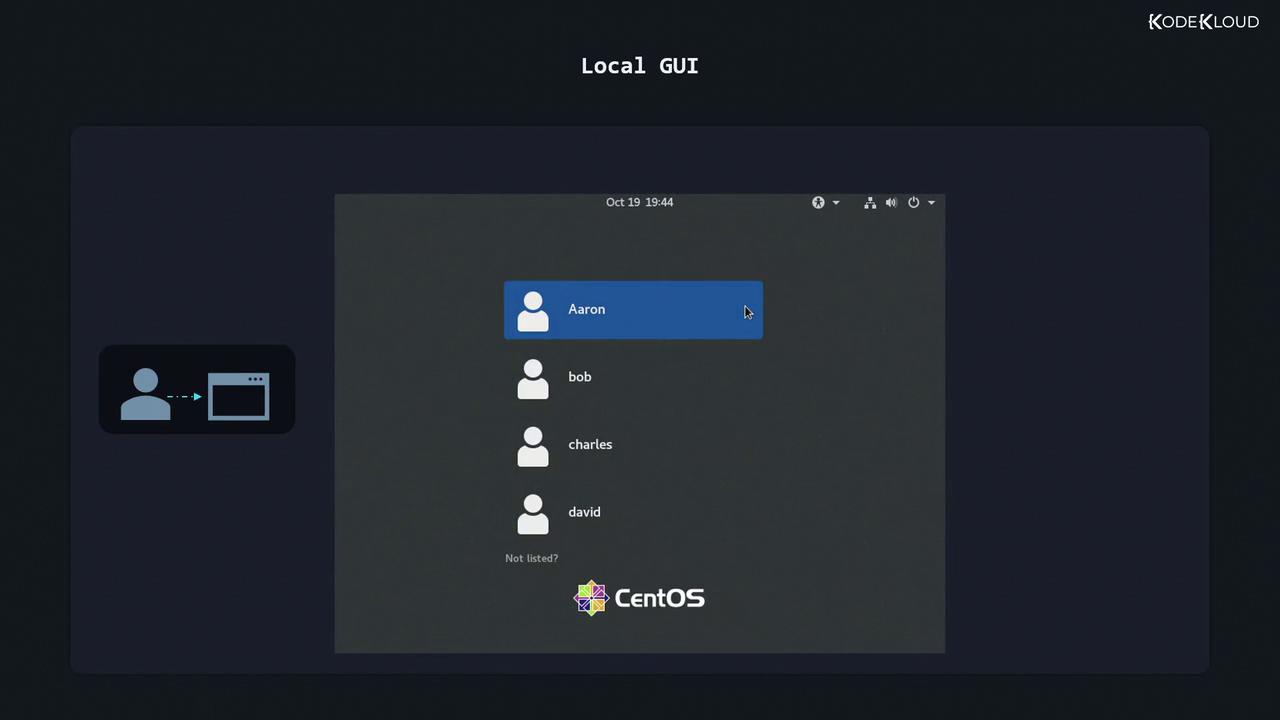
Always log out or lock your session when leaving your workstation unattended.
***
## Remote Text-Mode Login via SSH
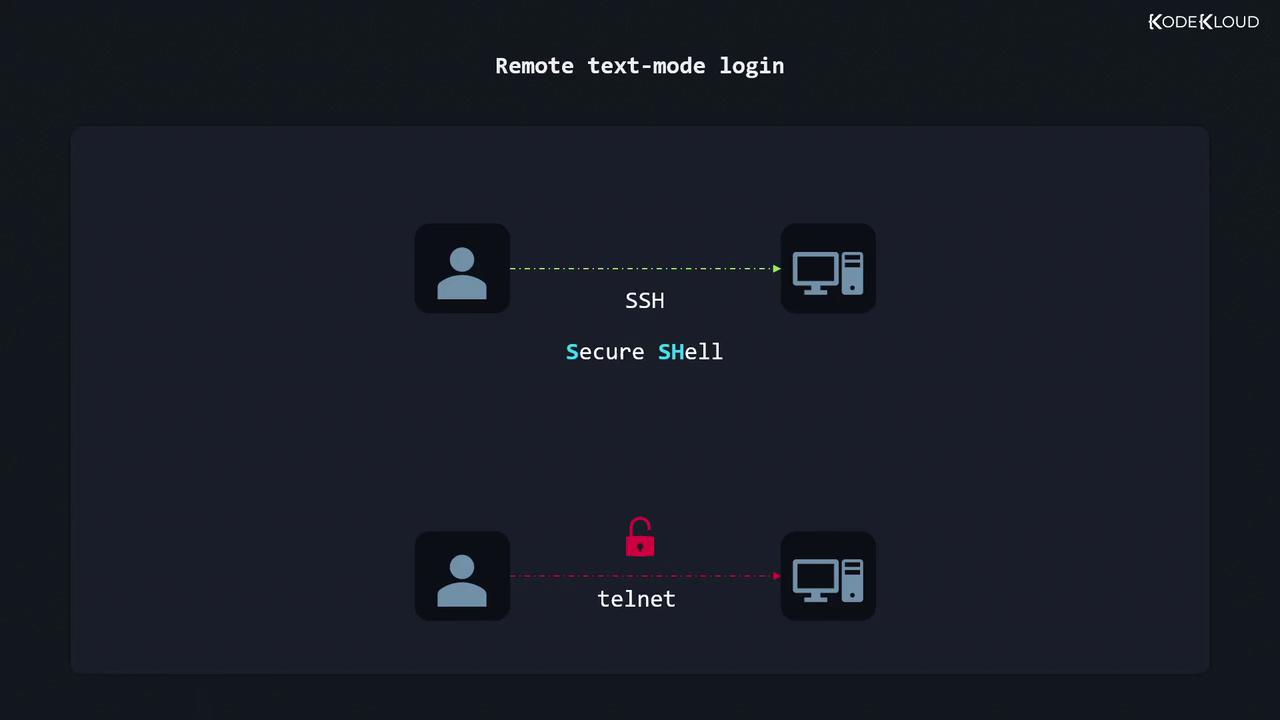
SSH (Secure Shell) is the industry standard for encrypted text-mode logins. Telnet is deprecated because it transmits credentials in plain text.
| Protocol | Security | Port | Example Client |
| -------- | ---------- | ---- | ---------------------- |
| SSH | Encrypted | 22 | `ssh`, PuTTY |
| Telnet | Plain text | 23 | `telnet` (discouraged) |
1. Find the server’s IP address:
```bash theme={null}
ip addr show
```
2. Look for a line like `inet 192.168.0.17/24`.
3. Connect via SSH:
```bash theme={null}
ssh aaron@192.168.0.17
```
4. Enter your password when prompted. Once authenticated, you’re at the remote shell:
```plaintext theme={null}
[aaron@LFCS-CentOS ~]$
```
You can also use SSH keys for passwordless login:\
`ssh-keygen` → `ssh-copy-id aaron@192.168.0.17`.
***
## Remote Graphical-Mode Login (VNC / RDP)
For full desktop access over the network:
1. Install or enable a VNC/RDP server on the host:
* VNC: TigerVNC, RealVNC
* RDP: xrdp
2. On your client, open the matching viewer (RealVNC Viewer, Microsoft Remote Desktop).
3. Enter the server’s IP and port (e.g., `192.168.0.17:1` for VNC).
4. Authenticate with your Linux credentials.
Performance and encryption depend on your server’s configuration. For secure tunnels, combine VNC with SSH port forwarding:
```bash theme={null}
ssh -L 5901:localhost:5901 aaron@192.168.0.17
```
Then point your VNC client at `localhost:5901`.
***
## Further Reading & References
* [OpenSSH Official Documentation](https://www.openssh.com/manual.html)
* [Linux Virtual Consoles & Terminal Tutorial](https://wiki.archlinux.org/title/Virtual_console)
* [TigerVNC User Guide](https://tigervnc.org/doc/)
* [xrdp GitHub Repository](https://github.com/neutrinolabs/xrdp)