> ## Documentation Index
> Fetch the complete documentation index at: https://notes.kodekloud.com/llms.txt
> Use this file to discover all available pages before exploring further.
# Install a Boot Manager GRUB2
> This guide covers installing, configuring, and troubleshooting the GRUB2 bootloader on CentOS Stream 8.
Welcome to this comprehensive guide on installing, configuring, and troubleshooting the GRUB2 bootloader on CentOS Stream 8. You’ll learn how to recover a non-booting system using rescue media, install GRUB in BIOS or UEFI mode, customize its settings, and verify your changes.
***
## 1. Prerequisites
Before you begin, ensure you have:
* A CentOS Stream 8 installation USB/DVD.
* Physical or virtual access to the target machine.
* A basic understanding of Linux shell commands.
You will need root (or sudo) privileges to run most commands in this tutorial.
***
## 2. Boot into Rescue Environment
1. Insert your CentOS Stream 8 installation media and power on the machine.
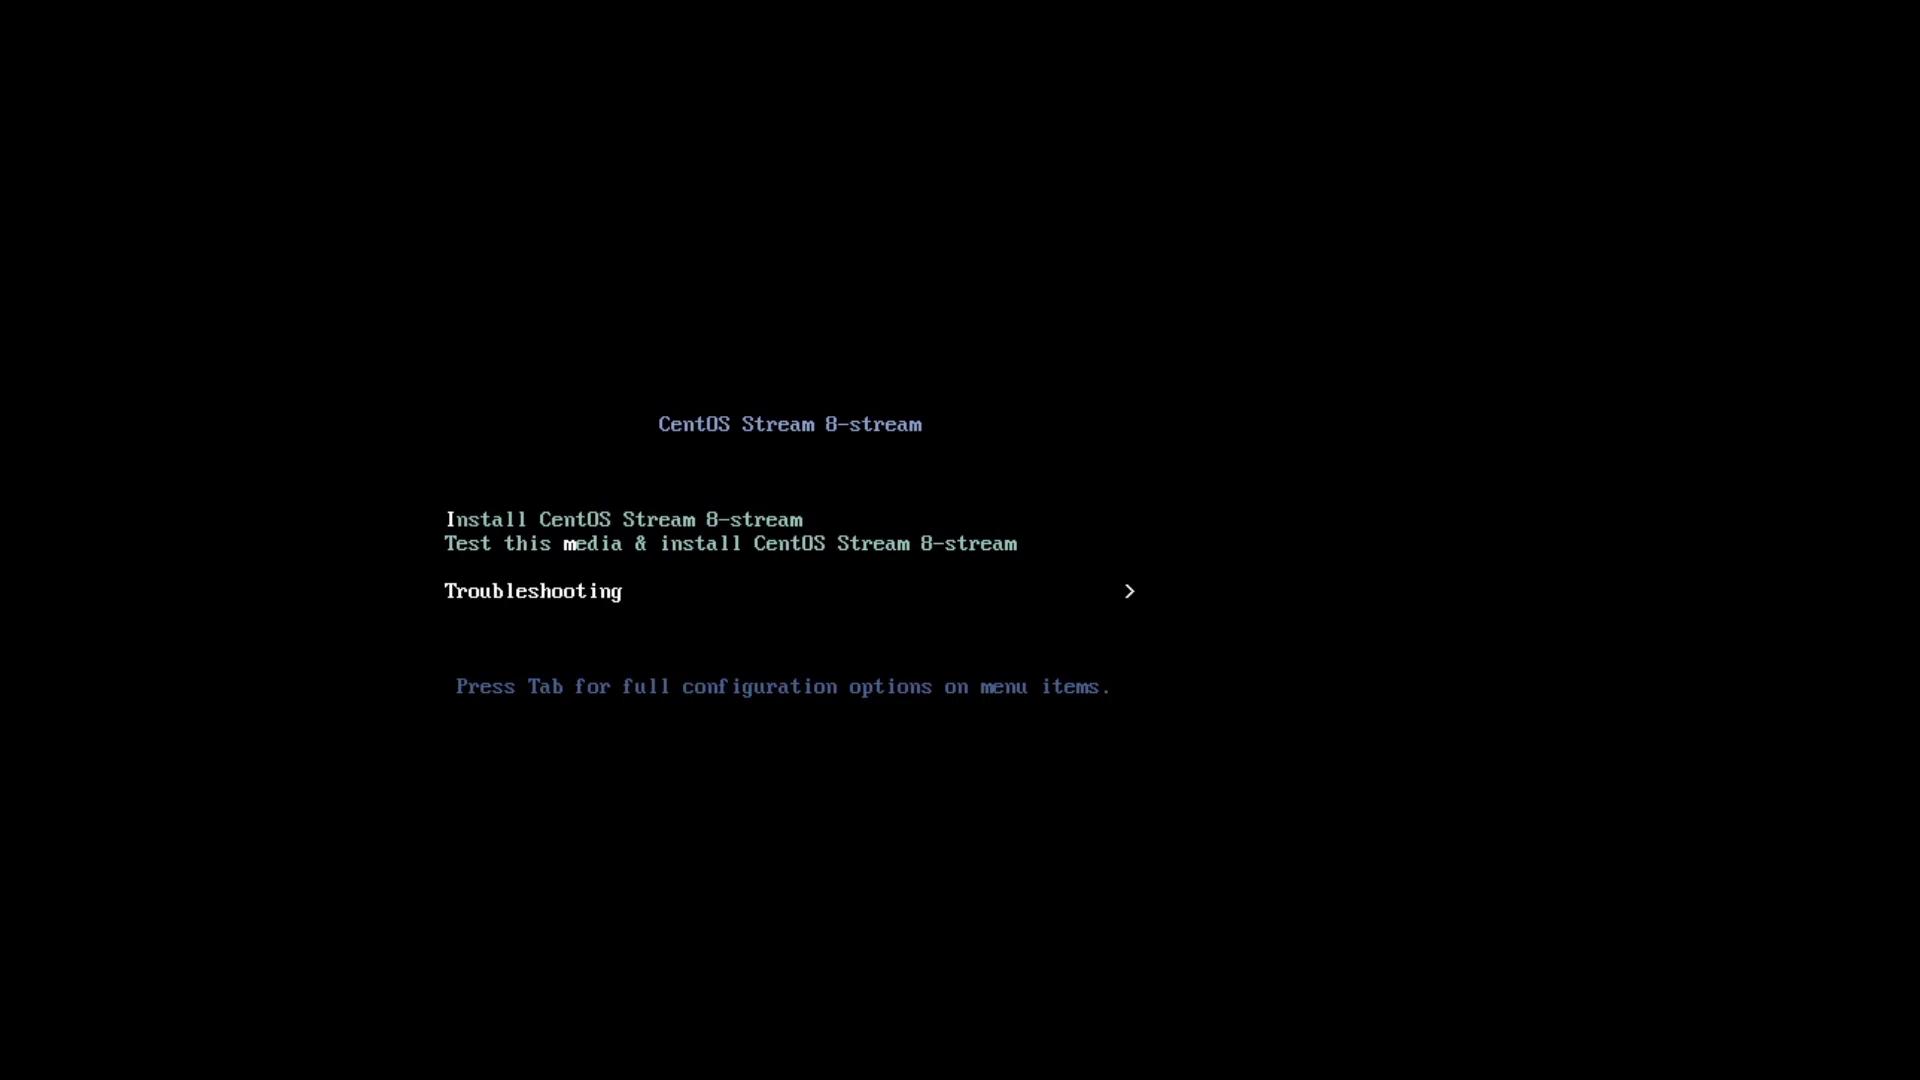
2. At the main menu, select **Troubleshooting** → **Rescue a CentOS Stream System**.
3. Wait for system messages, then choose **1) Continue** at the rescue prompt:
```plain theme={null}
The rescue environment will now attempt to find your Linux installation
and mount it under /mnt/sysroot. You can then make any changes required.
1) Continue
2) Read-only mount
3) Skip to shell
4) Quit (Reboot)
```
The installer will mount your root filesystem at `/mnt/sysroot`.
***
## 3. Chroot into Your System
Change root into the mounted filesystem:
```bash theme={null}
chroot /mnt/sysroot
```
You’re now operating inside your installed system as if you had booted normally.
***
## 4. Generate a New GRUB Configuration
GRUB’s configuration file must be regenerated after installation or any changes to `/etc/default/grub`.
| Boot Mode | Configuration File Path |
| --------- | ------------------------------- |
| BIOS | `/boot/grub2/grub.cfg` |
| UEFI | `/boot/efi/EFI/centos/grub.cfg` |
Use one of these commands:
```bash theme={null}
# For BIOS-based systems
grub2-mkconfig -o /boot/grub2/grub.cfg
# For UEFI-based systems
grub2-mkconfig -o /boot/efi/EFI/centos/grub.cfg
```
***
## 5. Install GRUB to the Disk (BIOS Mode)
1. Identify your disks:
```bash theme={null}
lsblk
```
Example output:
```plain theme={null}
NAME MAJ:MIN RM SIZE RO TYPE MOUNTPOINT
sda 8:0 0 20G 0 disk
├─sda1 8:1 0 1G 0 part /boot
├─sda2 8:2 0 2G 0 part [SWAP]
└─sda3 8:3 0 17G 0 part /
```
Here, `/dev/sda` is our target disk.
2. Install GRUB to the MBR:
```bash theme={null}
grub2-install /dev/sda
```
You should see:
```plain theme={null}
Installing for i386-pc platform.
Installation finished. No error reported.
```
Ensure you specify the correct disk (e.g., `/dev/sda`). Installing GRUB to the wrong device can overwrite another OS or data.
***
## 6. Exit Rescue Mode and Reboot
Exit the chroot environment and reboot the system:
```bash theme={null}
exit # leaves chroot
exit # leaves rescue shell
```
Remove the installation media when prompted so the machine boots from the hard drive.
***
## 7. Customize GRUB Settings
Once back in your CentOS Stream system, you can fine-tune GRUB by editing `/etc/default/grub`:
```bash theme={null}
sudo vi /etc/default/grub
```
A typical configuration:
```ini theme={null}
GRUB_TIMEOUT=5
GRUB_DISTRIBUTOR="$(sed 's, release .*$,,g' /etc/system-release)"
GRUB_DEFAULT=saved
GRUB_DISABLE_SUBMENU=true
GRUB_TERMINAL_OUTPUT="console"
GRUB_CMDLINE_LINUX="crashkernel=auto resume=UUID=… rhgb quiet"
GRUB_DISABLE_RECOVERY="true"
GRUB_ENABLE_BLSCFG=true
```
### Change the Boot Timeout
To reduce the wait time:
```diff theme={null}
-GRUB_TIMEOUT=5
+GRUB_TIMEOUT=1
```
Save and exit (`:wq` in `vi`).
***
## 8. Regenerate Configuration After Edits
Apply your changes by regenerating `grub.cfg`:
```bash theme={null}
# BIOS
sudo grub2-mkconfig -o /boot/grub2/grub.cfg
# UEFI
sudo grub2-mkconfig -o /boot/efi/EFI/centos/grub.cfg
```
Look for:
```plain theme={null}
Generating grub configuration file ...
done
```
***
## 9. Verify and Test
Reboot one final time:
```bash theme={null}
sudo reboot
```
You should see the GRUB menu for the new timeout duration, and your kernel options will reflect any changes made in `/etc/default/grub`.
***
## References
* [CentOS Stream Documentation](https://docs.centos.org/)
* [GNU GRUB Manual](https://www.gnu.org/software/grub/manual/)
* [Red Hat Enterprise Linux Booting](https://access.redhat.com/documentation/en-us/red_hat_enterprise_linux)