> ## Documentation Index
> Fetch the complete documentation index at: https://notes.kodekloud.com/llms.txt
> Use this file to discover all available pages before exploring further.
# Configuring the Development Environment
> Prepare your local machine to experiment with the OpenAI API by installing Python, setting up a virtual environment, and verifying the setup.
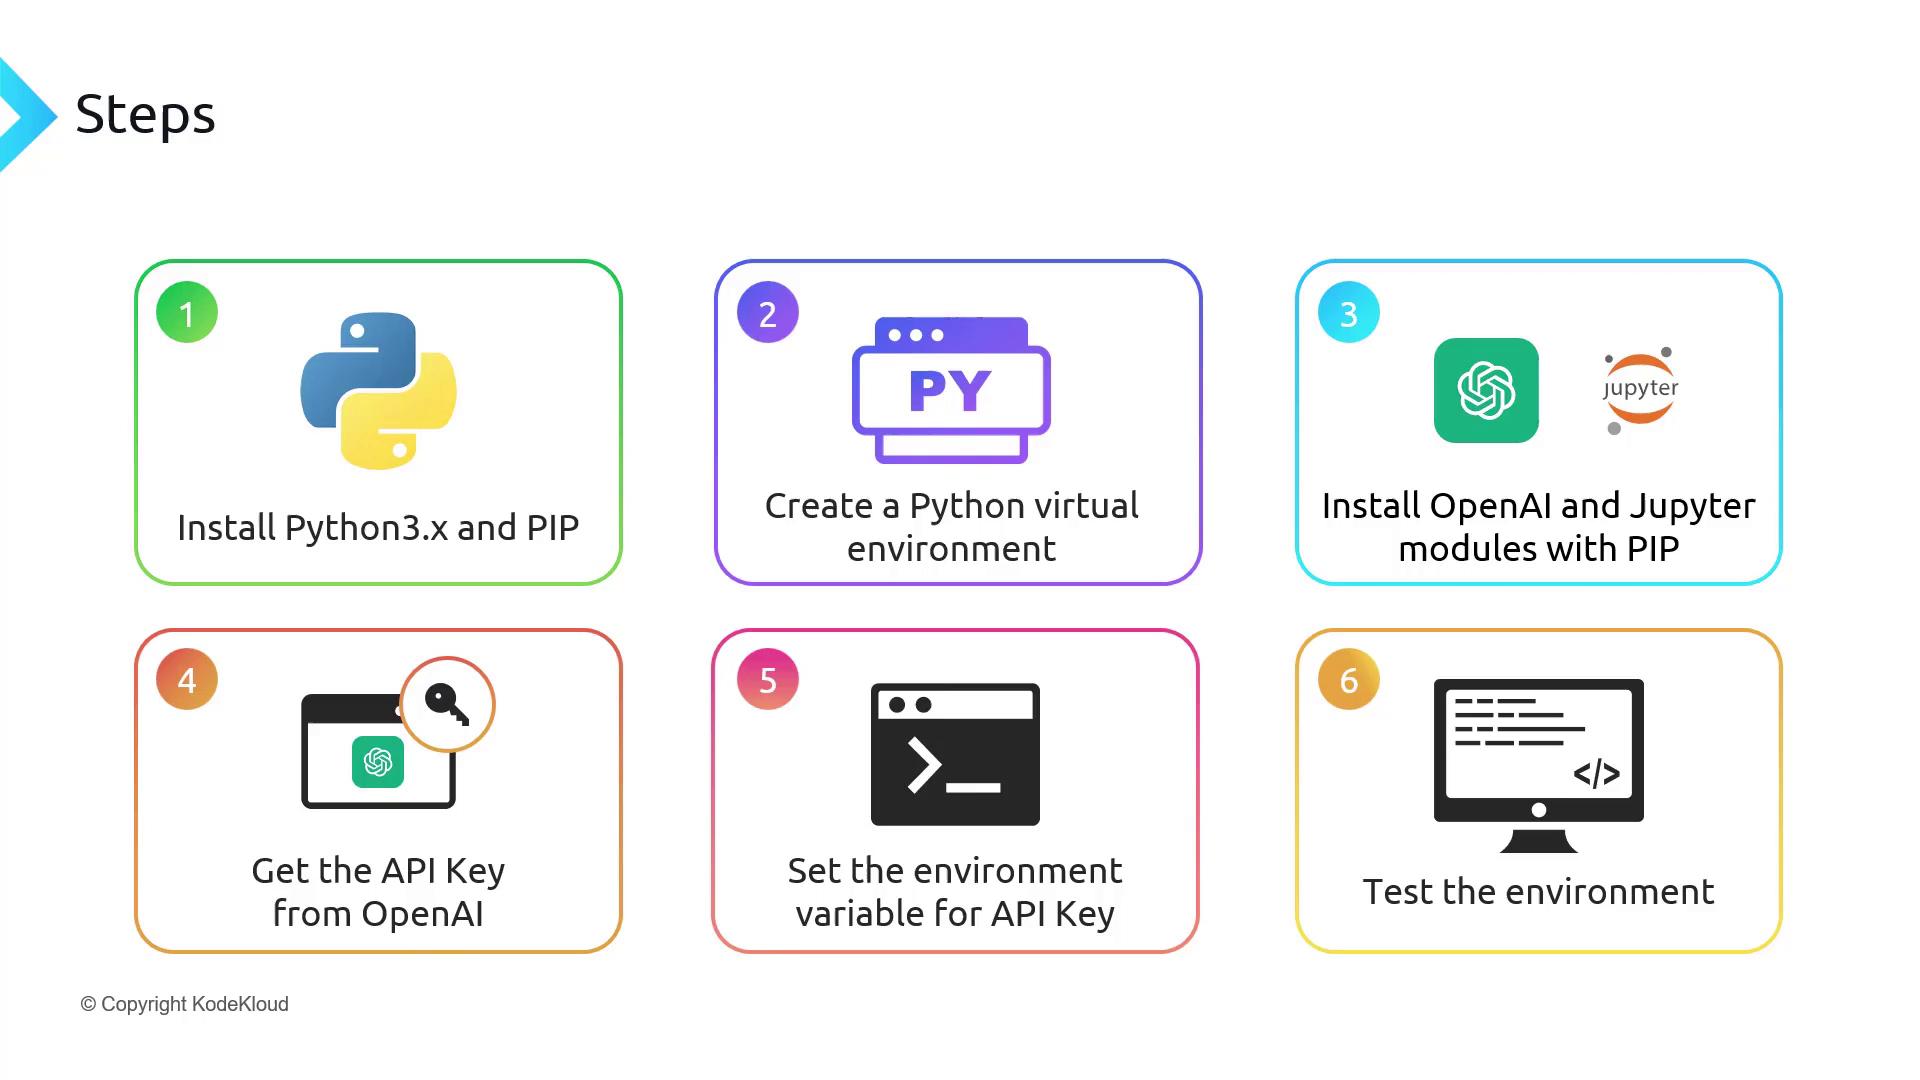
Prepare your local machine to experiment with the OpenAI API. We’ll cover installing Python, setting up a virtual environment, installing required packages, obtaining your API key, exporting it as an environment variable, and verifying everything with `curl` and Jupyter Notebook.
**Workflow Overview**
1. Install Python & pip
2. Create and activate a Python virtual environment
3. Install the OpenAI and Jupyter packages
4. Obtain your OpenAI API key
5. Export `OPENAI_API_KEY`
6. Verify with `curl` and in Jupyter
***
## 1. Install Python
Download and install Python 3.10+ for your operating system from [python.org/downloads](https://python.org/downloads). After installation, verify your setup:
```bash theme={null}
python -V
# Expected output:
# Python 3.11.4
```
Launch the REPL to confirm everything works:
```python theme={null}
>>> print("Hello, I'm Python!")
Hello, I'm Python!
>>> name = input("What is your name?\n")
# What is your name?
# Alice
>>> print(f"Hi, {name}.")
Hi, Alice.
```
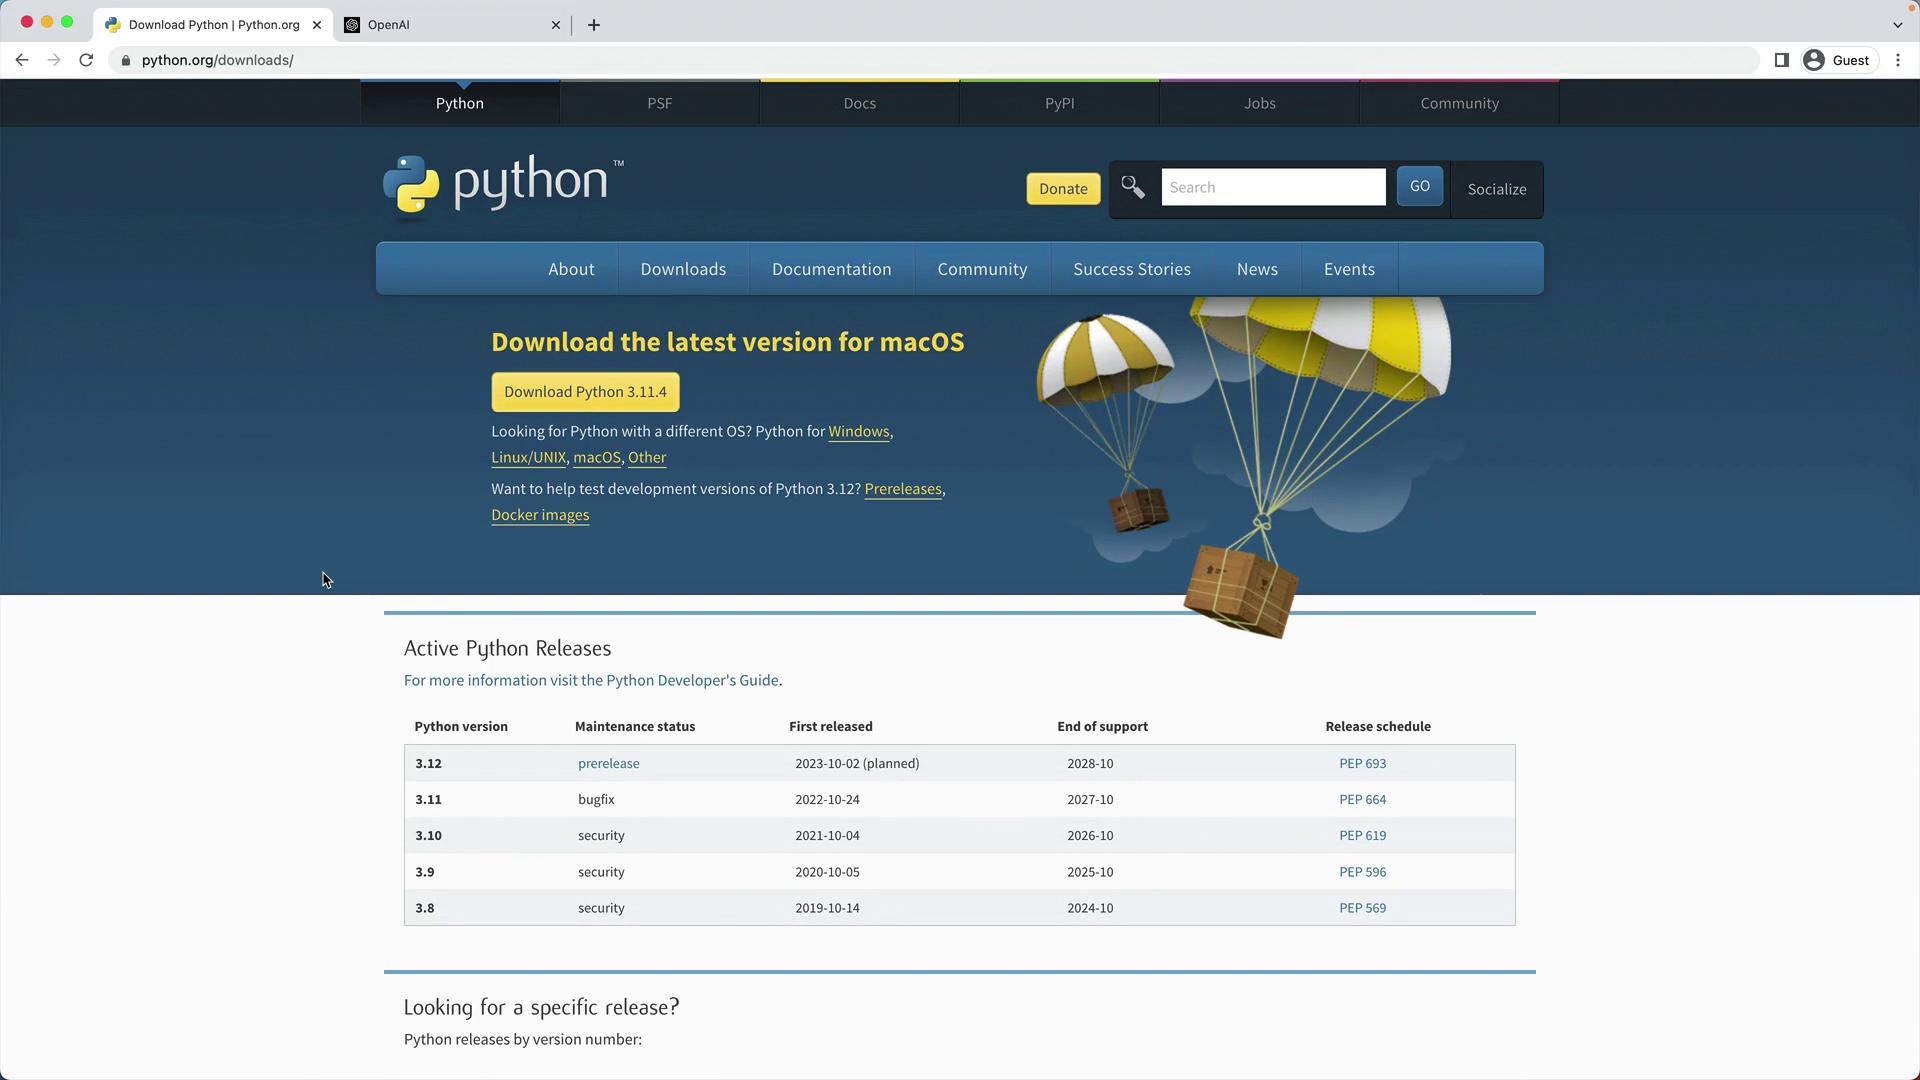
Using Python 3.10 or later ensures compatibility with the latest OpenAI Python client.
***
## 2. Create and Activate a Virtual Environment
Isolate your project dependencies:
```bash theme={null}
python -m venv venv
```
Activate the environment:
```bash theme={null}
# macOS/Linux
source venv/bin/activate
# Windows (PowerShell)
venv\Scripts\Activate.ps1
```
Your shell prompt should now include `(venv)`.
***
## 3. Install OpenAI and Jupyter
With the virtual environment active, install the required packages:
```bash theme={null}
pip install openai jupyter
```
| Package | Purpose | Documentation |
| ------- | -------------------------------- | ---------------------------------------------------------------------------------- |
| openai | OpenAI API client for Python | [https://github.com/openai/openai-python](https://github.com/openai/openai-python) |
| jupyter | Interactive notebook environment | [https://jupyter.org/documentation](https://jupyter.org/documentation) |
***
## 4. Obtain an OpenAI API Key
1. Sign in at the [OpenAI Dashboard](https://platform.openai.com/).
2. Navigate to **API Keys**.
3. Generate a new secret key (e.g., “KodeKloud”) and copy it immediately.
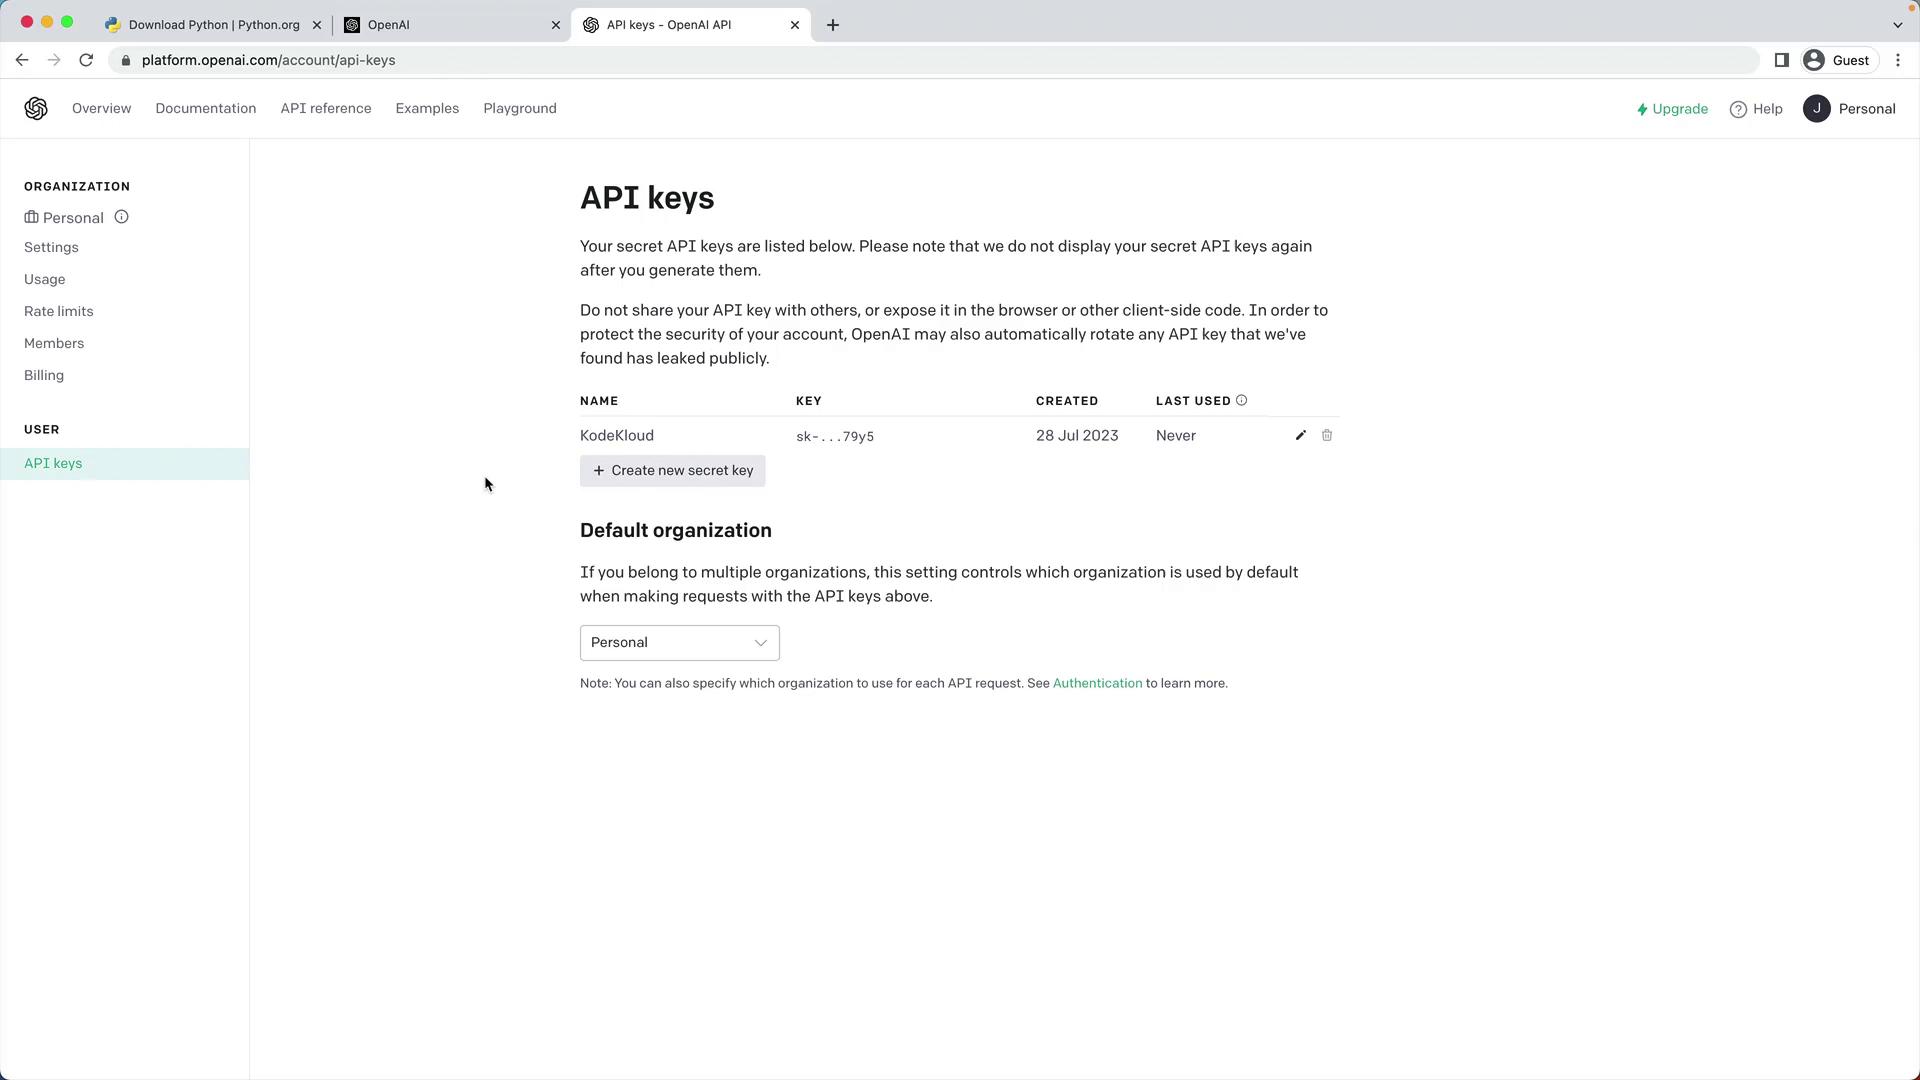
Your API key grants access to your account—never expose it in public repositories or share it.
***
## 5. Export the `OPENAI_API_KEY` Environment Variable
Avoid hardcoding your key by exporting it:
```bash theme={null}
# macOS/Linux
export OPENAI_API_KEY="sk-..."
# Windows (PowerShell)
setx OPENAI_API_KEY "sk-..."
```
To persist this on macOS/Linux, add the export line to `~/.bashrc` or `~/.zshrc`.
***
## 6. Verify Your Setup
### 6.1 Test with curl
Send a sample request to the Chat Completions endpoint:
```bash theme={null}
curl https://api.openai.com/v1/chat/completions \
-H "Content-Type: application/json" \
-H "Authorization: Bearer $OPENAI_API_KEY" \
-d '{
"model": "gpt-3.5-turbo",
"messages": [
{"role": "system", "content": "You are an AI assistant for timezones."},
{"role": "user", "content": "If it is 9AM in London, what time is it in Hyderabad?"}
]
}'
```
A successful JSON response will include fields like `id`, `choices`, and `usage`.
### 6.2 Test in a Jupyter Notebook
1. Launch Jupyter:
```bash theme={null}
jupyter notebook
```
2. Create a new notebook (for example, `test_openai.ipynb`) and enter:
```python theme={null}
import os
import openai
openai.api_key = os.getenv("OPENAI_API_KEY")
response = openai.ChatCompletion.create(
model="gpt-3.5-turbo",
messages=[
{"role": "system", "content": "You are an AI assistant for timezones."},
{"role": "user", "content": "If it is 9AM in London, what time is it in Hyderabad?"}
]
)
print(response.choices[0].message.content)
```
If the notebook returns the expected answer, your development environment is correctly configured!
***
## Links and References
* [Python Downloads](https://python.org/downloads)
* [OpenAI Python Library](https://github.com/openai/openai-python)
* [Jupyter Documentation](https://jupyter.org/documentation)
* [OpenAI API Reference](https://platform.openai.com/docs/api-reference/overview/)