Key RBAC Concepts
Azure RBAC is built around three fundamental components:- Who: The security principal—this can be a user, group, service principal, or managed identity requesting access.
- What: The permitted actions defined in a role definition. These are expressed in JSON and enumerate what operations a role can perform.
- Where: The scope at which the permissions apply, such as a subscription, resource group, or an individual resource.
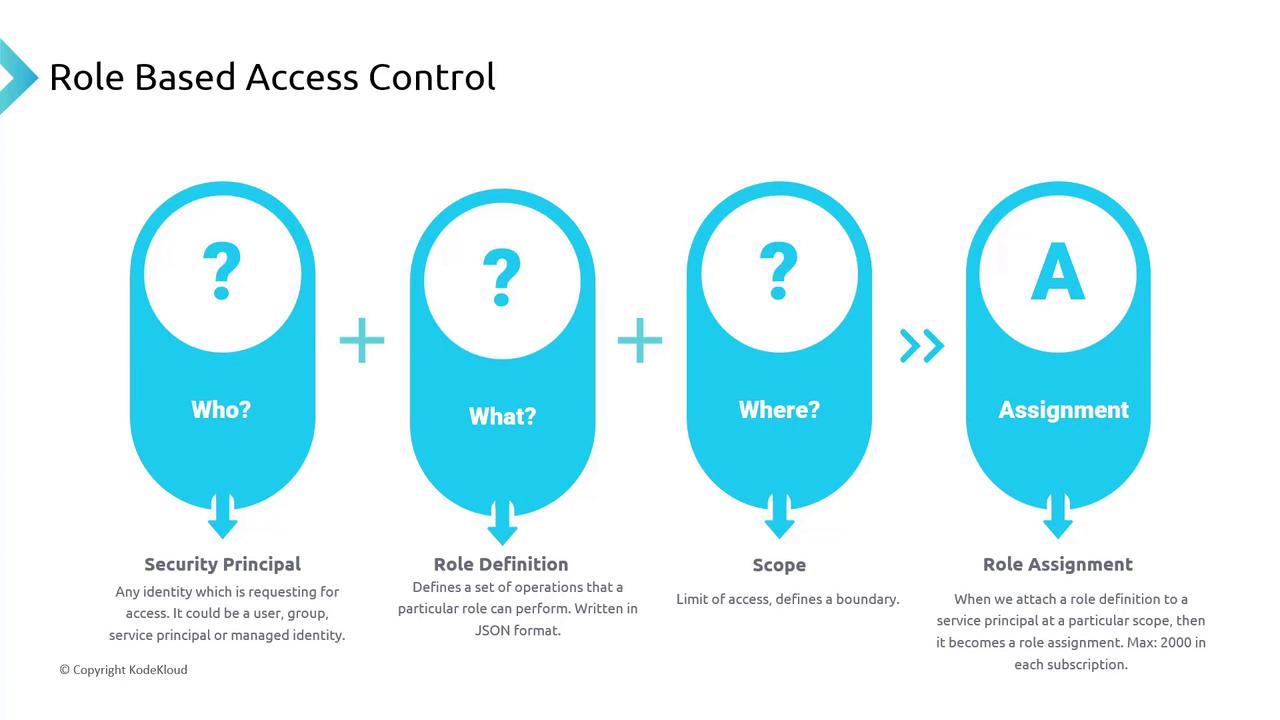
Keep in mind that each subscription can have up to 2,000 role assignments. Always follow the principle of least privilege and consider using Privileged Identity Management (PIM) to reduce long-term direct access to sensitive resources.
Understanding Role Definitions
A role definition specifies the permissions a role confers. Azure offers several built-in roles such as Owner, Reader, and Contributor, though you can create custom roles to suit specific requirements. For example, the Contributor role definition is represented by the following JSON:*) in the “Actions” array denotes complete access, whereas the “NotActions” section lists specific restrictions.
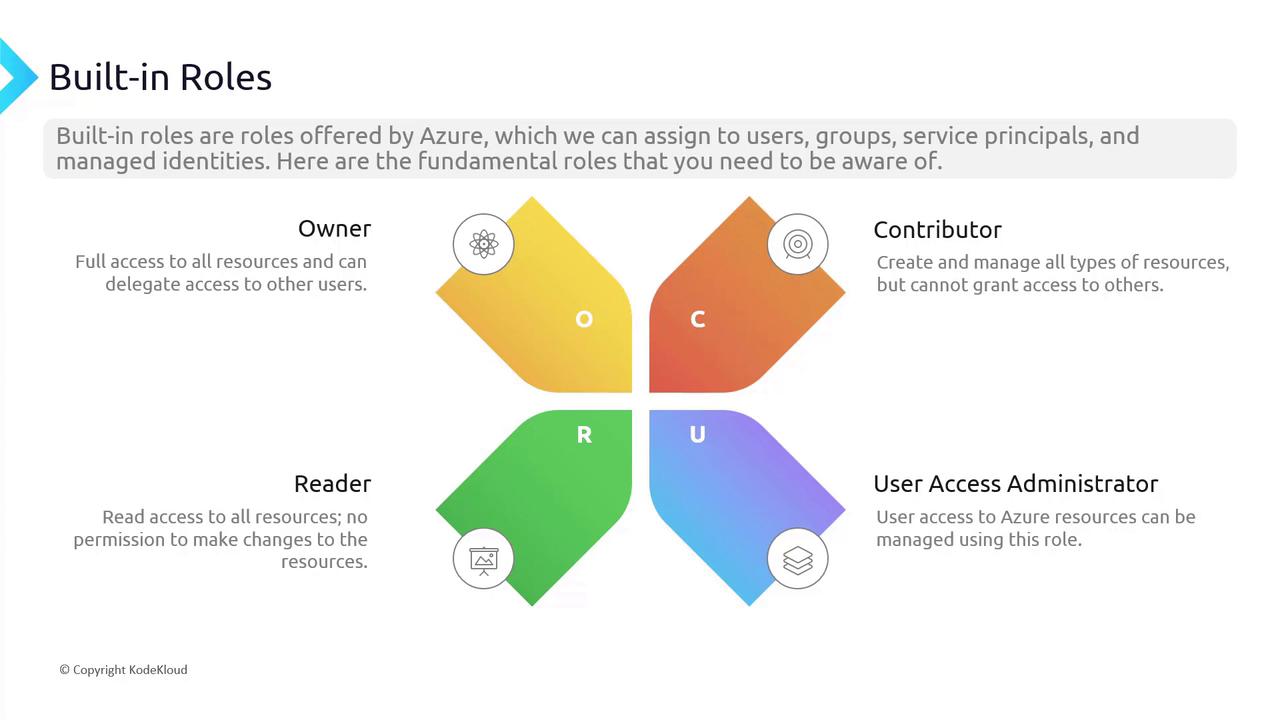
Built-In Roles Overview
Azure’s key built-in roles include:- Owner: Grants full control over all resources, including the ability to delegate access.
- Contributor: Allows management of resources but does not grant permissions to assign roles.
- Reader: Provides read-only access, blocking modifications and access to sensitive details like keys or connection strings.
- User Access Administrator: Permits managing user access without altering the resources directly.
Assigning Roles Using the Azure Portal
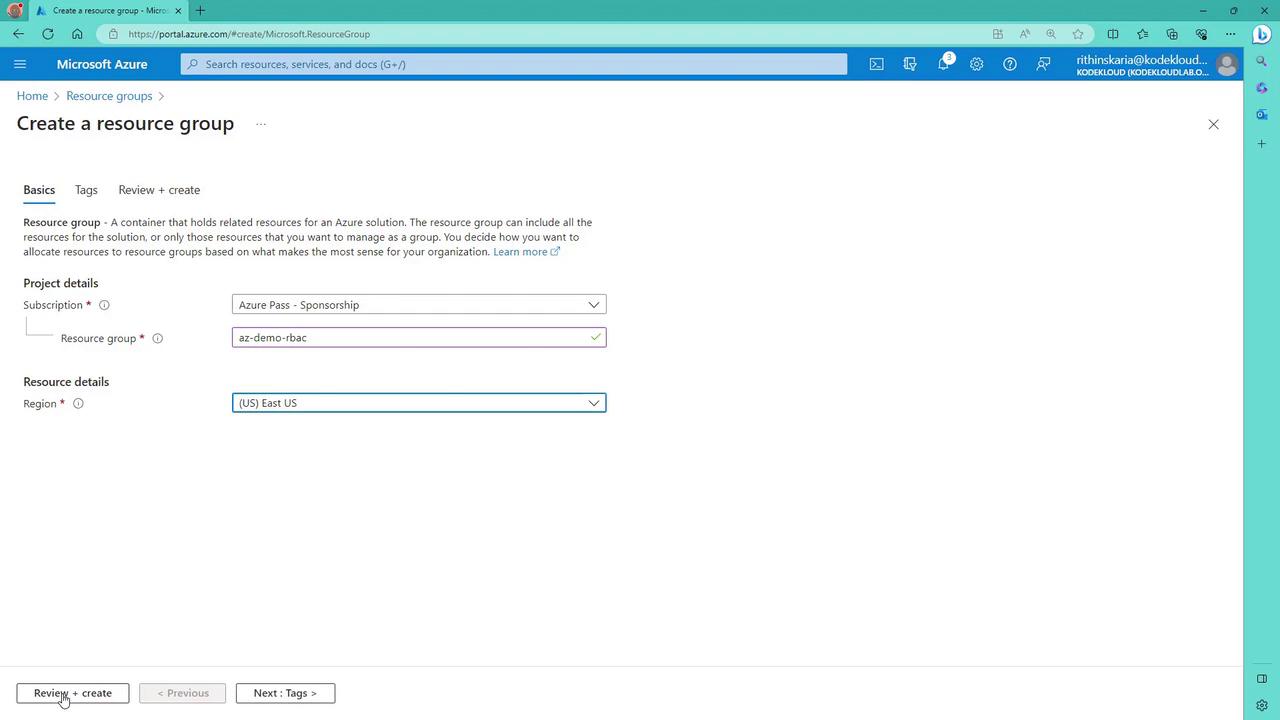
The next steps guide you through assigning roles with the Azure portal.Creating a Resource Group
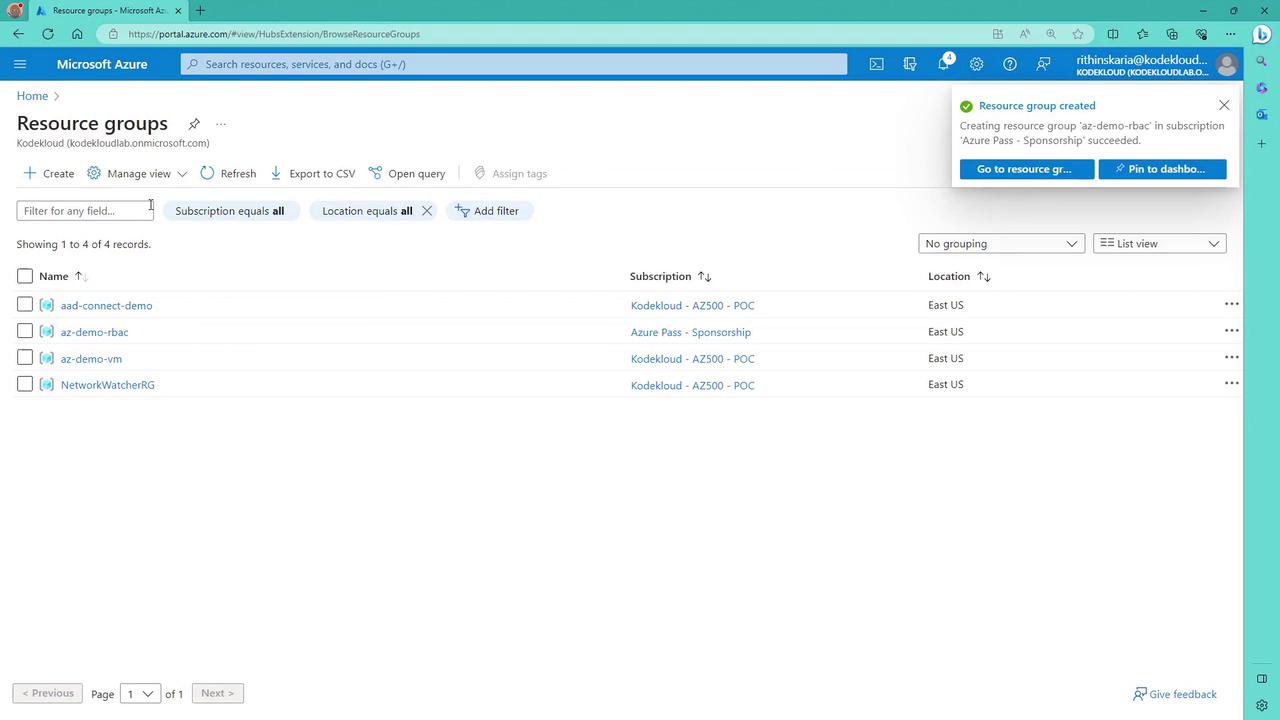
- Log in to the Azure portal and navigate to the resource groups section.
- Create a new resource group if needed; for example, name it “AC demo RBAC” in the East Europe region.
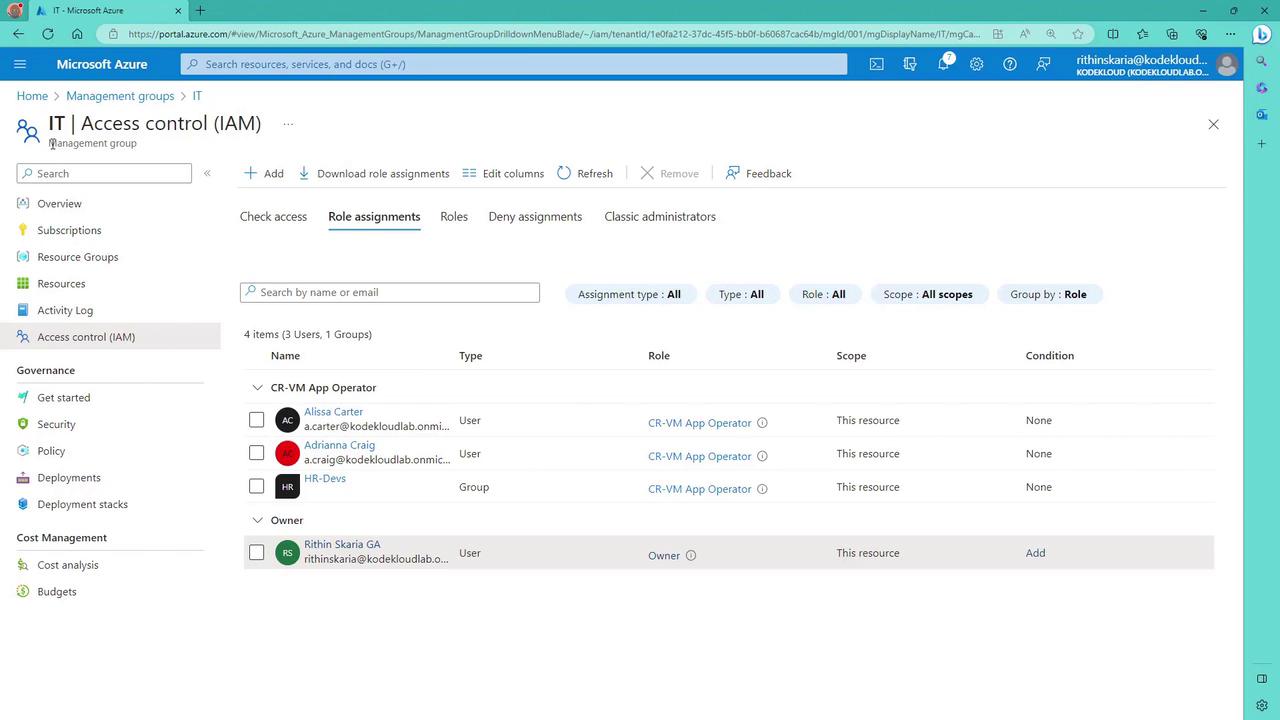
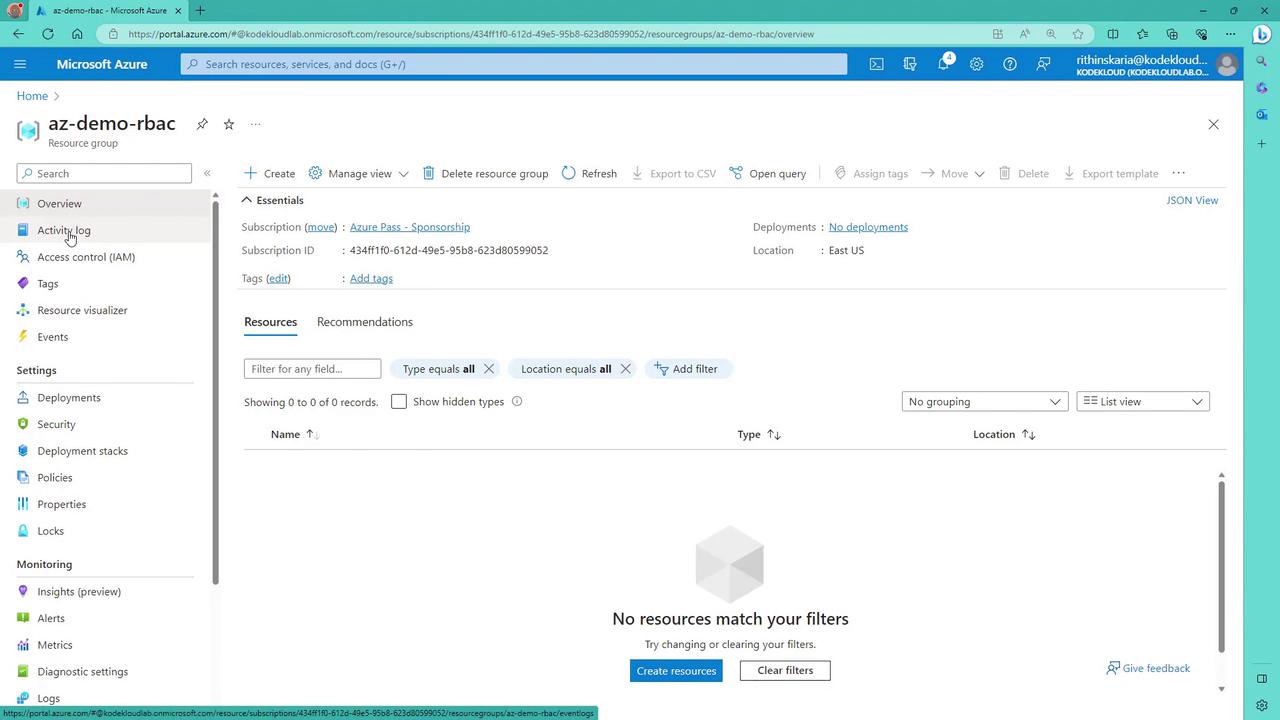
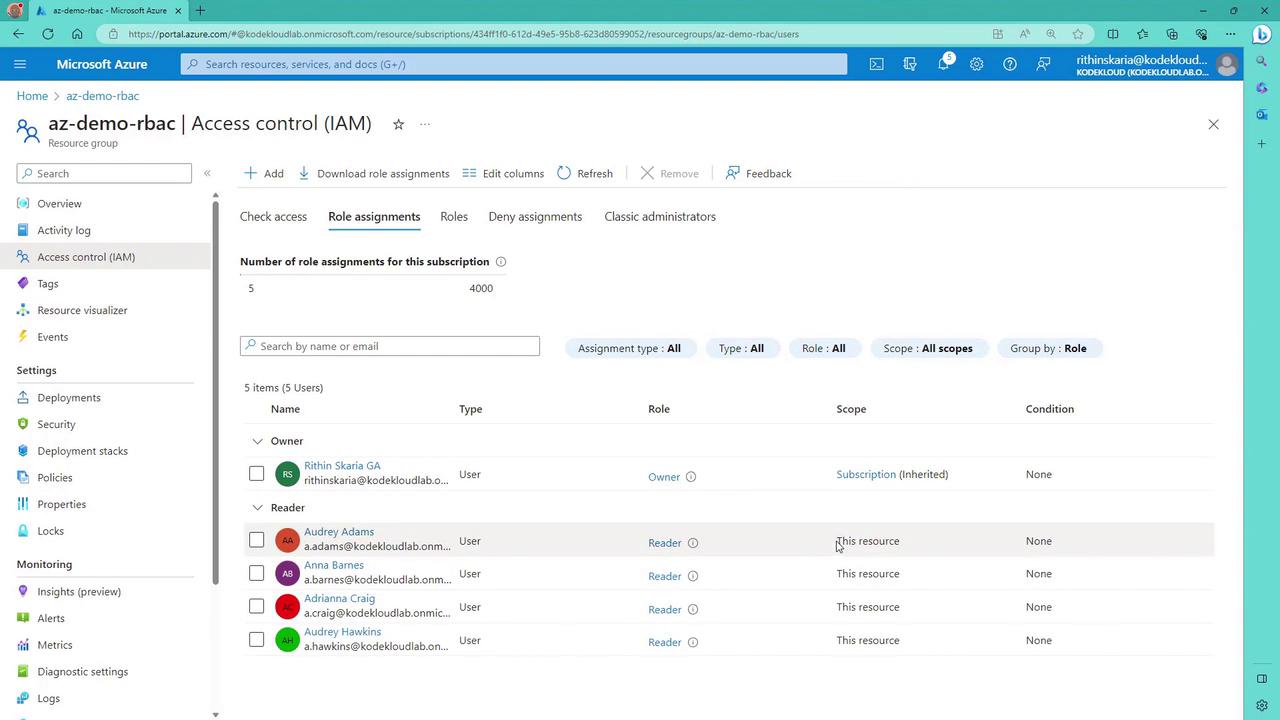
Using the Access Control (IAM) Blade
To manage permissions, open the Access Control (IAM) blade for your resource group. In this pane, you can:- Review current role assignments.
- Inspect access details for different users.
- Add new role assignments.
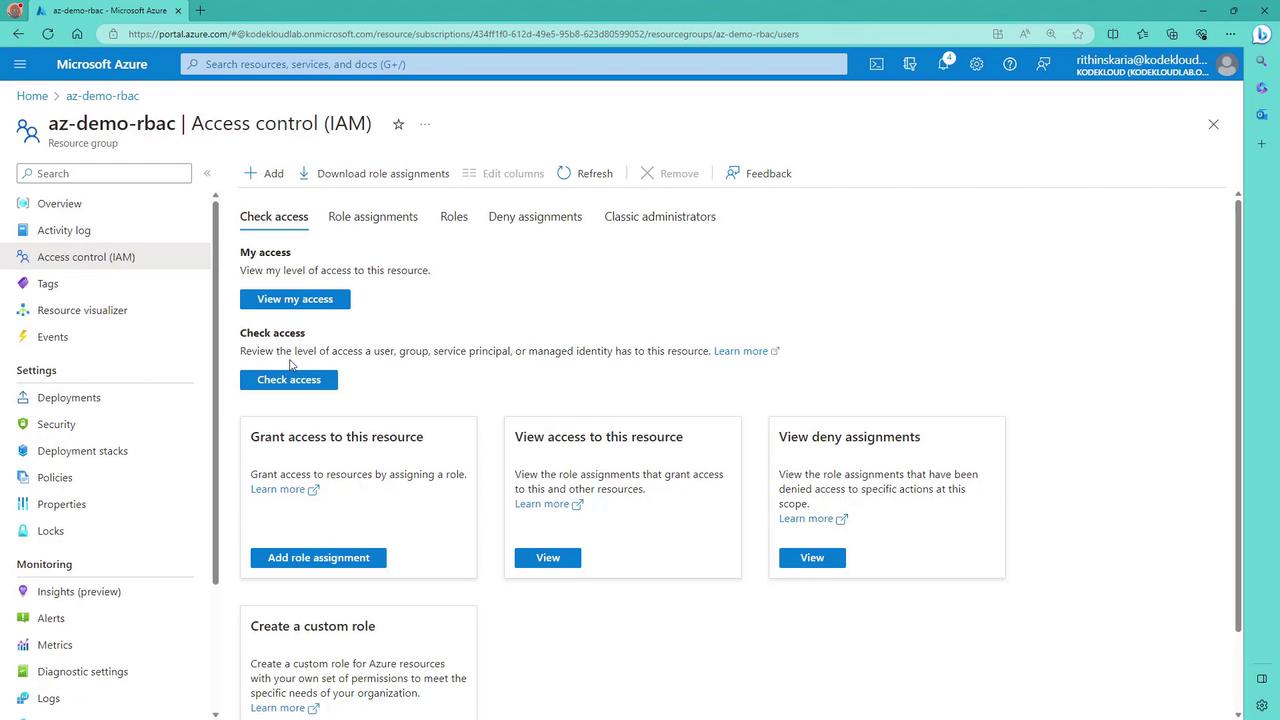

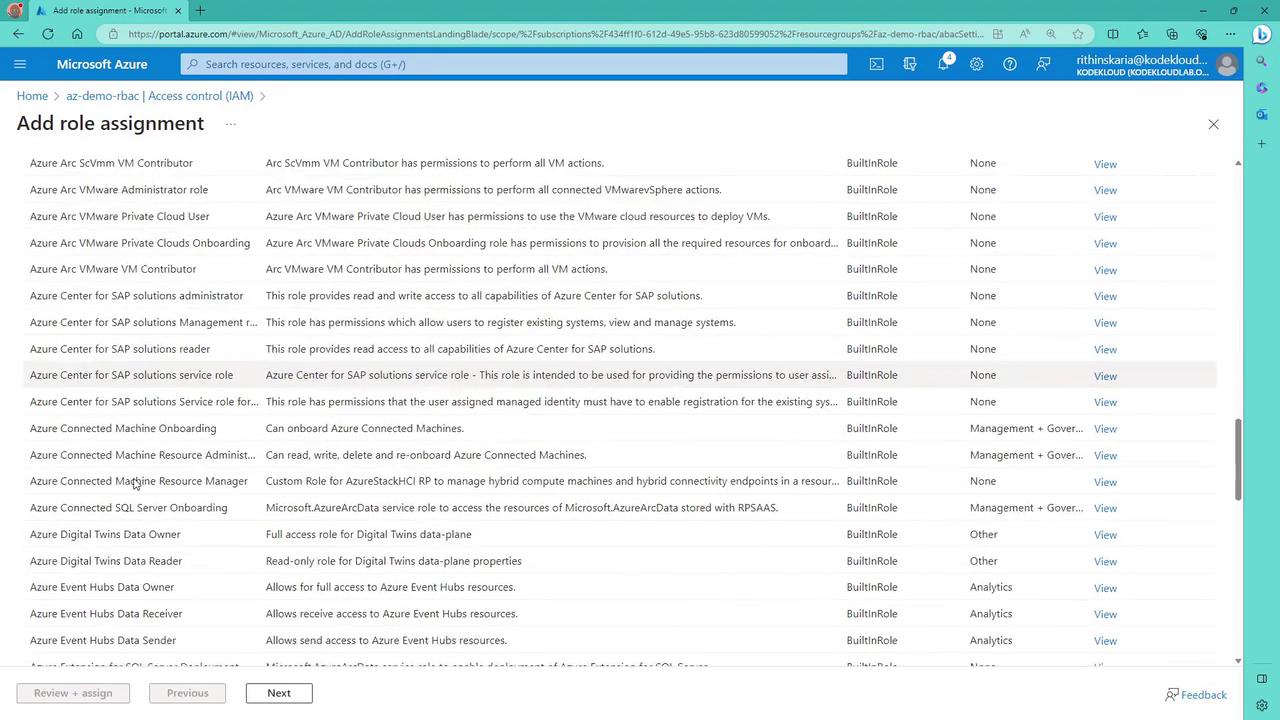
Adding a Role Assignment
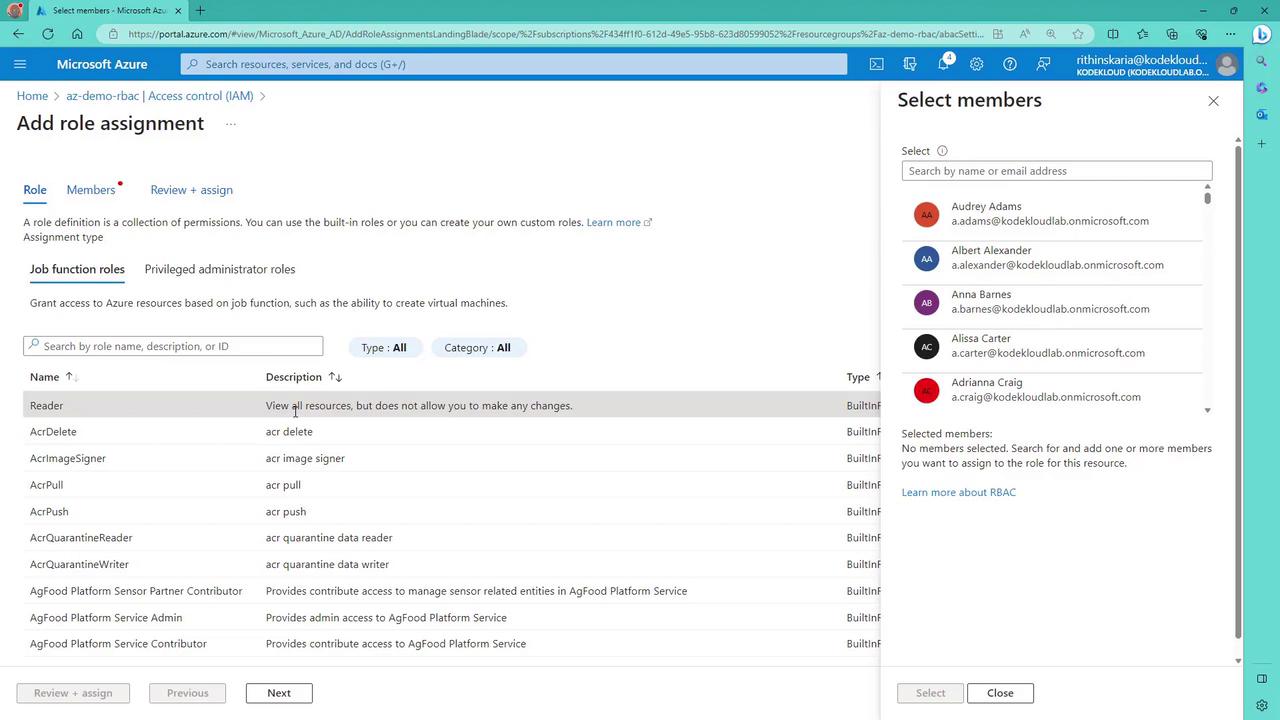
To assign a role such as Reader:- Click “Add role assignment.”
- Choose the Reader role.
- Select the members (users or groups) to assign the role.
- Confirm the assignment.
- The role definition, detailing the permissions.
- The members selected for this role.
- The scope where the assignment is applied.
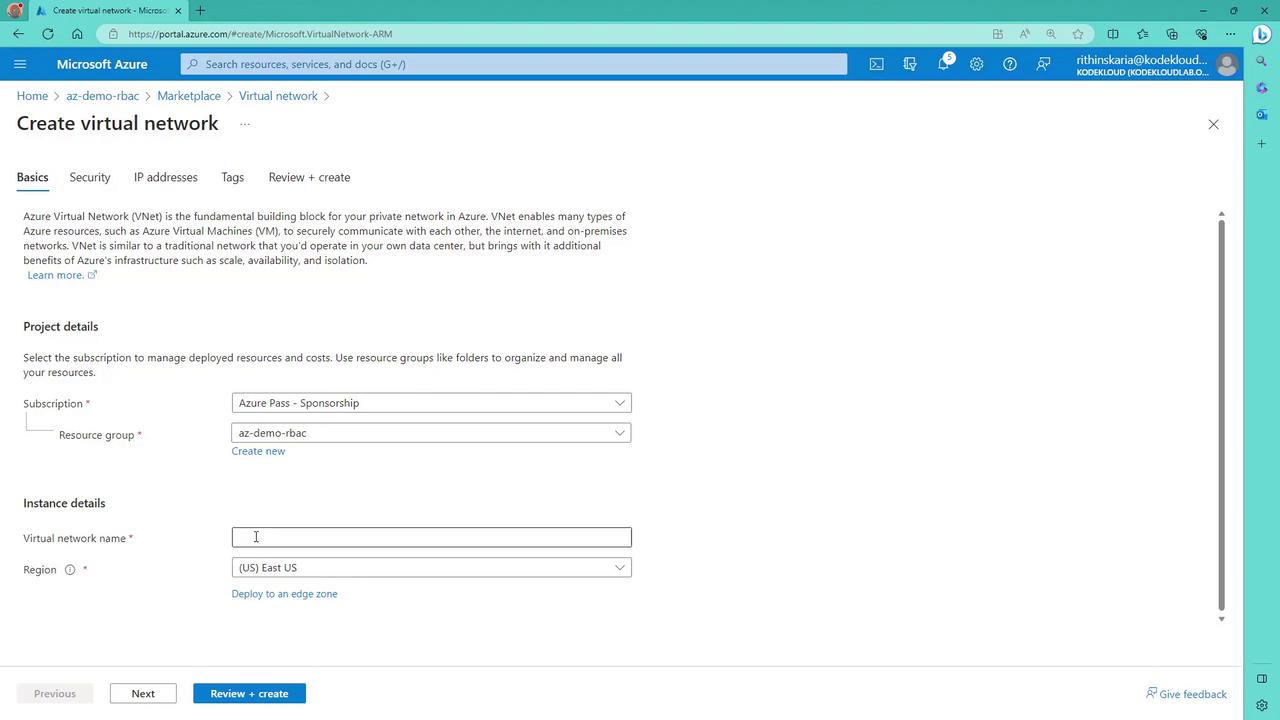
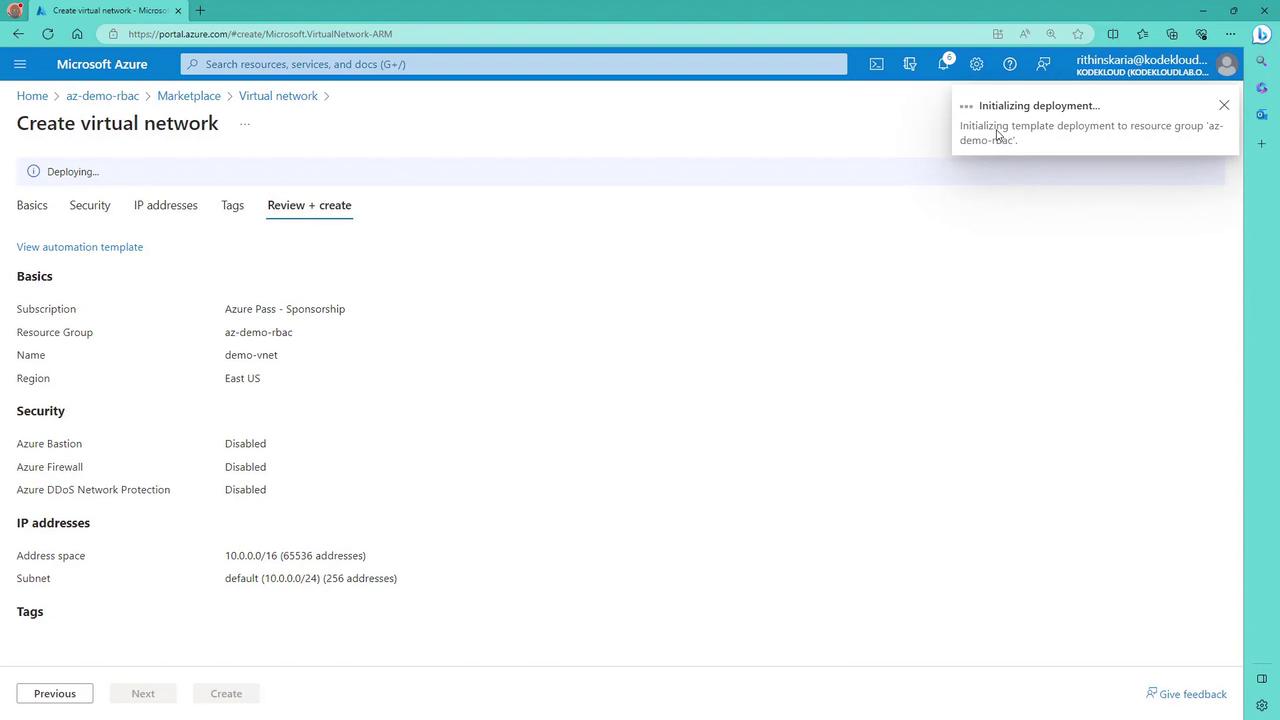
Creating a Virtual Network
To extend the example, let’s create a virtual network within the resource group:- Select the appropriate subscription and resource group.
- Provide a name (e.g., “demo VNet”) and configure the necessary settings.
- Review the configuration and create the virtual network.
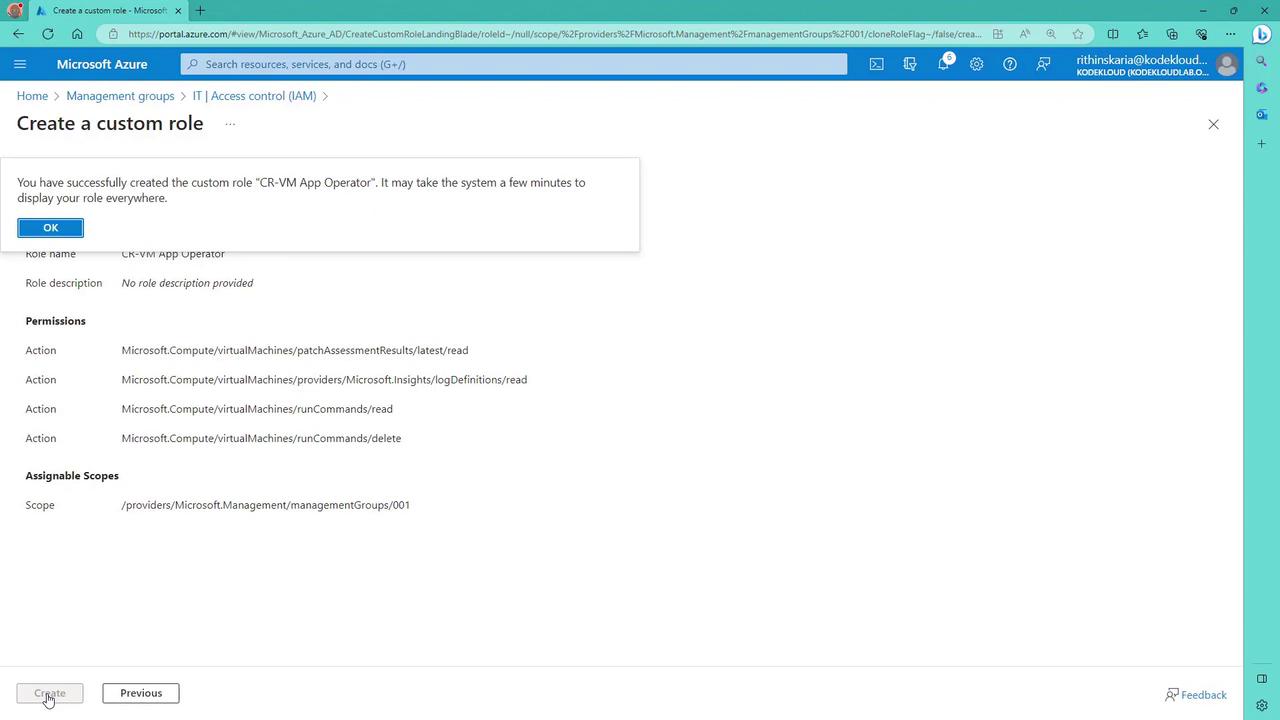
Creating Custom Roles
Built-in roles might not always meet your requirements. In such cases, you can create custom roles to define permissions precisely.- In the Azure portal, select “Add custom role.”
- Provide a meaningful name (for example, “VM App Operator”) and a detailed description.
- Choose to start from scratch or clone an existing role. Starting from scratch allows you to select specific permissions.
- Read latest patch assessment operation details
- Get virtual machine log definitions
- Get virtual machine run commands
- Delete virtual machine run commands

- Click “Next” and then “Create” to finalize your custom role. Note that it might take a few minutes for the role to propagate throughout the portal.
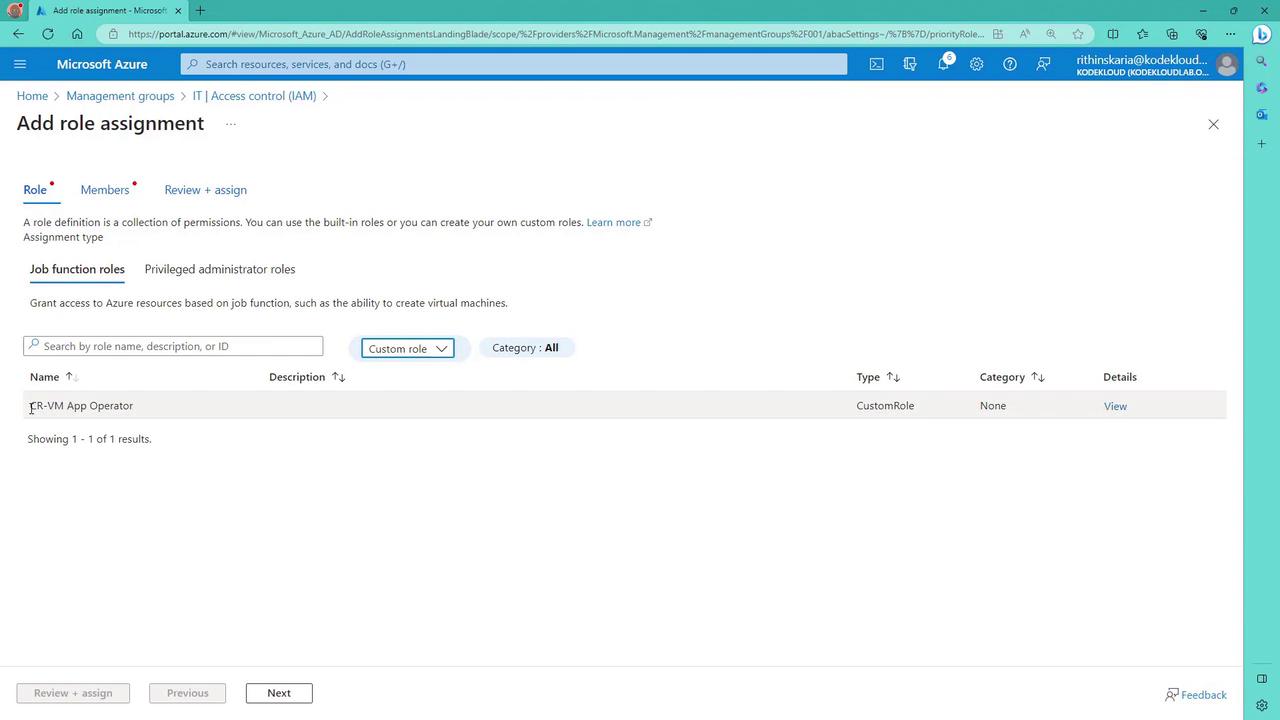
Assigning the Custom Role
To assign your newly created custom role:- Filter for custom roles during the role assignment process.
- Select your custom role (e.g., “CR-VM App Operator”).
- Choose the desired members (users or groups, such as an HR group).
- Complete the role assignment.