This article explains how to create and utilize virtual machine templates for standardized and efficient deployment in cloud environments.
Virtual machine templates are essential for streamlining and standardizing the deployment of virtual environments within cloud infrastructures. These templates act as blueprints by encapsulating predefined configurations, applications, and operating system settings. Leveraging VM templates can significantly accelerate deployment processes, ensure consistency across multiple environments, and maintain compliance with organizational and regulatory standards.
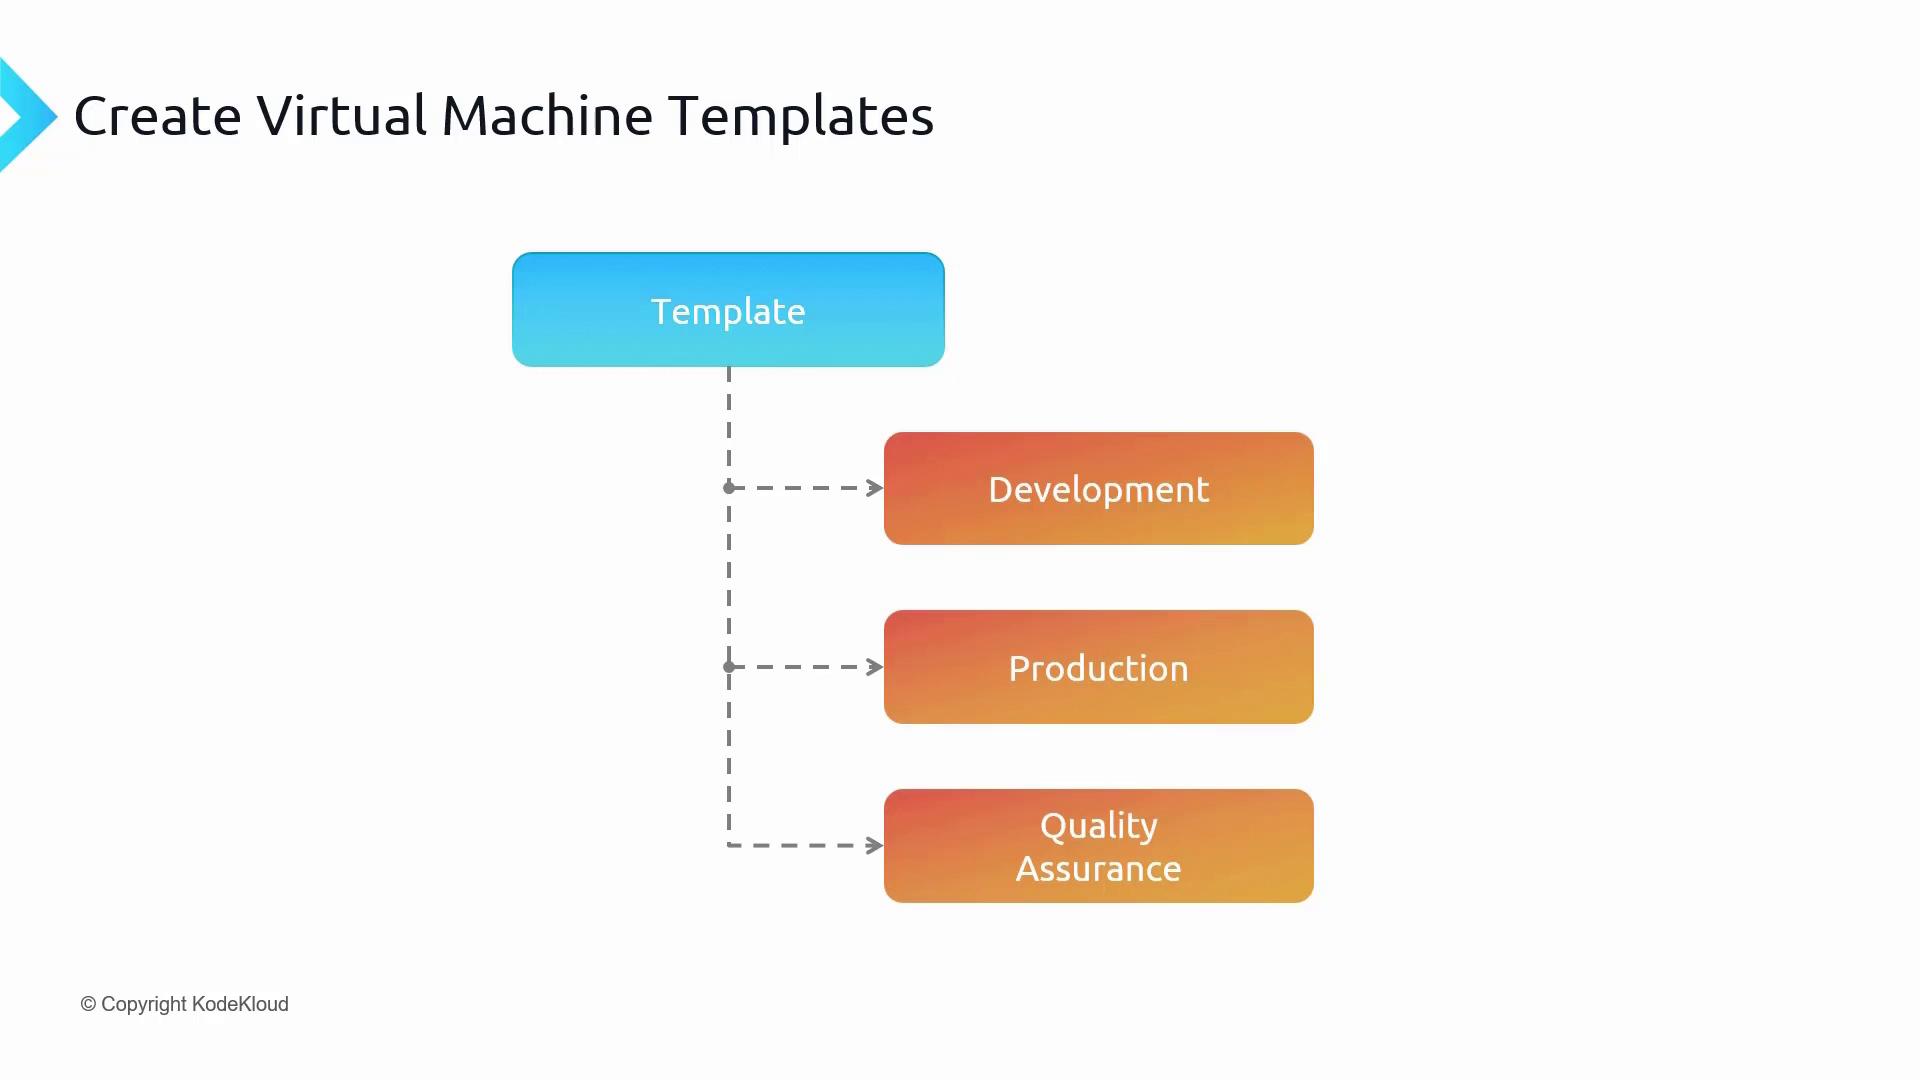
For instance, you can take a base VM from Azure, apply necessary hardening rules, and then create a generalized image that serves as the standard for all future deployments. With this approach, you can craft different templates for development, production, and QA environments.
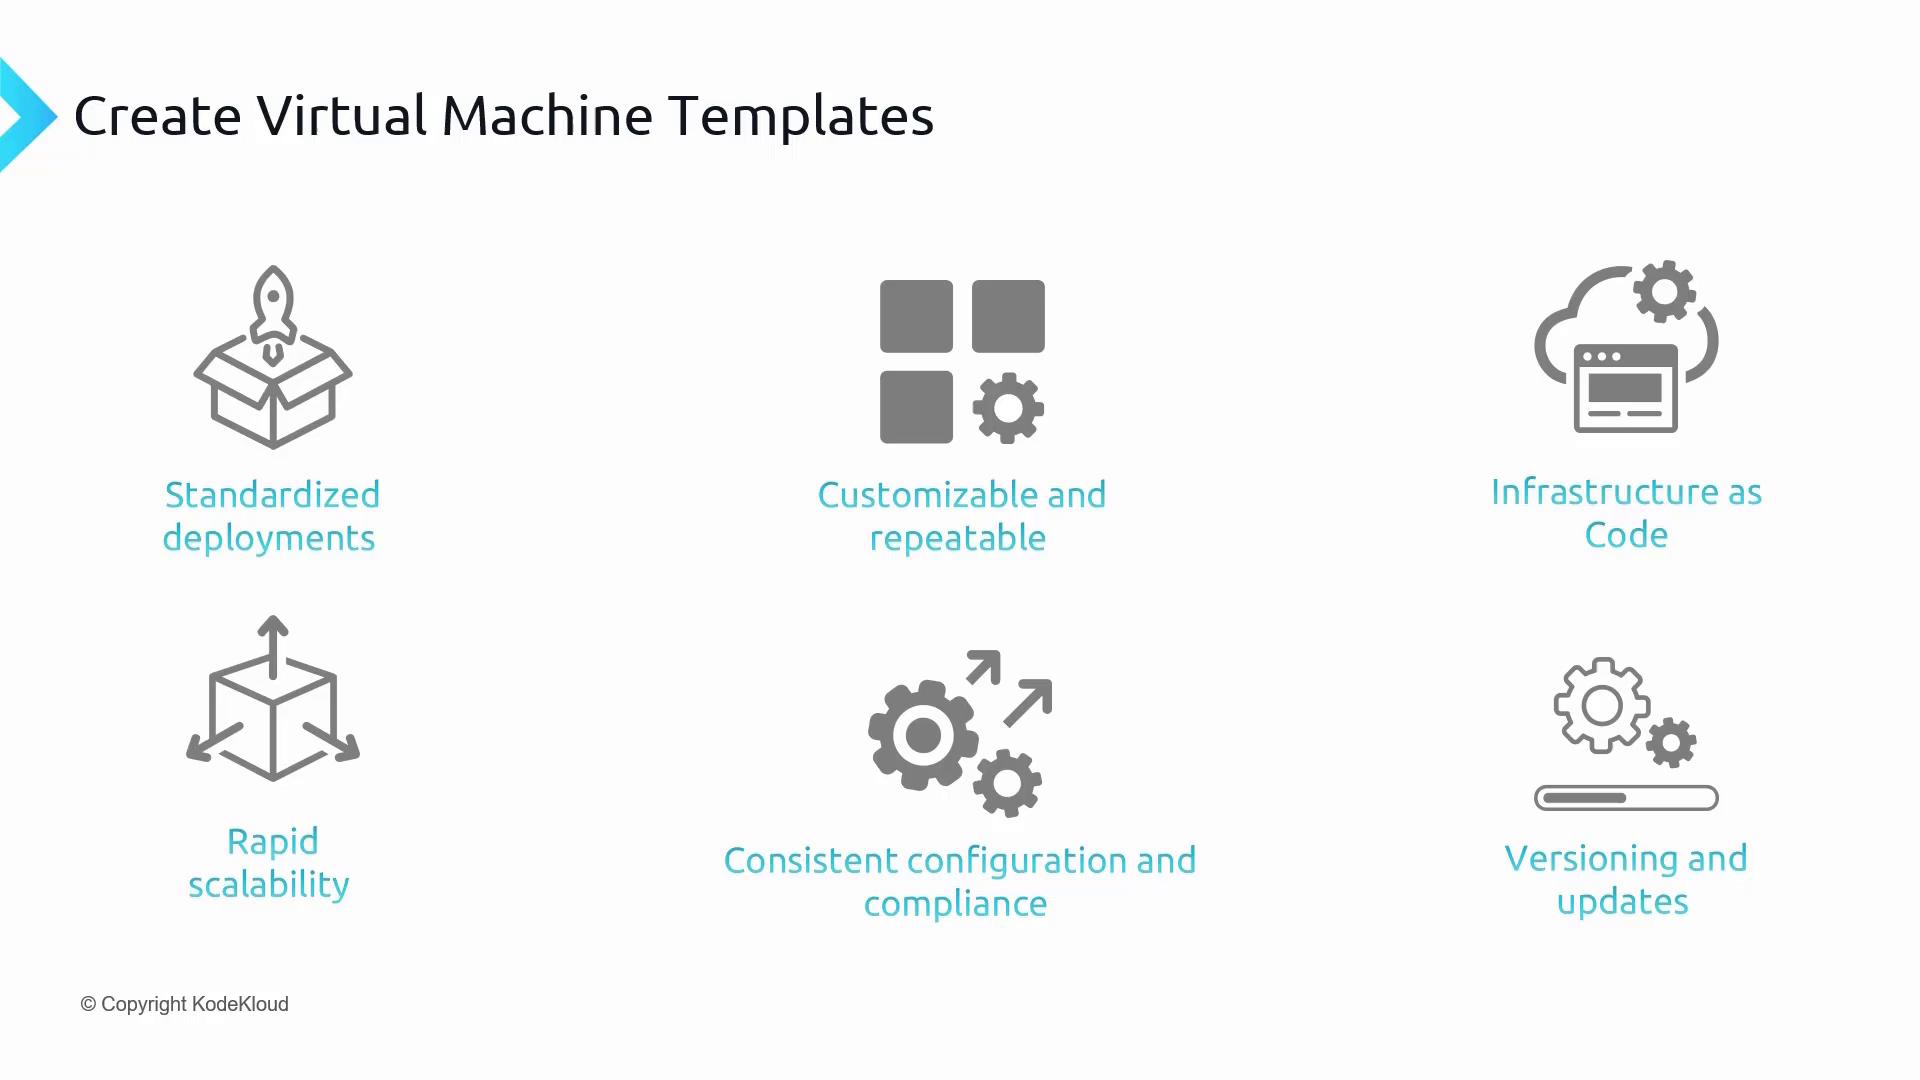
Standardized Deployments:
VM templates encapsulate all the necessary VM specifications such as the operating system, pre-installed applications, and configurations. This ensures that every new VM deployment meets stringent requirements like specific firewall settings, standardized file structures, and pre-installed software.
Customizable and Repeatable:
Templates can be tailored to the distinct needs of various departments. For example, an engineering template may include different software compared to a sales template. Once defined, these templates ensure that each department receives the precise configuration they need.
Infrastructure as Code:
By defining VM templates in Azure Resource Manager (ARM) and storing them in version control systems like Git, organizations can track changes, perform rollbacks, and collaborate more effectively. This integration not only boosts automation but also enforces consistency across deployments.
Rapid Scalability:
VM templates enable quick instantiation of multiple VM instances. For example, during high-traffic periods such as sales events, additional VMs can be rapidly deployed to handle increased user demand, ensuring a smooth experience.
Consistent Configuration and Compliance:
Templates guarantee that every deployed VM adheres to set configuration and compliance standards. For example, financial institutions can create templates that automatically align with regulatory requirements, thereby enhancing security and compliance.
Versioning and Updates:
Versioned templates simplify management by ensuring that when new security patches or updates are released, they can be seamlessly integrated into subsequent deployments.
Scenario: Creating a VM Template with Apache and Website Files
In this scenario, we will build a VM that has Apache installed along with HTML files needed to run a company website. Once configured, this VM will be used as a template for future deployments across regions or for scaling purposes.
In our example, a GenBox VM is utilized for testing purposes. A remediation script named CSBP_remediation.sh is executed to assess the VM and apply hardening policies. When run, the script checks various configurations and outputs its progress in the terminal.
The output might include messages similar to the following:
CSBP_remediation.sh: 169: [[: not found-e UnableToRemediate: Ensure LDAP server is not enabled-e 2.2.8 Ensure DNS Server is not enabledFailed to disable unit: Unit file bind9.service does not exist....
This indicates that several controls have failed (24 in this case). After applying the fixes, the script eventually displays a summary showing successful remediation for some controls while others may still have issues.
After remediation, Apache is installed on the VM. Additional website files are then downloaded from a bootstrap source. The installation process automatically handles the unpacking of requisite packages such as libapr1, apache2-bin, and apache2-data.
root@jump-vm:/home/kodekloud# apt
The terminal output confirms that Apache and its dependencies are properly installed.
The website files are delivered as a ZIP file (files.zip). Since the unzip package is not included by default, it is installed first. Following this, the ZIP file is extracted into a directory named website.
Step 5: Configuring the Azure Network Security Group (NSG)
Before accessing the website externally, ensure that the NSG allows traffic on port 80 (HTTP). In the Azure portal, navigate to the virtual machine (e.g., “jump-vm”) and review its networking settings.
If port 80 is not allowed, add a new inbound security rule for HTTP traffic:
After the update, refresh the website in your browser to confirm that the sample start bootstrap website is visible.
Creating a Virtual Machine Template from the Configured VM
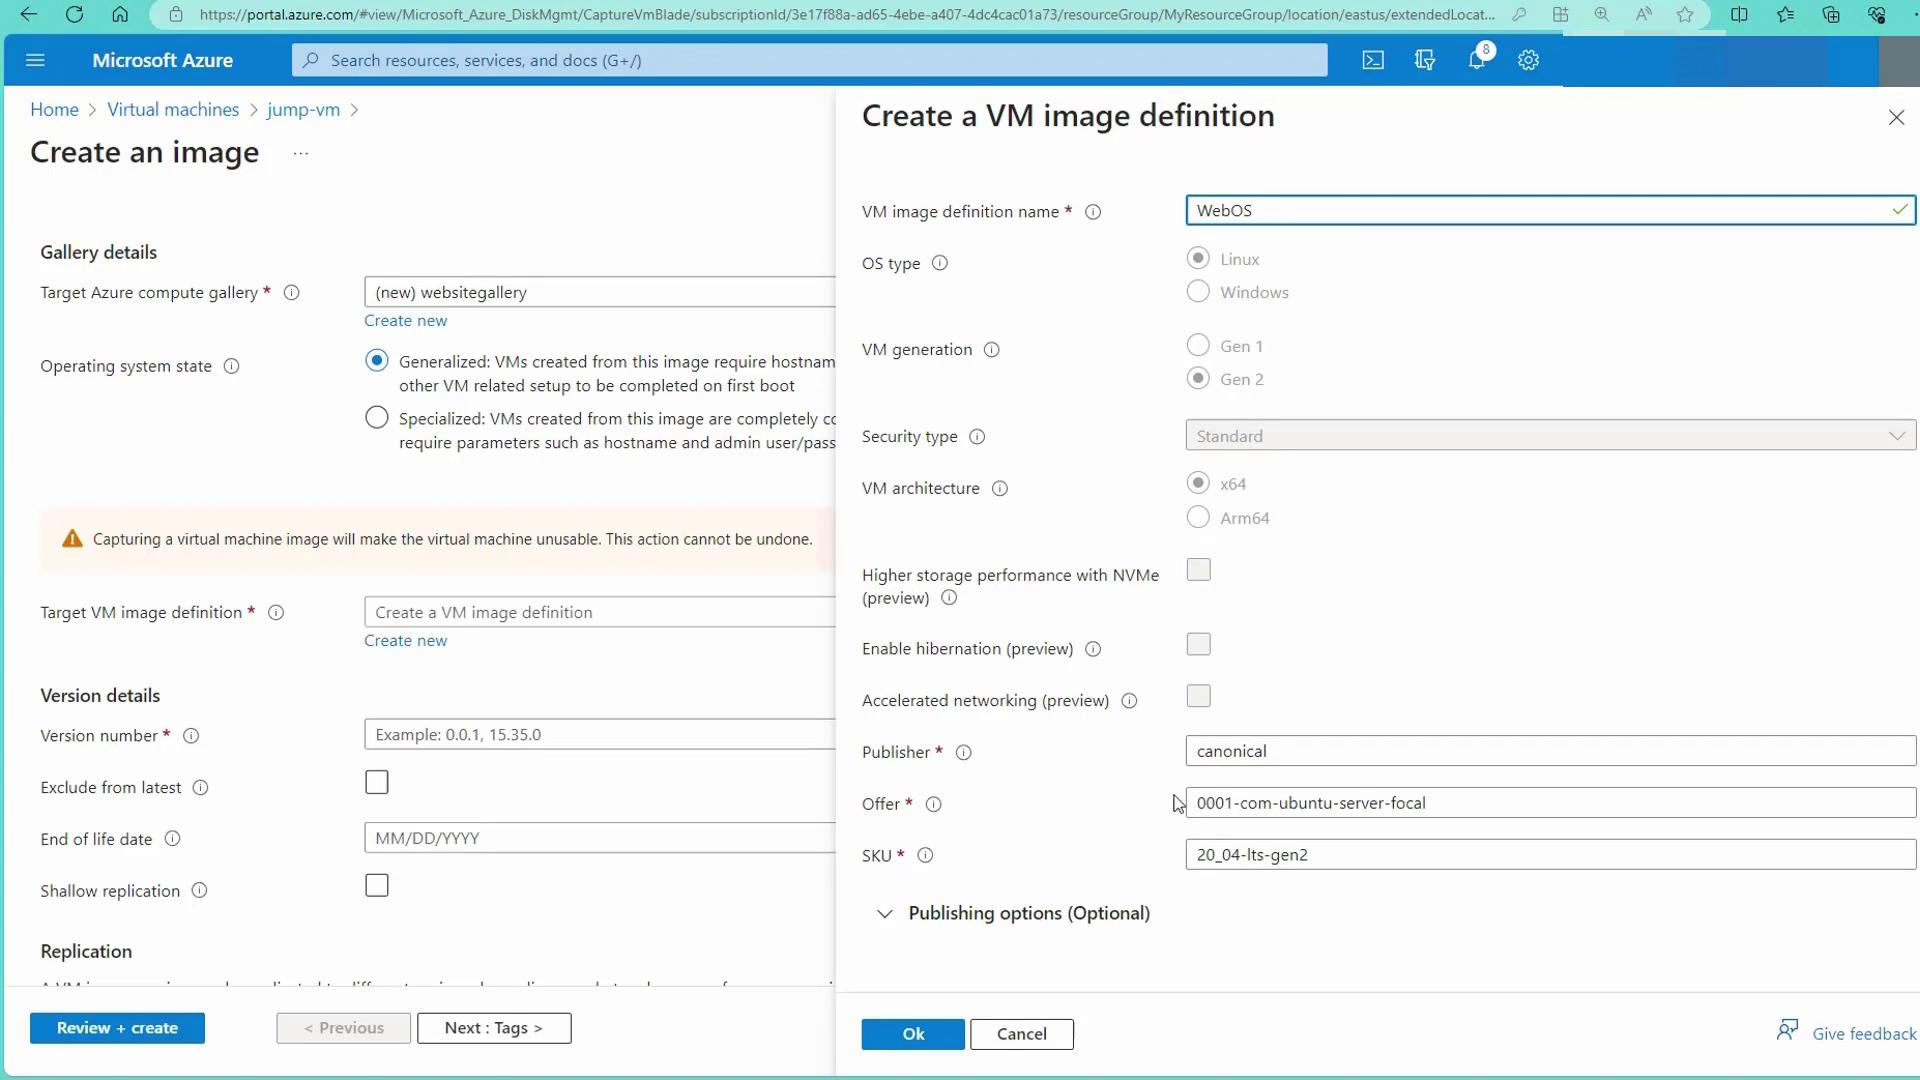
Once the web server with Apache and website files is set up, the next step is to capture this configuration as a VM template. Navigate to the virtual machine’s overview in the Azure portal and select the “Capture” option.When capturing the VM, you are presented with two options:
Generalized:
This option is similar to executing a sysprep on a Windows machine. The VM image will not retain user-specific information, and initial configuration (like hostname and admin user) will be required upon first boot.
Specialized:
This option creates an exact clone of your virtual machine, preserving all user accounts and settings.
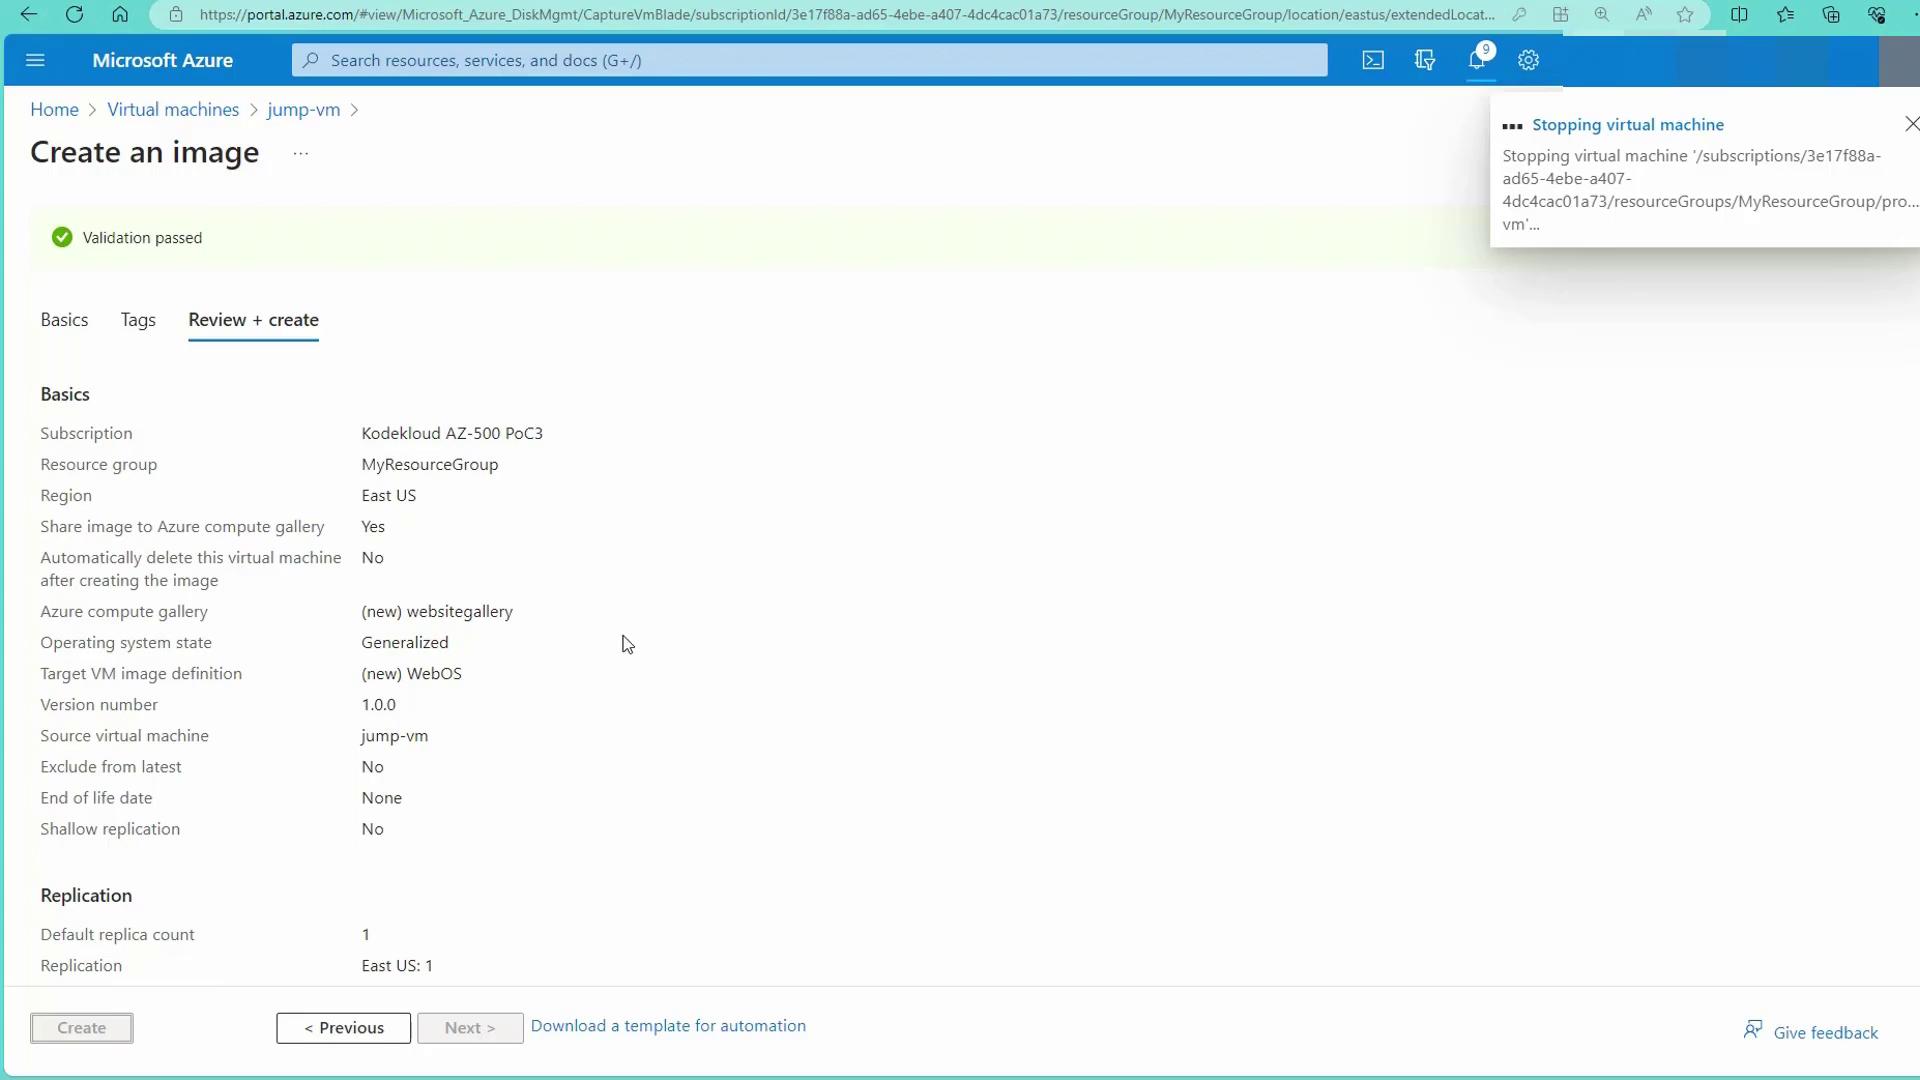
For this scenario, a generalized image is recommended. Provide a resource group and required details. You will be prompted to create a new image definition (for example, “webOS”) and assign a version number (e.g., 1.0.0).
Review all details and initiate the image creation process. Note that once a VM is generalized, it will no longer be usable, but the captured template can then be used for deploying new VMs with identical configurations.During this process, the VM will be stopped as an image is created:
After the image is created, you can verify the new VM image definition. From here, you also have the option of deploying a new VM or creating a VM scale set (VMSS) using this image.
To validate the template, deploy a new VM using the captured image:
In the Azure portal, click on “Create VM.”
Select an appropriate VM size and name the machine (e.g., “VM-from-image”).
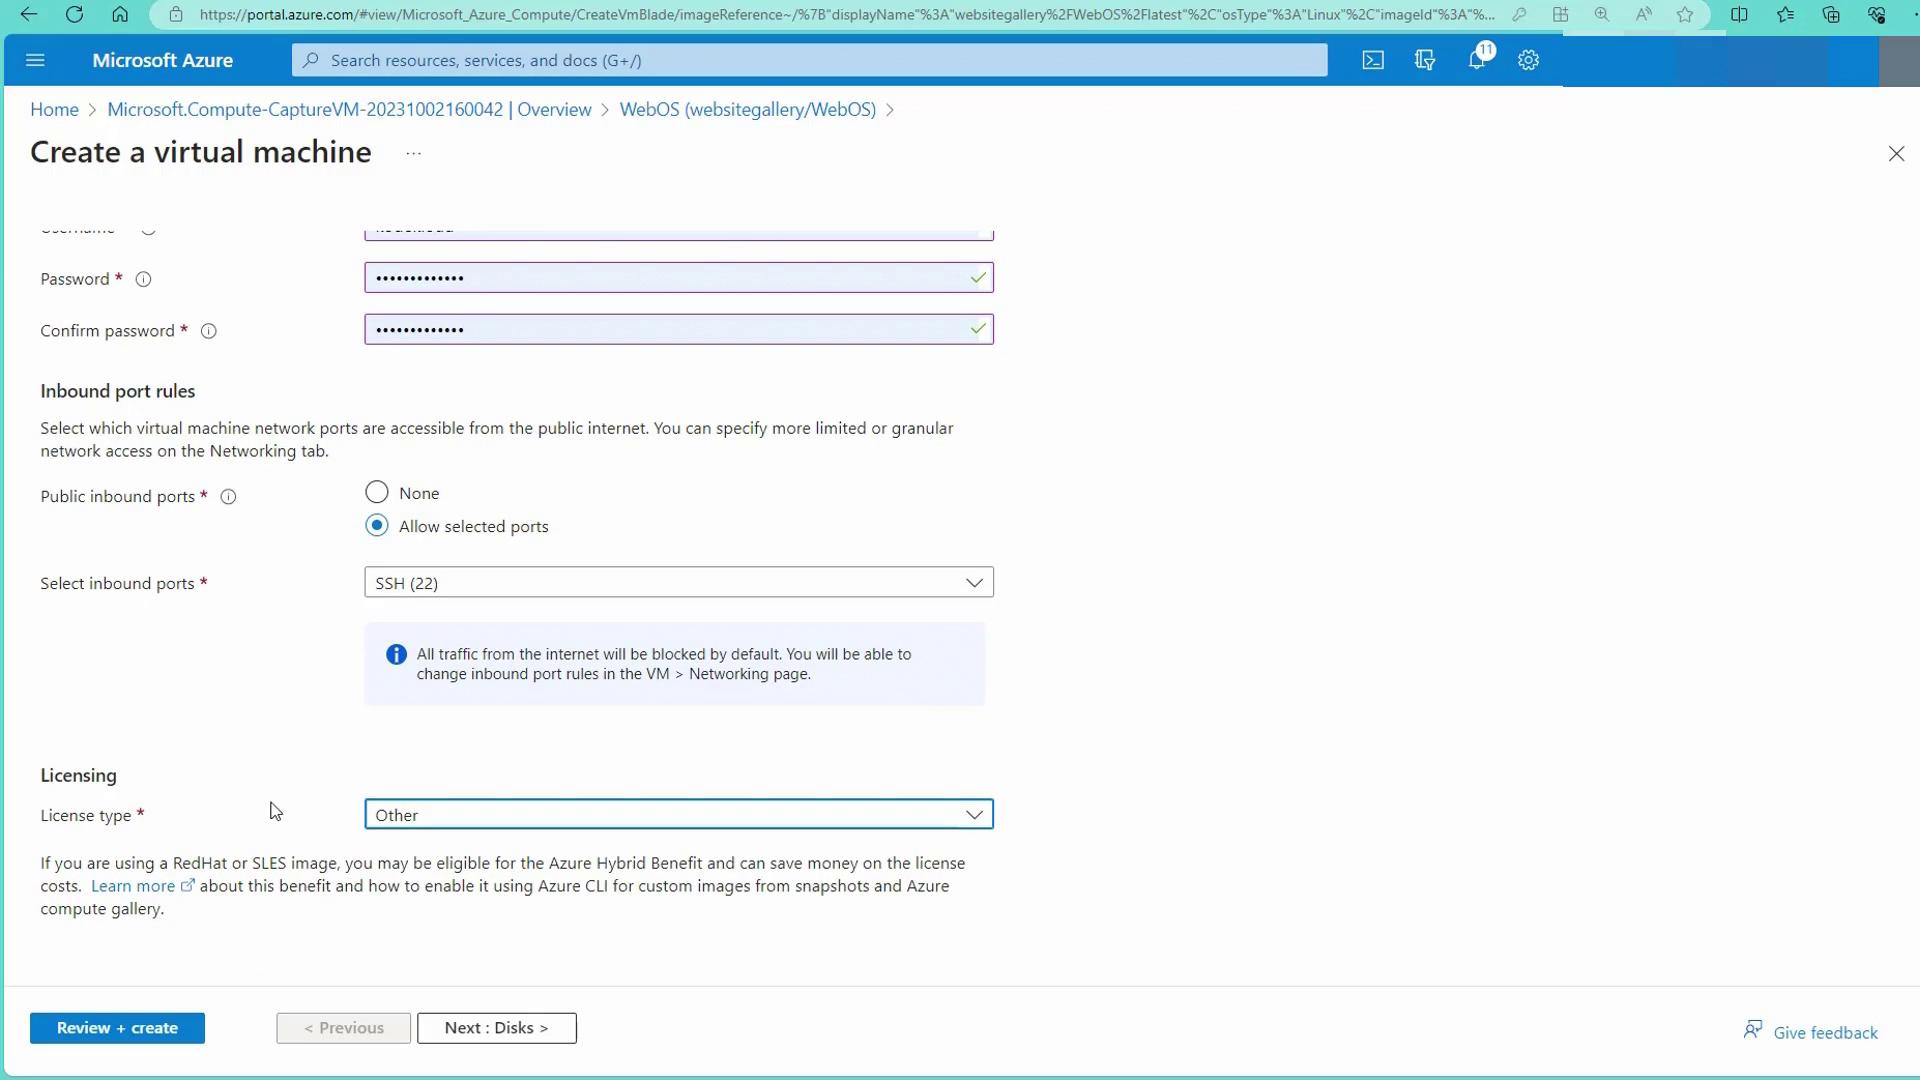
Configure the authentication method (password and/or SSH).
License selection is not required as the image was created from an Ubuntu machine.
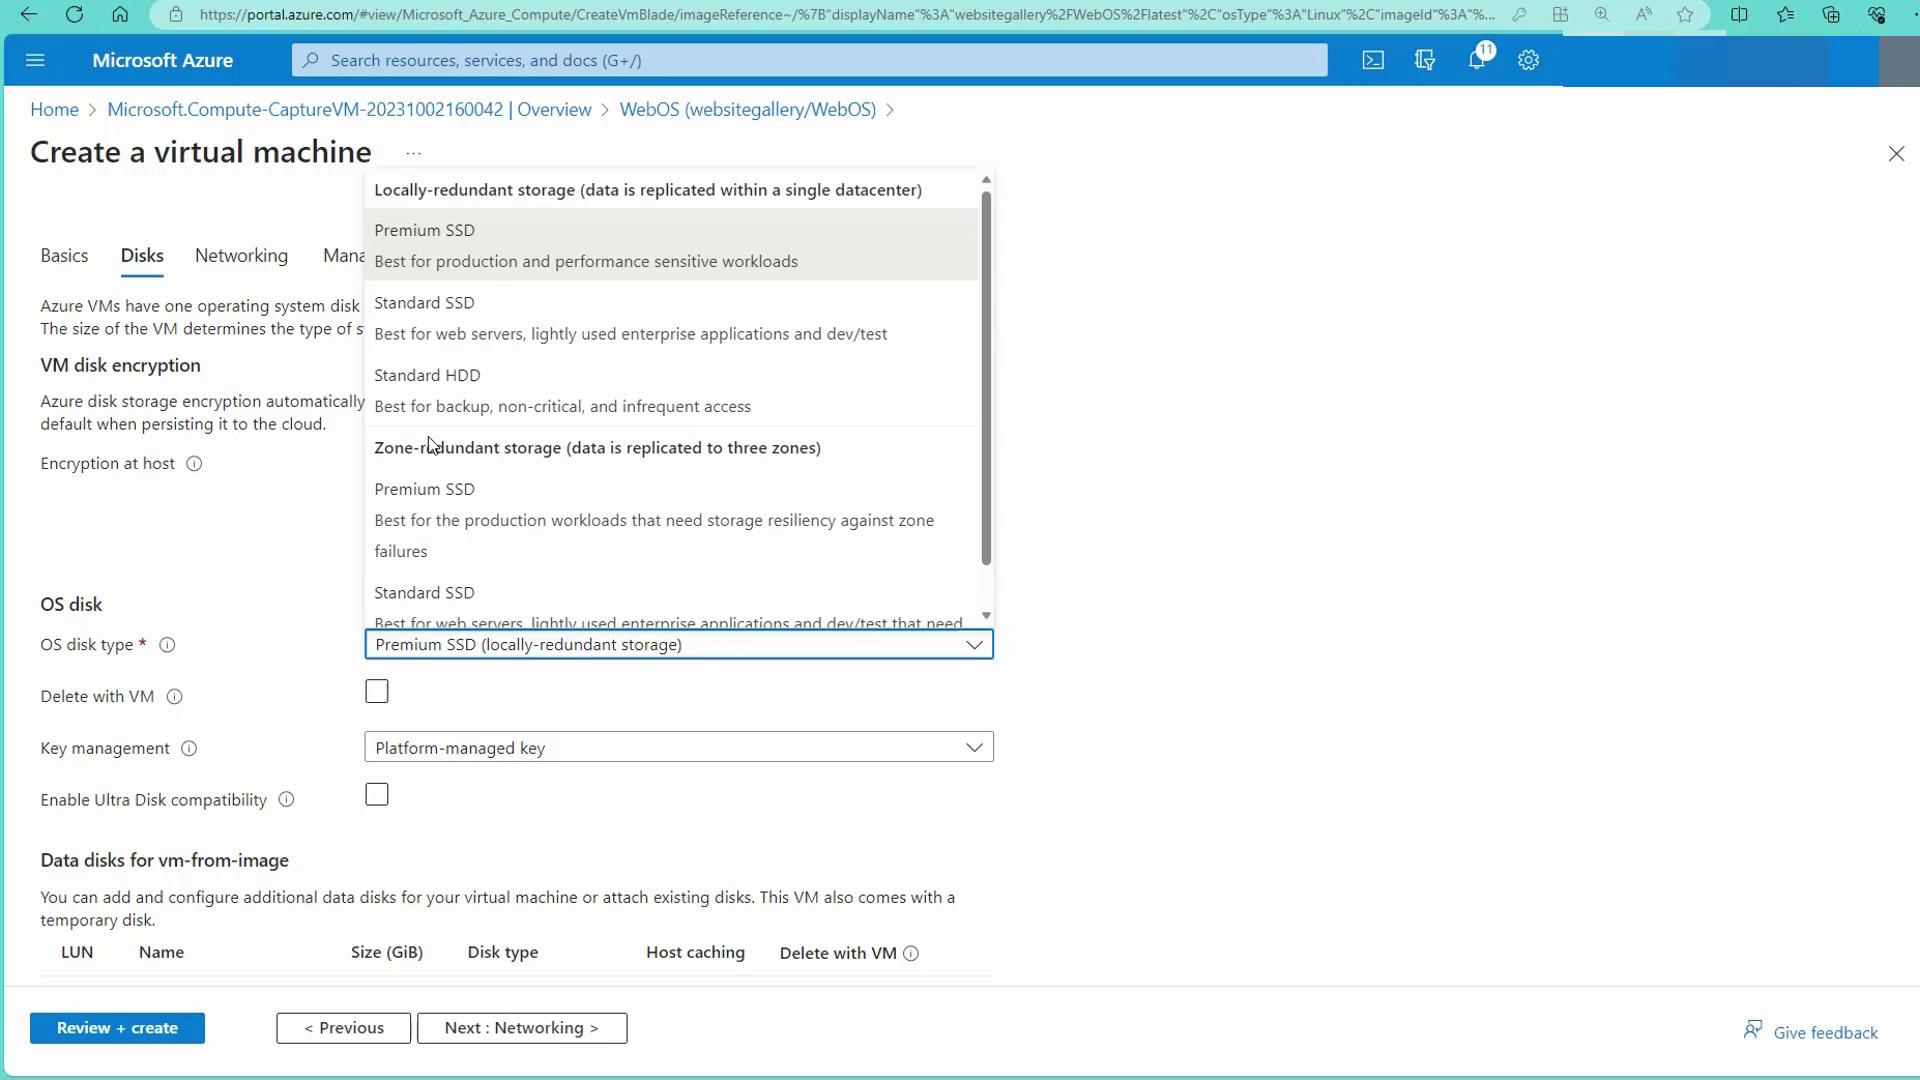
Choose a standard SSD and review all configurations.
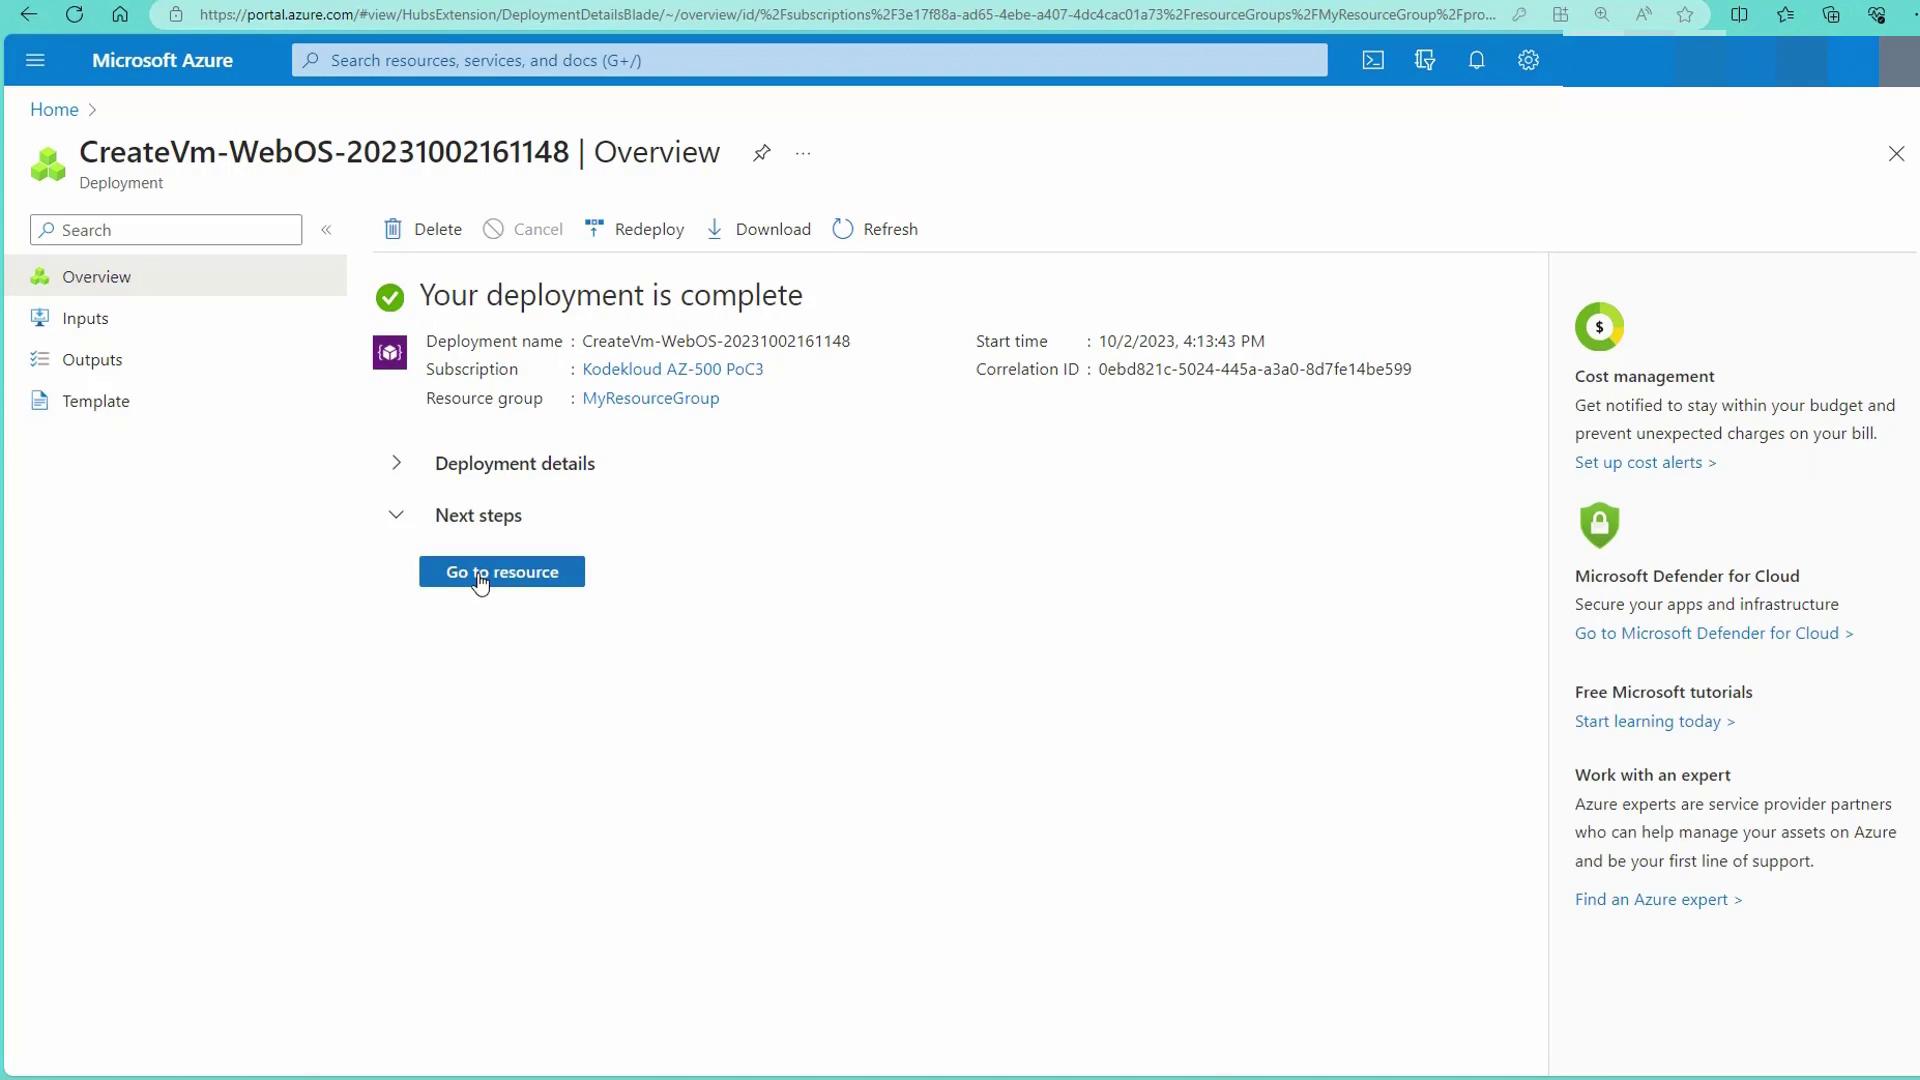
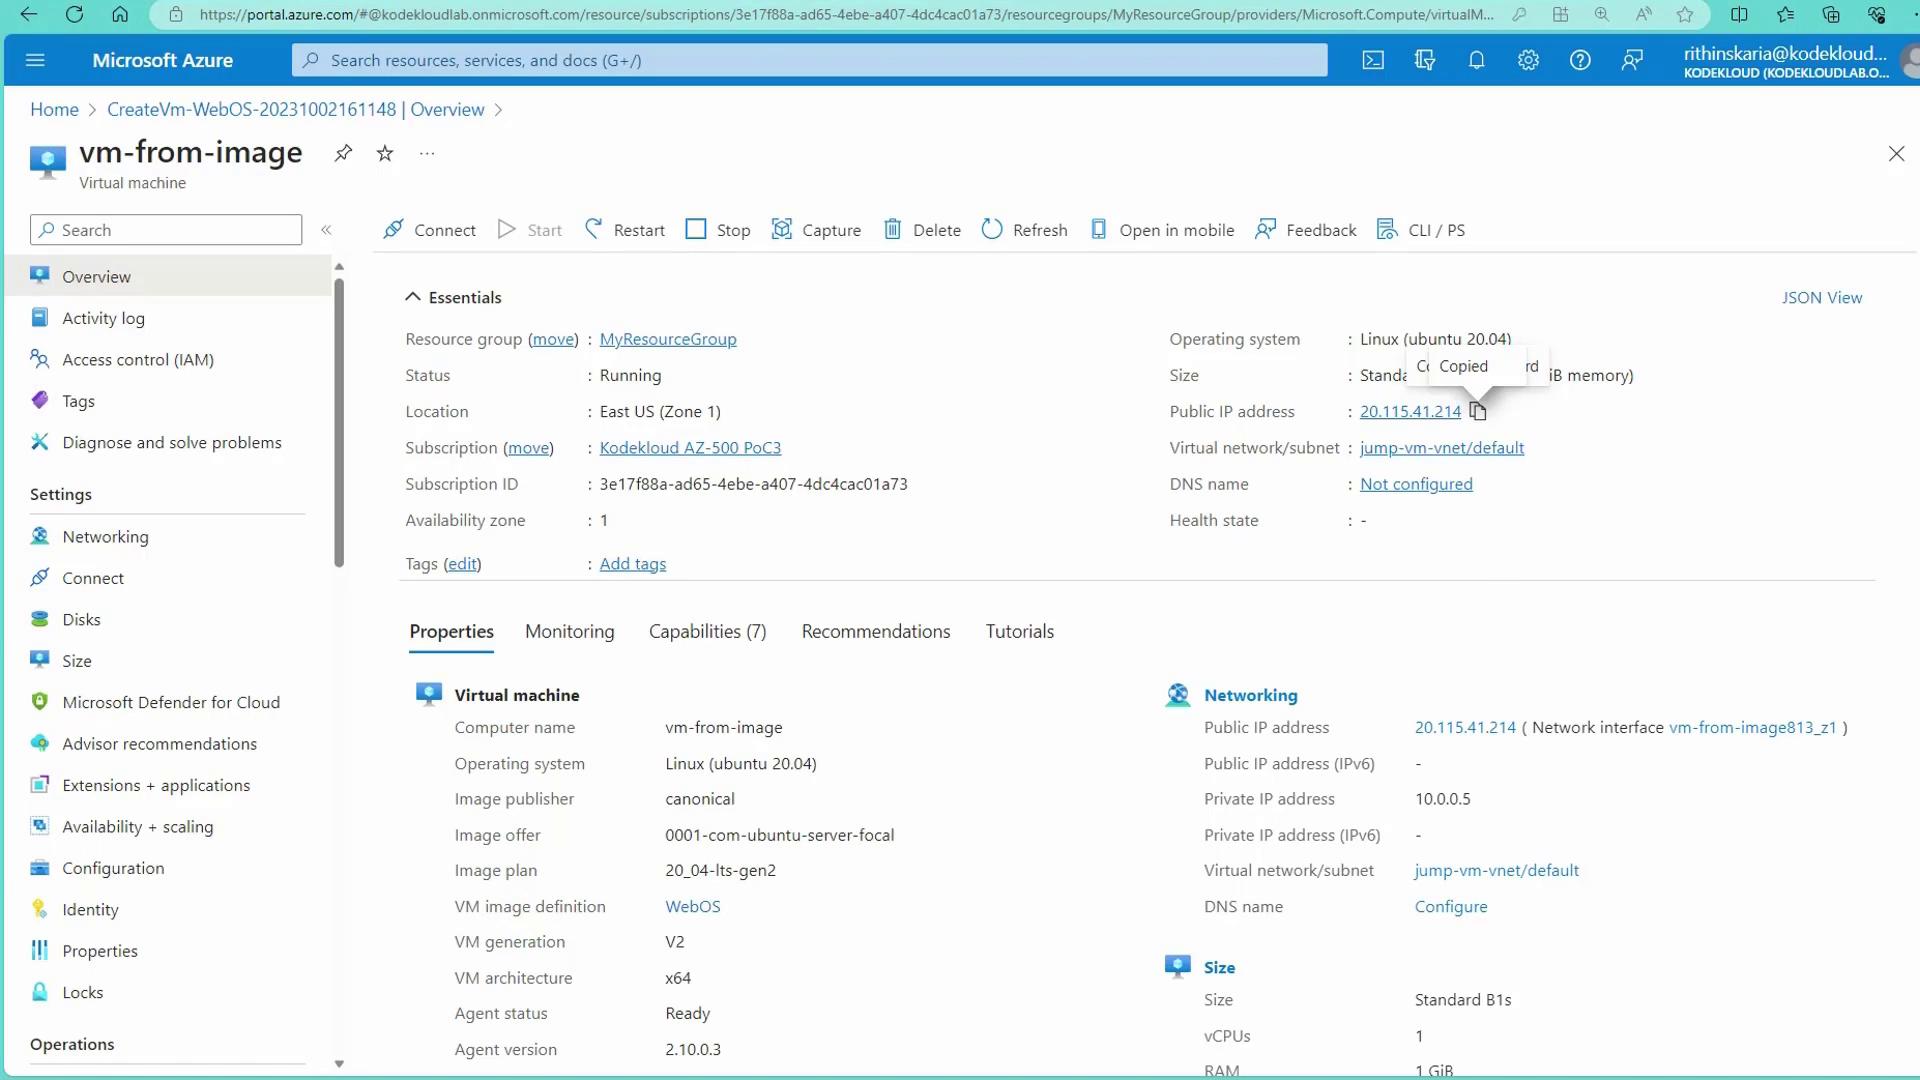
After final review, complete the deployment. Once the new VM is running, verify its accessibility by using its public IP address in a web browser.
Copy the public IP address and enter it into your browser. You should see the same website as configured earlier—demonstrating that the VM template successfully replicates all configurations and deployed files.
This guide demonstrates the significant benefits of using virtual machine templates:
Consistent and standardized deployments across varied environments.
Pre-configured security controls and website files embedded in the deployed VMs.
Rapid scalability through quick replication of secure, standardized configurations.
By converting a web server configured with Apache and a bootstrap website into a VM template, organizations can ensure that subsequent VM deployments maintain the same configuration integrity and security hardening. In the next section, we will explore strategies for enabling and securing remote access management for virtual machines.