Microsoft Azure Security Technologies (AZ-500)
Identity Protection
Implement user risk policy
Azure Active Directory (Azure AD) Identity Protection provides two key policy types: User Risk Policy and Sign-in Risk Policy. In this guide, we focus on the User Risk Policy.
User Risk Policy leverages machine learning to determine the probability that a user identity has been compromised. This policy emphasizes enforcement: you define a risk level that triggers specific actions, such as blocking access, requiring a password reset, or prompting for multi-factor authentication (MFA). Azure AD continuously evaluates risk by analyzing historical data, offline signals, and real-time indicators. Using these insights, the system assigns a risk severity that helps determine the appropriate response. For example, if a user's risk is deemed very high, access to applications can be completely blocked.
Note
Microsoft recommends using conditional access policies over standalone user risk policies. Conditional access not only incorporates user risk scores but also provides enhanced control mechanisms. However, understanding the fundamentals of the user risk policy remains essential.
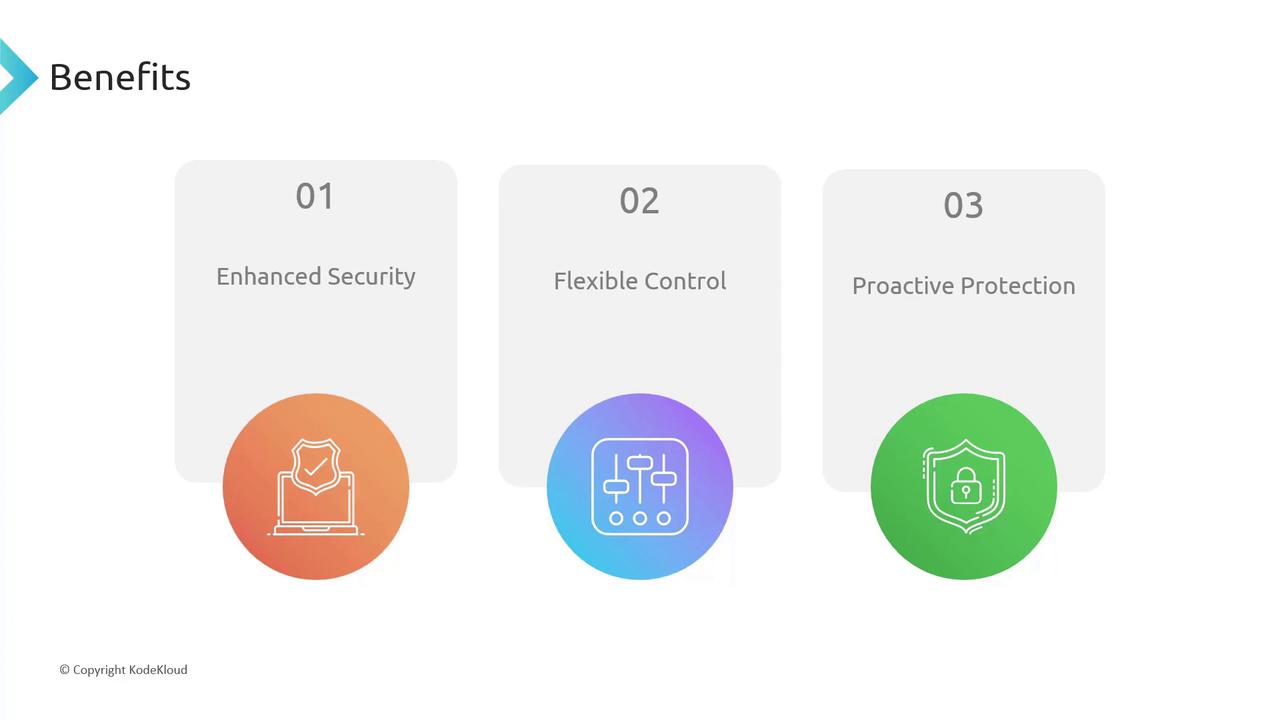
Benefits of Deploying User Risk Policy
Implementing a User Risk Policy offers multiple advantages:
- Enhanced Security – Prevents compromised identities from accessing critical resources.
- Flexible Control – Allows administrators to tailor responses based on risk levels. For instance:
- Low Risk: Permit access with an MFA requirement.
- Medium Risk: Require a password reset.
- High Risk: Block access entirely.
- Proactive Protection – Detects and mitigates potential security threats before they escalate.

These benefits can be applied directly within Azure AD or through conditional access policies to gain enhanced control over user access.
Configuring User Risk Policy in the Azure Portal
To set up the User Risk Policy, follow these steps:
- Log into the Azure Portal and navigate to Identity Protection.
- Select the User Risk Policy tab. If you see a banner advising migration to conditional access, you can ignore it for this configuration example.
Steps to Configure:
Assignments:
Define the scope for the policy by selecting whether it applies to all users or to specific individuals or groups.Risk Levels:
Set the risk threshold that will trigger the policy. Choose from options such as "High," "Medium and above," or "Low and above."Access Controls:
Choose the response action:- Block access.
- Allow access while enforcing a password change.
Reminder
Enforcing MFA directly through the user risk policy is not supported. To enforce MFA, implement a conditional access policy.

After configuring these settings, ensure that the policy is set to "Enabled" and save your changes. With the policy active, any sign-in event that reaches or exceeds the defined risk threshold will automatically trigger the selected enforcement action. For testing, consider configuring the policy to allow access with a password change requirement. This precaution minimizes the risk of unintentionally locking out accounts.
Next Steps: Sign-in Risk Policy
The User Risk Policy is designed to detect if a user identity might be compromised. Next, we will explore the Sign-in Risk Policy, which assesses the risk associated with individual sign-in events.
For further reading, check out the following resources:
By understanding and implementing these risk policies, you can significantly enhance your organization's security posture.
Watch Video
Watch video content