> ## Documentation Index
> Fetch the complete documentation index at: https://notes.kodekloud.com/llms.txt
> Use this file to discover all available pages before exploring further.
# Caching
> Explains using NGINX as a reverse proxy cache, configuration directives, cache keys, TTLs, debugging headers, and cache management to improve backend performance.
Picture going to a coffee shop every morning and getting the same order. The first time the barista prepares your drink it takes a little time. After a few visits the barista remembers your order and has it ready before you ask.
In this analogy: the barista is the server, the coffee is the data, and you are the user. Without caching, every request forces the server to regenerate or fetch data anew, wasting time and resources. A cache is like the barista remembering and preparing your order in advance — when you request it, it’s served faster and the backend works less.
NGINX commonly acts as a caching reverse proxy: it accepts client requests, forwards them to the backend only when needed, and stores responses to speed up later requests.
## Example NGINX proxy caching configuration
Below is a typical configuration that enables proxy caching. Read the following sections for detailed explanations of each directive.
```nginx theme={null}
http {
# Disk location and cache zone
proxy_cache_path /var/lib/nginx/cache levels=1:2 keys_zone=app_cache:8m max_size=50m;
# How to build the cache key
proxy_cache_key "$scheme$request_method$host$request_uri";
# How long to cache responses based on status code
proxy_cache_valid 200 302 10m;
proxy_cache_valid 404 1m;
server {
listen 80;
server_name example.com www.example.com;
location / {
proxy_cache app_cache;
# Optionally bypass cache when client sends Cache-Control (see explanation)
# proxy_cache_bypass $http_cache_control;
# Expose cache status to client for debugging
add_header X-Proxy-Cache $upstream_cache_status;
proxy_pass http://backend/;
}
}
}
```
## Key directives explained
| Directive | Purpose | Example |
| -------------------- | ---------------------------------------------------------------------------------------------------------------- | --------------------------------------------------------------------------------------- |
| `proxy_cache_path` | Defines on-disk cache location, directory sharding, a shared-memory zone for metadata, and optional size limits. | `proxy_cache_path /var/lib/nginx/cache levels=1:2 keys_zone=app_cache:8m max_size=50m;` |
| `proxy_cache_key` | Defines how requests map to cache entries — the key must uniquely identify a cached response. | `proxy_cache_key "$scheme$request_method$host$request_uri";` |
| `proxy_cache_valid` | Sets TTLs for cached responses by HTTP status code. | `proxy_cache_valid 200 302 10m;` `proxy_cache_valid 404 1m;` |
| `proxy_cache` | Activates caching in a `server` or `location` block by referencing the `keys_zone` name. | `proxy_cache app_cache;` |
| `proxy_cache_bypass` | Conditionally skips the cache when an expression is true (e.g., client `Cache-Control`). Use sparingly. | `proxy_cache_bypass $http_cache_control;` |
| `add_header` | Useful to expose cache status to clients for debugging (see `$upstream_cache_status`). | `add_header X-Proxy-Cache $upstream_cache_status;` |
### proxy\_cache\_path
* Sets where cached files are stored and configures the shared memory zone for keys/metadata.
* Example details:
* `/var/lib/nginx/cache` — directory to store cached files (ensure NGINX can read/write).
* `levels=1:2` — creates a two-level subdirectory layout (e.g., `/cache/a/b/...`) to avoid many files in a single directory.
* `keys_zone=app_cache:8m` — shared memory zone named `app_cache` with 8 MB for keys and metadata.
* `max_size=50m` — optional on-disk cap (use `G` to specify gigabytes).
### proxy\_cache\_key
* Determines the unique key used to look up cached responses. Customize as needed for your application.
* Common key:
```nginx theme={null}
proxy_cache_key "$scheme$request_method$host$request_uri";
```
* Components:
* `$scheme` — `http` or `https`.
* `$request_method` — `GET`, `POST`, etc. (Normally cache `GET`; be cautious with `POST`.)
* `$host` — host header (e.g., `www.example.com`).
* `$request_uri` — path + query string.
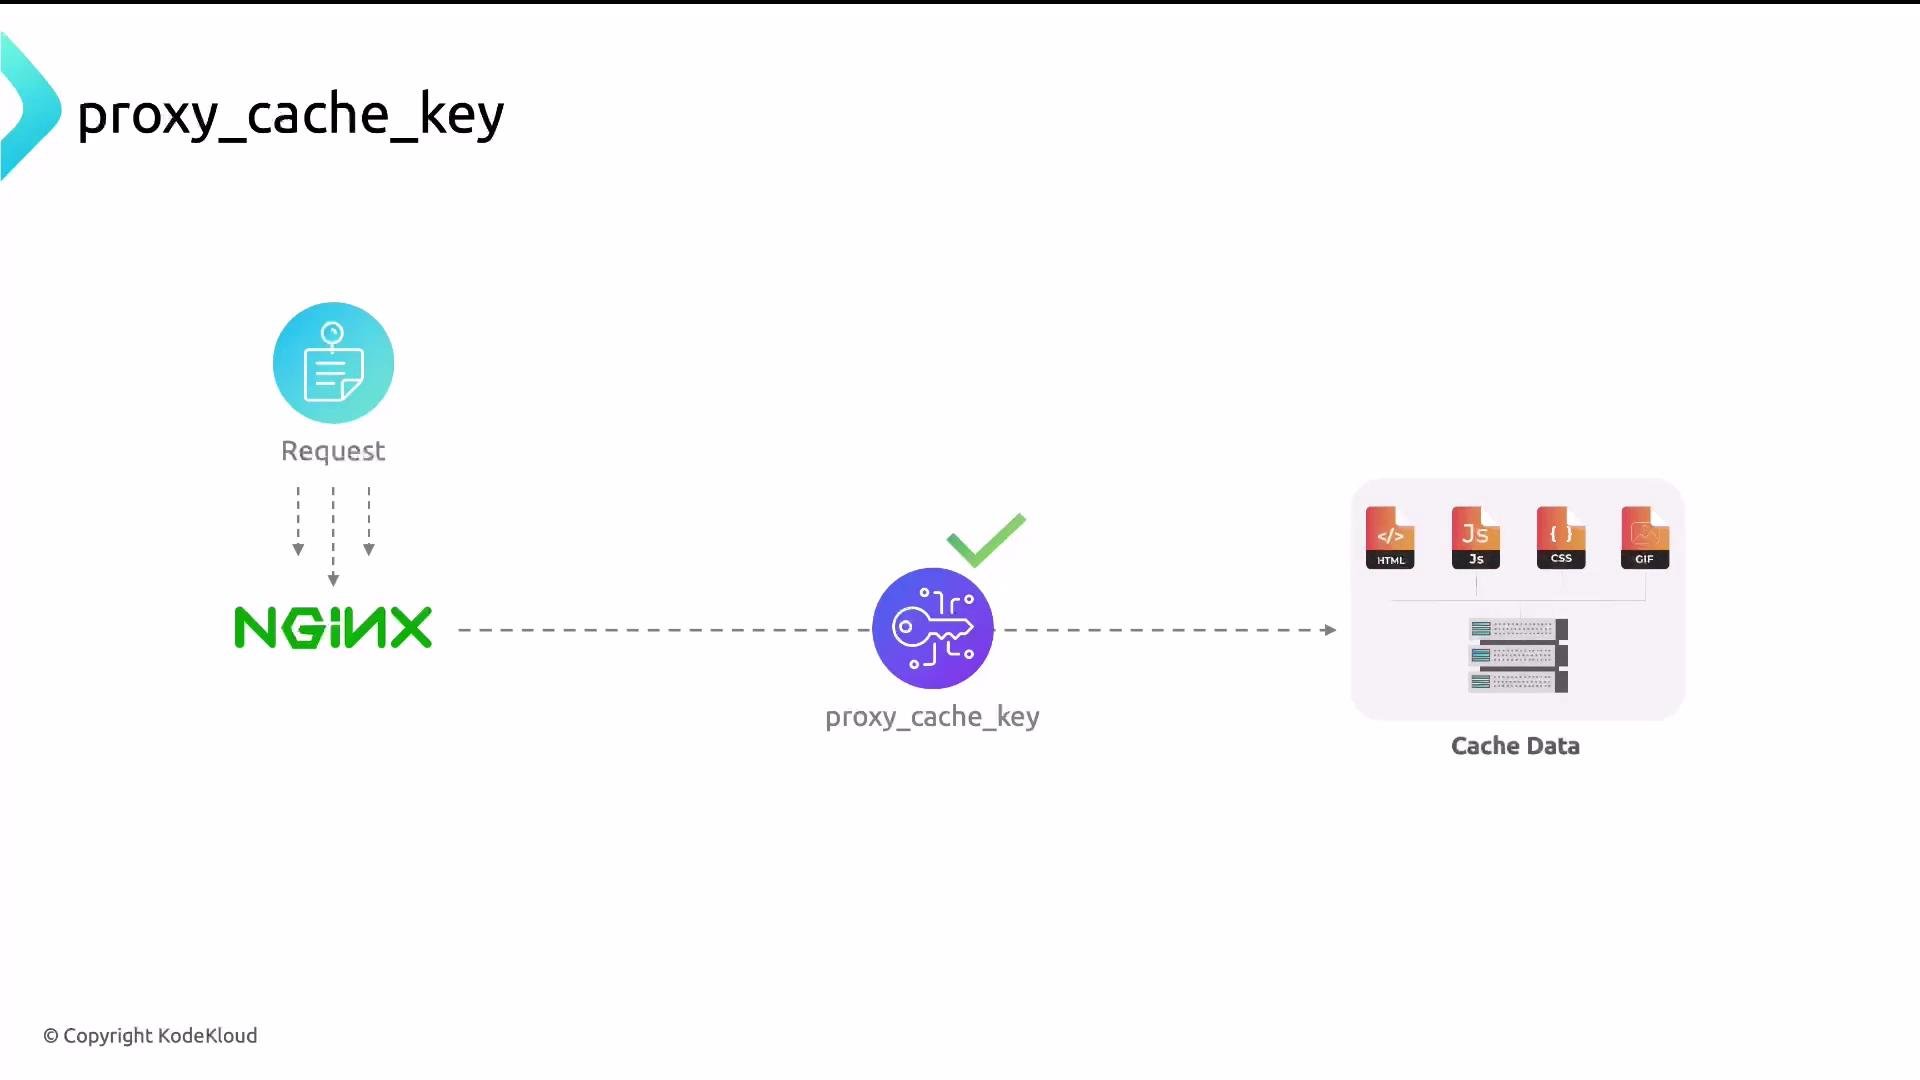 When a request maps to an existing cache entry it’s a HIT — NGINX serves the cached content. If there’s no match it’s a MISS — NGINX sends the request to the backend and, depending on caching rules, stores the response.
### proxy\_cache\_valid
* Controls how long responses are kept in cache depending on HTTP status code.
* Example:
```nginx theme={null}
proxy_cache_valid 200 302 10m;
proxy_cache_valid 404 1m;
```
* In this configuration: `200` and `302` responses are cached for 10 minutes; `404` responses for 1 minute.
### Enabling caching in server/location blocks
* Reference the same `keys_zone` declared in `proxy_cache_path`:
```nginx theme={null}
server {
listen 80;
server_name example.com www.example.com;
location / {
proxy_cache app_cache;
add_header X-Proxy-Cache $upstream_cache_status;
proxy_pass http://backend/;
}
}
```
### proxy\_cache\_bypass — use with caution
`proxy_cache_bypass` lets you skip cache for specific requests (for example, when the client sends `Cache-Control: no-cache`). Overusing this directive defeats caching because many requests will be forwarded to the backend. Prefer bypass rules only for dynamic endpoints or authenticated requests.
Example:
```nginx theme={null}
proxy_cache_bypass $http_cache_control;
```
### Expose cache status for debugging
* The variable `$upstream_cache_status` indicates `HIT`, `MISS`, `BYPASS`, `EXPIRED`, etc.
* To make this visible in a browser's network inspector:
```nginx theme={null}
add_header X-Proxy-Cache $upstream_cache_status;
```
Use `add_header` to expose cache status in response headers to the client (useful for debugging). `proxy_set_header` is different — it sets headers on the request to the upstream backend.
## How to confirm caching is working
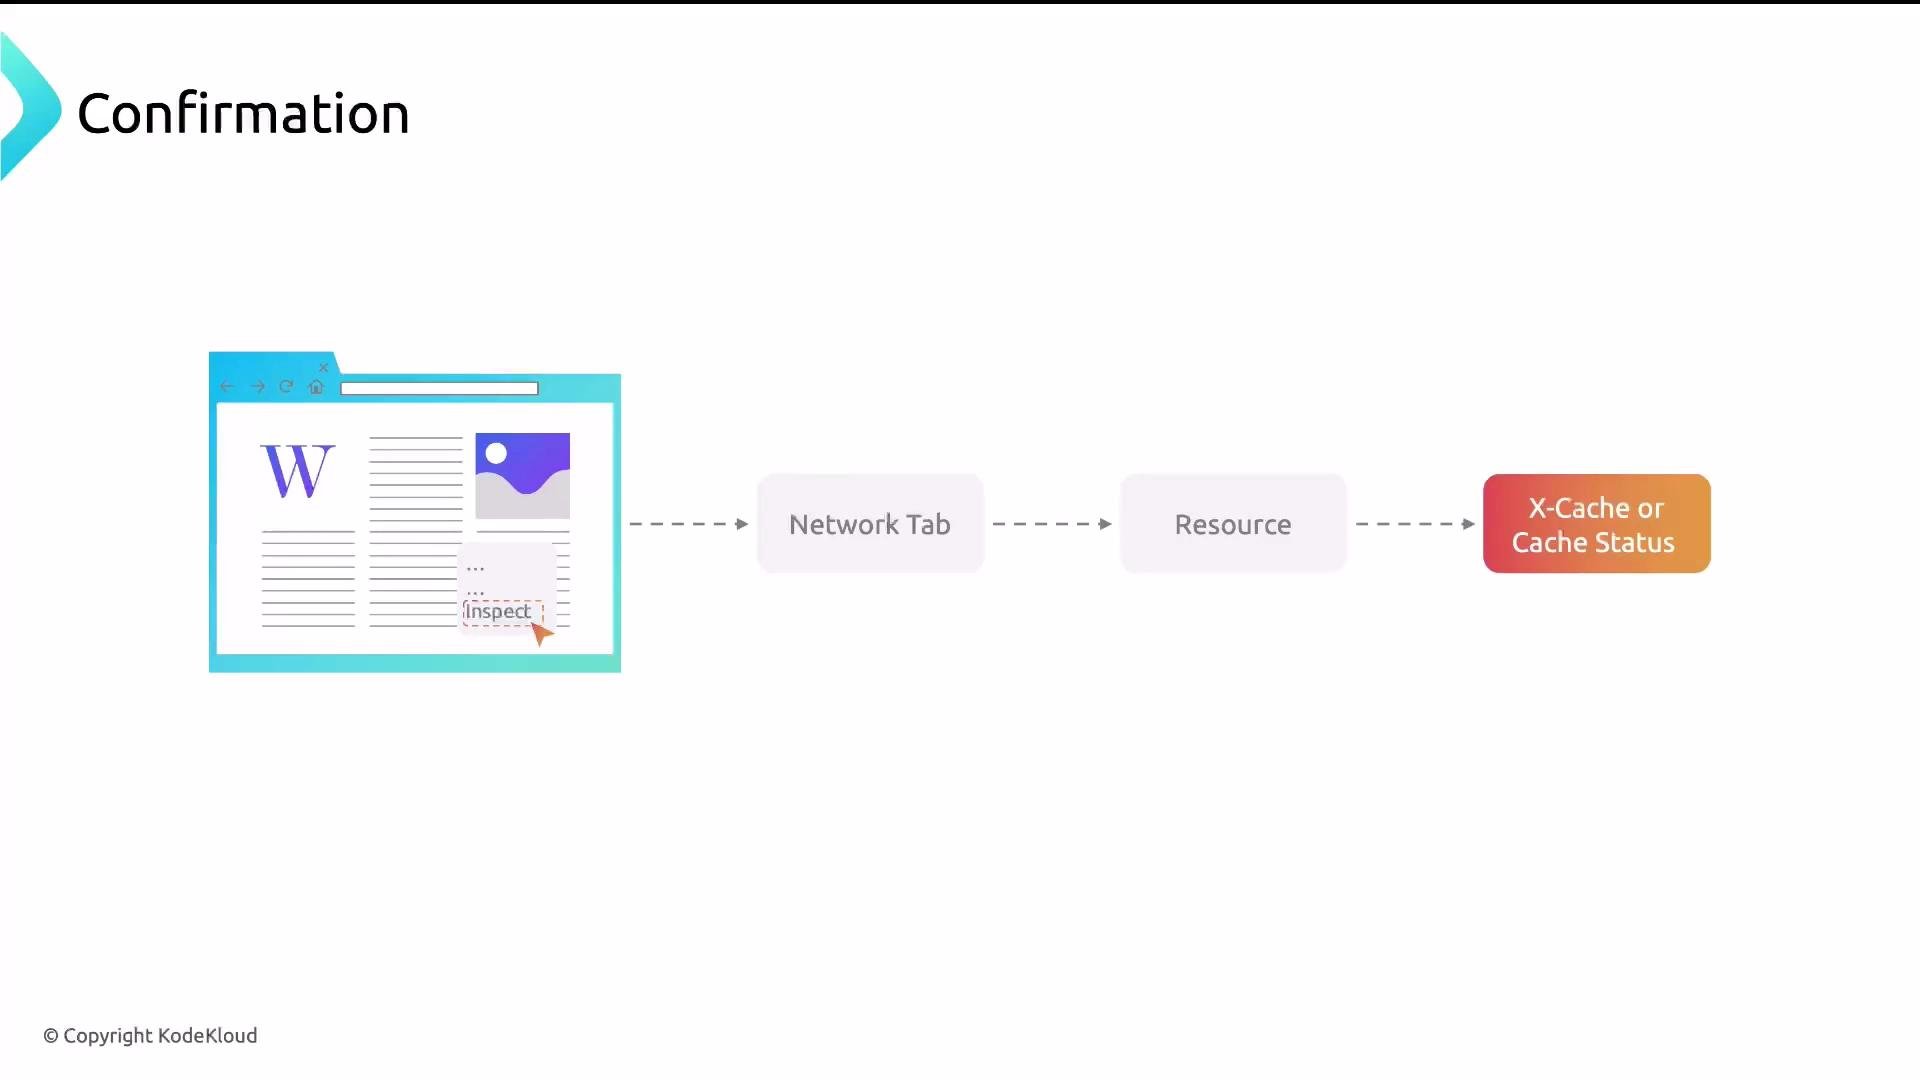
* Quick method: browser DevTools
1. Open DevTools (Inspect).
2. Go to the Network tab.
3. Select a resource and inspect response headers for `X-Proxy-Cache`, `X-Cache`, or `Cache-Status`.
* You can also inspect NGINX or backend logs for cache-related messages.
When a request maps to an existing cache entry it’s a HIT — NGINX serves the cached content. If there’s no match it’s a MISS — NGINX sends the request to the backend and, depending on caching rules, stores the response.
### proxy\_cache\_valid
* Controls how long responses are kept in cache depending on HTTP status code.
* Example:
```nginx theme={null}
proxy_cache_valid 200 302 10m;
proxy_cache_valid 404 1m;
```
* In this configuration: `200` and `302` responses are cached for 10 minutes; `404` responses for 1 minute.
### Enabling caching in server/location blocks
* Reference the same `keys_zone` declared in `proxy_cache_path`:
```nginx theme={null}
server {
listen 80;
server_name example.com www.example.com;
location / {
proxy_cache app_cache;
add_header X-Proxy-Cache $upstream_cache_status;
proxy_pass http://backend/;
}
}
```
### proxy\_cache\_bypass — use with caution
`proxy_cache_bypass` lets you skip cache for specific requests (for example, when the client sends `Cache-Control: no-cache`). Overusing this directive defeats caching because many requests will be forwarded to the backend. Prefer bypass rules only for dynamic endpoints or authenticated requests.
Example:
```nginx theme={null}
proxy_cache_bypass $http_cache_control;
```
### Expose cache status for debugging
* The variable `$upstream_cache_status` indicates `HIT`, `MISS`, `BYPASS`, `EXPIRED`, etc.
* To make this visible in a browser's network inspector:
```nginx theme={null}
add_header X-Proxy-Cache $upstream_cache_status;
```
Use `add_header` to expose cache status in response headers to the client (useful for debugging). `proxy_set_header` is different — it sets headers on the request to the upstream backend.
## How to confirm caching is working
* Quick method: browser DevTools
1. Open DevTools (Inspect).
2. Go to the Network tab.
3. Select a resource and inspect response headers for `X-Proxy-Cache`, `X-Cache`, or `Cache-Status`.
* You can also inspect NGINX or backend logs for cache-related messages.
 A sample response header block might include:
```text theme={null}
Accept-Ranges: bytes
Age: 10
Cache-Control: s-maxage=60
Content-Encoding: gzip
Content-Length: 103408
Content-Type: text/html; charset=iso-8859-15
Date: Fri, 24 Jan 2025 17:25:21 GMT
Referrer-Policy: unsafe-url
Vary: Accept-Encoding, User-Agent
X-Backend: CONTENT
X-Cache: HIT, HIT
X-Cache-Hits: 1, 1
X-Served-By: cache-ams21071-AMS, cache-bfi-krnt7300049-BFI
X-Timer: S1737739521.335220,VS0,VE2
```
* `X-Cache` or `X-Proxy-Cache` showing `HIT` indicates a cached response.
* `Age` shows how long the response has been in cache.
## Clearing the cache
* Remove files under the cache directory (for example, delete contents inside `/var/lib/nginx/cache`) or rename the cache directory.
* If you remove files while NGINX is running, in-memory metadata may still reference deleted entries — reload or restart NGINX after clearing to reset the cache state.
* NGINX will recreate the cache files when it starts writing new entries.
## Next steps
* Start by caching static assets (images, CSS, JS) — these are safe and high-impact.
* Add cache for specific dynamic endpoints after validating correctness.
* Use `X-Proxy-Cache` (or a similar header) to verify cache behavior in your environment.
Now you can configure NGINX caching using the directives shown above and verify results with the browser DevTools and server logs.
A sample response header block might include:
```text theme={null}
Accept-Ranges: bytes
Age: 10
Cache-Control: s-maxage=60
Content-Encoding: gzip
Content-Length: 103408
Content-Type: text/html; charset=iso-8859-15
Date: Fri, 24 Jan 2025 17:25:21 GMT
Referrer-Policy: unsafe-url
Vary: Accept-Encoding, User-Agent
X-Backend: CONTENT
X-Cache: HIT, HIT
X-Cache-Hits: 1, 1
X-Served-By: cache-ams21071-AMS, cache-bfi-krnt7300049-BFI
X-Timer: S1737739521.335220,VS0,VE2
```
* `X-Cache` or `X-Proxy-Cache` showing `HIT` indicates a cached response.
* `Age` shows how long the response has been in cache.
## Clearing the cache
* Remove files under the cache directory (for example, delete contents inside `/var/lib/nginx/cache`) or rename the cache directory.
* If you remove files while NGINX is running, in-memory metadata may still reference deleted entries — reload or restart NGINX after clearing to reset the cache state.
* NGINX will recreate the cache files when it starts writing new entries.
## Next steps
* Start by caching static assets (images, CSS, JS) — these are safe and high-impact.
* Add cache for specific dynamic endpoints after validating correctness.
* Use `X-Proxy-Cache` (or a similar header) to verify cache behavior in your environment.
Now you can configure NGINX caching using the directives shown above and verify results with the browser DevTools and server logs.