> ## Documentation Index
> Fetch the complete documentation index at: https://notes.kodekloud.com/llms.txt
> Use this file to discover all available pages before exploring further.
# Blocking Traffic
> Explains blocking unwanted traffic using NGINX allow/deny and Fail2Ban for automated IP bans and rate limiting to protect web applications.
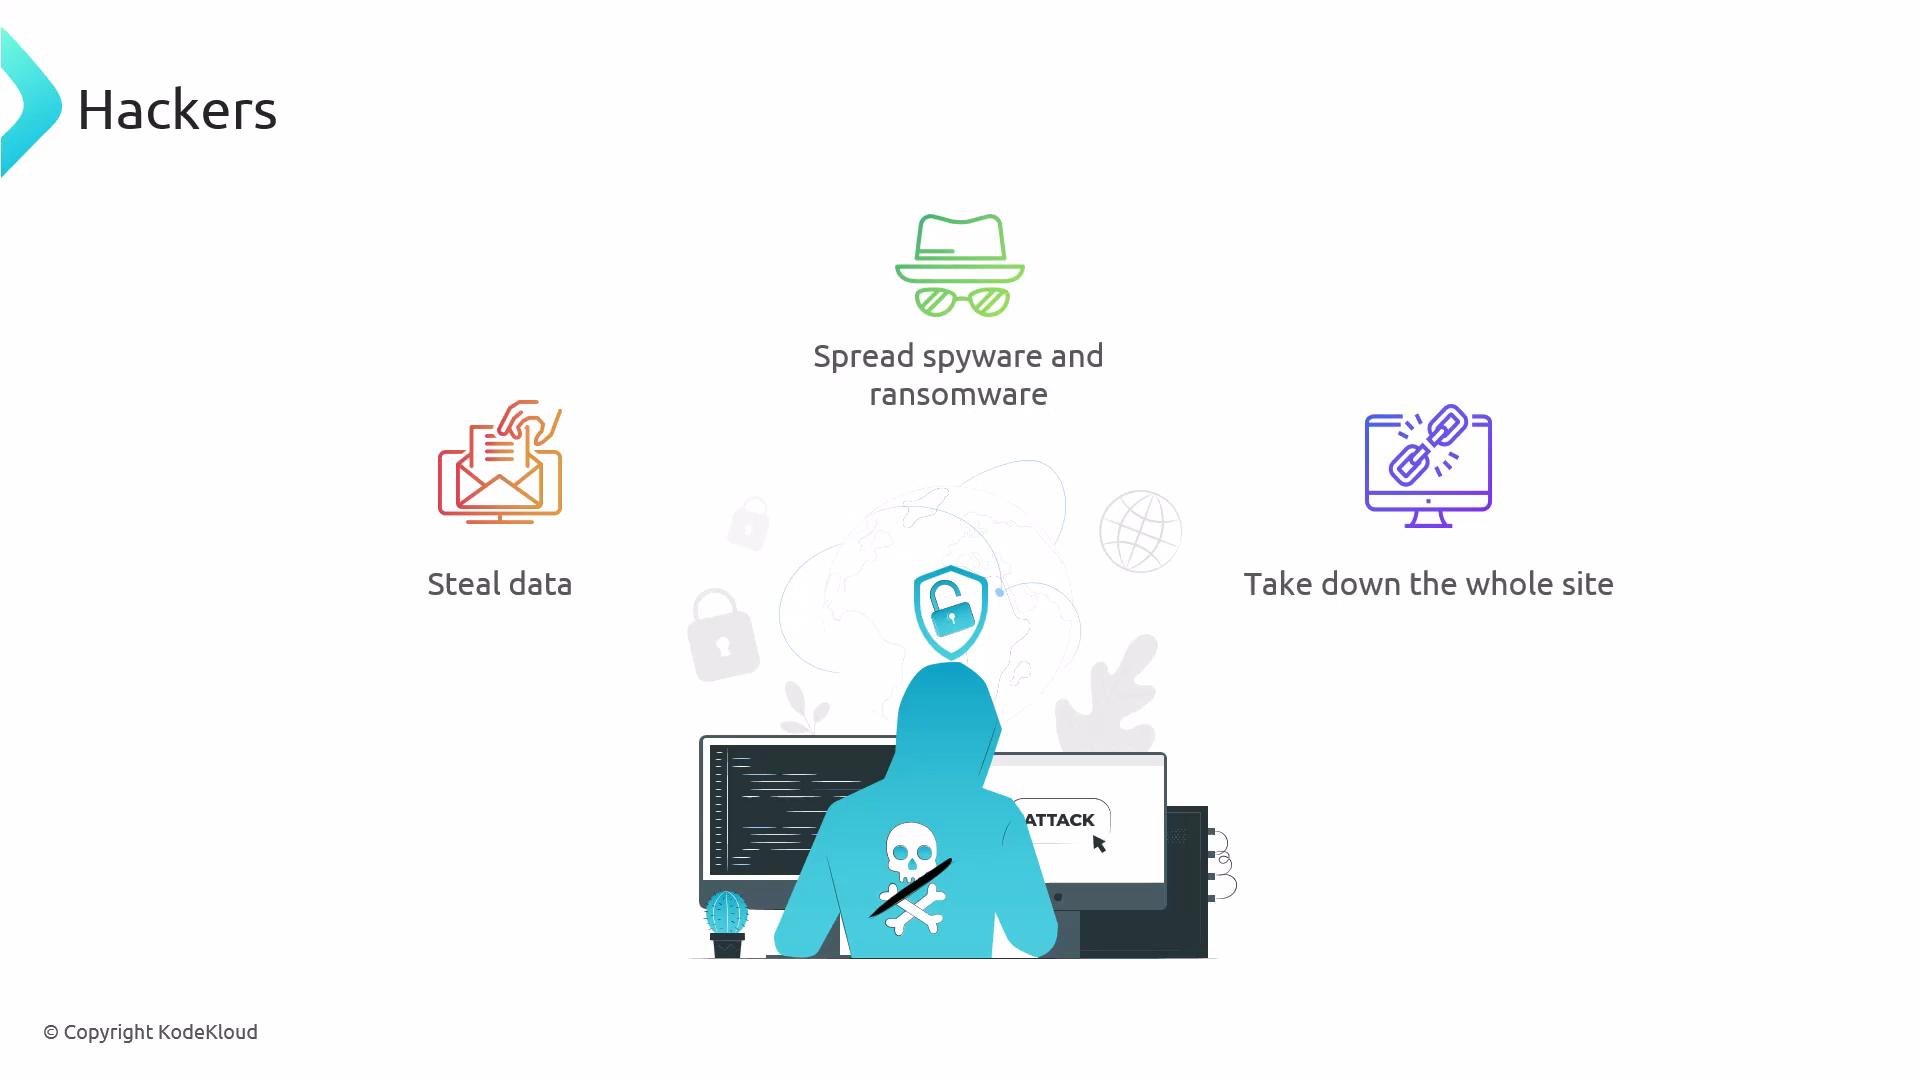
Attackers can steal data, spread malware (spyware or ransomware), or even take a site offline. While many bots are benign (search engine crawlers), others scrape content, post spam, or generate fake reviews. Blocking unwanted traffic early reduces risk and preserves resources.
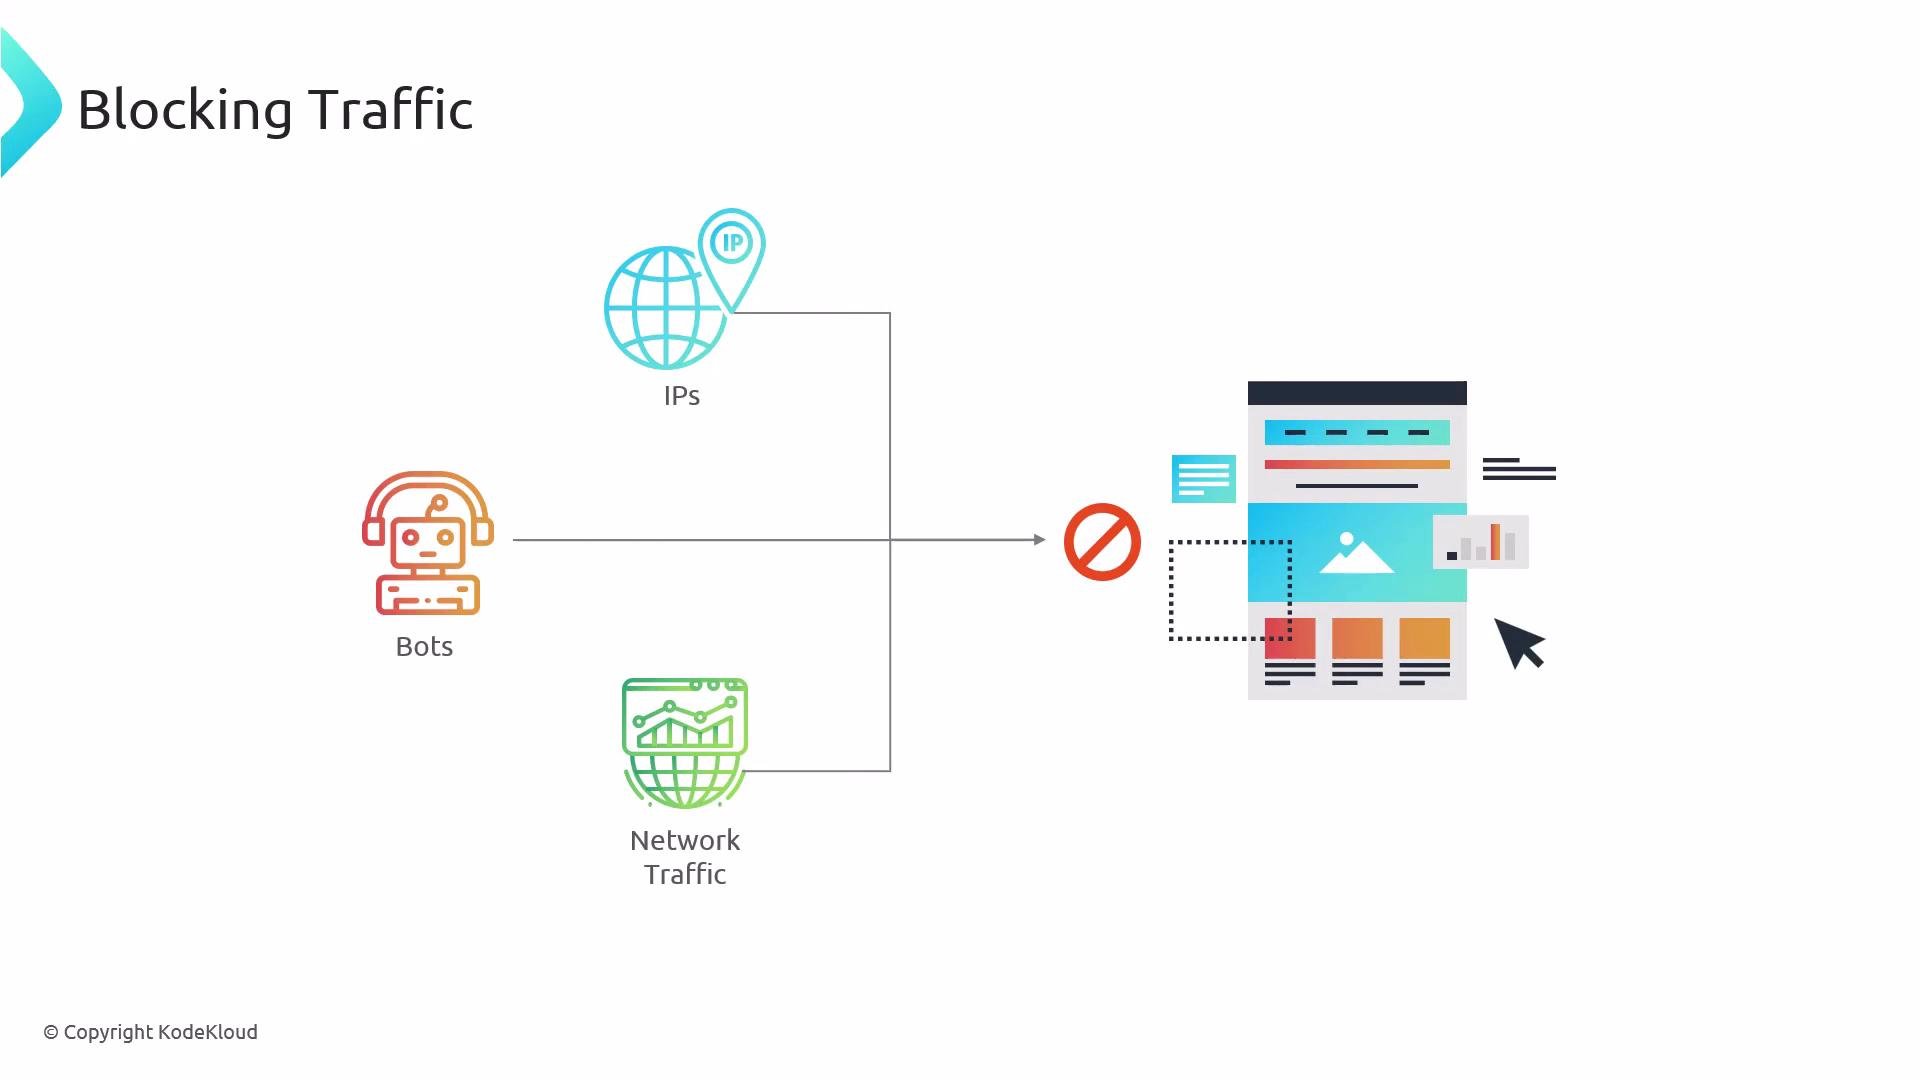
 A common defensive stack combines authentication, service-level controls, and automated blocking. One service-level control is blocking IPs and ranges at the NGINX layer to prevent known bad actors or unexpected network ranges from reaching your application.
 ## NGINX access control: allow / deny
NGINX uses the http\_access module to control access via `allow` and `deny` directives (see the official docs: [https://nginx.org/en/docs/http/ngx\_http\_access\_module.html](https://nginx.org/en/docs/http/ngx_http_access_module.html)). Place these directives inside `http`, `server`, or `location` blocks to permit or block traffic by IPv4/IPv6 address or CIDR block.
Example — allow two specific IPv4 addresses and deny all other traffic:
```nginx theme={null}
server {
listen 80;
server_name example.com www.example.com;
root /var/www/example.com/html;
index index.html;
allow 192.168.1.100/32;
allow 174.168.100.252/32;
deny all;
}
```
To block a range, use CIDR prefixes. Example — deny a `/24` range and allow a specific `/24` inside a location:
```nginx theme={null}
server {
listen 80;
server_name example.com www.example.com;
root /var/www/example.com/html;
index index.html;
deny 203.0.113.0/24;
location /admin {
allow 174.0.252.0/24;
deny all;
try_files $uri $uri/ =404;
}
}
```
Use CIDR to express address scope efficiently:
* `/32` — single IPv4 address
* `/24` — block of 256 addresses (e.g., `203.0.113.0` through `203.0.113.255`)
CIDR quick reminder: `/32` = one IPv4 address; `/24` = 256 addresses. Use CIDR notation to manage large address sets instead of listing many single addresses.
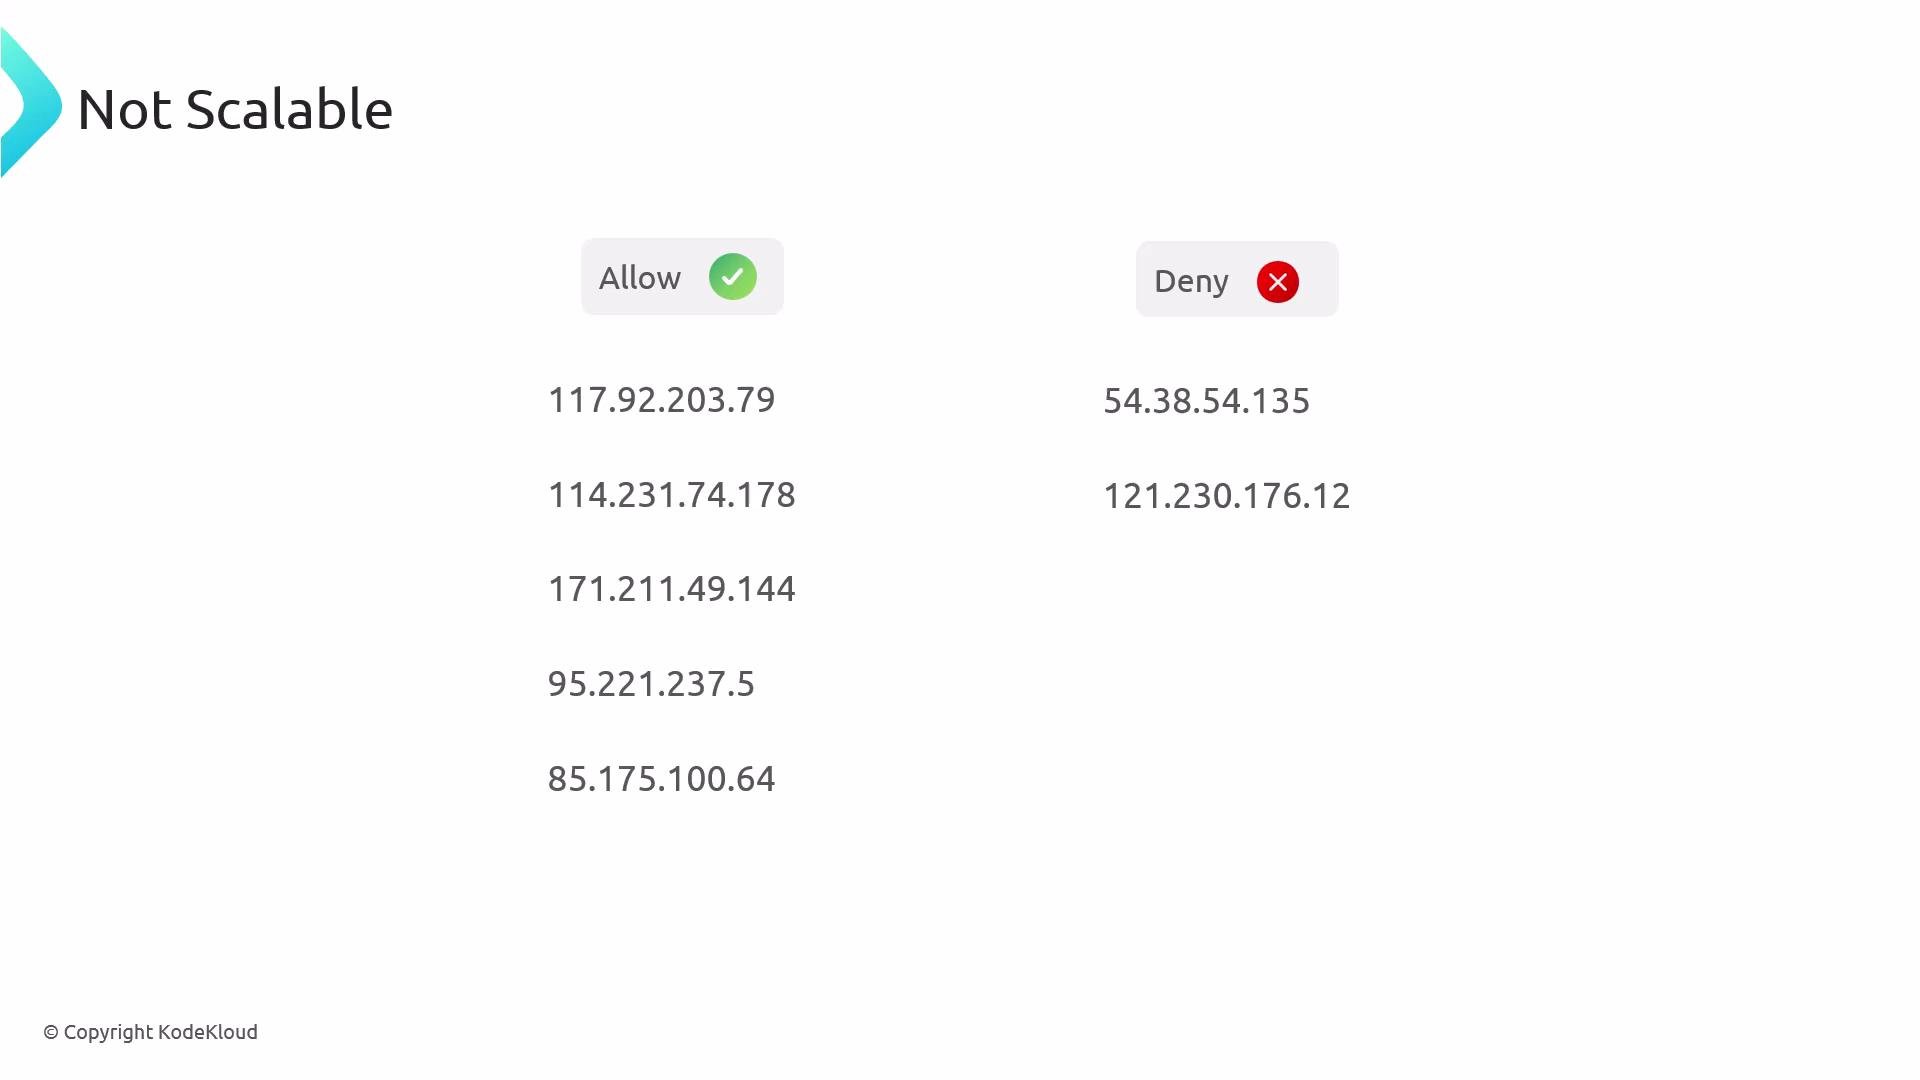
However, adding many `allow`/`deny` rules directly to NGINX configuration files does not scale well. Attackers rotate IPs, and long lists make configuration brittle and hard to maintain.
## NGINX access control: allow / deny
NGINX uses the http\_access module to control access via `allow` and `deny` directives (see the official docs: [https://nginx.org/en/docs/http/ngx\_http\_access\_module.html](https://nginx.org/en/docs/http/ngx_http_access_module.html)). Place these directives inside `http`, `server`, or `location` blocks to permit or block traffic by IPv4/IPv6 address or CIDR block.
Example — allow two specific IPv4 addresses and deny all other traffic:
```nginx theme={null}
server {
listen 80;
server_name example.com www.example.com;
root /var/www/example.com/html;
index index.html;
allow 192.168.1.100/32;
allow 174.168.100.252/32;
deny all;
}
```
To block a range, use CIDR prefixes. Example — deny a `/24` range and allow a specific `/24` inside a location:
```nginx theme={null}
server {
listen 80;
server_name example.com www.example.com;
root /var/www/example.com/html;
index index.html;
deny 203.0.113.0/24;
location /admin {
allow 174.0.252.0/24;
deny all;
try_files $uri $uri/ =404;
}
}
```
Use CIDR to express address scope efficiently:
* `/32` — single IPv4 address
* `/24` — block of 256 addresses (e.g., `203.0.113.0` through `203.0.113.255`)
CIDR quick reminder: `/32` = one IPv4 address; `/24` = 256 addresses. Use CIDR notation to manage large address sets instead of listing many single addresses.
However, adding many `allow`/`deny` rules directly to NGINX configuration files does not scale well. Attackers rotate IPs, and long lists make configuration brittle and hard to maintain.
 ## Automated blocking with Fail2Ban
For many deployments, using an automated agent to monitor logs and apply short-term bans is more effective than static lists. Fail2Ban ([https://www.fail2ban.org](https://www.fail2ban.org)) watches log files for suspicious patterns and updates host firewall rules (iptables, nftables, or firewalld) to block offending IPs temporarily.
## Automated blocking with Fail2Ban
For many deployments, using an automated agent to monitor logs and apply short-term bans is more effective than static lists. Fail2Ban ([https://www.fail2ban.org](https://www.fail2ban.org)) watches log files for suspicious patterns and updates host firewall rules (iptables, nftables, or firewalld) to block offending IPs temporarily.
 Fail2Ban is especially effective against brute-force attempts and repeated abuse because it:
* Parses logs for configurable regex patterns (filters).
* Applies bans when thresholds are exceeded (jails).
* Unbans automatically after a configured `bantime`.
Example runtime output (tailing the Fail2Ban log):
```bash theme={null}
ubuntu@linux:~$ sudo tail -f /var/log/fail2ban.log
2024-08-10 19:26:27,469 fail2ban.jail [7786]: INFO Creating new jail 'ssh'
2024-08-10 19:26:27,469 fail2ban.jail [7786]: INFO Jail 'ssh' uses pyinotify {}
2024-08-10 19:26:27,472 fail2ban.jail [7786]: INFO Initiated 'pyinotify' backend
2024-08-10 19:26:27,473 fail2ban.filter [7786]: INFO maxLines: 1
2024-08-10 19:26:27,473 fail2ban.filter [7786]: INFO maxRetry: 2
2024-08-10 19:26:27,473 fail2ban.filter [7786]: INFO findtime: 300
2024-08-10 19:26:27,473 fail2ban.filter [7786]: INFO banTime: 86400
2024-08-10 19:26:27,473 fail2ban.filter [7786]: INFO encoding: UTF-8
2024-08-10 19:26:27,475 fail2ban.jail [7786]: INFO Jail 'sshd' started
2024-08-10 19:26:46,275 fail2ban.filter [7786]: INFO [sshd] Found 192.168.8.131 - 2024-08-10 19:26:46
2024-08-10 19:27:40,771 fail2ban.actions [7786]: NOTICE [sshd] Ban 192.168.8.131
```
### Installing Fail2Ban
Common installation commands:
| Distribution family | Install command |
| ---------------------- | ---------------------------------------------------------- |
| Debian / Ubuntu | `sudo apt install fail2ban` |
| RHEL / CentOS / Fedora | `sudo yum install fail2ban` or `sudo dnf install fail2ban` |
After installation, create a local override and configure jails:
```bash theme={null}
cd /etc/fail2ban
sudo cp jail.conf jail.local
sudo vim jail.local
```
### Example Fail2Ban jails for NGINX
Add jails to `jail.local` to enable NGINX-related monitoring:
```ini theme={null}
[nginx-http-auth]
enabled = true
port = http,https
filter = nginx-http-auth
logpath = /var/log/nginx/access.log
maxretry = 3
bantime = 600
findtime = 600
```
Block known bad bots with a longer ban:
```ini theme={null}
[nginx-badbots]
enabled = true
port = http,https
filter = nginx-badbots
logpath = /var/log/nginx/access.log
maxretry = 1
bantime = 48h
```
Rate-limit excessive requests:
```ini theme={null}
[nginx-limit-req]
enabled = true
port = http,https
filter = nginx-limit-req
logpath = /var/log/nginx/access.log
maxretry = 10
bantime = 24h
findtime = 60m
```
Fail2Ban filters are stored in `/etc/fail2ban/filter.d`. Many filters are included by default.
```bash theme={null}
cd /etc/fail2ban/filter.d
ls -la
```
Example filter file listing (illustrative):
```text theme={null}
-rw-r--r-- 1 root root 474 Nov 9 2022 nginx-bad-request.conf
-rw-r--r-- 1 root root 740 Nov 9 2022 nginx-botsearch.conf
-rw-r--r-- 1 root root 1048 Nov 9 2022 nginx-http-auth.conf
-rw-r--r-- 1 root root 1513 Nov 9 2022 nginx-limit-req.conf
```
Sample snippet from `nginx-http-auth.conf` (truncated):
```ini theme={null}
[Definition]
mode = normal
# Example regex patterns; is replaced by Fail2Ban with the matched IP
mdre-auth = ^\s*\[error\] \d+#\d+: \*\d+ user "(?:[^"]+|.*?)"?:? (?:password mismatch|was not found in "[^"]*"), client: , server: \S*, request: "\S+ \S+ HTTP/\d+\.\d+", host: "\S+"(?:, referrer: "\S+")?\s*$
mdre-fallback = ^\s*\[crit\] \d+#\d+: \*\d+ SSL_do_handshake\(\) failed \(SSL: error:\S+(?: \S+){1,3} too (?:long|short)\)[^,]*, client:
```
These filters use regular expressions to match authentication failures or other suspicious log lines. When the configured thresholds (e.g., `maxretry` within `findtime`) are exceeded, Fail2Ban triggers the ban action.
### Managing Fail2Ban and banned IPs
Check jail status and currently banned IPs:
```bash theme={null}
sudo fail2ban-client status nginx-http-auth
```
Example output:
```text theme={null}
Status for the jail: nginx-http-auth
|- Filter
| |- Currently failed: 0
| `- File list: /var/log/nginx/access.log
`- Actions
|- Currently banned: 1
`- Banned IP list: 192.0.2.45
```
To unban an IP:
```bash theme={null}
sudo fail2ban-client set nginx-http-auth unbanip 192.0.2.45
```
Because Fail2Ban operates on host logs and firewall rules, it typically requires no change to application configurations to be effective.
Fail2Ban depends on host log files and the host firewall. It may not work as expected in ephemeral container environments or Kubernetes clusters where logs are aggregated or networking is managed by the platform. For containers, consider ingress rate limiting, a Web Application Firewall (WAF), or platform-native network policies.
## Quick reference
| Topic | Notes / Commands |
| ---------------- | --------------------------------------------------------------------------------------------------------------------------- |
| NGINX allow/deny | Use `allow` and `deny` in `http`, `server`, or `location` blocks. See `ngx_http_access_module`. |
| CIDR examples | Use `/32` for a single IPv4 address, `/24` for a 256-address block. |
| Install Fail2Ban | Debian/Ubuntu: `sudo apt install fail2ban` — RHEL/CentOS/Fedora: `sudo yum install fail2ban` or `sudo dnf install fail2ban` |
| Check jails | `sudo fail2ban-client status ` |
| Unban IP | `sudo fail2ban-client set unbanip ` |
In this lesson you learned:
* How to use NGINX `allow`/`deny` with CIDR notation to block IPs or ranges.
* Why long static lists in NGINX are hard to maintain and scale poorly.
* How Fail2Ban dynamically blocks abusive IPs by monitoring logs and updating firewall rules.
* Basic Fail2Ban configuration patterns and how to inspect/unban IPs.
If you're testing locally on Ubuntu:
1. Install Fail2Ban (`sudo apt install fail2ban`).
2. Copy `jail.conf` to `jail.local` and enable the NGINX jails you need.
3. Tail `/var/log/fail2ban.log` and `/var/log/nginx/access.log` to verify detection and bans.
Useful references:
* NGINX access module: [https://nginx.org/en/docs/http/ngx\_http\_access\_module.html](https://nginx.org/en/docs/http/ngx_http_access_module.html)
* Fail2Ban project: [https://www.fail2ban.org](https://www.fail2ban.org)
Fail2Ban is especially effective against brute-force attempts and repeated abuse because it:
* Parses logs for configurable regex patterns (filters).
* Applies bans when thresholds are exceeded (jails).
* Unbans automatically after a configured `bantime`.
Example runtime output (tailing the Fail2Ban log):
```bash theme={null}
ubuntu@linux:~$ sudo tail -f /var/log/fail2ban.log
2024-08-10 19:26:27,469 fail2ban.jail [7786]: INFO Creating new jail 'ssh'
2024-08-10 19:26:27,469 fail2ban.jail [7786]: INFO Jail 'ssh' uses pyinotify {}
2024-08-10 19:26:27,472 fail2ban.jail [7786]: INFO Initiated 'pyinotify' backend
2024-08-10 19:26:27,473 fail2ban.filter [7786]: INFO maxLines: 1
2024-08-10 19:26:27,473 fail2ban.filter [7786]: INFO maxRetry: 2
2024-08-10 19:26:27,473 fail2ban.filter [7786]: INFO findtime: 300
2024-08-10 19:26:27,473 fail2ban.filter [7786]: INFO banTime: 86400
2024-08-10 19:26:27,473 fail2ban.filter [7786]: INFO encoding: UTF-8
2024-08-10 19:26:27,475 fail2ban.jail [7786]: INFO Jail 'sshd' started
2024-08-10 19:26:46,275 fail2ban.filter [7786]: INFO [sshd] Found 192.168.8.131 - 2024-08-10 19:26:46
2024-08-10 19:27:40,771 fail2ban.actions [7786]: NOTICE [sshd] Ban 192.168.8.131
```
### Installing Fail2Ban
Common installation commands:
| Distribution family | Install command |
| ---------------------- | ---------------------------------------------------------- |
| Debian / Ubuntu | `sudo apt install fail2ban` |
| RHEL / CentOS / Fedora | `sudo yum install fail2ban` or `sudo dnf install fail2ban` |
After installation, create a local override and configure jails:
```bash theme={null}
cd /etc/fail2ban
sudo cp jail.conf jail.local
sudo vim jail.local
```
### Example Fail2Ban jails for NGINX
Add jails to `jail.local` to enable NGINX-related monitoring:
```ini theme={null}
[nginx-http-auth]
enabled = true
port = http,https
filter = nginx-http-auth
logpath = /var/log/nginx/access.log
maxretry = 3
bantime = 600
findtime = 600
```
Block known bad bots with a longer ban:
```ini theme={null}
[nginx-badbots]
enabled = true
port = http,https
filter = nginx-badbots
logpath = /var/log/nginx/access.log
maxretry = 1
bantime = 48h
```
Rate-limit excessive requests:
```ini theme={null}
[nginx-limit-req]
enabled = true
port = http,https
filter = nginx-limit-req
logpath = /var/log/nginx/access.log
maxretry = 10
bantime = 24h
findtime = 60m
```
Fail2Ban filters are stored in `/etc/fail2ban/filter.d`. Many filters are included by default.
```bash theme={null}
cd /etc/fail2ban/filter.d
ls -la
```
Example filter file listing (illustrative):
```text theme={null}
-rw-r--r-- 1 root root 474 Nov 9 2022 nginx-bad-request.conf
-rw-r--r-- 1 root root 740 Nov 9 2022 nginx-botsearch.conf
-rw-r--r-- 1 root root 1048 Nov 9 2022 nginx-http-auth.conf
-rw-r--r-- 1 root root 1513 Nov 9 2022 nginx-limit-req.conf
```
Sample snippet from `nginx-http-auth.conf` (truncated):
```ini theme={null}
[Definition]
mode = normal
# Example regex patterns; is replaced by Fail2Ban with the matched IP
mdre-auth = ^\s*\[error\] \d+#\d+: \*\d+ user "(?:[^"]+|.*?)"?:? (?:password mismatch|was not found in "[^"]*"), client: , server: \S*, request: "\S+ \S+ HTTP/\d+\.\d+", host: "\S+"(?:, referrer: "\S+")?\s*$
mdre-fallback = ^\s*\[crit\] \d+#\d+: \*\d+ SSL_do_handshake\(\) failed \(SSL: error:\S+(?: \S+){1,3} too (?:long|short)\)[^,]*, client:
```
These filters use regular expressions to match authentication failures or other suspicious log lines. When the configured thresholds (e.g., `maxretry` within `findtime`) are exceeded, Fail2Ban triggers the ban action.
### Managing Fail2Ban and banned IPs
Check jail status and currently banned IPs:
```bash theme={null}
sudo fail2ban-client status nginx-http-auth
```
Example output:
```text theme={null}
Status for the jail: nginx-http-auth
|- Filter
| |- Currently failed: 0
| `- File list: /var/log/nginx/access.log
`- Actions
|- Currently banned: 1
`- Banned IP list: 192.0.2.45
```
To unban an IP:
```bash theme={null}
sudo fail2ban-client set nginx-http-auth unbanip 192.0.2.45
```
Because Fail2Ban operates on host logs and firewall rules, it typically requires no change to application configurations to be effective.
Fail2Ban depends on host log files and the host firewall. It may not work as expected in ephemeral container environments or Kubernetes clusters where logs are aggregated or networking is managed by the platform. For containers, consider ingress rate limiting, a Web Application Firewall (WAF), or platform-native network policies.
## Quick reference
| Topic | Notes / Commands |
| ---------------- | --------------------------------------------------------------------------------------------------------------------------- |
| NGINX allow/deny | Use `allow` and `deny` in `http`, `server`, or `location` blocks. See `ngx_http_access_module`. |
| CIDR examples | Use `/32` for a single IPv4 address, `/24` for a 256-address block. |
| Install Fail2Ban | Debian/Ubuntu: `sudo apt install fail2ban` — RHEL/CentOS/Fedora: `sudo yum install fail2ban` or `sudo dnf install fail2ban` |
| Check jails | `sudo fail2ban-client status ` |
| Unban IP | `sudo fail2ban-client set unbanip ` |
In this lesson you learned:
* How to use NGINX `allow`/`deny` with CIDR notation to block IPs or ranges.
* Why long static lists in NGINX are hard to maintain and scale poorly.
* How Fail2Ban dynamically blocks abusive IPs by monitoring logs and updating firewall rules.
* Basic Fail2Ban configuration patterns and how to inspect/unban IPs.
If you're testing locally on Ubuntu:
1. Install Fail2Ban (`sudo apt install fail2ban`).
2. Copy `jail.conf` to `jail.local` and enable the NGINX jails you need.
3. Tail `/var/log/fail2ban.log` and `/var/log/nginx/access.log` to verify detection and bans.
Useful references:
* NGINX access module: [https://nginx.org/en/docs/http/ngx\_http\_access\_module.html](https://nginx.org/en/docs/http/ngx_http_access_module.html)
* Fail2Ban project: [https://www.fail2ban.org](https://www.fail2ban.org)