> ## Documentation Index
> Fetch the complete documentation index at: https://notes.kodekloud.com/llms.txt
> Use this file to discover all available pages before exploring further.
# Demo Authentication
> Shows how to add Basic Auth to an NGINX site to protect an /admin path using auth_basic and an .htpasswd file, with setup, testing, and alternatives
In this lesson we implement basic authentication on an NGINX server to protect a single endpoint. The public site will remain open, while an `/admin` path will require a username and password.
Example site:
```text theme={null}
https://www.example.com
```
Open a terminal on the NGINX host and confirm the site is reachable. The generic public page looks like this:
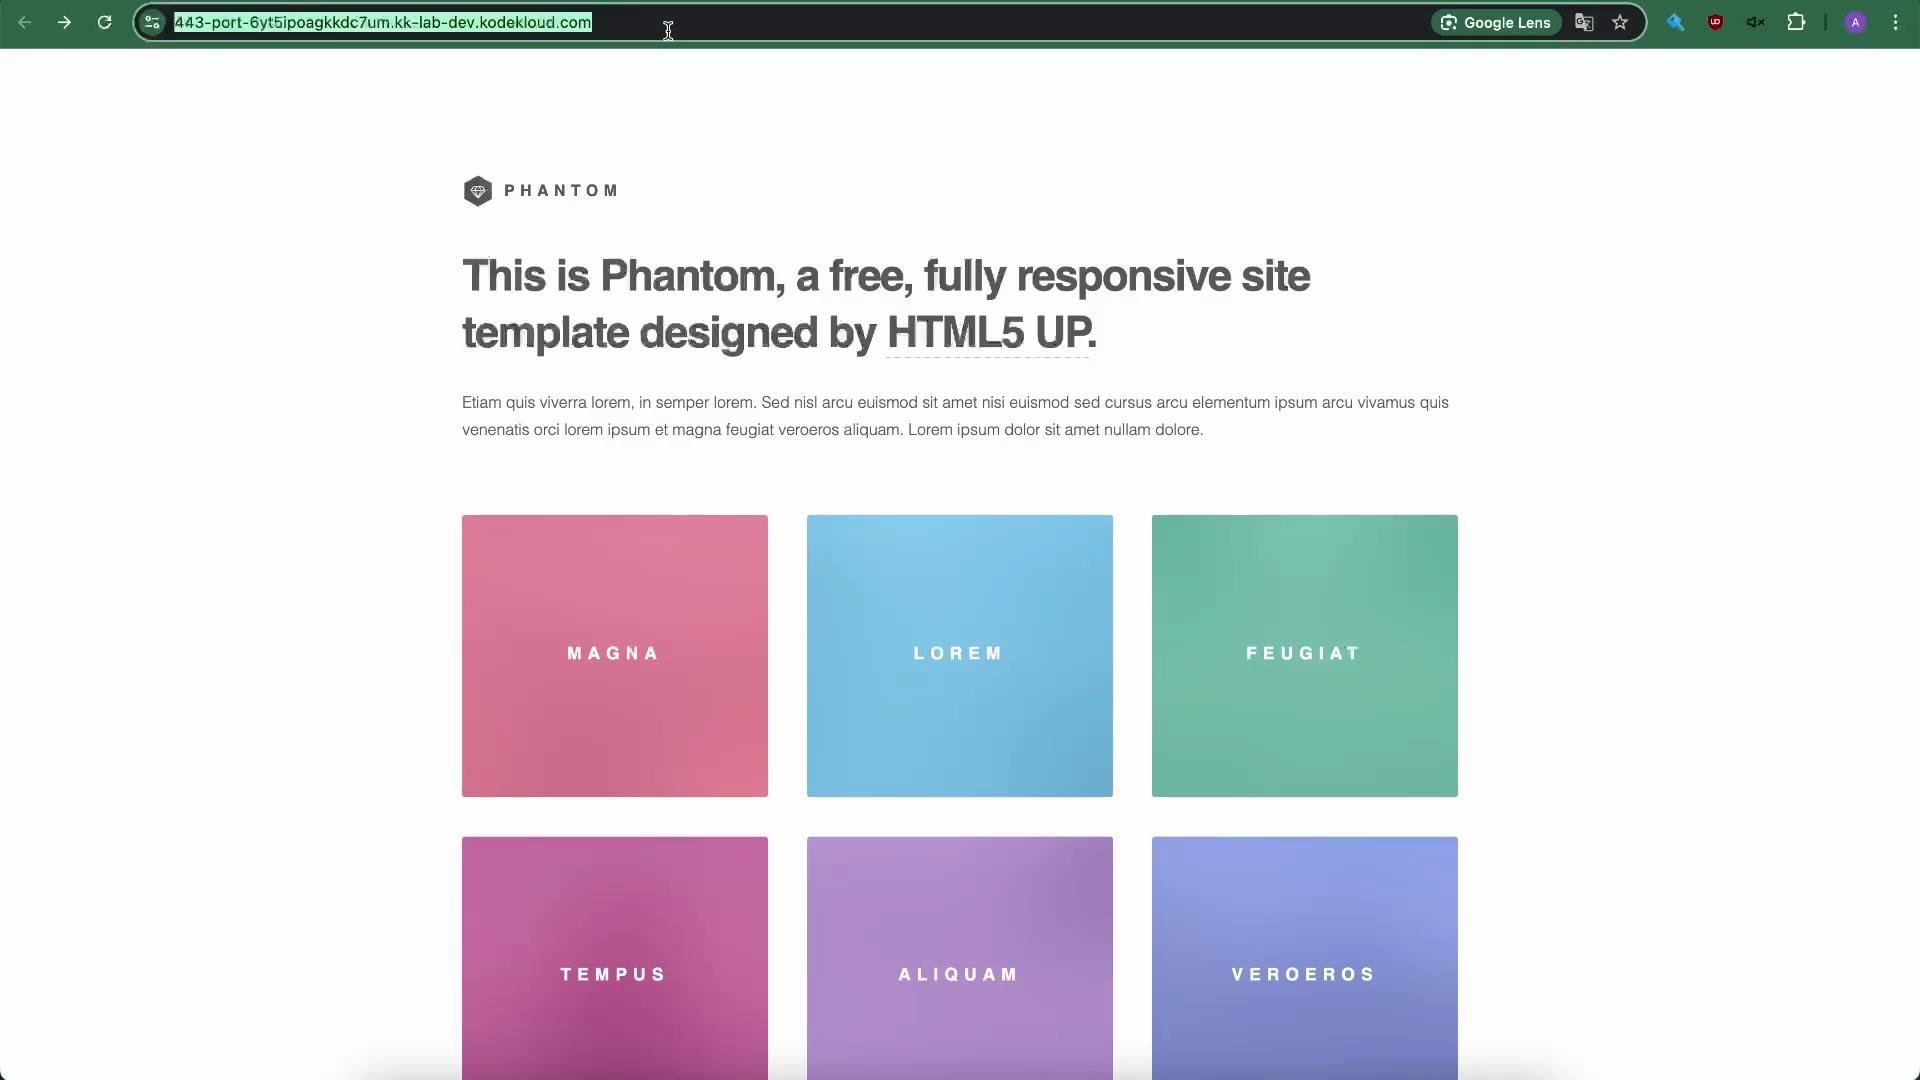 At this point, visiting `https://www.example.com/admin` shows the same public page because authentication isn't enabled yet. We'll update the NGINX configuration to require Basic Auth only for the `/admin` location.
## Update the NGINX server configuration
Edit your site configuration (for example `/etc/nginx/sites-available/example-https`) and add a `location /admin` block with `auth_basic` and `auth_basic_user_file`. This example server block shows a minimal HTTPS configuration with the `/admin` protection:
```nginx theme={null}
server {
listen 80;
server_name example.com www.example.com;
return 301 https://$host$request_uri;
}
server {
listen 443 ssl;
server_name example.com www.example.com;
ssl_certificate /etc/ssl/certs/example.com.pem;
ssl_certificate_key /etc/ssl/certs/example.com-key.pem;
root /var/www/html;
add_header Strict-Transport-Security "max-age=31560000; includeSubDomains; preload";
add_header X-Frame-Options "SAMEORIGIN";
add_header Content-Security-Policy "default-src 'self'";
add_header Referrer-Policy origin;
# Add index.php to the list if you are using PHP
index index.html index.htm index.nginx-debian.html;
location / {
# First attempt to serve request as file, then
# as directory, then fall back to displaying a 404.
try_files $uri $uri/ =404;
}
location /admin {
auth_basic "Restricted Access";
auth_basic_user_file /etc/nginx/conf.d/.htpasswd;
}
}
```
Quick reference: what the key directives do
| Directive | Purpose | Example |
| ----------------------------------------- | ---------------------------------------------------------: | --------------------------------------------------- |
| `auth_basic` | Sets the authentication realm shown in the browser prompt | `auth_basic "Restricted Access";` |
| `auth_basic_user_file` | Path to the htpasswd-style file with encrypted credentials | `auth_basic_user_file /etc/nginx/conf.d/.htpasswd;` |
| `try_files` | Fallback behavior to serve files or return 404 | `try_files $uri $uri/ =404;` |
| `ssl_certificate` / `ssl_certificate_key` | TLS certificate and key location | `/etc/ssl/certs/example.com.pem` |
Notes:
* `auth_basic` is the realm string that appears in the browser prompt (here: `"Restricted Access"`).
* `auth_basic_user_file` should point to a readable file containing `username:encrypted-password` entries.
## Create the `.htpasswd` file and add a user
Create the `.htpasswd` file and add a user (we'll add `admin` in this example). The commands below create or overwrite the file and append an APR1 (Apache MD5) encrypted password produced by `openssl passwd`:
```bash theme={null}
# Create or overwrite .htpasswd with the username and trailing colon
sudo sh -c "echo -n 'admin:' > /etc/nginx/conf.d/.htpasswd"
# Append an APR1 (Apache MD5) encrypted password (you will be prompted for the password)
sudo sh -c "openssl passwd -apr1 >> /etc/nginx/conf.d/.htpasswd"
```
When prompted enter the desired password (demo uses `password123`). The `.htpasswd` file will contain a single line similar to:
```text theme={null}
admin:$apr1$MASb7ZA.$b8LOCauVuqug5nH2AIk72/
```
Verify the file content:
```bash theme={null}
sudo cat /etc/nginx/conf.d/.htpasswd
# Example output:
# admin:$apr1$MASb7ZA.$b8LOCauVuqug5nH2AIk72/
```
Ensure the `.htpasswd` file is readable by the NGINX worker process (adjust ownership or permissions as needed). For example:
```bash theme={null}
sudo chown root:nginx /etc/nginx/conf.d/.htpasswd
sudo chmod 640 /etc/nginx/conf.d/.htpasswd
```
Avoid world-writable/readable permissions on sensitive files.
## Test and reload NGINX
Validate the configuration and reload NGINX so changes take effect:
```bash theme={null}
sudo nginx -t
sudo nginx -s reload
# Or, on systems using systemd:
# sudo systemctl reload nginx
```
Now visit the protected endpoint. Refresh `https://www.example.com/admin` — the browser should prompt for credentials:
At this point, visiting `https://www.example.com/admin` shows the same public page because authentication isn't enabled yet. We'll update the NGINX configuration to require Basic Auth only for the `/admin` location.
## Update the NGINX server configuration
Edit your site configuration (for example `/etc/nginx/sites-available/example-https`) and add a `location /admin` block with `auth_basic` and `auth_basic_user_file`. This example server block shows a minimal HTTPS configuration with the `/admin` protection:
```nginx theme={null}
server {
listen 80;
server_name example.com www.example.com;
return 301 https://$host$request_uri;
}
server {
listen 443 ssl;
server_name example.com www.example.com;
ssl_certificate /etc/ssl/certs/example.com.pem;
ssl_certificate_key /etc/ssl/certs/example.com-key.pem;
root /var/www/html;
add_header Strict-Transport-Security "max-age=31560000; includeSubDomains; preload";
add_header X-Frame-Options "SAMEORIGIN";
add_header Content-Security-Policy "default-src 'self'";
add_header Referrer-Policy origin;
# Add index.php to the list if you are using PHP
index index.html index.htm index.nginx-debian.html;
location / {
# First attempt to serve request as file, then
# as directory, then fall back to displaying a 404.
try_files $uri $uri/ =404;
}
location /admin {
auth_basic "Restricted Access";
auth_basic_user_file /etc/nginx/conf.d/.htpasswd;
}
}
```
Quick reference: what the key directives do
| Directive | Purpose | Example |
| ----------------------------------------- | ---------------------------------------------------------: | --------------------------------------------------- |
| `auth_basic` | Sets the authentication realm shown in the browser prompt | `auth_basic "Restricted Access";` |
| `auth_basic_user_file` | Path to the htpasswd-style file with encrypted credentials | `auth_basic_user_file /etc/nginx/conf.d/.htpasswd;` |
| `try_files` | Fallback behavior to serve files or return 404 | `try_files $uri $uri/ =404;` |
| `ssl_certificate` / `ssl_certificate_key` | TLS certificate and key location | `/etc/ssl/certs/example.com.pem` |
Notes:
* `auth_basic` is the realm string that appears in the browser prompt (here: `"Restricted Access"`).
* `auth_basic_user_file` should point to a readable file containing `username:encrypted-password` entries.
## Create the `.htpasswd` file and add a user
Create the `.htpasswd` file and add a user (we'll add `admin` in this example). The commands below create or overwrite the file and append an APR1 (Apache MD5) encrypted password produced by `openssl passwd`:
```bash theme={null}
# Create or overwrite .htpasswd with the username and trailing colon
sudo sh -c "echo -n 'admin:' > /etc/nginx/conf.d/.htpasswd"
# Append an APR1 (Apache MD5) encrypted password (you will be prompted for the password)
sudo sh -c "openssl passwd -apr1 >> /etc/nginx/conf.d/.htpasswd"
```
When prompted enter the desired password (demo uses `password123`). The `.htpasswd` file will contain a single line similar to:
```text theme={null}
admin:$apr1$MASb7ZA.$b8LOCauVuqug5nH2AIk72/
```
Verify the file content:
```bash theme={null}
sudo cat /etc/nginx/conf.d/.htpasswd
# Example output:
# admin:$apr1$MASb7ZA.$b8LOCauVuqug5nH2AIk72/
```
Ensure the `.htpasswd` file is readable by the NGINX worker process (adjust ownership or permissions as needed). For example:
```bash theme={null}
sudo chown root:nginx /etc/nginx/conf.d/.htpasswd
sudo chmod 640 /etc/nginx/conf.d/.htpasswd
```
Avoid world-writable/readable permissions on sensitive files.
## Test and reload NGINX
Validate the configuration and reload NGINX so changes take effect:
```bash theme={null}
sudo nginx -t
sudo nginx -s reload
# Or, on systems using systemd:
# sudo systemctl reload nginx
```
Now visit the protected endpoint. Refresh `https://www.example.com/admin` — the browser should prompt for credentials:
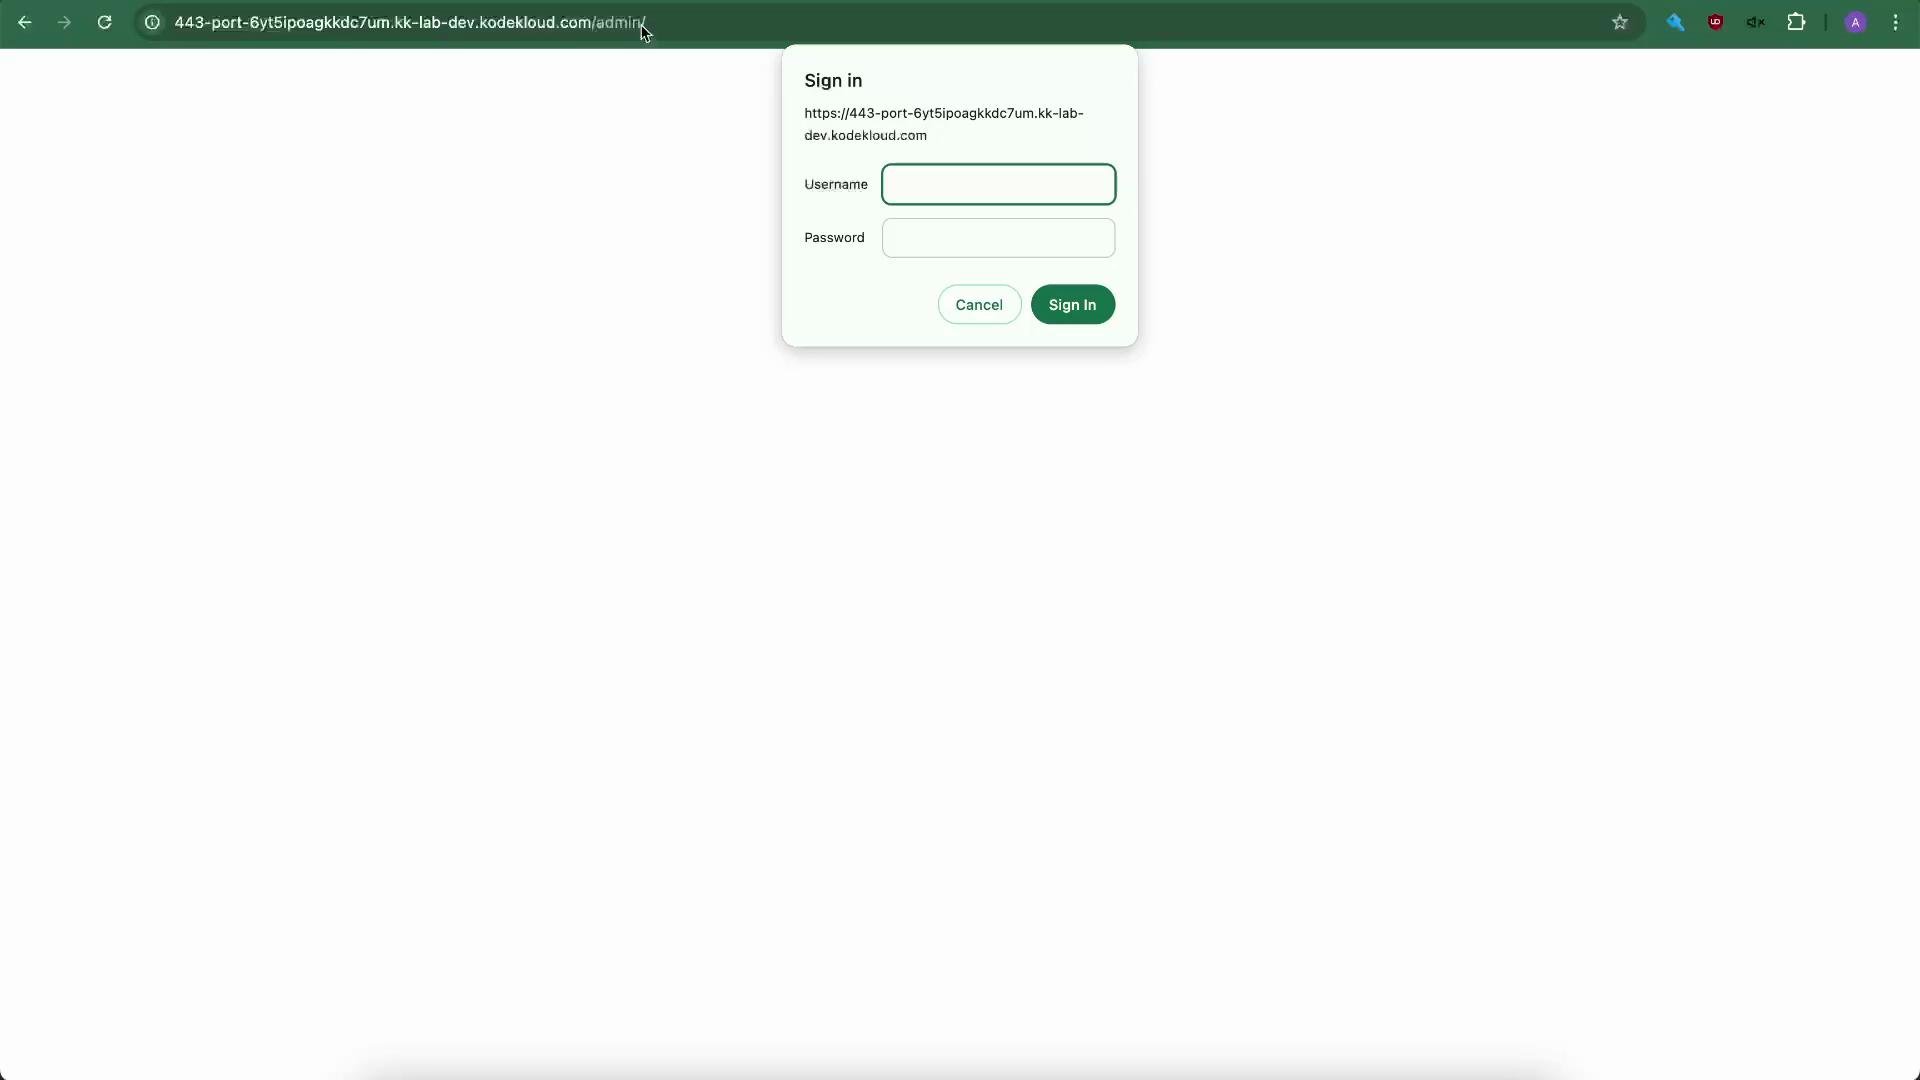 Enter the username (`admin`) and the password you created (e.g., `password123`). After successful authentication you gain access to `/admin`. The public `/` endpoint remains accessible without credentials.
## Protecting the entire site
If you prefer to require authentication for the entire site, move the `auth_basic` and `auth_basic_user_file` directives into the `location /` block or the server block (scope depends on your needs). Example replacing the earlier `location /`:
```nginx theme={null}
location / {
auth_basic "Restricted Access";
auth_basic_user_file /etc/nginx/conf.d/.htpasswd;
try_files $uri $uri/ =404;
}
```
After editing, run `nginx -t` and reload NGINX. Note: browsers may cache credentials; use a private/incognito window or clear credentials if you do not see the login prompt immediately.
Basic authentication with `.htpasswd` is simple and useful for internal or small-scale protection, but it does not scale well for large production deployments. Credentials are sent with every request and managing many users via `.htpasswd` becomes cumbersome. For production consider more robust solutions like [OAuth](https://oauth.net/), [OpenID Connect](https://openid.net/connect/), or integrating with an identity provider or SSO.
## Alternatives and integrations
If you use NGINX Plus (commercial) or additional modules, you can integrate NGINX with external identity providers. Examples include the NGINX JavaScript module (njs), OpenID Connect integrations, or vendor-specific modules.
Example: install and enable the njs module (package names vary by distribution):
```bash theme={null}
# Example installation commands (package names differ between distros)
sudo apt install nginx-plus-module-njs
# OR
sudo yum install nginx-plus-module-njs
# And then load the module in nginx.conf
load_module modules/ngx_http_js_module.so;
```
Use the appropriate module and configuration for your chosen identity provider or auth flow.
## Summary
This lesson showed how to:
* Protect a single NGINX location (`/admin`) using Basic Auth with `auth_basic` and a `.htpasswd` file.
* Create APR1-encrypted credentials using `openssl passwd -apr1`.
* Extend protection to the entire site.
* Consider alternatives for production deployments (OAuth, OpenID Connect, NGINX modules).
Links and references
* NGINX auth\_basic documentation: [https://nginx.org/en/docs/http/ngx\_http\_auth\_basic\_module.html](https://nginx.org/en/docs/http/ngx_http_auth_basic_module.html)
* `openssl passwd` manual: [https://www.openssl.org/docs/man1.1.1/man1/openssl-passwd.html](https://www.openssl.org/docs/man1.1.1/man1/openssl-passwd.html)
* NGINX documentation: [https://nginx.org/en/docs/](https://nginx.org/en/docs/)
* NGINX Plus: [https://www.nginx.com/products/nginx-plus/](https://www.nginx.com/products/nginx-plus/)
Enter the username (`admin`) and the password you created (e.g., `password123`). After successful authentication you gain access to `/admin`. The public `/` endpoint remains accessible without credentials.
## Protecting the entire site
If you prefer to require authentication for the entire site, move the `auth_basic` and `auth_basic_user_file` directives into the `location /` block or the server block (scope depends on your needs). Example replacing the earlier `location /`:
```nginx theme={null}
location / {
auth_basic "Restricted Access";
auth_basic_user_file /etc/nginx/conf.d/.htpasswd;
try_files $uri $uri/ =404;
}
```
After editing, run `nginx -t` and reload NGINX. Note: browsers may cache credentials; use a private/incognito window or clear credentials if you do not see the login prompt immediately.
Basic authentication with `.htpasswd` is simple and useful for internal or small-scale protection, but it does not scale well for large production deployments. Credentials are sent with every request and managing many users via `.htpasswd` becomes cumbersome. For production consider more robust solutions like [OAuth](https://oauth.net/), [OpenID Connect](https://openid.net/connect/), or integrating with an identity provider or SSO.
## Alternatives and integrations
If you use NGINX Plus (commercial) or additional modules, you can integrate NGINX with external identity providers. Examples include the NGINX JavaScript module (njs), OpenID Connect integrations, or vendor-specific modules.
Example: install and enable the njs module (package names vary by distribution):
```bash theme={null}
# Example installation commands (package names differ between distros)
sudo apt install nginx-plus-module-njs
# OR
sudo yum install nginx-plus-module-njs
# And then load the module in nginx.conf
load_module modules/ngx_http_js_module.so;
```
Use the appropriate module and configuration for your chosen identity provider or auth flow.
## Summary
This lesson showed how to:
* Protect a single NGINX location (`/admin`) using Basic Auth with `auth_basic` and a `.htpasswd` file.
* Create APR1-encrypted credentials using `openssl passwd -apr1`.
* Extend protection to the entire site.
* Consider alternatives for production deployments (OAuth, OpenID Connect, NGINX modules).
Links and references
* NGINX auth\_basic documentation: [https://nginx.org/en/docs/http/ngx\_http\_auth\_basic\_module.html](https://nginx.org/en/docs/http/ngx_http_auth_basic_module.html)
* `openssl passwd` manual: [https://www.openssl.org/docs/man1.1.1/man1/openssl-passwd.html](https://www.openssl.org/docs/man1.1.1/man1/openssl-passwd.html)
* NGINX documentation: [https://nginx.org/en/docs/](https://nginx.org/en/docs/)
* NGINX Plus: [https://www.nginx.com/products/nginx-plus/](https://www.nginx.com/products/nginx-plus/)