> ## Documentation Index
> Fetch the complete documentation index at: https://notes.kodekloud.com/llms.txt
> Use this file to discover all available pages before exploring further.
# Security Introduction
> Practical guide to securing local web development using HTTPS, TLS, Nginx headers, authentication, and access controls.
In this lesson we'll cover essential web security concepts and practical Nginx configurations you can apply in hands-on exercises. The goal is to give you a pragmatic toolkit for securing local development and preparing you for production deployment patterns.
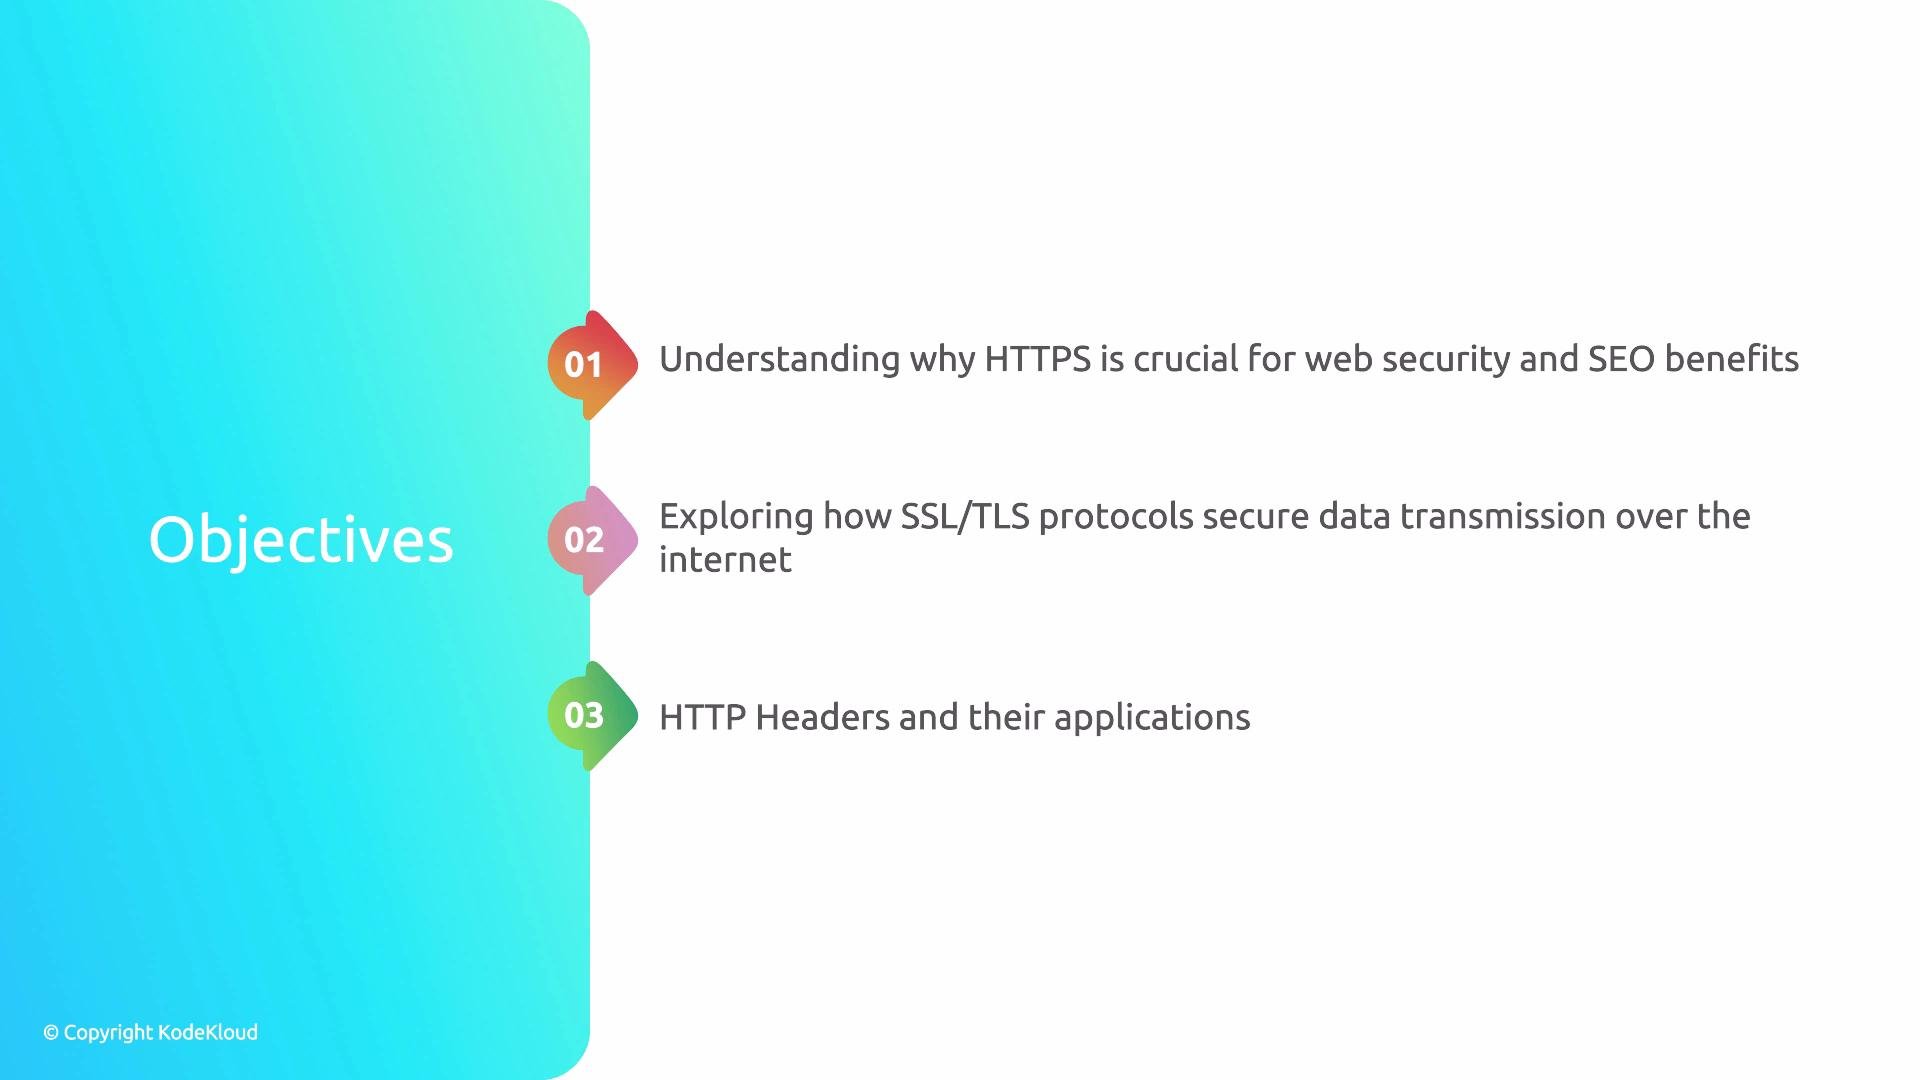
Summary of what you'll learn
* Why HTTPS matters and why plain HTTP is insecure
* How TLS (formerly SSL) protects data in transit
* Key HTTP security headers and how to add them in Nginx
* How to protect site areas with Nginx basic authentication
* How to allow/block traffic with `allow`/`deny` and an introduction to Fail2Ban
Why HTTPS matters
* HTTPS encrypts traffic between client and server, preventing eavesdropping and tampering.
* Modern browsers mark plain HTTP sites as insecure and will limit functionality (e.g., geolocation, service workers).
* TLS also enables server identity via certificates, which helps prevent man-in-the-middle attacks.
For demos and local hands-on exercises in this material we use `mkcert` to generate locally trusted TLS certificates: [mkcert](https://github.com/FiloSottile/mkcert). In production you would normally use a public CA such as [Let's Encrypt](https://letsencrypt.org/) with an automation tool like [Certbot](https://certbot.eff.org/). That approach requires control of a public domain and DNS — something most learners don't have for local exercises.
For local development and hands-on exercises, `mkcert` provides a convenient way to create certificates trusted by your machine. For production deployments, use a public CA like [Let's Encrypt](https://letsencrypt.org/) with [Certbot](https://certbot.eff.org/).
Quick mkcert usage (local)
* Install `mkcert` following the project README.
* Create a local CA and generate a certificate for `localhost`:
```bash theme={null}
mkcert -install
mkcert localhost 127.0.0.1 ::1
```
* The generated `localhost+2.pem` and `localhost+2-key.pem` (filenames may vary) can be referenced in your Nginx `ssl_certificate` and `ssl_certificate_key` directives for local testing.
 TLS fundamentals (brief)
* TLS provides:
* Confidentiality: traffic is encrypted.
* Integrity: tampering is detected.
* Authentication: server identity via certificates (optionally client certs).
* Browsers verify the certificate chain, validity period, and hostname match.
HTTP security headers — what matters most
We won't cover every available header, but these are the most effective and commonly used headers to improve security posture. Add them at the `server` or `location` level in Nginx as appropriate.
| Header | Purpose | Example Nginx directive |
| ---------------------------------- | --------------------------------------------------- | ----------------------------------------------------------------------------------------------------- |
| `Strict-Transport-Security` (HSTS) | Instructs browsers to only use HTTPS for a domain | `add_header Strict-Transport-Security "max-age=31536000; includeSubDomains; preload" always;` |
| `X-Frame-Options` | Prevents clickjacking by disallowing framing | `add_header X-Frame-Options "DENY" always;` |
| `X-Content-Type-Options` | Stops MIME sniffing | `add_header X-Content-Type-Options "nosniff" always;` |
| `Referrer-Policy` | Controls information in the `Referer` header | `add_header Referrer-Policy "no-referrer-when-downgrade" always;` |
| `Content-Security-Policy` (CSP) | Restricts sources for scripts, styles, images, etc. | `add_header Content-Security-Policy "default-src 'self'; script-src 'self' 'unsafe-inline';" always;` |
| `Permissions-Policy` | Limits browser features (formerly Feature-Policy) | `add_header Permissions-Policy "geolocation=(), microphone=()" always;` |
| `Expect-CT` | Certificate Transparency enforcement (optional) | `add_header Expect-CT "max-age=86400, enforce" always;` |
Nginx example: adding headers
Place these inside your `server` block (or specific `location`) to apply them. Use `always` so headers are sent even on error responses.
```nginx theme={null}
server {
listen 443 ssl;
server_name example.local;
ssl_certificate /etc/ssl/certs/localhost+2.pem;
ssl_certificate_key /etc/ssl/private/localhost+2-key.pem;
add_header Strict-Transport-Security "max-age=31536000; includeSubDomains; preload" always;
add_header X-Frame-Options "DENY" always;
add_header X-Content-Type-Options "nosniff" always;
add_header Referrer-Policy "no-referrer-when-downgrade" always;
add_header Content-Security-Policy "default-src 'self'; script-src 'self' 'unsafe-inline';" always;
add_header Permissions-Policy "geolocation=(), microphone=()" always;
location / {
proxy_pass http://backend;
}
}
```
Important CSP note
* Content-Security-Policy is powerful but can break site functionality if it is too restrictive. Start with a permissive policy and tighten gradually while testing.
Nginx basic authentication (protecting paths)
Use `htpasswd` from Apache's `httpd-tools` or `apache2-utils` to create password files, then protect Nginx locations with `auth_basic`.
Create an htpasswd file:
```bash theme={null}
# Install: sudo apt install apache2-utils
htpasswd -c /etc/nginx/.htpasswd alice
# You will be prompted to enter a password
```
Nginx config snippet:
```nginx theme={null}
location /admin {
auth_basic "Restricted Area";
auth_basic_user_file /etc/nginx/.htpasswd;
proxy_pass http://backend_admin;
}
```
Notes on authentication
* This is simple HTTP Basic Auth suitable for small, controlled areas or staging environments.
* For production, consider federated solutions (OAuth, OpenID Connect) or single sign-on (SSO) options for user management and stronger security.
Allow / deny directives (IP-based access control)
Use `allow` and `deny` in Nginx to restrict access by IP or network:
```nginx theme={null}
location /internal {
allow 10.0.0.0/8;
allow 192.168.1.0/24;
deny all;
proxy_pass http://internal_service;
}
```
* `allow` and `deny` are evaluated in order; when a client matches `allow`, access is granted. If no allow matches, the `deny all` will block the request.
Automated blocking with Fail2Ban
Fail2Ban can monitor logs (e.g., Nginx access/error logs) and automatically add firewall rules to block IPs that show malicious behavior (repeated login failures, scan attempts, etc.). Configuring and running Fail2Ban requires elevated privileges and persistent access to system logs.
Fail2Ban requires access to system logs and the ability to modify firewall rules. In restricted environments we will show configuration examples, but a full live demo may not be possible.
When to use Fail2Ban
* Protects SSH, login endpoints, and services exposed to the public internet.
* Works well as a complementary defense; it is not a substitute for secure application logic or proper authentication.
Recommended resources and next steps
* Generate and test local certs with `mkcert` and configure Nginx to serve HTTPS.
* Add security headers incrementally and verify site behavior in different browsers.
* Protect sensitive locations with `auth_basic` for quick access control.
* Use `allow`/`deny` for IP-based restrictions in trusted network segments.
* Consider deploying Fail2Ban on production servers with full log and firewall access.
Links and references
* [mkcert — local CA for development](https://github.com/FiloSottile/mkcert)
* [Let's Encrypt](https://letsencrypt.org/)
* [Certbot](https://certbot.eff.org/)
* [Fail2Ban](https://www.fail2ban.org/)
* [OAuth](https://oauth.net/)
TLS fundamentals (brief)
* TLS provides:
* Confidentiality: traffic is encrypted.
* Integrity: tampering is detected.
* Authentication: server identity via certificates (optionally client certs).
* Browsers verify the certificate chain, validity period, and hostname match.
HTTP security headers — what matters most
We won't cover every available header, but these are the most effective and commonly used headers to improve security posture. Add them at the `server` or `location` level in Nginx as appropriate.
| Header | Purpose | Example Nginx directive |
| ---------------------------------- | --------------------------------------------------- | ----------------------------------------------------------------------------------------------------- |
| `Strict-Transport-Security` (HSTS) | Instructs browsers to only use HTTPS for a domain | `add_header Strict-Transport-Security "max-age=31536000; includeSubDomains; preload" always;` |
| `X-Frame-Options` | Prevents clickjacking by disallowing framing | `add_header X-Frame-Options "DENY" always;` |
| `X-Content-Type-Options` | Stops MIME sniffing | `add_header X-Content-Type-Options "nosniff" always;` |
| `Referrer-Policy` | Controls information in the `Referer` header | `add_header Referrer-Policy "no-referrer-when-downgrade" always;` |
| `Content-Security-Policy` (CSP) | Restricts sources for scripts, styles, images, etc. | `add_header Content-Security-Policy "default-src 'self'; script-src 'self' 'unsafe-inline';" always;` |
| `Permissions-Policy` | Limits browser features (formerly Feature-Policy) | `add_header Permissions-Policy "geolocation=(), microphone=()" always;` |
| `Expect-CT` | Certificate Transparency enforcement (optional) | `add_header Expect-CT "max-age=86400, enforce" always;` |
Nginx example: adding headers
Place these inside your `server` block (or specific `location`) to apply them. Use `always` so headers are sent even on error responses.
```nginx theme={null}
server {
listen 443 ssl;
server_name example.local;
ssl_certificate /etc/ssl/certs/localhost+2.pem;
ssl_certificate_key /etc/ssl/private/localhost+2-key.pem;
add_header Strict-Transport-Security "max-age=31536000; includeSubDomains; preload" always;
add_header X-Frame-Options "DENY" always;
add_header X-Content-Type-Options "nosniff" always;
add_header Referrer-Policy "no-referrer-when-downgrade" always;
add_header Content-Security-Policy "default-src 'self'; script-src 'self' 'unsafe-inline';" always;
add_header Permissions-Policy "geolocation=(), microphone=()" always;
location / {
proxy_pass http://backend;
}
}
```
Important CSP note
* Content-Security-Policy is powerful but can break site functionality if it is too restrictive. Start with a permissive policy and tighten gradually while testing.
Nginx basic authentication (protecting paths)
Use `htpasswd` from Apache's `httpd-tools` or `apache2-utils` to create password files, then protect Nginx locations with `auth_basic`.
Create an htpasswd file:
```bash theme={null}
# Install: sudo apt install apache2-utils
htpasswd -c /etc/nginx/.htpasswd alice
# You will be prompted to enter a password
```
Nginx config snippet:
```nginx theme={null}
location /admin {
auth_basic "Restricted Area";
auth_basic_user_file /etc/nginx/.htpasswd;
proxy_pass http://backend_admin;
}
```
Notes on authentication
* This is simple HTTP Basic Auth suitable for small, controlled areas or staging environments.
* For production, consider federated solutions (OAuth, OpenID Connect) or single sign-on (SSO) options for user management and stronger security.
Allow / deny directives (IP-based access control)
Use `allow` and `deny` in Nginx to restrict access by IP or network:
```nginx theme={null}
location /internal {
allow 10.0.0.0/8;
allow 192.168.1.0/24;
deny all;
proxy_pass http://internal_service;
}
```
* `allow` and `deny` are evaluated in order; when a client matches `allow`, access is granted. If no allow matches, the `deny all` will block the request.
Automated blocking with Fail2Ban
Fail2Ban can monitor logs (e.g., Nginx access/error logs) and automatically add firewall rules to block IPs that show malicious behavior (repeated login failures, scan attempts, etc.). Configuring and running Fail2Ban requires elevated privileges and persistent access to system logs.
Fail2Ban requires access to system logs and the ability to modify firewall rules. In restricted environments we will show configuration examples, but a full live demo may not be possible.
When to use Fail2Ban
* Protects SSH, login endpoints, and services exposed to the public internet.
* Works well as a complementary defense; it is not a substitute for secure application logic or proper authentication.
Recommended resources and next steps
* Generate and test local certs with `mkcert` and configure Nginx to serve HTTPS.
* Add security headers incrementally and verify site behavior in different browsers.
* Protect sensitive locations with `auth_basic` for quick access control.
* Use `allow`/`deny` for IP-based restrictions in trusted network segments.
* Consider deploying Fail2Ban on production servers with full log and firewall access.
Links and references
* [mkcert — local CA for development](https://github.com/FiloSottile/mkcert)
* [Let's Encrypt](https://letsencrypt.org/)
* [Certbot](https://certbot.eff.org/)
* [Fail2Ban](https://www.fail2ban.org/)
* [OAuth](https://oauth.net/)