> ## Documentation Index
> Fetch the complete documentation index at: https://notes.kodekloud.com/llms.txt
> Use this file to discover all available pages before exploring further.
# Demo Build and Build Config
> This article explains creating and managing Build Configs in OpenShift, including modifying configurations and automating build processes for applications like Sock Shop.
In this article, we explore how to create and manage Build Configs in OpenShift. Follow this guide to understand how to modify an example Build Config for the Sock Shop application and how to automate build processes.
## Navigating to Build Configs
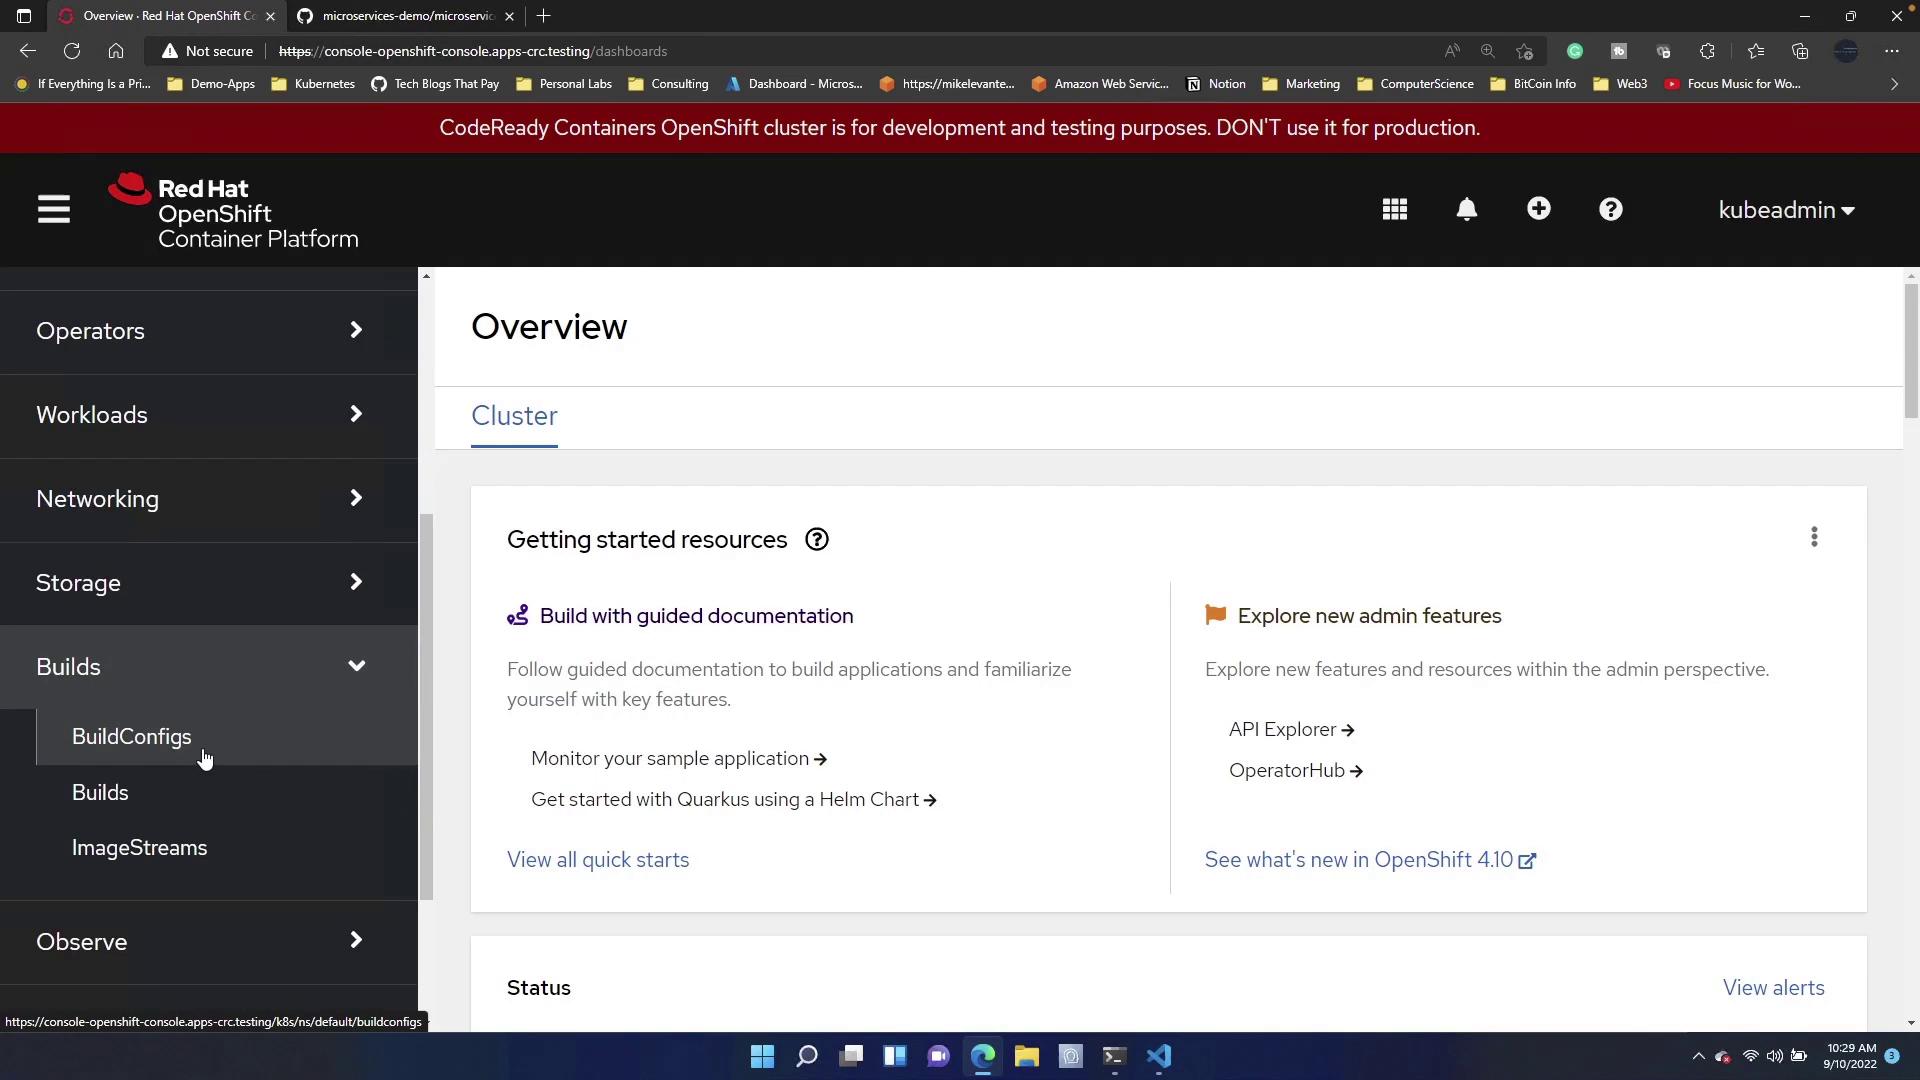
First, log in to the OpenShift console and navigate to the Builds section. Under Builds, select the **Build Configs** option.
When you click on *Build Configs* and then *Create Build Config*, you will see an example Build Config that you can use as a starting point for building the Sock Shop application.
Click the code button to copy the HTTPS link provided. The YAML displayed under the `spec` section defines the source using Git.
## Reviewing the Example Build Config YAML
Below is the example YAML configuration for a Build Config, which uses a Git repository as its source:
```yaml theme={null}
apiVersion: build.openshift.io/v1
kind: BuildConfig
metadata:
name: example
namespace: default
spec:
source:
git:
ref: master
uri: 'https://github.com/openshift/ruby-ex.git'
type: Git
strategy:
type: Source
```
## Modifying the Build Config for Sock Shop
We will now modify the Build Config to suit the requirements for the Sock Shop application. In the updated configuration, you will notice the following changes:
* The metadata fields (`name` and `namespace`) are updated.
* The Git repository URI has been replaced to reference the Sock Shop source.
* The overall configuration remains similar to ensure consistency with standard build practices.
```yaml theme={null}
apiVersion: build.openshift.io/v1
kind: BuildConfig
metadata:
name: sock
namespace: matter
spec:
source:
git:
ref: master
uri: 'https://github.com/microservices-demo/microservices-demo.git'
type: Git
strategy:
type: Source
```
In this updated Build Config:
* The API version is set to `build.openshift.io/v1`.
* The kind remains as `BuildConfig`.
* The metadata now reflects the specific naming (`sock`) and namespace (`matter`).
* The source Git repository has been updated to point to the Sock Shop application's repository.
* The strategy remains configured for a Source build.
Additionally, there is a "From" section (not shown in the snippet) that specifies the image stream tag. This tag indicates the container image used during the build process, effectively nesting container image builds.
After updating your Build Config, click the **Create** button to generate the configuration. You can confirm the process by reviewing the build details and logs within the OpenShift console.
## Viewing the Build Process
Once the Build Config is created, the build process commences automatically, linking the application to its GitHub repository. Navigate to the Build details page to review the logs and confirm that the container image is created successfully.
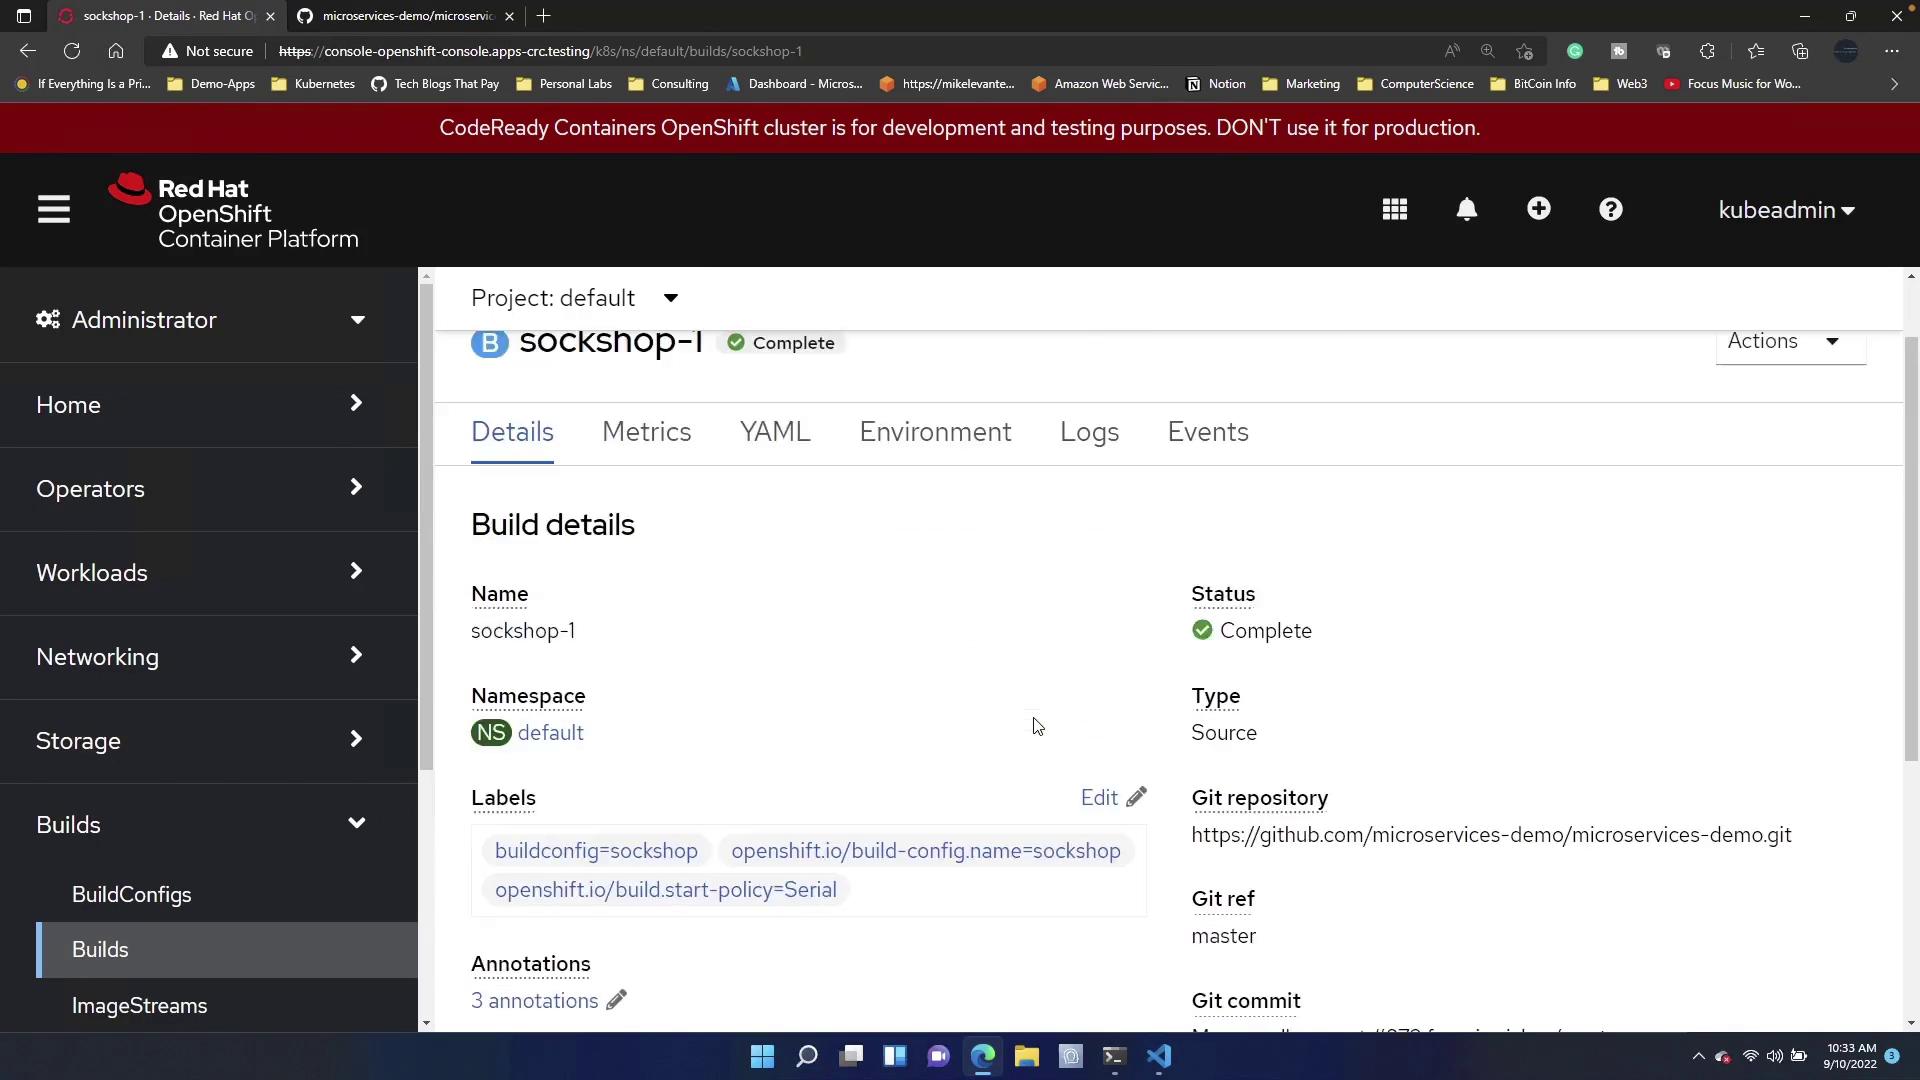
Check the **Events** tab to ensure that all components were created correctly. Any errors during the process will be listed in this section.
## Automating Build Configs
OpenShift supports Build Config automation when creating new applications. For instance, if you already have Sock Shop deployed and want to test with another application, open your terminal and run the following command:
```bash theme={null}
oc new-app https://github.com/your-repo.git
```
The output will display the creation of various resources, including a Build Config, similar to the following:
```plaintext theme={null}
--> Creating resources ...
imagestream.image.openshift.io "gowebapi" created
buildconfig.build.openshift.io "gowebapi" created
deployment.apps "gowebapi" created
service "gowebapi" created
--> Success
Build scheduled, use 'oc logs -f buildconfig/gowebapi' to track its progress.
Application is not exposed. You can expose services to the outside world by executing one or more of the commands below:
'oc expose service/gowebapi'
Run 'oc status' to view your app.
```
Notice that a Build Config is generated automatically during the new application deployment. To review this new Build Config, return to the OpenShift console and navigate back to the **Build Configs** section.
## Manually Triggering a Build
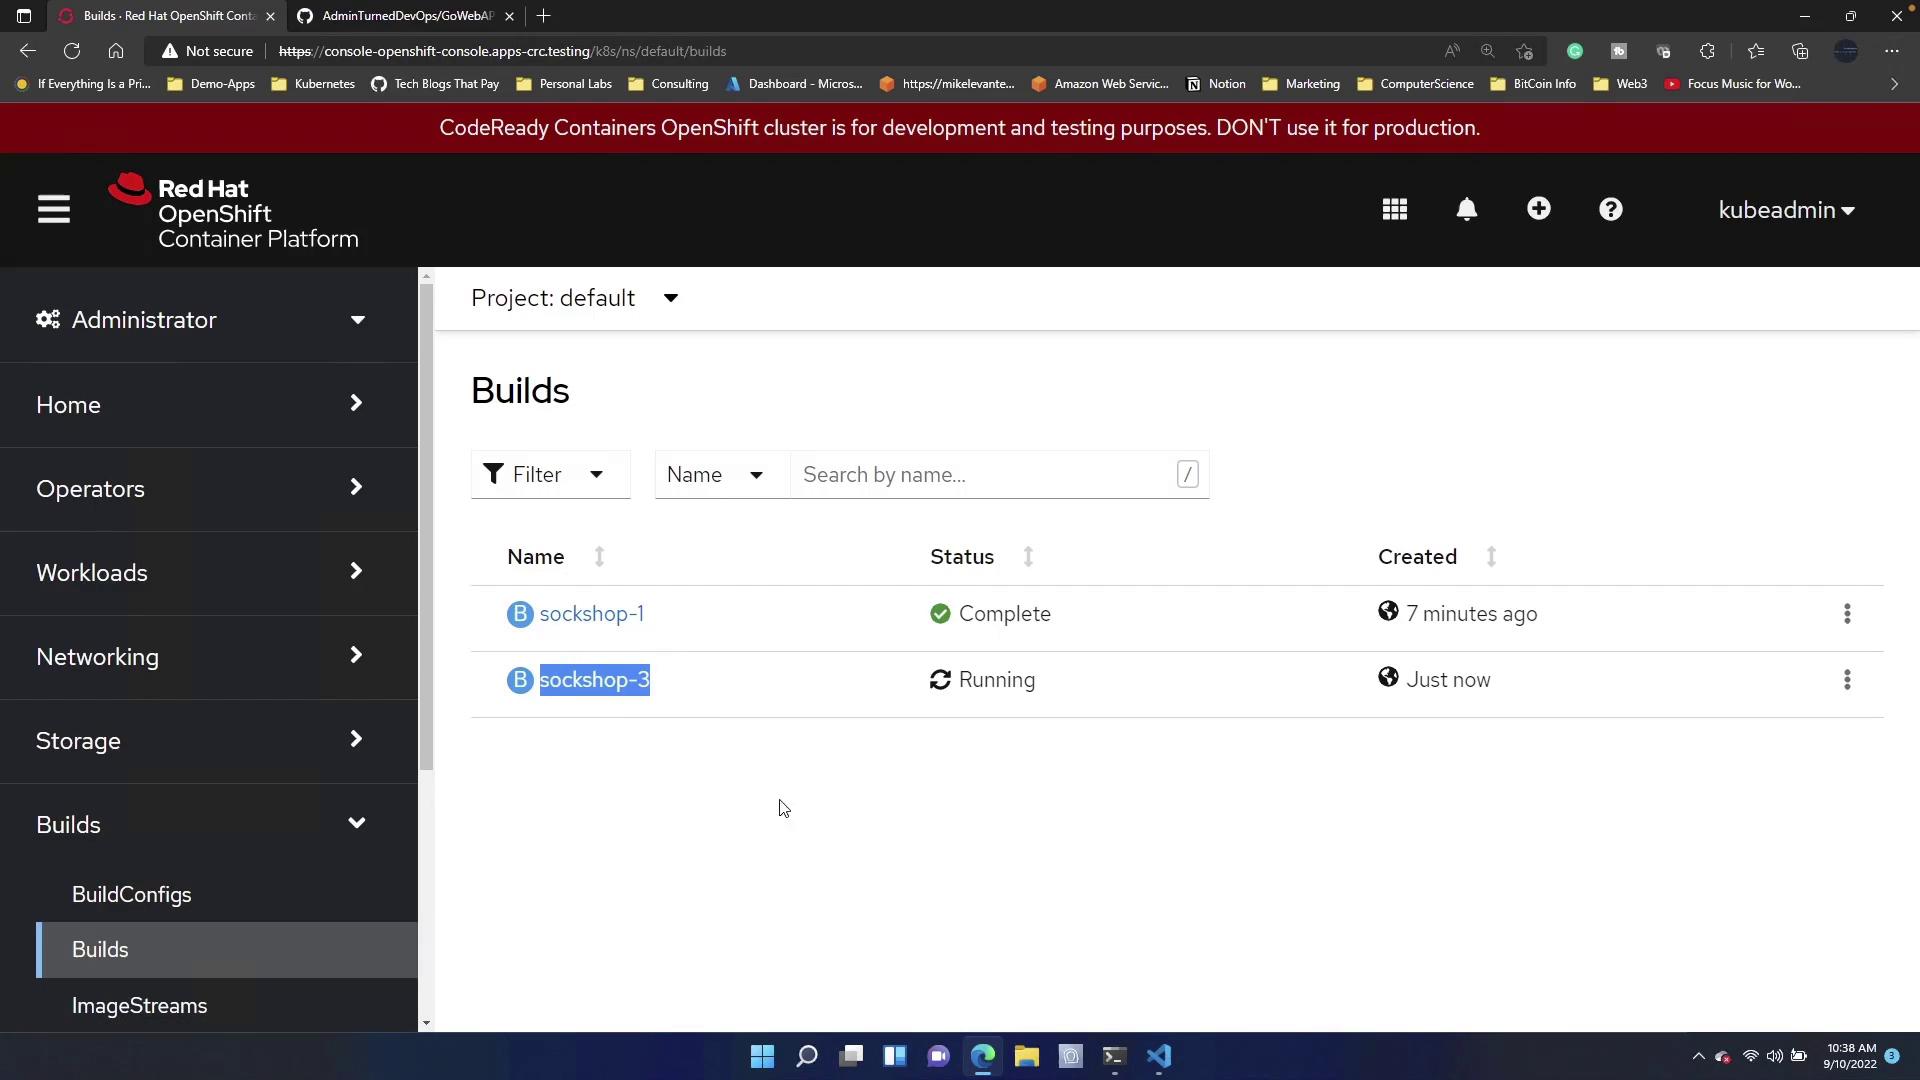
If you want to manually initiate a build from your terminal, you can use the `oc start-build` command. For example, to trigger a build for Sock Shop, run:
```bash theme={null}
oc start-build sock
```
After triggering the build, you will see a new build (e.g., sockshop-3) start running.
## Summary
This article covered the following key points:
* How to create and modify Build Configs using the OpenShift console.
* How OpenShift automates Build Config generation when deploying new applications.
* How to manually trigger builds using the `oc start-build` command.
Following these steps ensures that deploying applications like Sock Shop in OpenShift is efficient and manageable.
For further details on OpenShift and container builds, refer to the [OpenShift Documentation](https://docs.openshift.com/).