OpenShift 4

Concepts Builds and Deployments

Demo Route

In this lesson, we review the Sock Shop application components in Red Hat OpenShift and guide you through modifying the routing configuration, ensuring continuous application accessibility.

Viewing the Application Components

After deploying your Sock Shop application, navigate to Workloads → Deployments to view all running components. This interface displays deployment names, statuses, labels, and pod selectors.

The image shows a Red Hat OpenShift Container Platform interface displaying a list of deployments with their names, status, labels, and pod selectors.

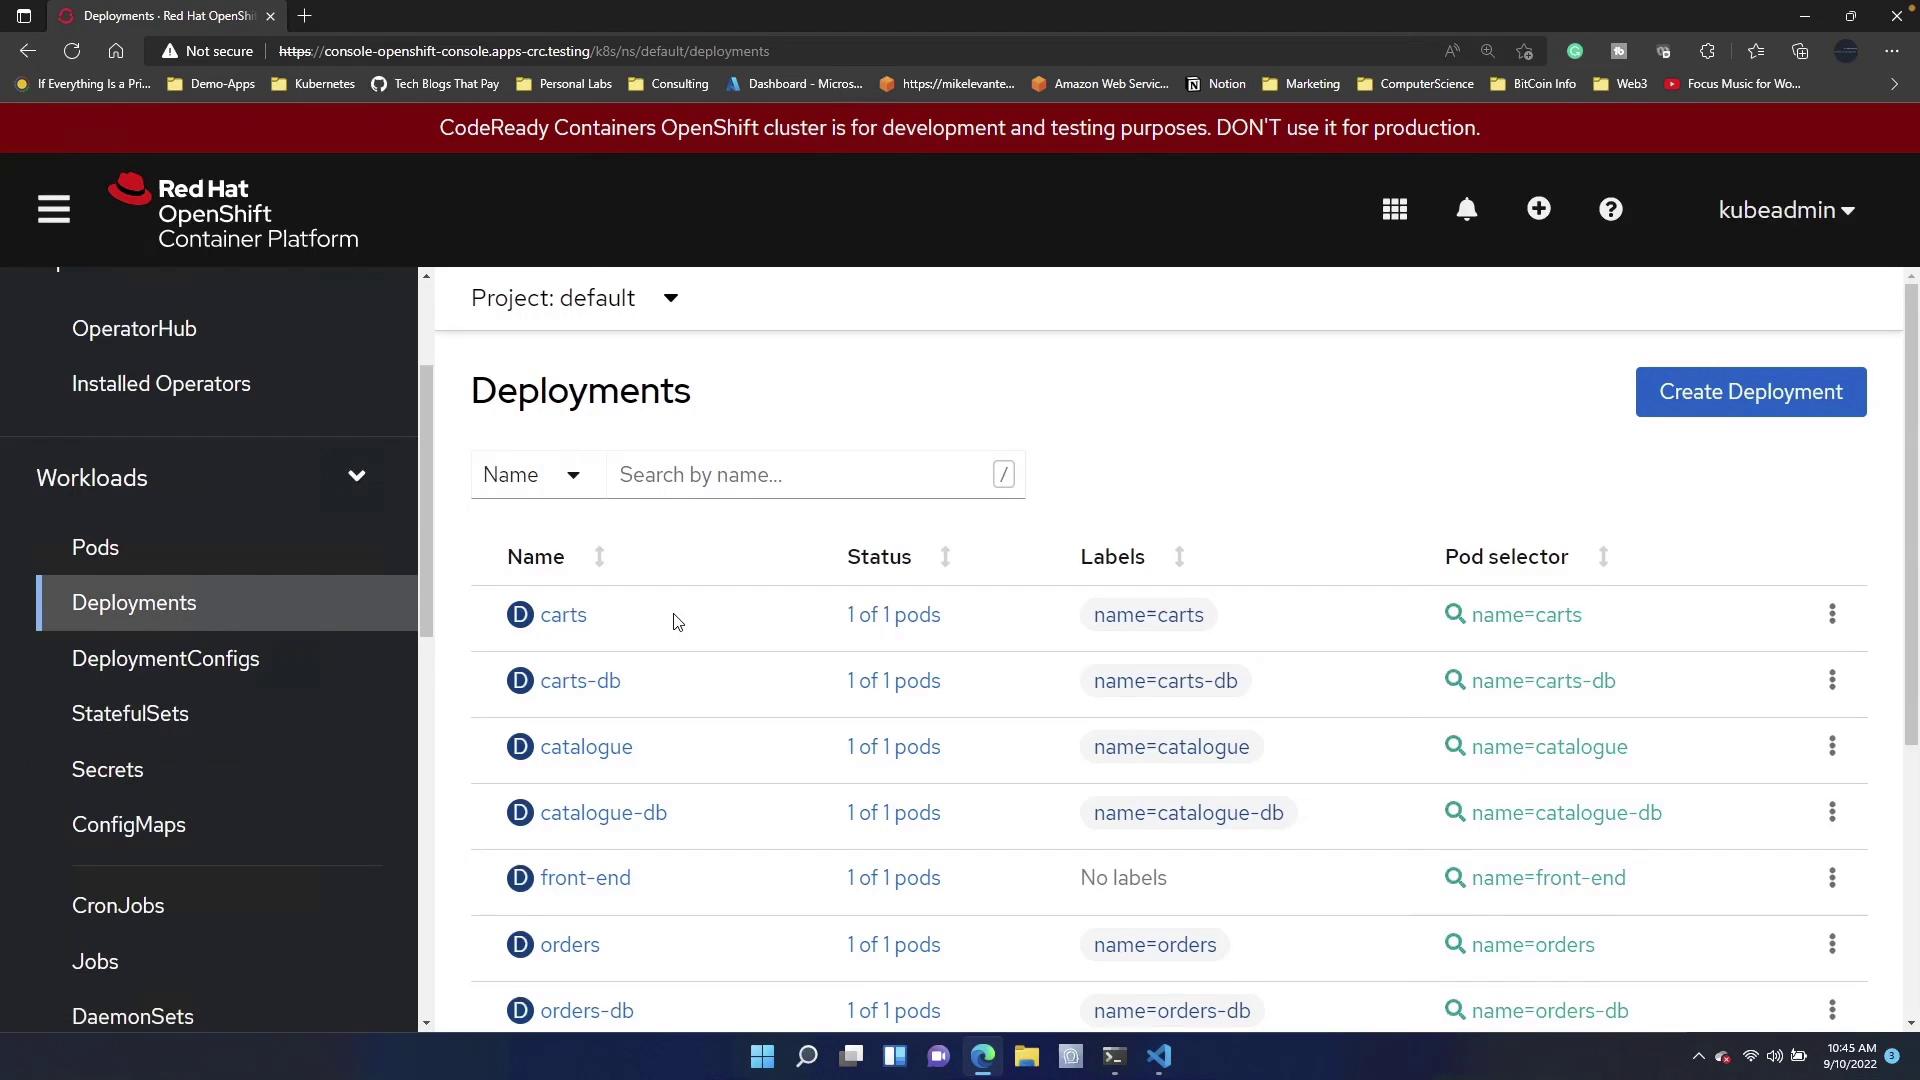
Inspecting the Application Route

Next, access Networking → Routes. Here, you can view the configured route for the application. The route provides a quick way to verify if your application is up and running.

The image shows a Red Hat OpenShift Container Platform interface displaying a list of routes. It includes a route named "front-end" with an accepted status and a specified location URL.

Clicking on the route confirms that the application frontend is accessible.

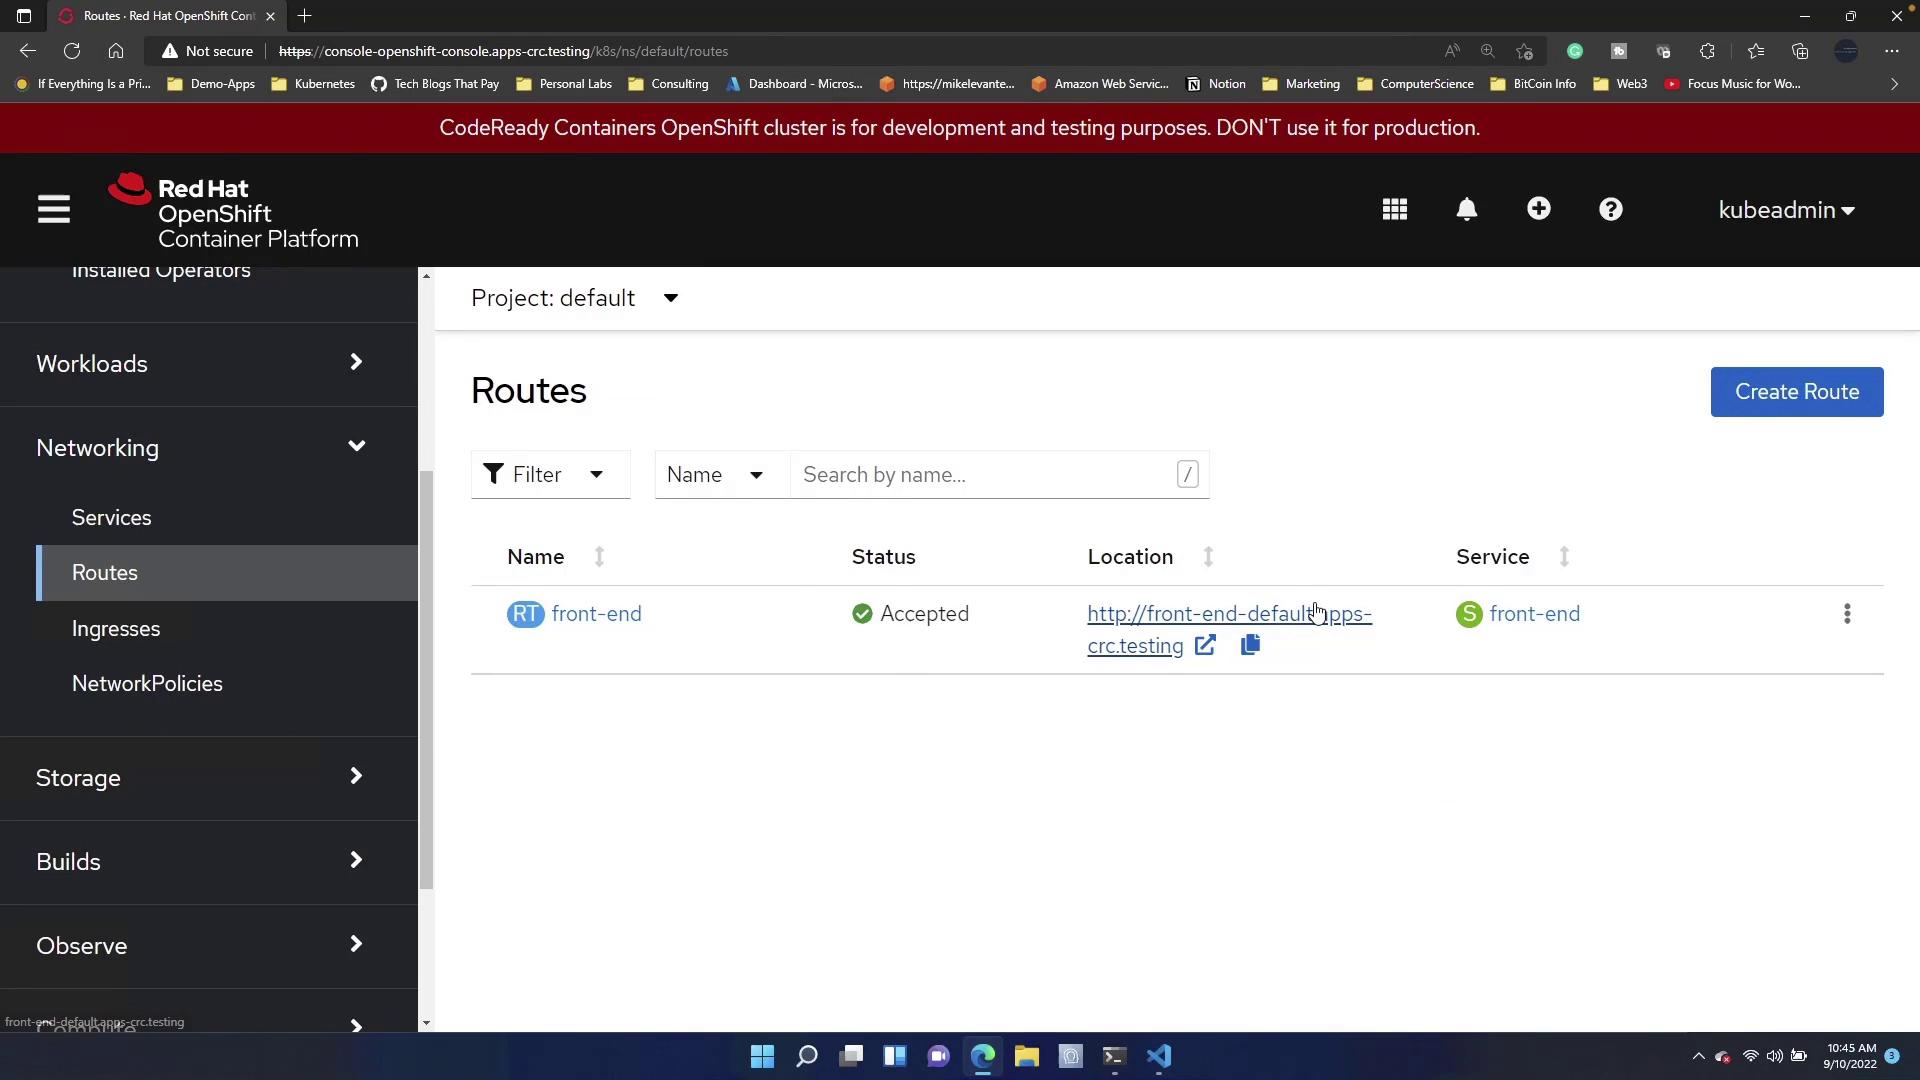
Practical Exercise: Creating a New Route

For hands-on practice, intentionally delete the existing route. Deleting the route will temporarily disable access to your application's frontend.

Warning

Deleting the route will render your application frontend inaccessible until the new route is configured.

To restore access, create a new route:

  1. Click the Create Route button.
  2. In the route creation form, assign a name such as "Frontend App."
  3. You have two options for the hostname:
    • If DNS is configured in your environment, specify a hostname.
    • If not, allow OpenShift to auto-generate one for simplicity.
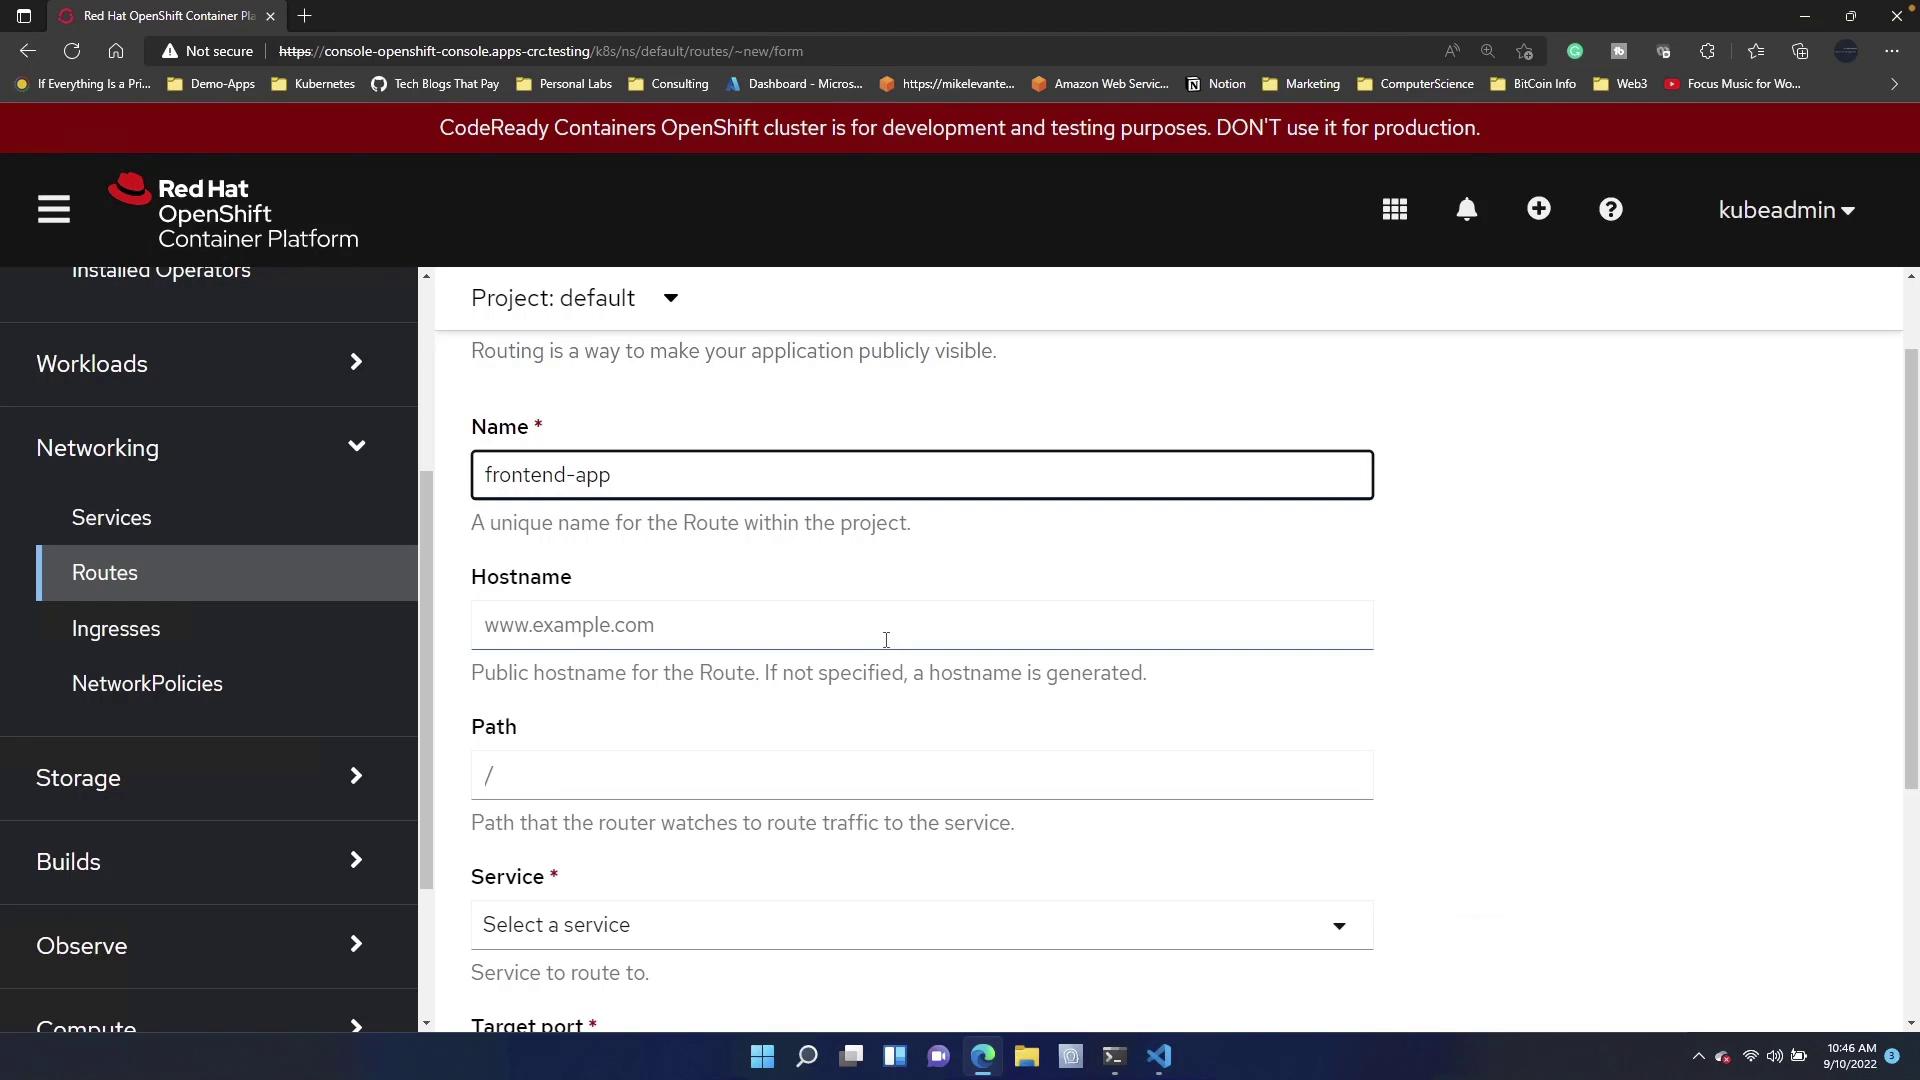
The image shows a Red Hat OpenShift Container Platform interface where a user is configuring a route for a project. The form includes fields for the route name, hostname, path, and service selection.

Optionally, you can:

  • Specify a path (for example, "/test") so that the application is accessible under this path.
  • Leave the path blank to serve the frontend at the default route.
  • Select the service corresponding to your frontend component.
  • Choose the appropriate target port.
  • Configure the route as secure by setting up SSL certificates if required.

After filling out the form, click Create.

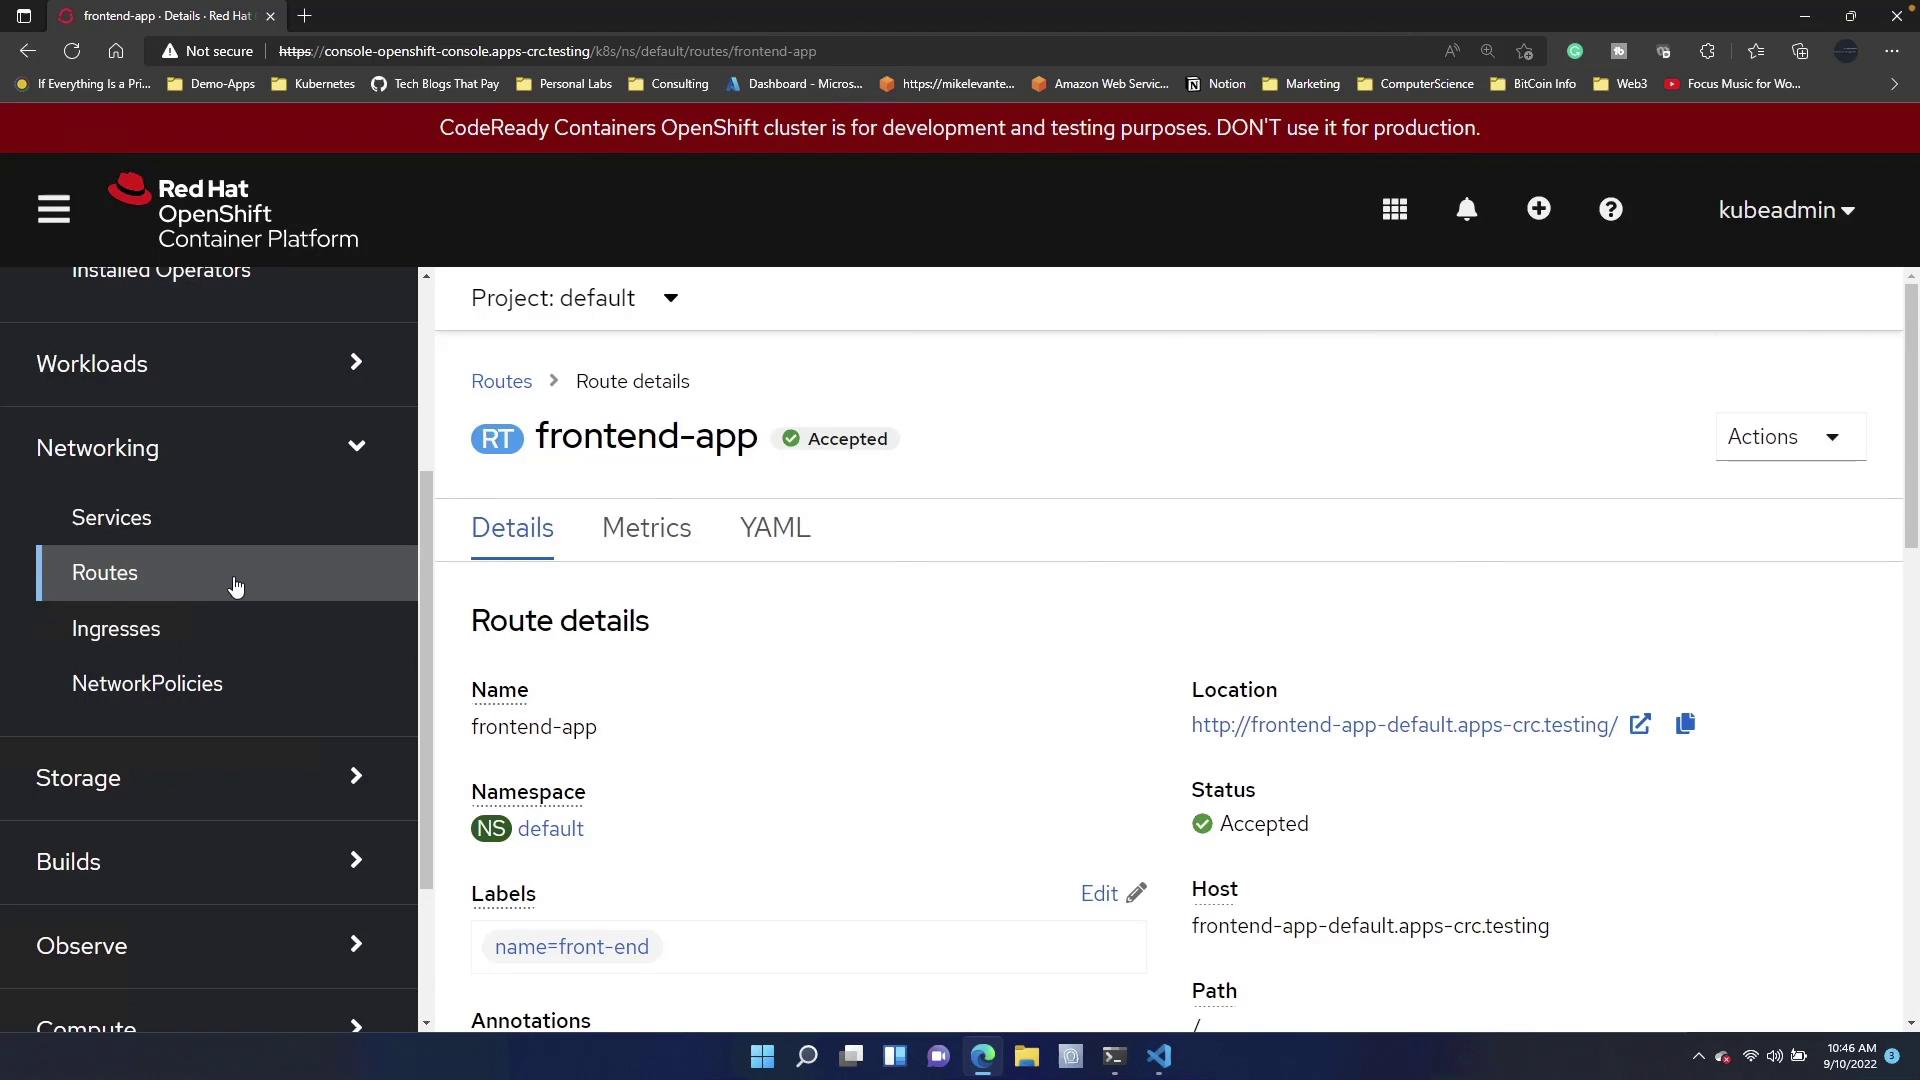
Verifying the New Route

Once created, return to the Routes section and select the URL provided. The application should be accessible again. Notice the route name has been updated to "frontend-app" by default, indicating the new configuration is active.

The image shows a Red Hat OpenShift Container Platform interface displaying route details for a project named "frontend-app," which is marked as accepted. The interface includes navigation options for workloads, networking, and other features.

Summary

This guide demonstrated how to delete an existing route and create a new one in Red Hat OpenShift to restore application access. For further reading on OpenShift routing and deployment practices, consider checking out the following resources:

By following these steps, you can ensure your applications remain accessible and properly routed, enhancing both performance and user experience.

Watch Video

Watch video content

Previous
Route overview