> ## Documentation Index
> Fetch the complete documentation index at: https://notes.kodekloud.com/llms.txt
> Use this file to discover all available pages before exploring further.
# APPENDIX A Demo Gitlab Setup
> This article provides a step-by-step guide to setting up a local GitLab instance on a CentOS virtual machine using Oracle VirtualBox and Docker.
Welcome to this comprehensive guide on setting up a local GitLab instance on your laptop. In this article, you'll learn how to deploy a CentOS-based virtual machine using Oracle VirtualBox, configure a static IP address, and install GitLab through Docker. This step-by-step guide is perfect for developers looking to create a local development environment.
***
## Deploying the CentOS Virtual Machine
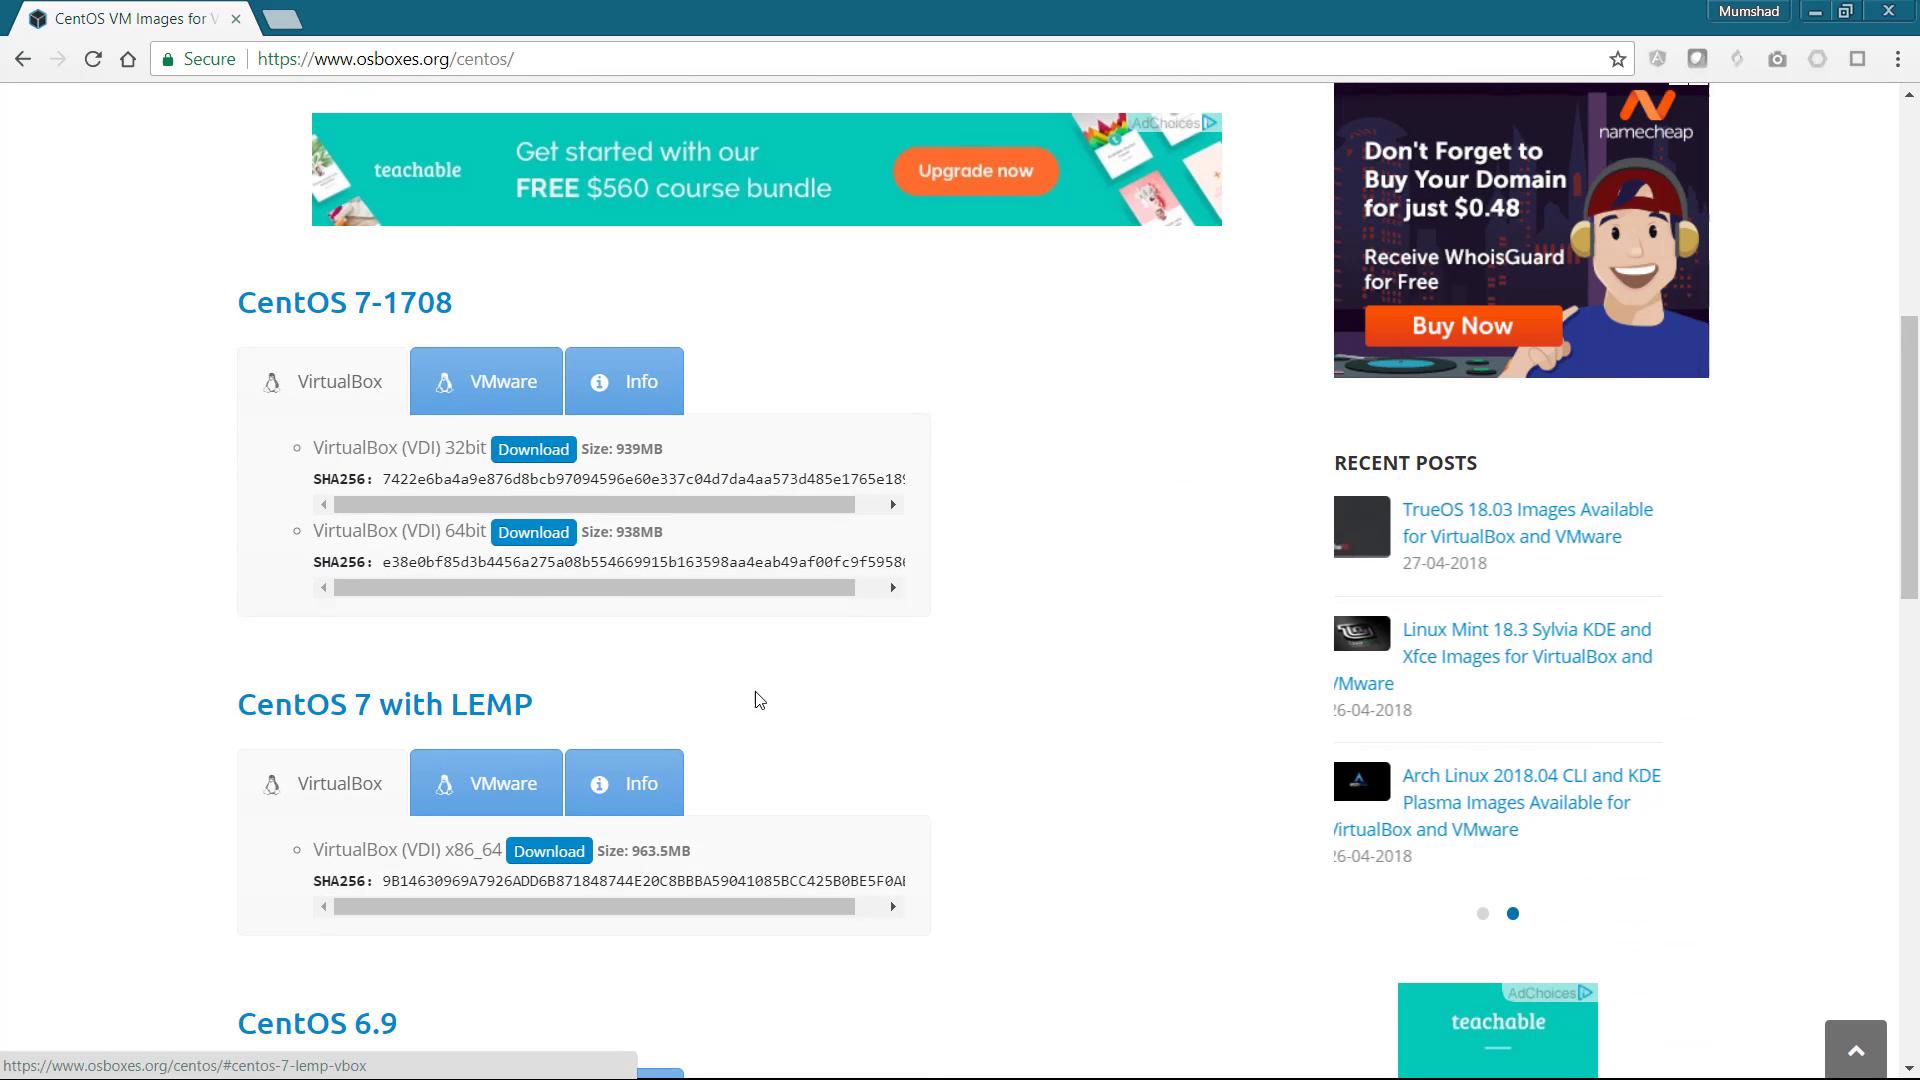
Begin by downloading the CentOS VirtualBox image from [osboxes.org](http://www.osboxes.org). Browse the list of available operating systems and select the 64-bit CentOS VirtualBox image. After downloading the VDI file, extract it to a folder on your computer.
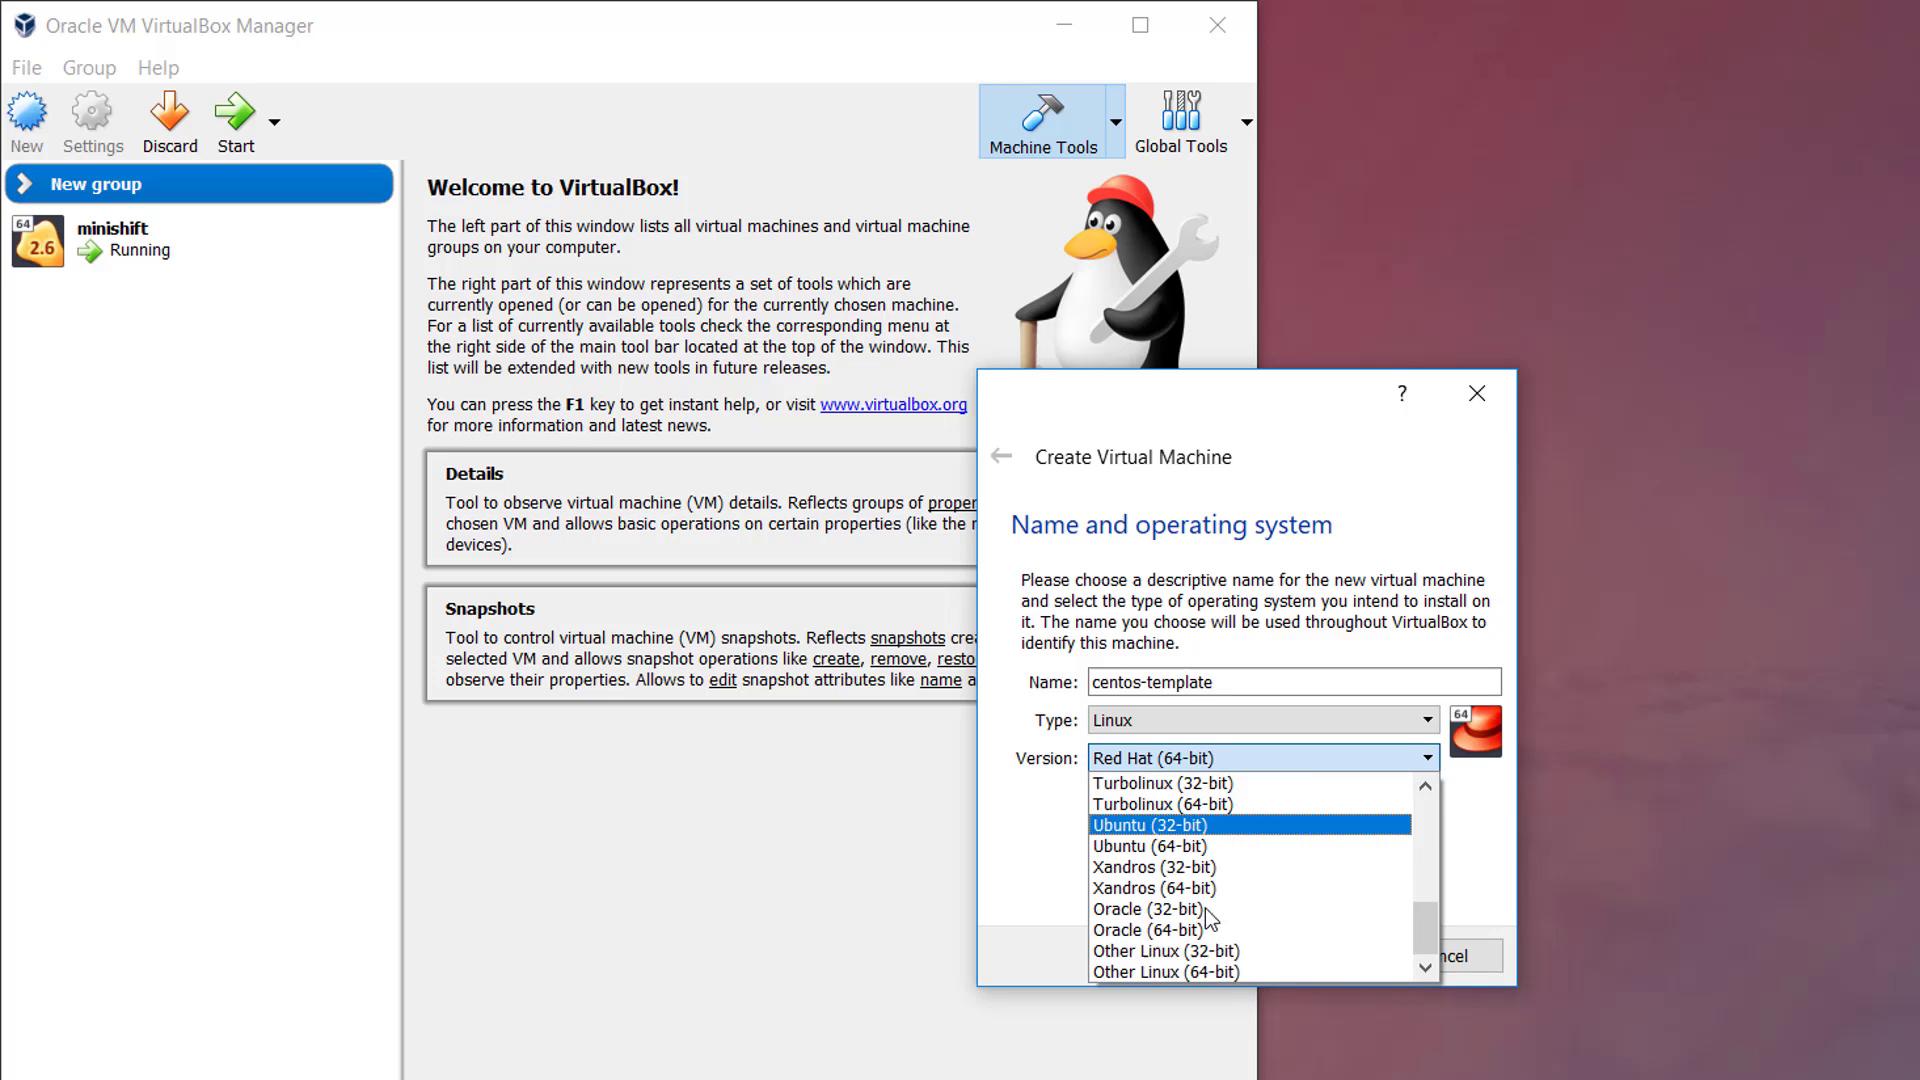
Next, open Oracle VirtualBox and click the "New" button to create a new virtual machine. Choose "Other Linux (64-bit)" as the operating system and allocate at least 2 GB of memory. When prompted for the hard disk, select the "Use existing" option and locate the extracted VDI file.
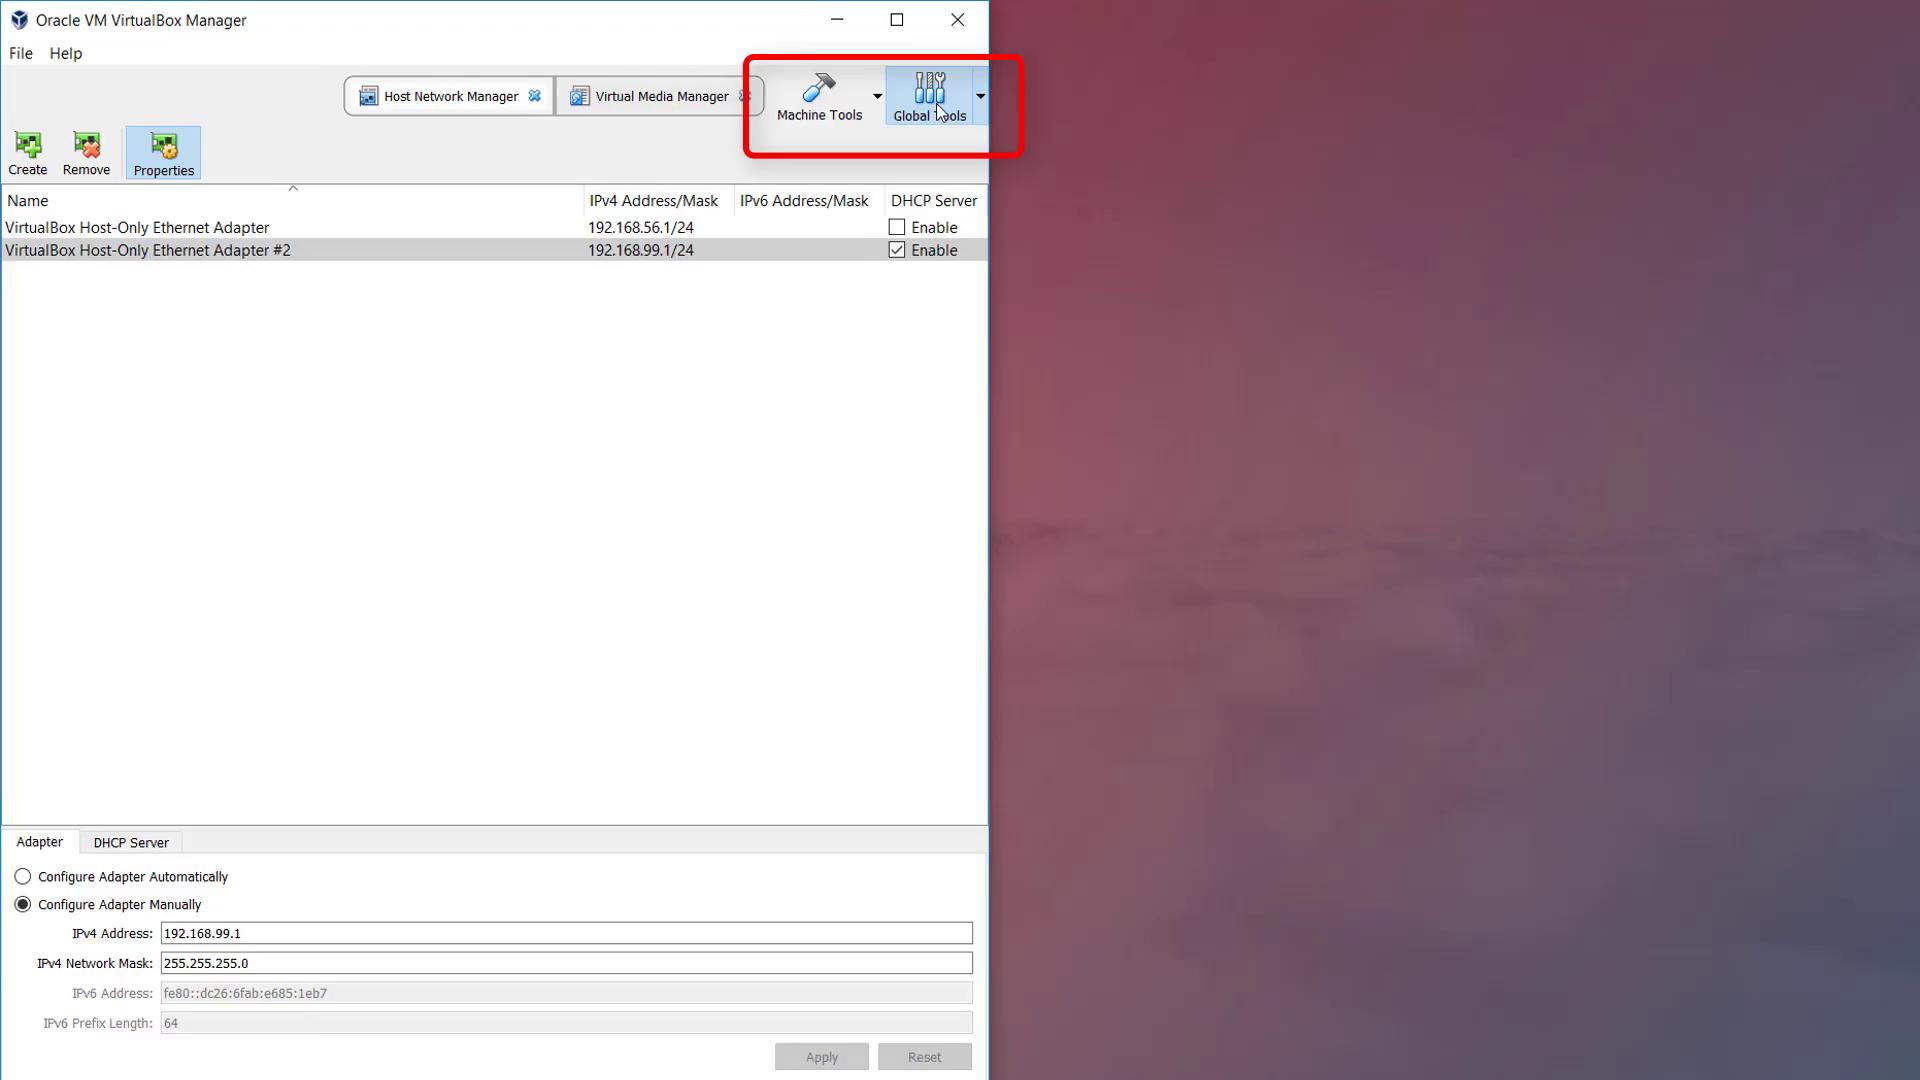
Before starting the virtual machine, you need to configure the networking settings to enable a static IP address. Since VirtualBox uses DHCP by default, create a host-only network adapter without DHCP support. Open the global settings, navigate to the Host Network Manager, add a new adapter, and uncheck the "Enable DHCP Server" option. Take note of the configured IP address and range.
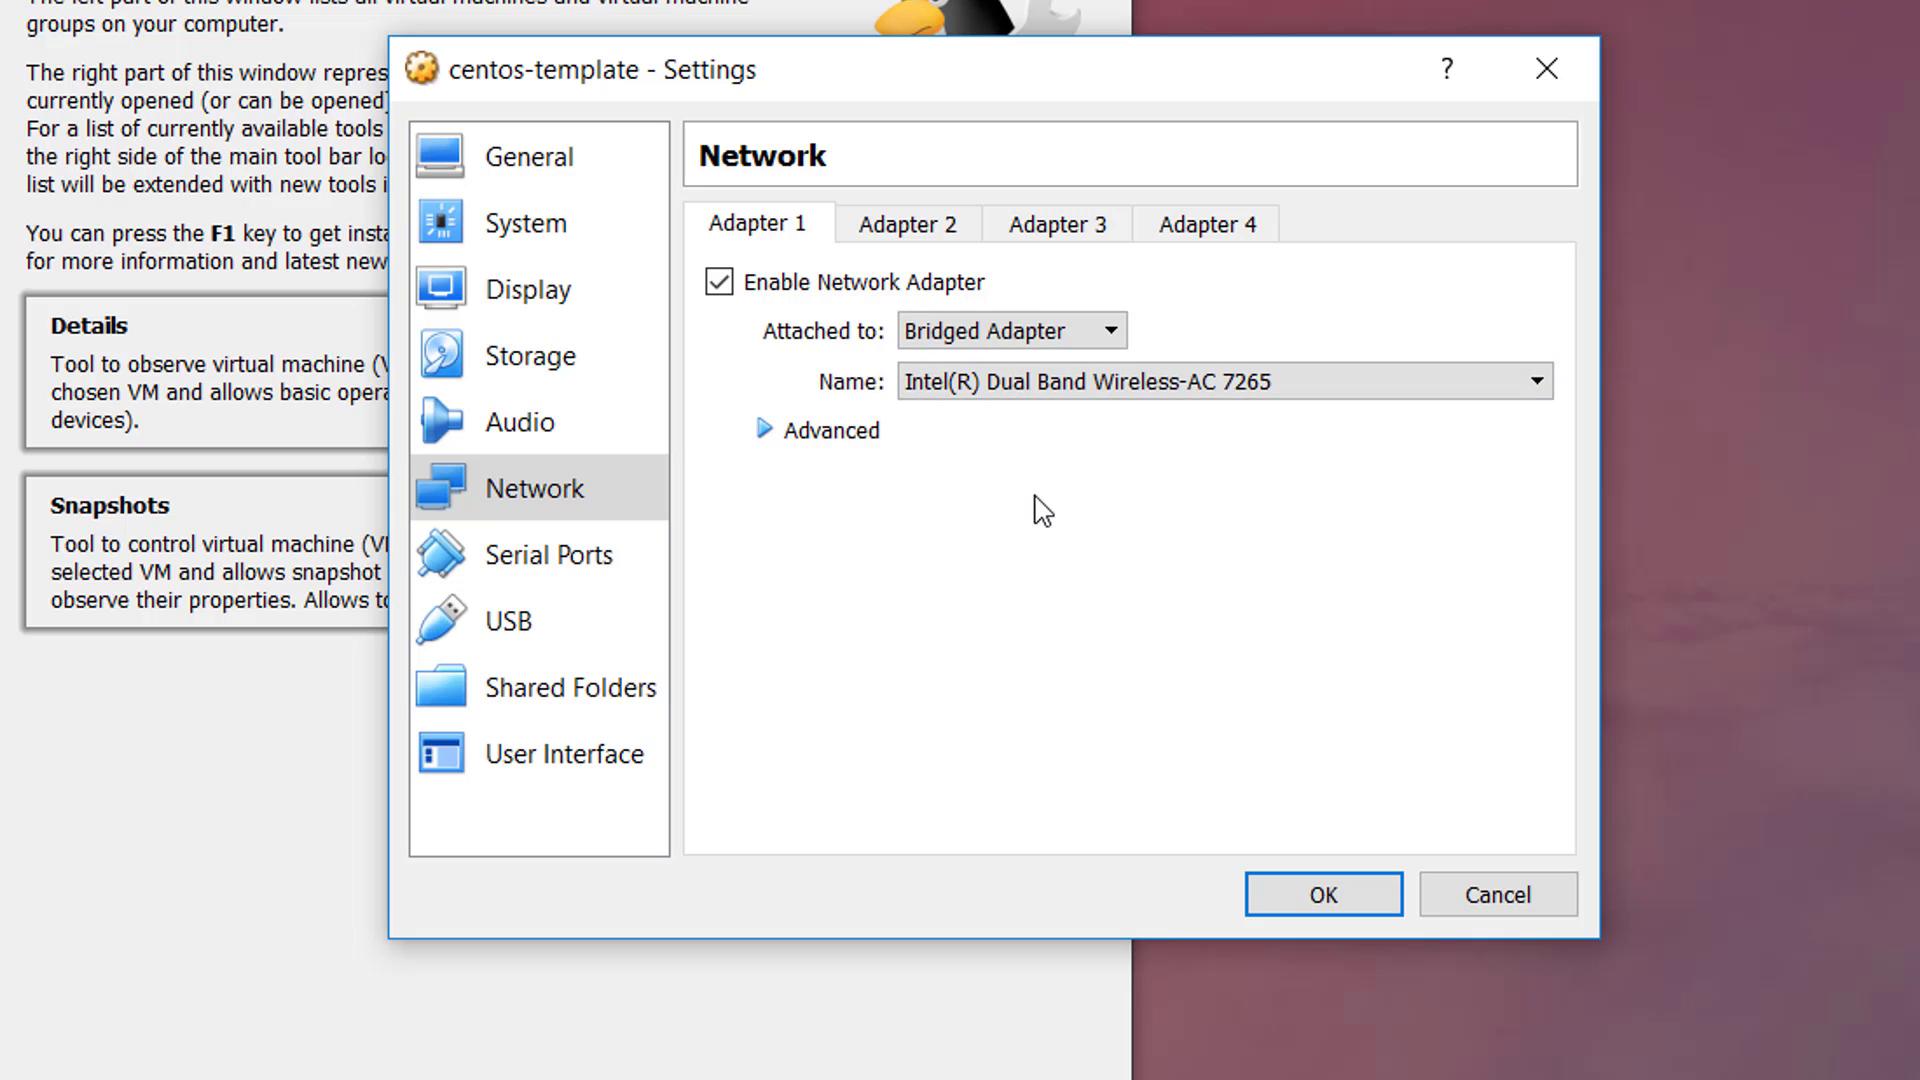
Then, adjust the CentOS template settings:
* Increase the CPU count to two.
* Set the first network adapter to "Bridged Adapter" to access the Internet through your wireless router.
* Attach the second adapter to the previously created host-only network to allow for a static IP assignment.
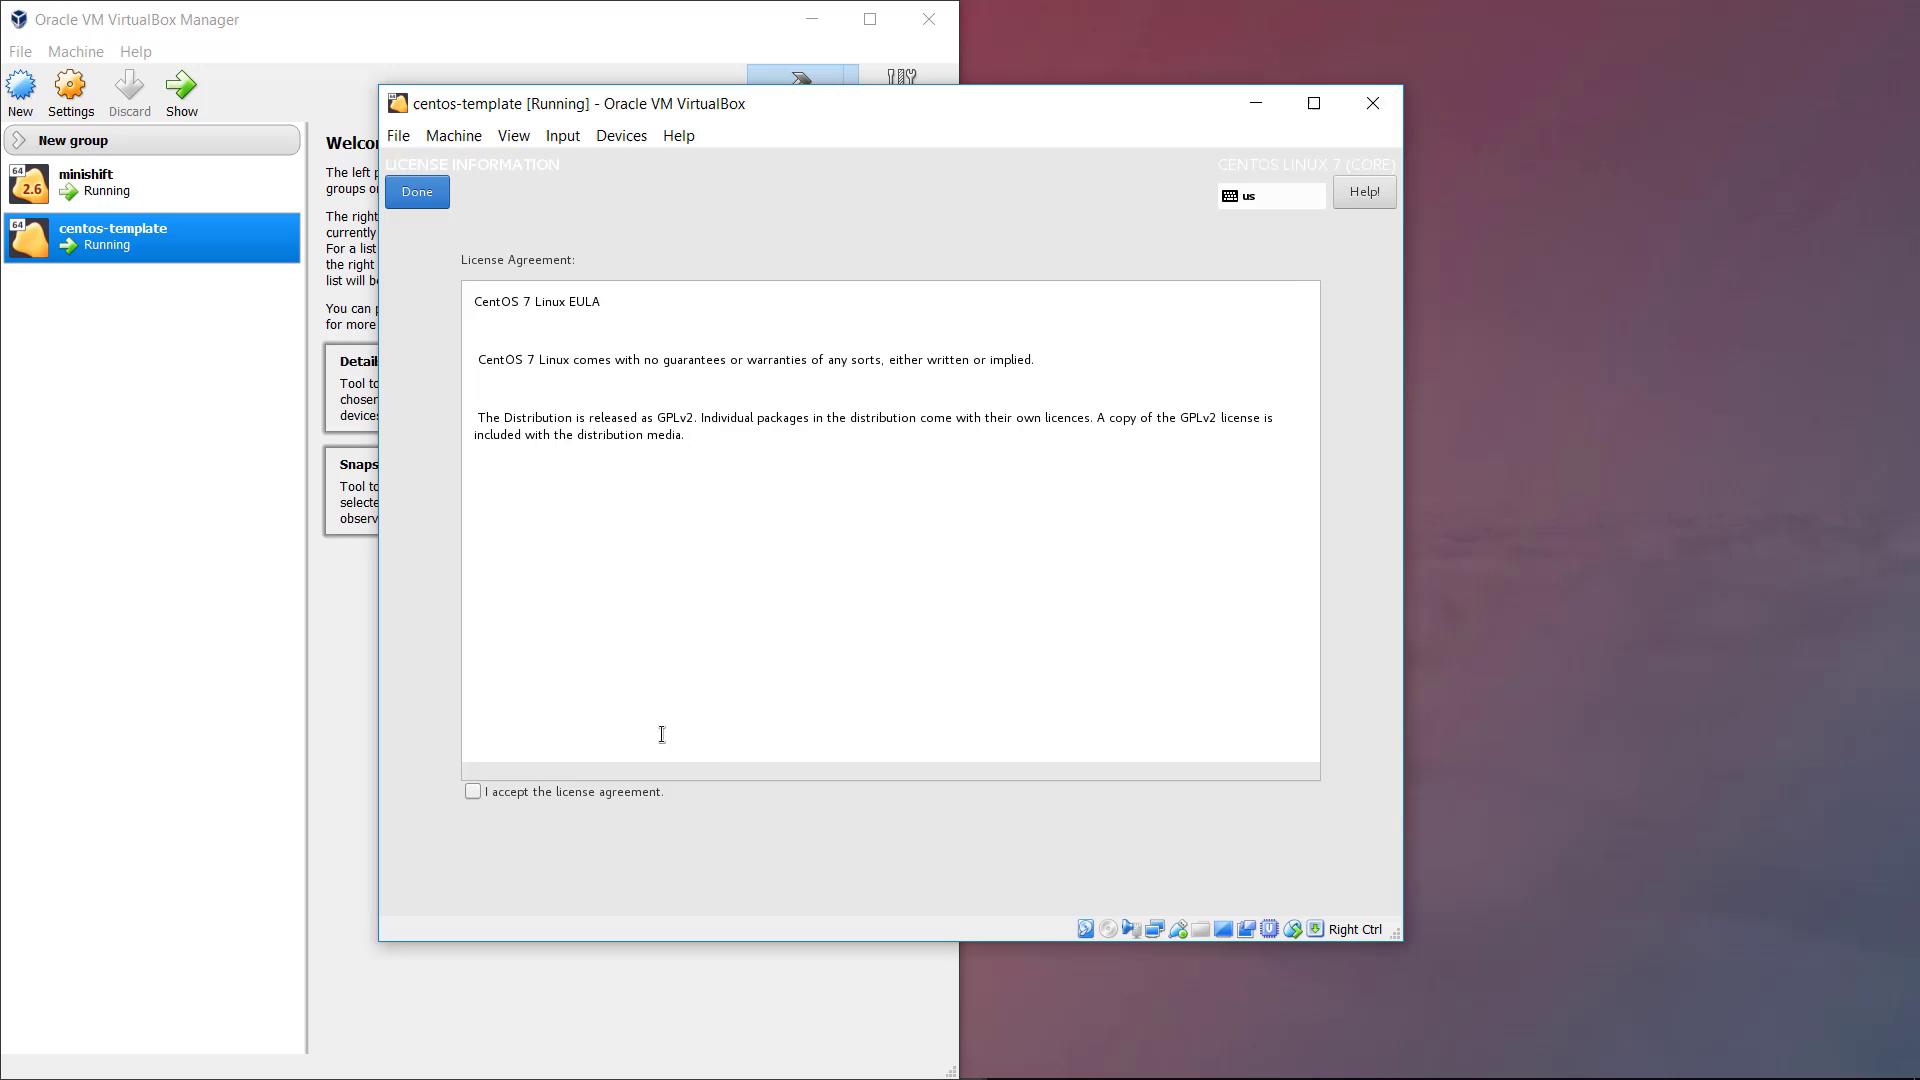
Power on the CentOS template. During boot-up, you’ll be prompted to accept the license agreement. Log in for the first time using the credentials provided on osboxes.org (the default password is "osboxes.org").
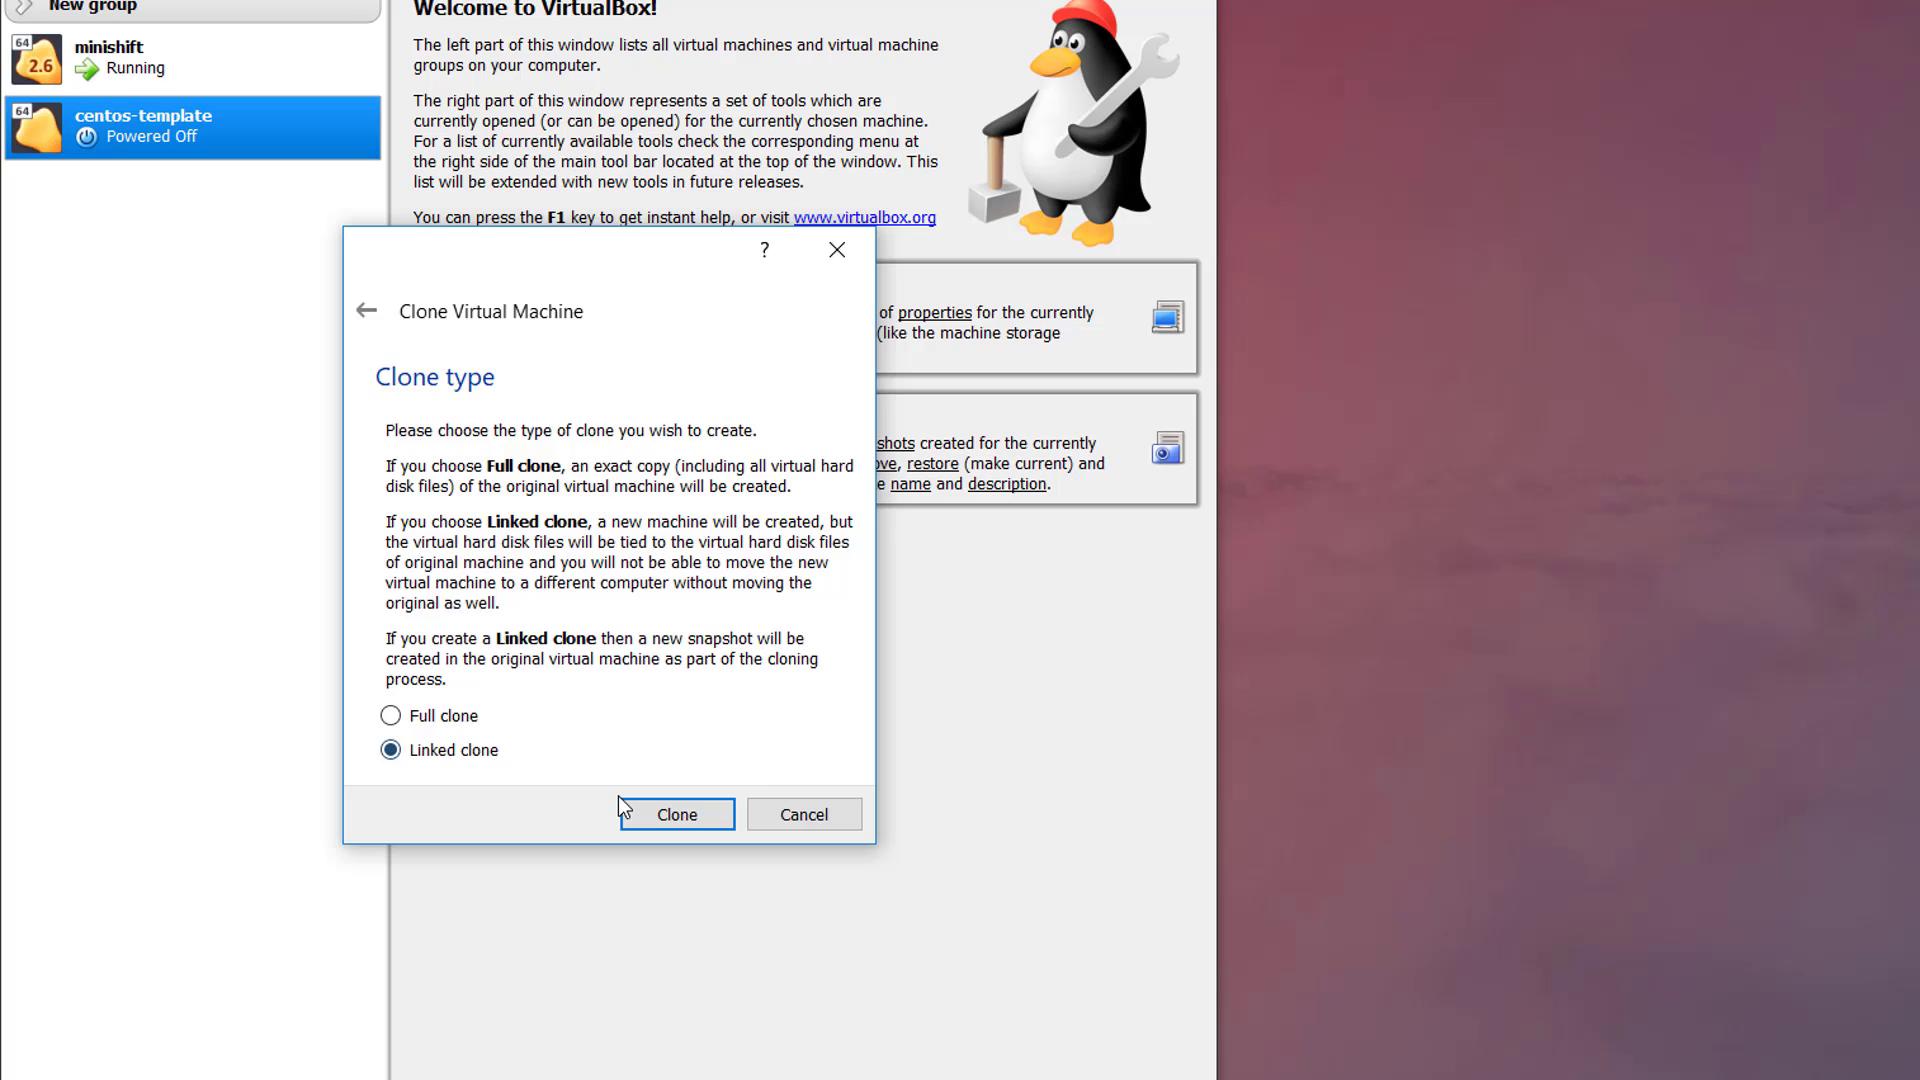
Once the initial configuration is complete, shut down the virtual machine. Right-click on the CentOS template and select "Clone" to create a new linked clone named "GitLab." Ensure you check the "Reset MAC address" option so that the clone receives a unique MAC address. Power on the cloned "GitLab" VM and log in again using the "osboxes.org" password.
***
## Configuring a Static IP Address
After logging into the GitLab VM, open a terminal and run the command `ifconfig` to view the network interfaces. You might observe that the host-only adapter (commonly named enp0s8) does not have an IP address assigned. To assign a static IP, create a new network script for that interface.
1. Navigate to the network scripts directory:
```bash theme={null}
cd /etc/sysconfig/network-scripts
```
2. Copy the default loopback script as a template for the host-only adapter:
```bash theme={null}
sudo cp ifcfg-lo ifcfg-enp0s8
sudo vi ifcfg-enp0s8
```
3. Update the file with the following configuration (replace IP values as desired):
```bash theme={null}
DEVICE=enp0s8
IPADDR=192.168.56.150
NETMASK=255.255.255.0
NETWORK=192.168.56.0
BROADCAST=192.168.56.255
ONBOOT=yes
NAME=enp0s8
```
4. Save the file and restart the network service:
```bash theme={null}
sudo service network restart
ifconfig enp0s8
```
The output should now display an IP address similar to:
```plaintext theme={null}
inet 192.168.56.150 netmask 255.255.255.0 broadcast 192.168.56.255
```
Assigning a static IP address ensures reliable connectivity and proper network routing for your GitLab setup.
***
## Installing GitLab
To install GitLab, start by preparing your system with the necessary packages. For additional details, refer to the [GitLab installation guide](https://about.gitlab.com/install/).
1. Install required packages:
```bash theme={null}
sudo yum install -y curl policycoreutils-python openssh-server
sudo systemctl enable sshd
sudo systemctl start sshd
sudo firewall-cmd --permanent --add-service=http
sudo systemctl reload firewalld
```
2. Install Postfix to handle email notifications:
```bash theme={null}
sudo yum install postfix
sudo systemctl enable postfix
sudo systemctl start postfix
```
3. Deploy GitLab using Docker. If Docker is not installed, use the official Docker installation script:
```bash theme={null}
curl -fsSL get.docker.com -o get-docker.sh
sudo sh get-docker.sh
```
4. Once Docker is installed, start the Docker service and deploy the GitLab container using one of the following commands. Use the first command for standard systems or the second if SELinux is enabled.
Standard deployment:
```bash theme={null}
sudo docker run --detach \
--hostname gitlab.example.com \
--publish 443:443 --publish 80:80 --publish 22:22 \
--name gitlab \
--restart always \
--volume /srv/gitlab/config:/etc/gitlab \
--volume /srv/gitlab/logs:/var/log/gitlab \
--volume /srv/gitlab/data:/var/opt/gitlab \
gitlab/gitlab-ce:latest
```
For systems with SELinux enabled:
```bash theme={null}
sudo docker run --detach \
--hostname gitlab.example.com \
--publish 443:443 --publish 80:80 --publish 22:22 \
--name gitlab \
--restart always \
--volume /srv/gitlab/config:/etc/gitlab:Z \
--volume /srv/gitlab/logs:/var/log/gitlab \
--volume /srv/gitlab/data:/var/opt/gitlab \
gitlab/gitlab-ce:latest
```
Make sure that the hostname reflects the fully qualified domain name (FQDN) or the static IP address of your CentOS virtual machine.
Allow a few minutes for GitLab to initialize. You can monitor the initialization process using:
```bash theme={null}
sudo docker logs -f gitlab
```
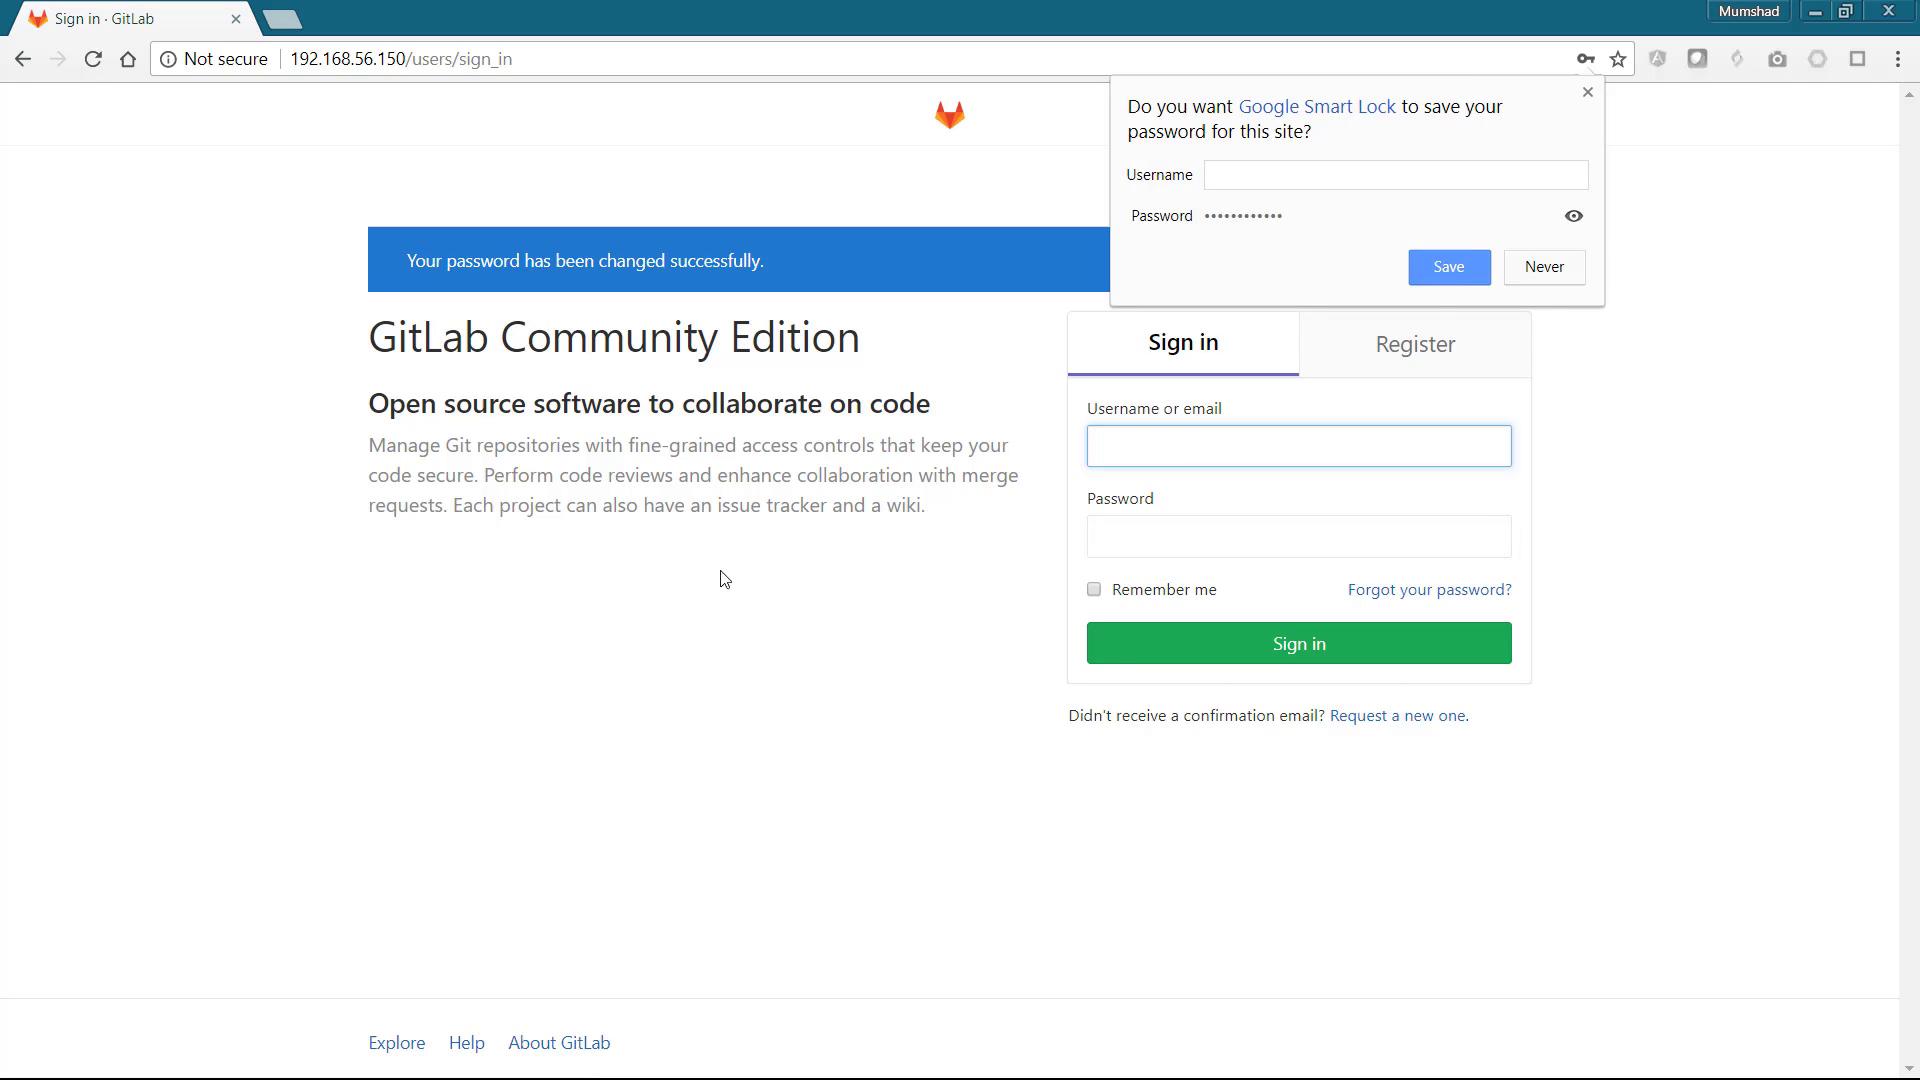
When GitLab prompts you to change the default password at first login, update it to secure your access. Log in with the username "root" and your new secure password.
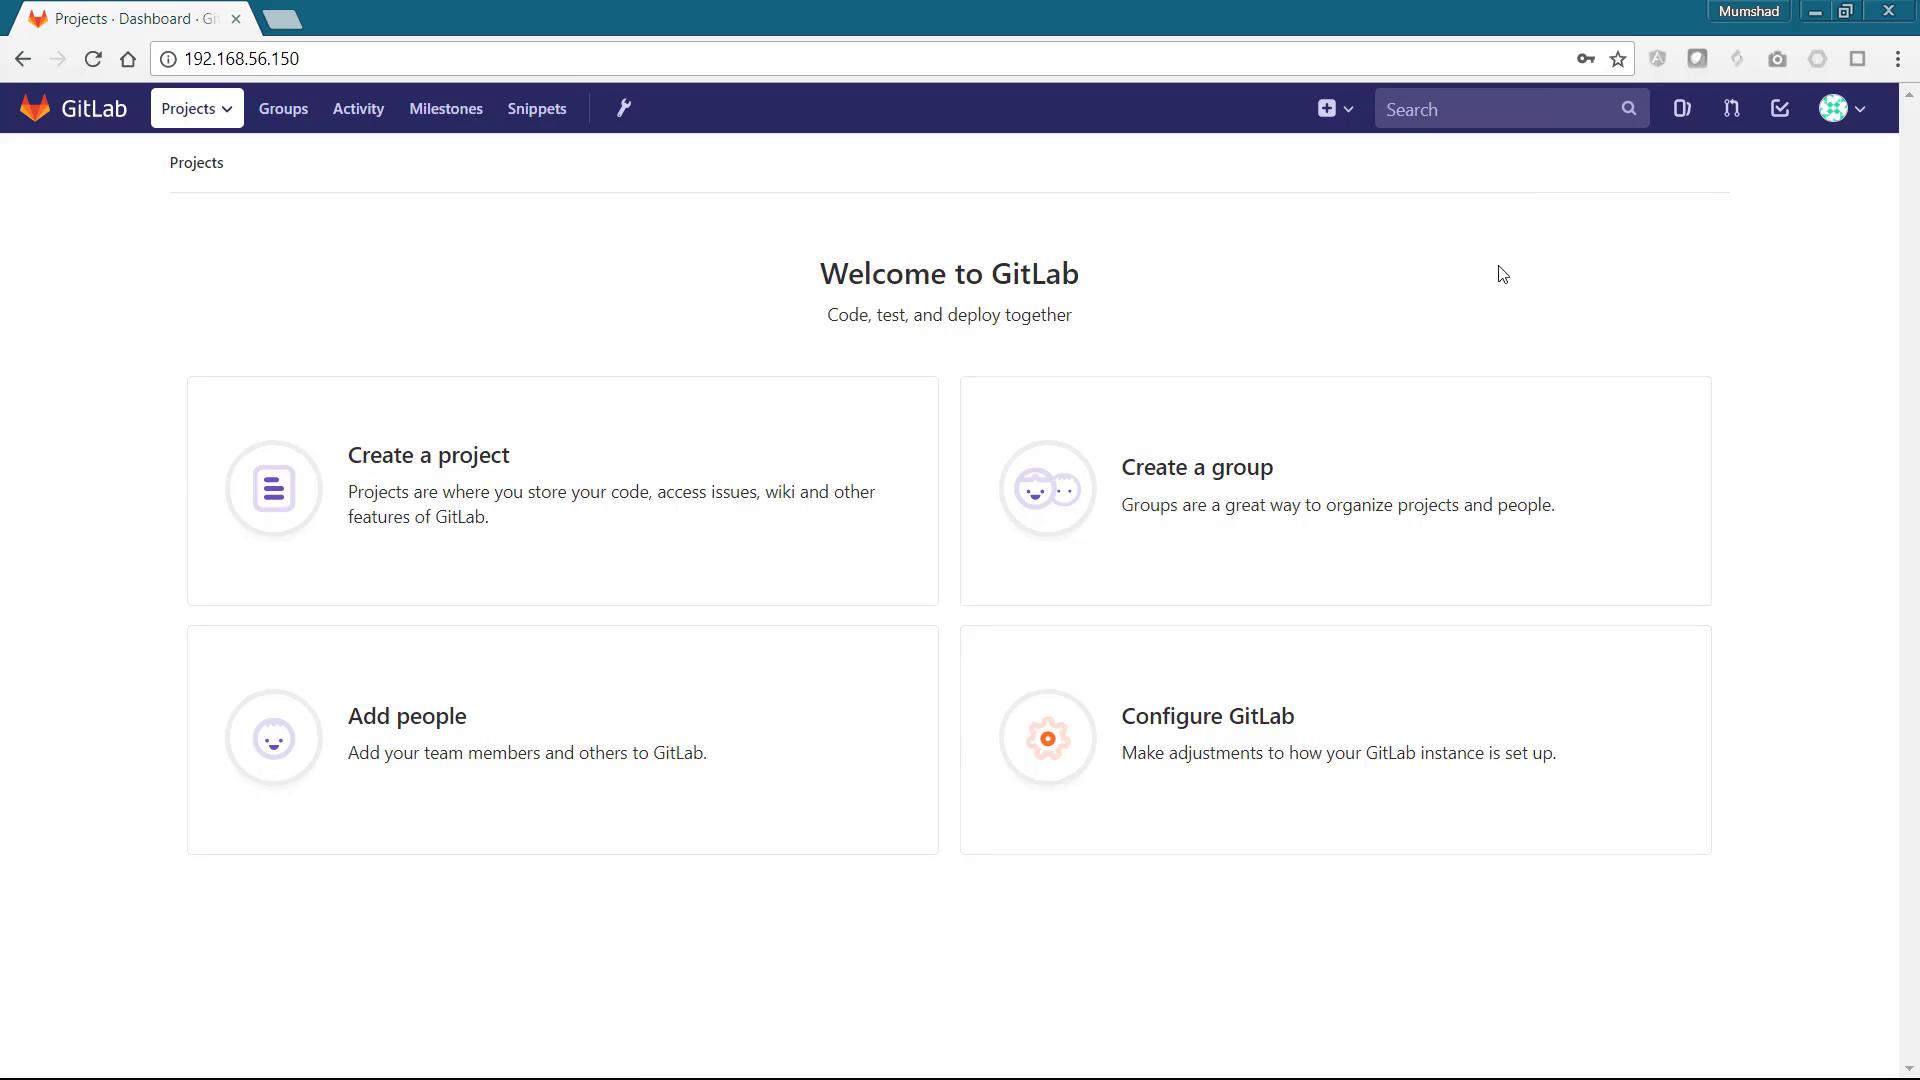
After successful configuration, the GitLab dashboard will be displayed, allowing you to create projects, manage groups, and configure additional settings.
Be sure to update the default credentials as soon as you log in to enhance the security of your GitLab installation.
***
Congratulations! You have now set up a fully functional local GitLab environment on your laptop. Enjoy your new development setup and happy coding!