Understanding Default Cluster Roles
Before diving into role creation, familiarize yourself with the default cluster roles and their descriptions:- admin: Acts as a project manager.
- basic user: A read-only user who can access basic project details and user information.
- cluster admin: Has full access—akin to a root user—and can monitor overall cluster health.
- cluster reader: Holds comprehensive read permissions across the cluster.
- edit: Allows editing of objects and resources, though not typically done on the fly.
- self-provisioner: Permitted to create their own projects.
- view: Enables modifications while maintaining view permissions.

Creating a New Role
These pre-populated roles are available in all projects. To create a new role, click Create Role. You can choose to create a namespaced role or a cluster-wide role.Example: Namespaced Role
A namespaced role is defined as follows:namespace field, the resource becomes a cluster-wide role. For example:
Include the
namespace field when you want the role to be restricted to that particular namespace.A Detailed Role Example
Assume we create a role named viewpods in thedefault namespace to allow read-only access to pods. Below is the configuration:
Creating a Service Account
Next, create a service account to bind with the role. The following example creates a service account named podviewer in the default namespace:Binding the Role to the Service Account
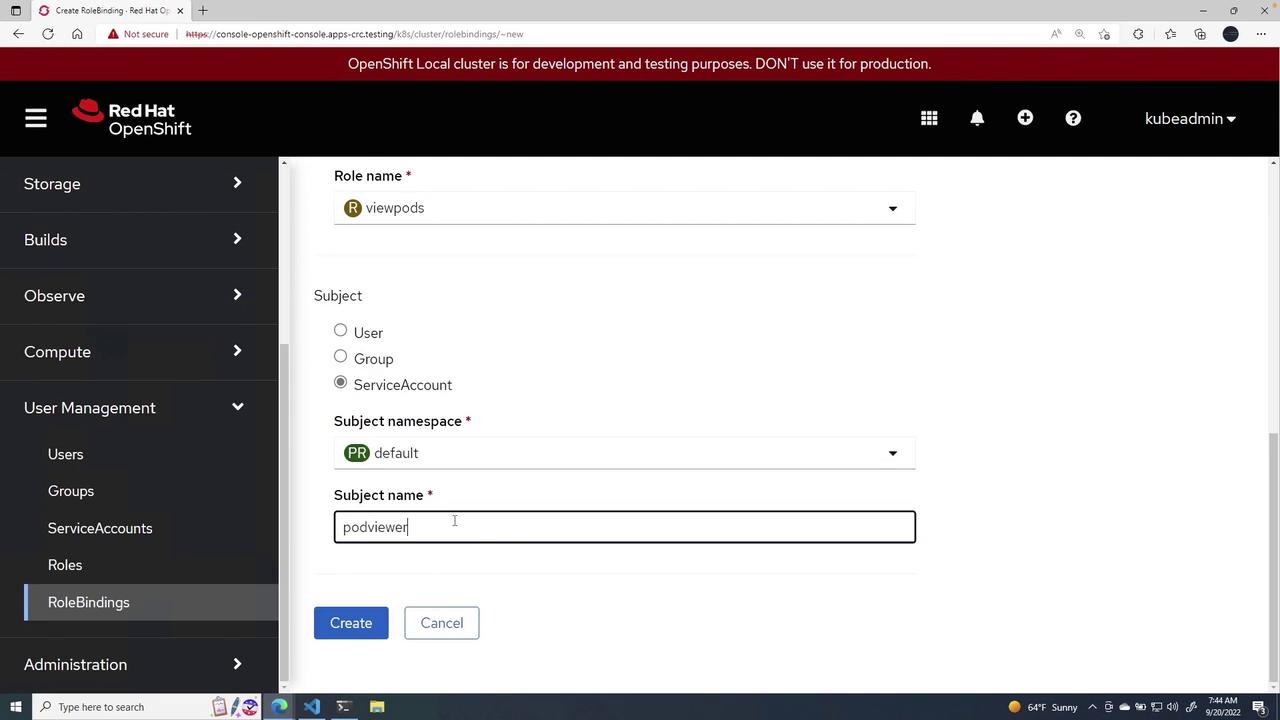
After the service account is created, bind it to the viewpods role through a role binding. Here’s how you proceed:- Choose the
defaultnamespace. - Select the viewpods role.
- Set the subject type as a service account and assign the name podviewer.
- Click Create to finalize the binding.

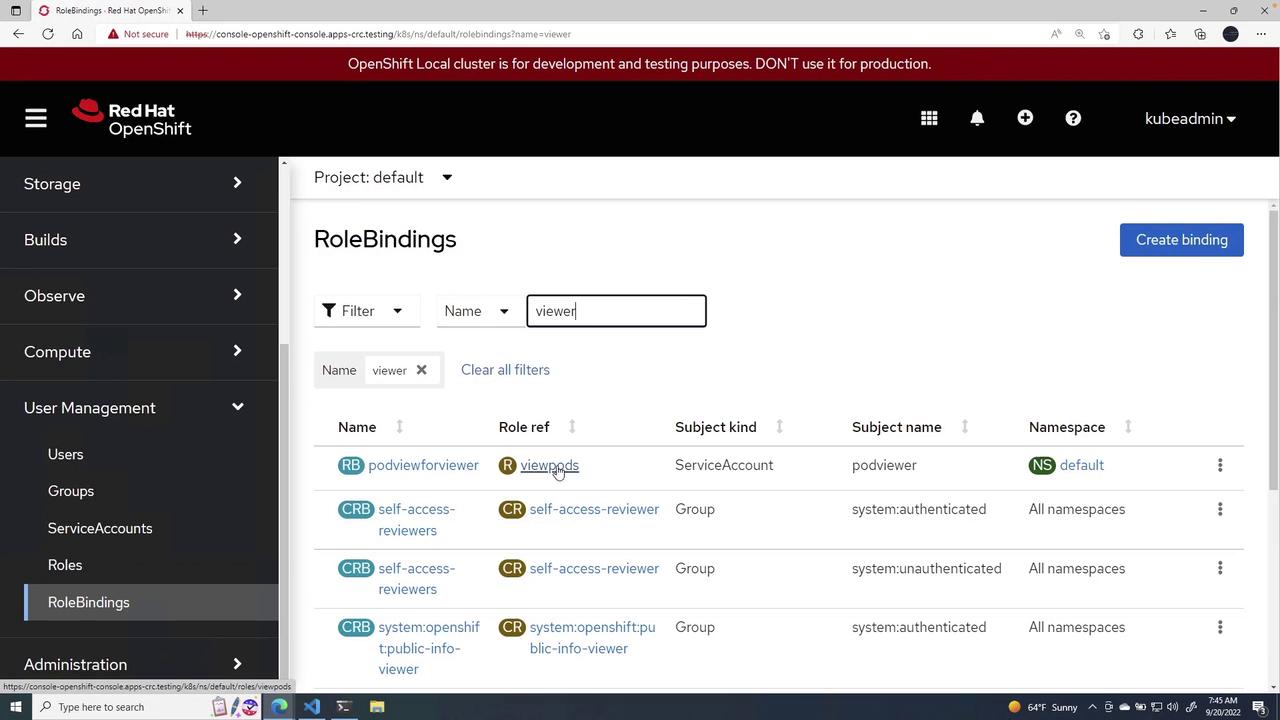
This lesson demonstrated how to:
- Create a namespaced role with specific permissions (e.g., view pods).
- Set up a service account in the designated namespace.
- Bind the service account to the role with a role binding.