OpenShift 4
Storage Templates and Catalog
Persistent Storage Static vs Dynamic Provisioning StorageClasses
Before starting the demonstration, review the relevant OpenShift 4.8 documentation under the Dynamic Provisioning section. Scroll down to find a dedicated section for available dynamic provisioning plugins, commonly referred to as Container Storage Interfaces (CSIs).
OpenShift supports several dynamic provisioning options, including:
- Kubernetes Cinder
- A plugin for OpenStack (for environments using OpenShift with OpenStack)
- AWS Elastic Block Storage
- Azure Disk and Azure File
- Google’s Persistent Disk
- vSphere
This broad range of options allows you to integrate storage from VMware, Azure, AWS, GCP, and other environments.
Proceed to the OpenShift console to create your Storage Class.
Creating a Storage Class
- In the OpenShift console, navigate to Storage and click on Storage Classes.
- If an existing storage class is present, delete it to start with a clean slate.
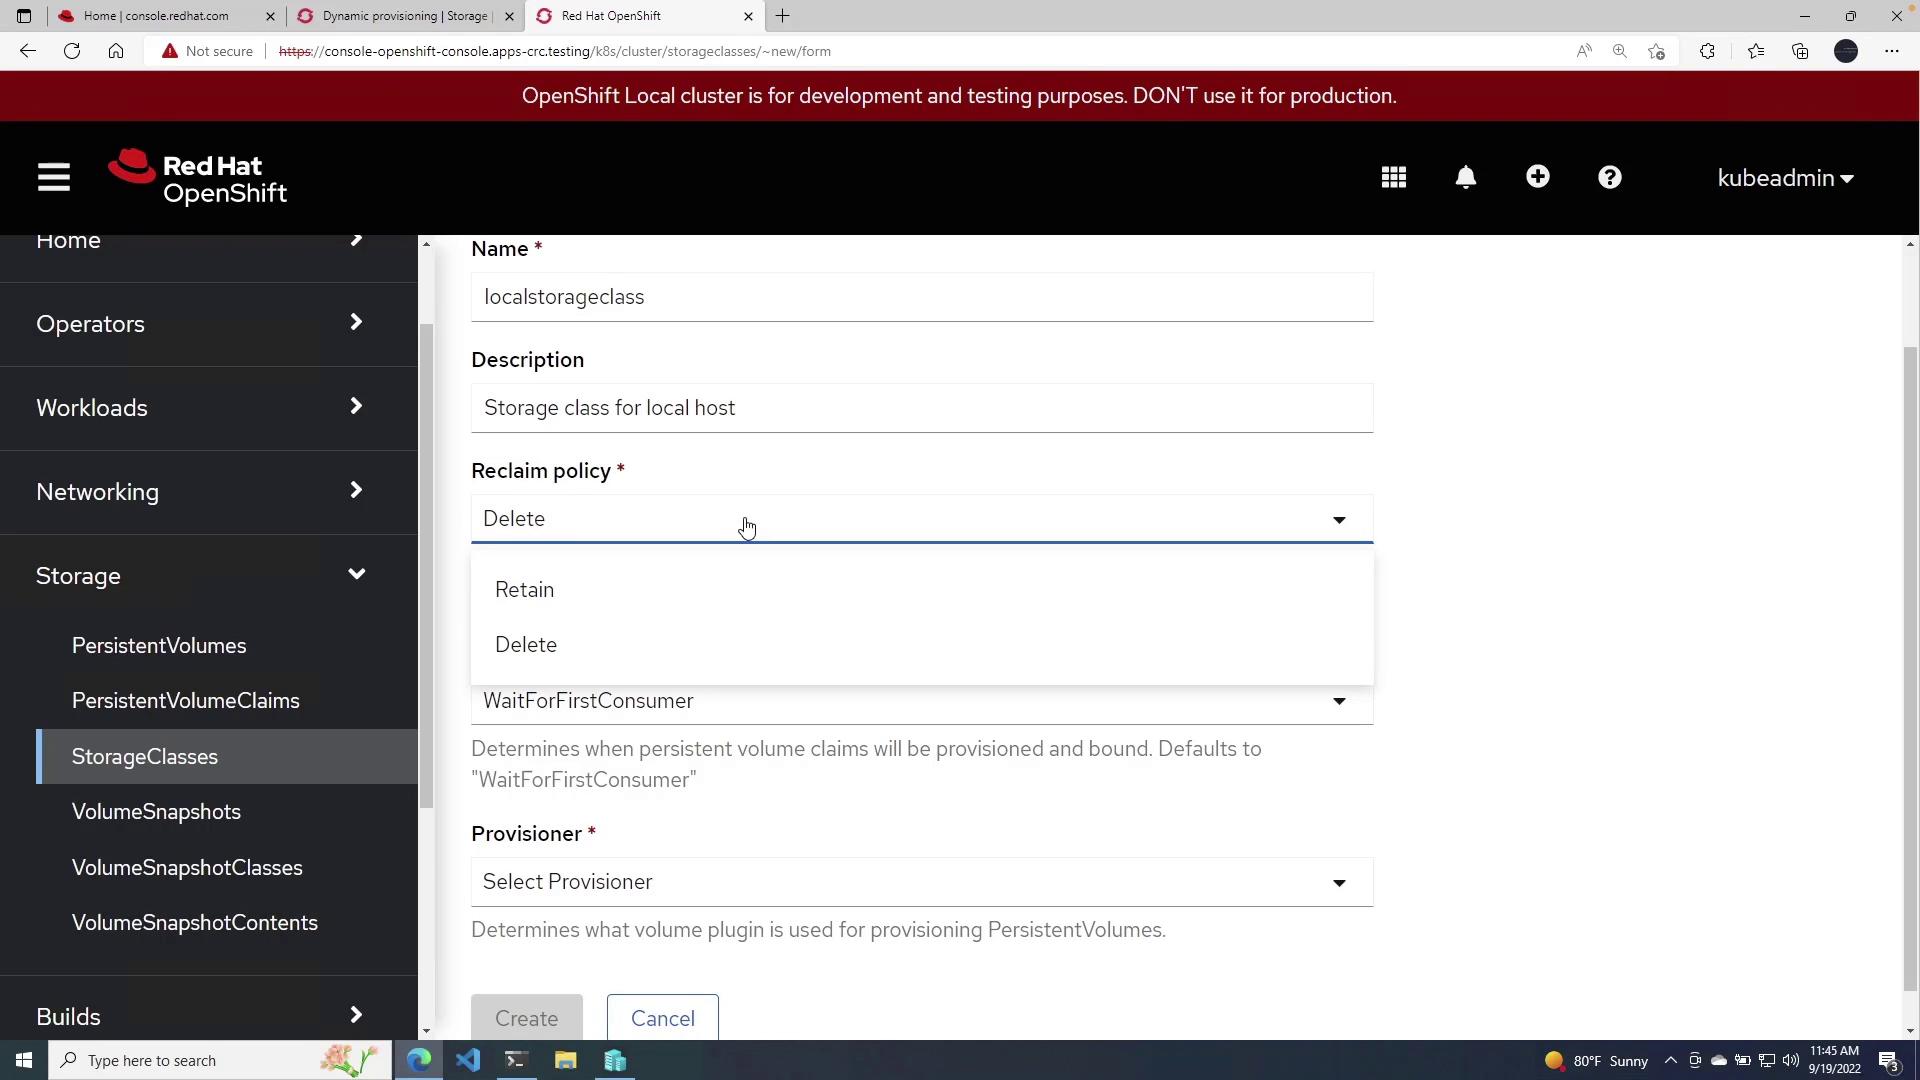
- Click the blue Create Storage Class button.
Enter the following details:
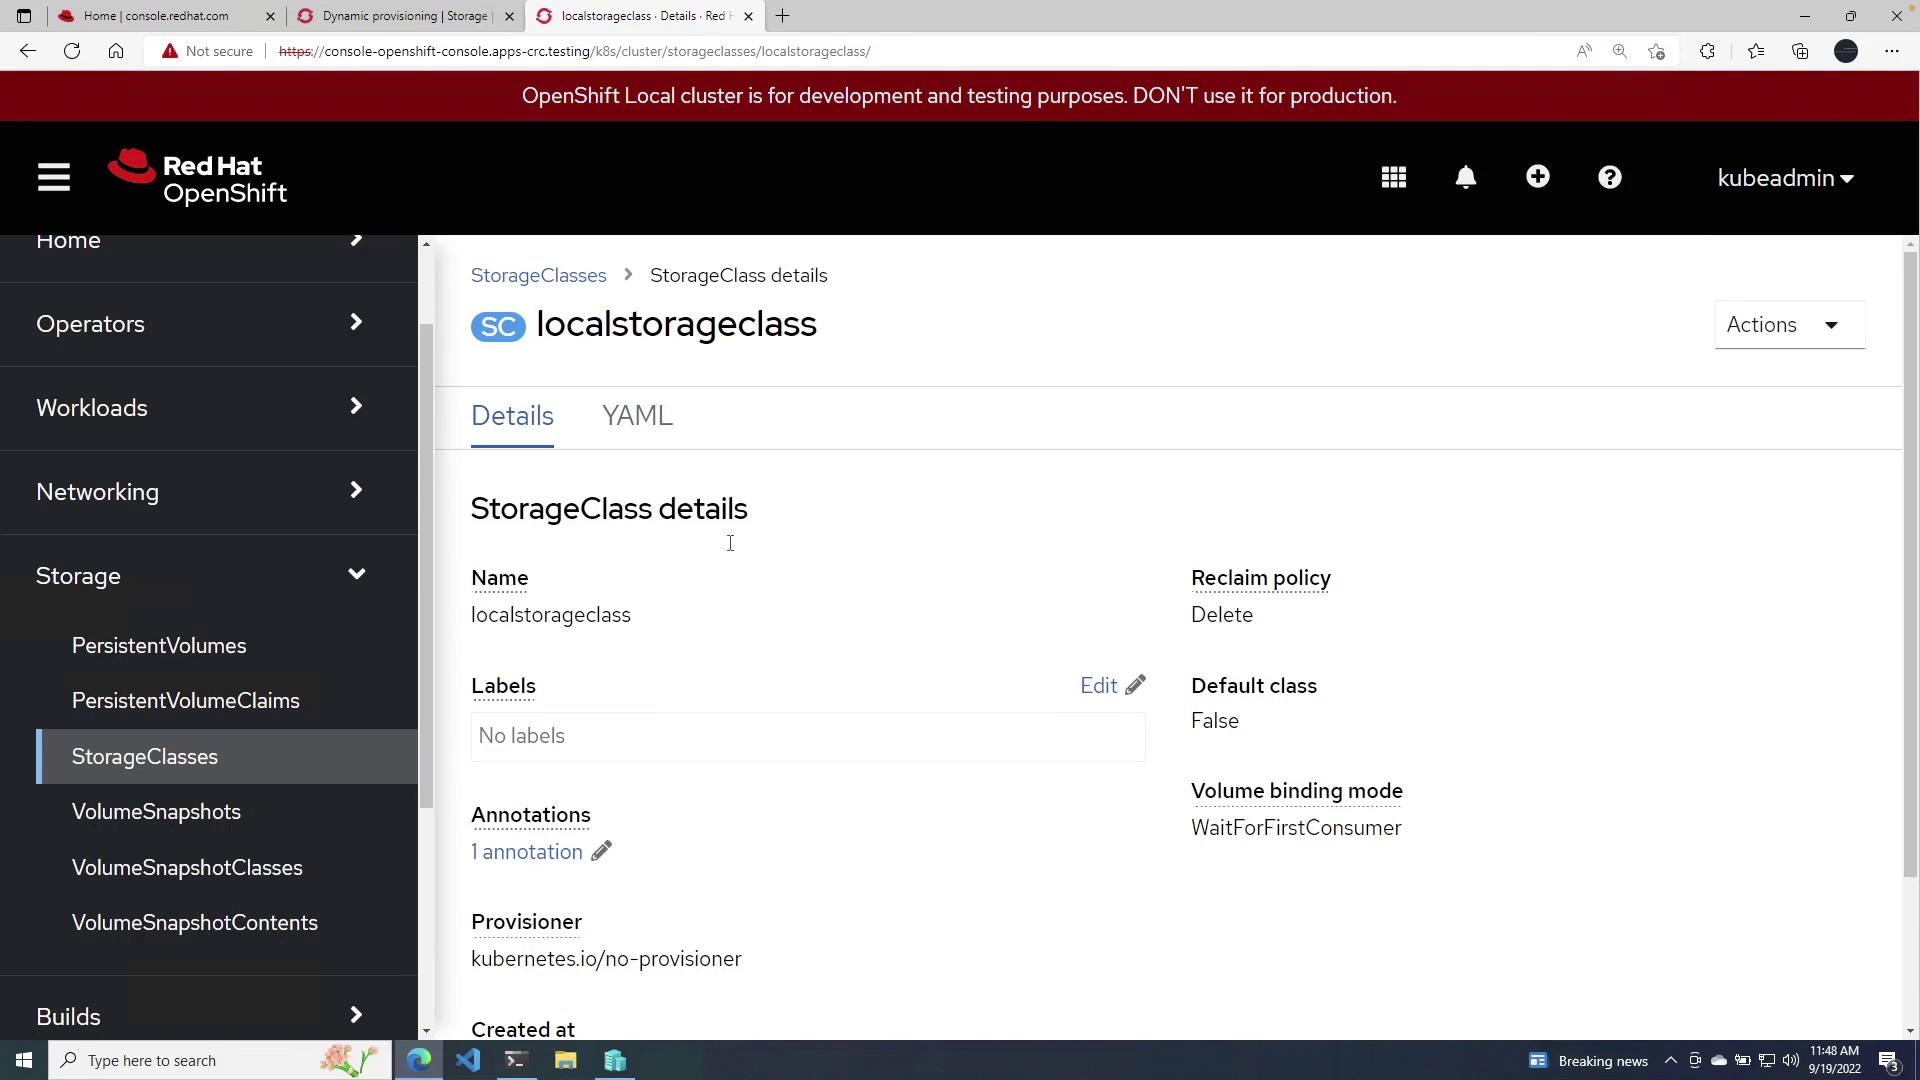
- Name: local Storage Class
- Description: Storage class for local host
- Reclaim Policy: Select an option to either retain or delete the data when the Persistent Volume (PV) is removed. For this demo, choose delete.
- Volume Binding Mode: Choose one of the following options:
- Immediate: Binds the volume as soon as the claim is created.
- Wait for first consumer: Delays binding until a pod is scheduled to a node with available storage. This is recommended for ensuring the volume is provisioned on a node that meets resource requirements.
Next, choose the appropriate provisioner. For this demonstration, select no provisioner from the list of available options such as AWS, GCP, Cinder, and Azure.
Click Create to finalize your Storage Class.
Once the Storage Class is created, you can view its YAML definition. To verify it via the terminal, run:
oc get storageclass
This command displays the current Storage Classes, including the one you just set up.
Creating a Persistent Volume Claim
To utilize your newly created Storage Class, create a Persistent Volume Claim (PVC) by following these steps:
- Navigate to Persistent Volume Claims in the OpenShift console.
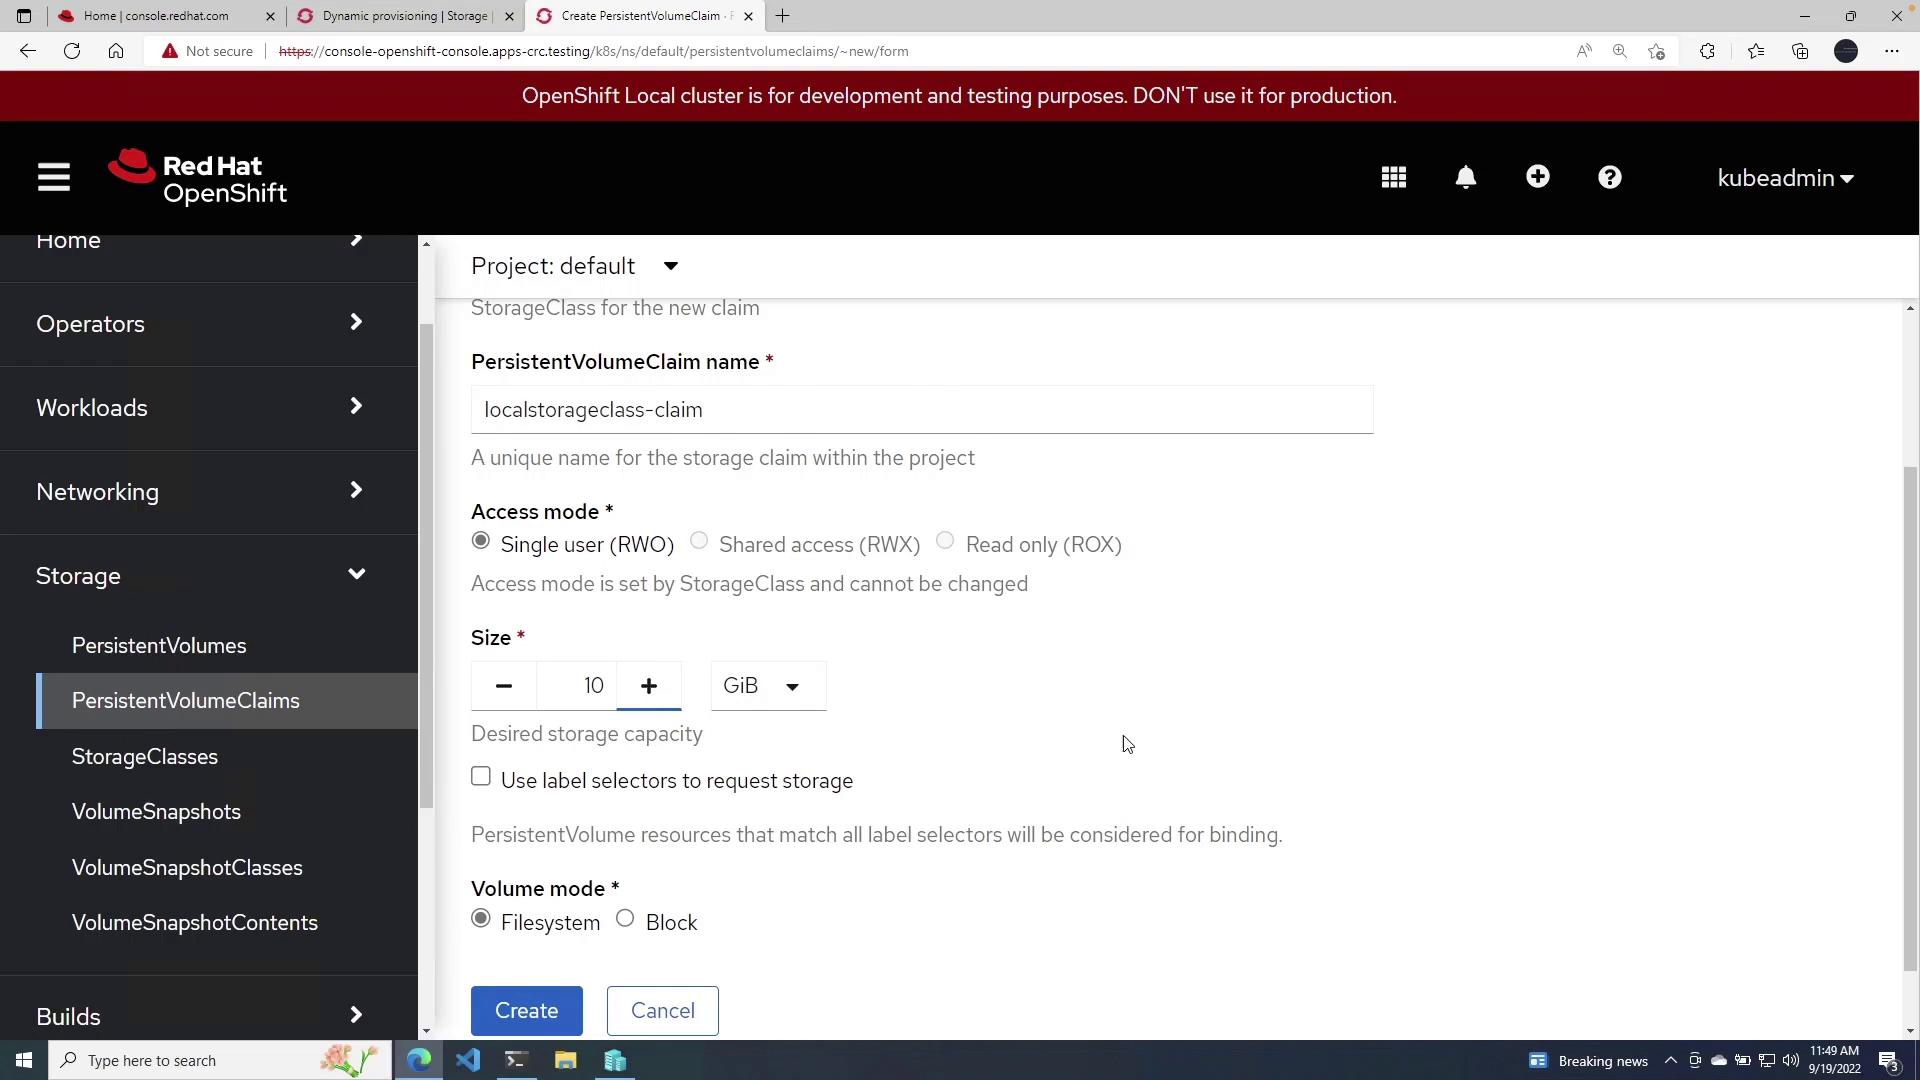
- Click the blue Create Persistent Volume Claim button.
- From the Storage Class dropdown list, select
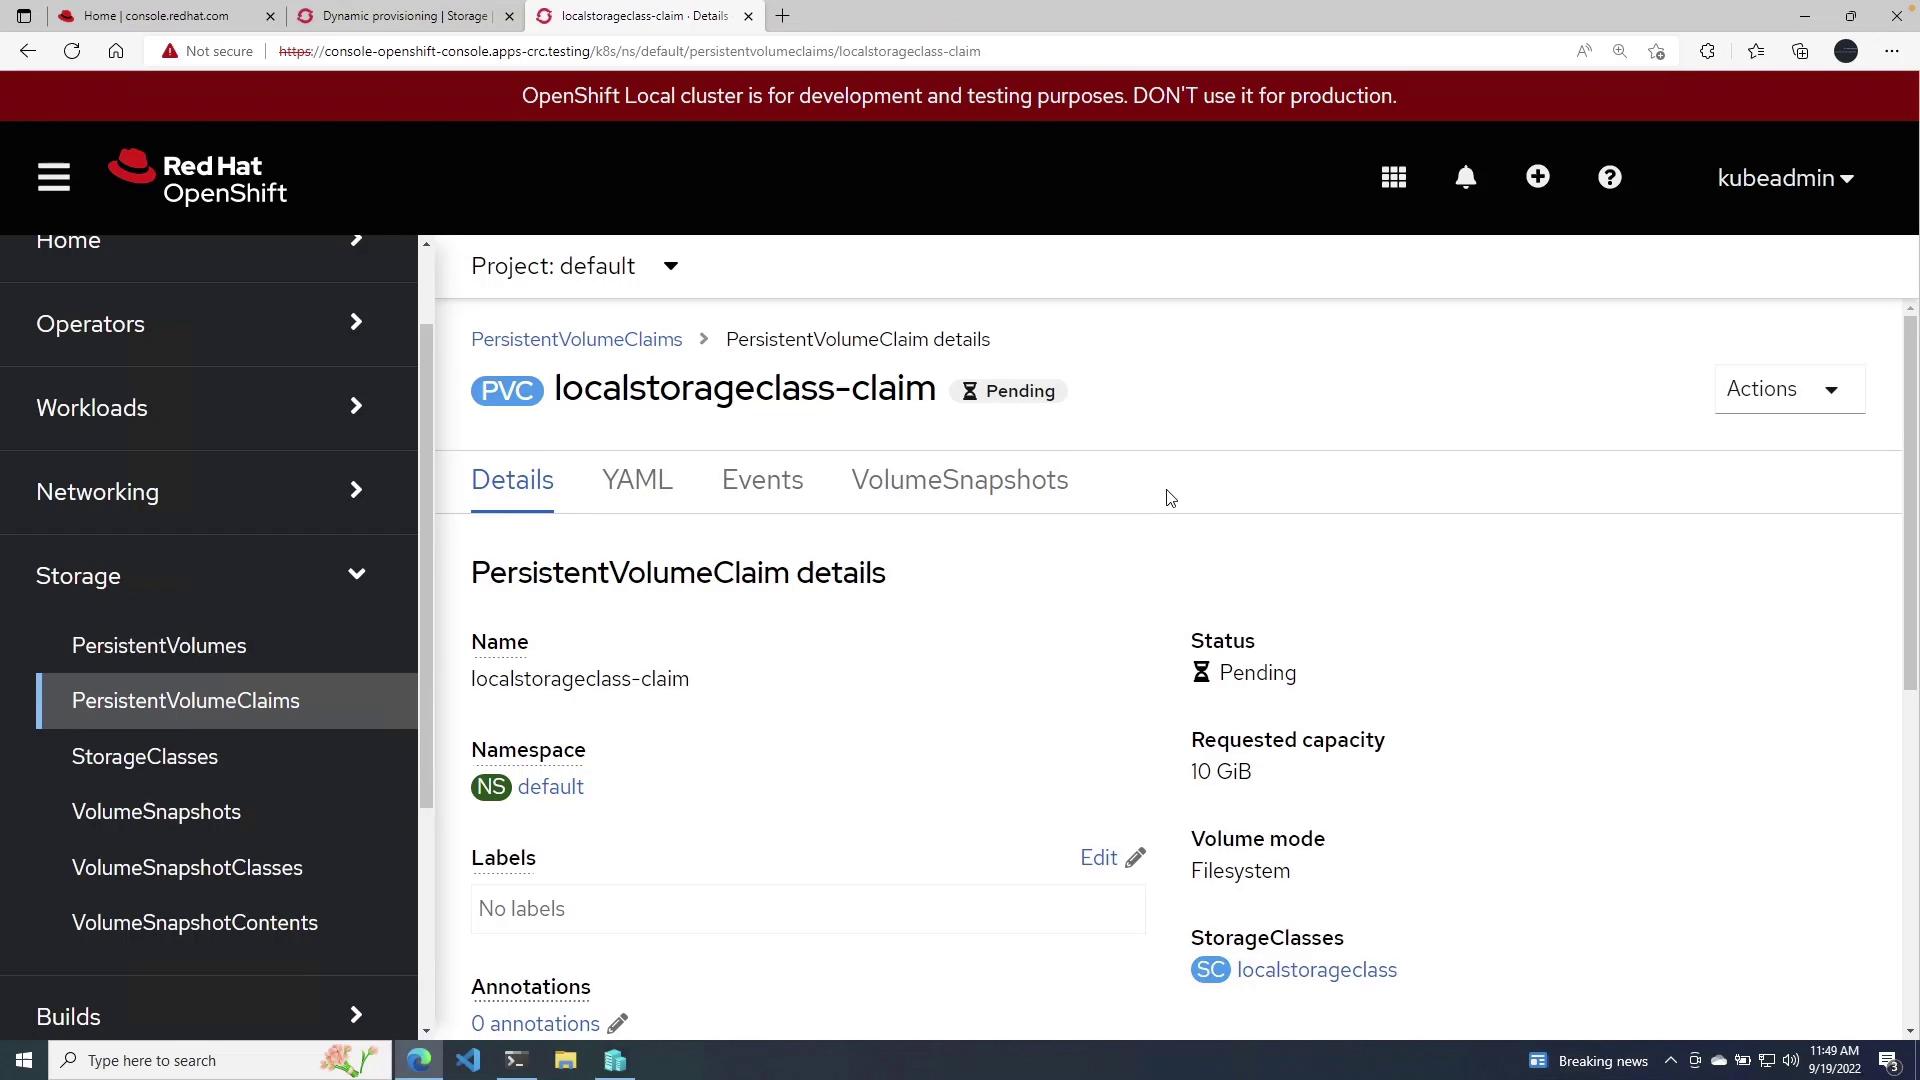
local Storage Class
. - Provide a name for your claim (e.g., local Storage Class Claim).
- Set the access mode to ReadWriteOnce for single user access.
- Specify the claim size; for this demo, enter 10 GiB.
- Keep the volume mode as File System unless block storage is required.
- Click Create to complete the process.
After completing the steps, your Storage Class and PVC will be ready. The behavior of the PVC may vary depending on your OpenShift installation. For example, if you are running OpenShift on Azure, configure the PVC to point to Azure storage. The same applies to AWS or other cloud providers.
Note
Remember to adjust configurations based on your specific environment and storage requirements.
This article detailed the process for creating a Storage Class and a Persistent Volume Claim in OpenShift, providing a step-by-step guide to ensure proper configuration for both static and dynamic storage provisioning. For more detailed information on storage configuration in OpenShift, consult the OpenShift Documentation.
Watch Video
Watch video content