OpenTofu: A Beginners Guide to a Terraform Fork Including Migration From Terraform
OpenTofu State
Demo OpenTofu State
Welcome to this lesson on OpenTofu state management. In this guide, we’ll cover where the state file lives, how OpenTofu tracks resources, default filenames, inspecting state, and working with both local and AWS resources.
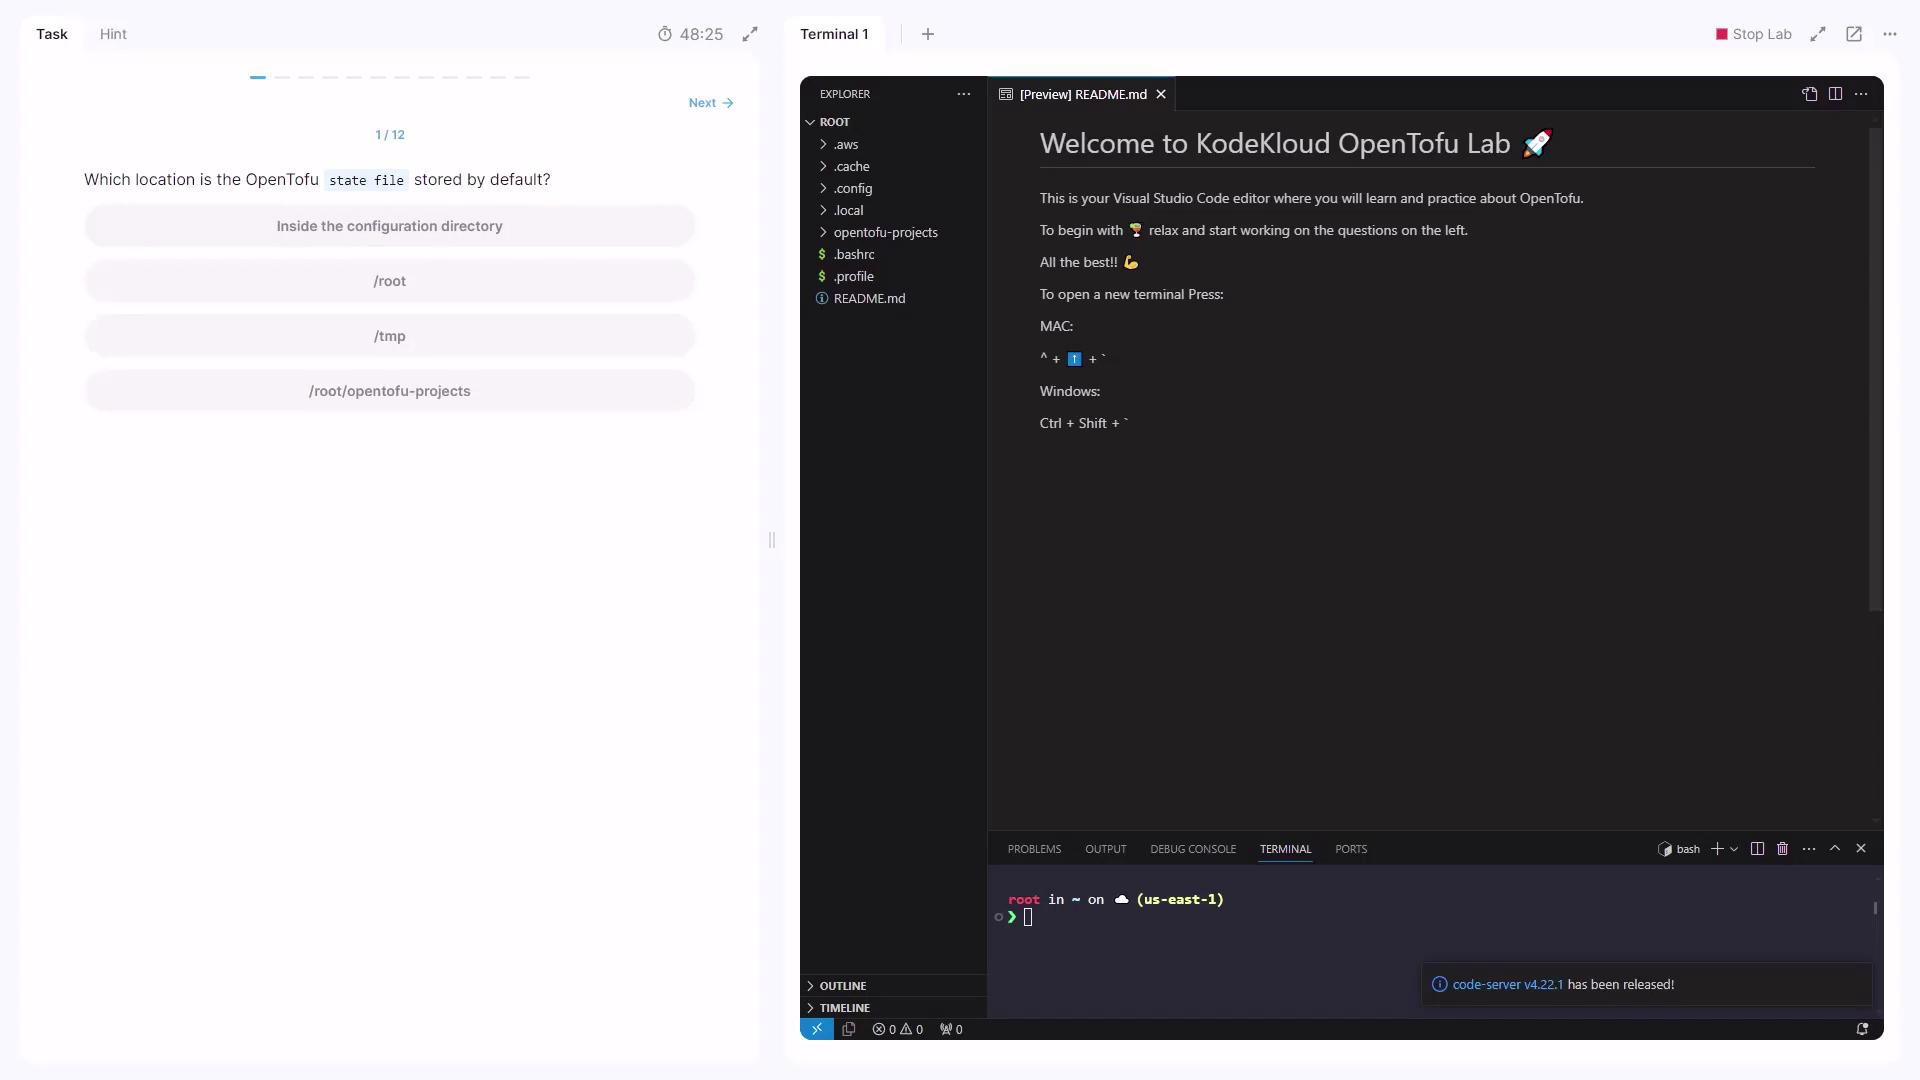
Default State File Location
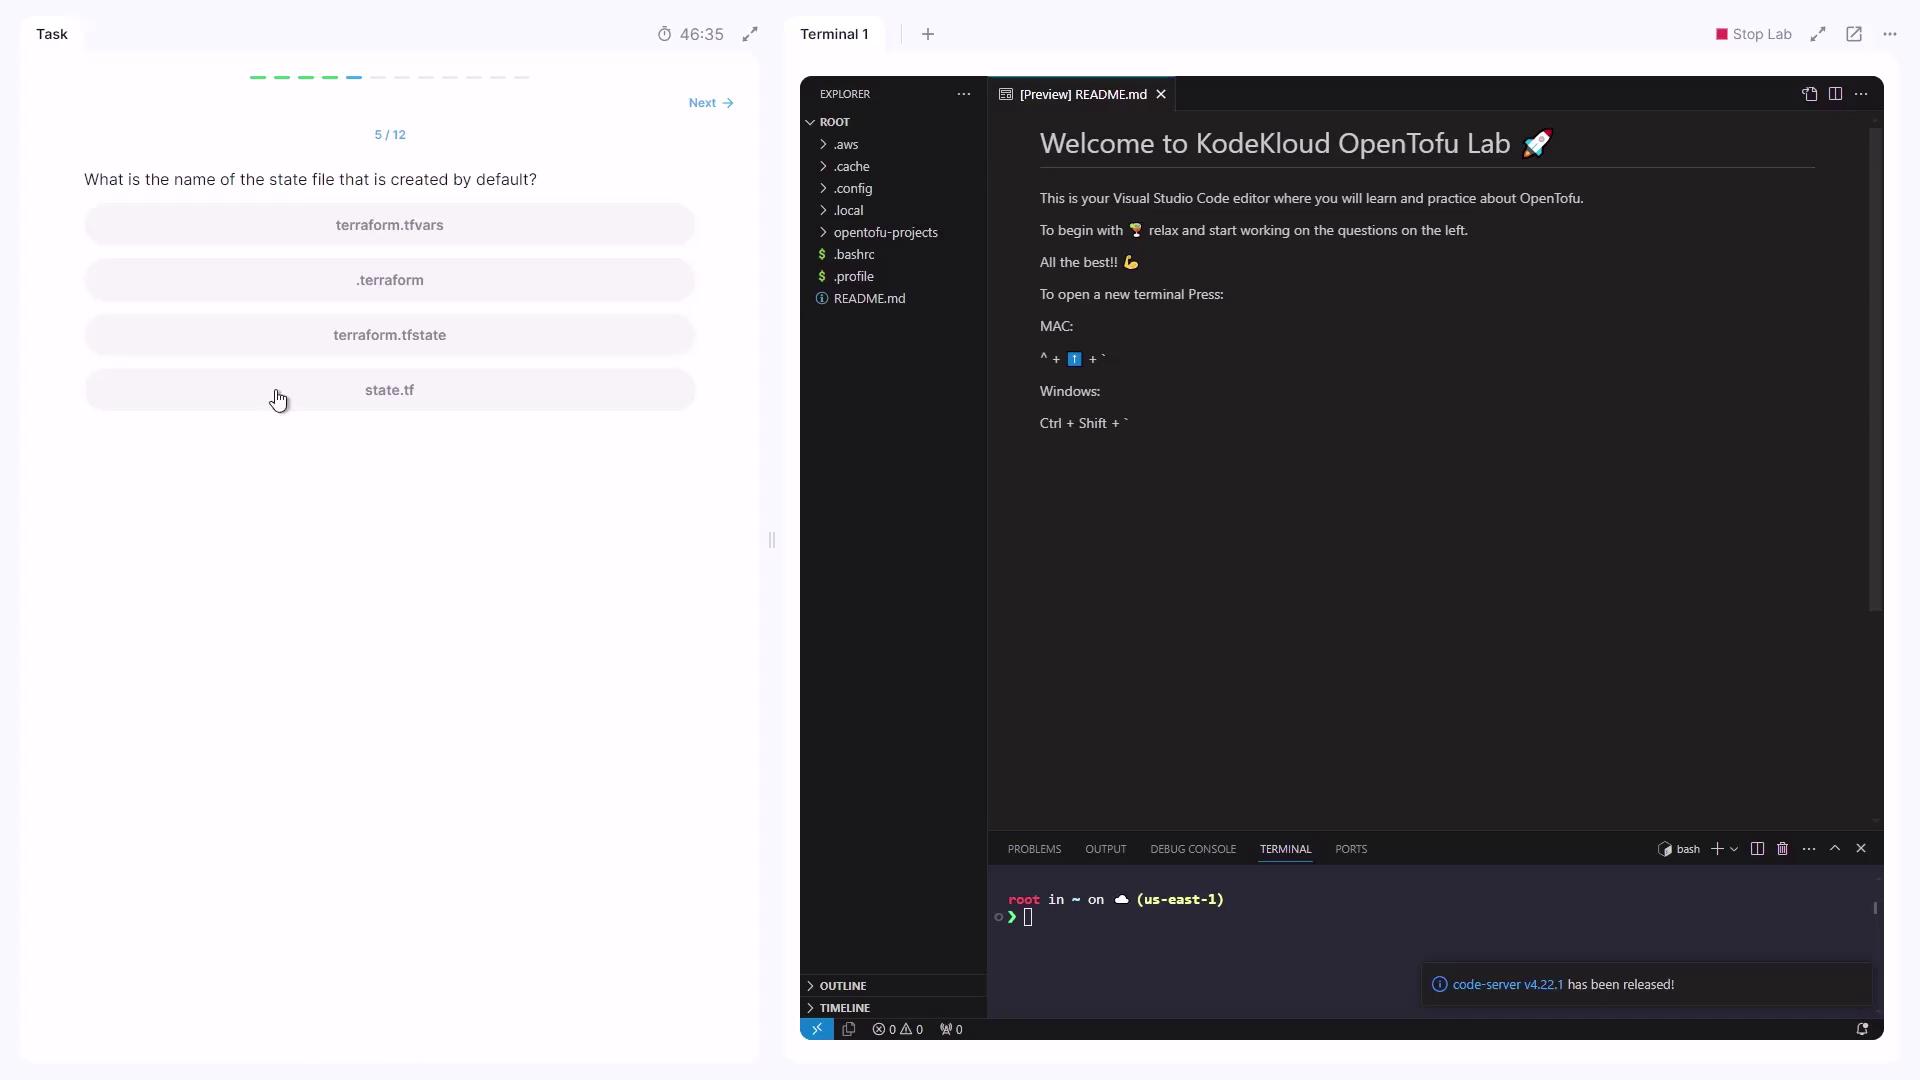
After you provision resources with OpenTofu, the state file is created in your current working directory by default.
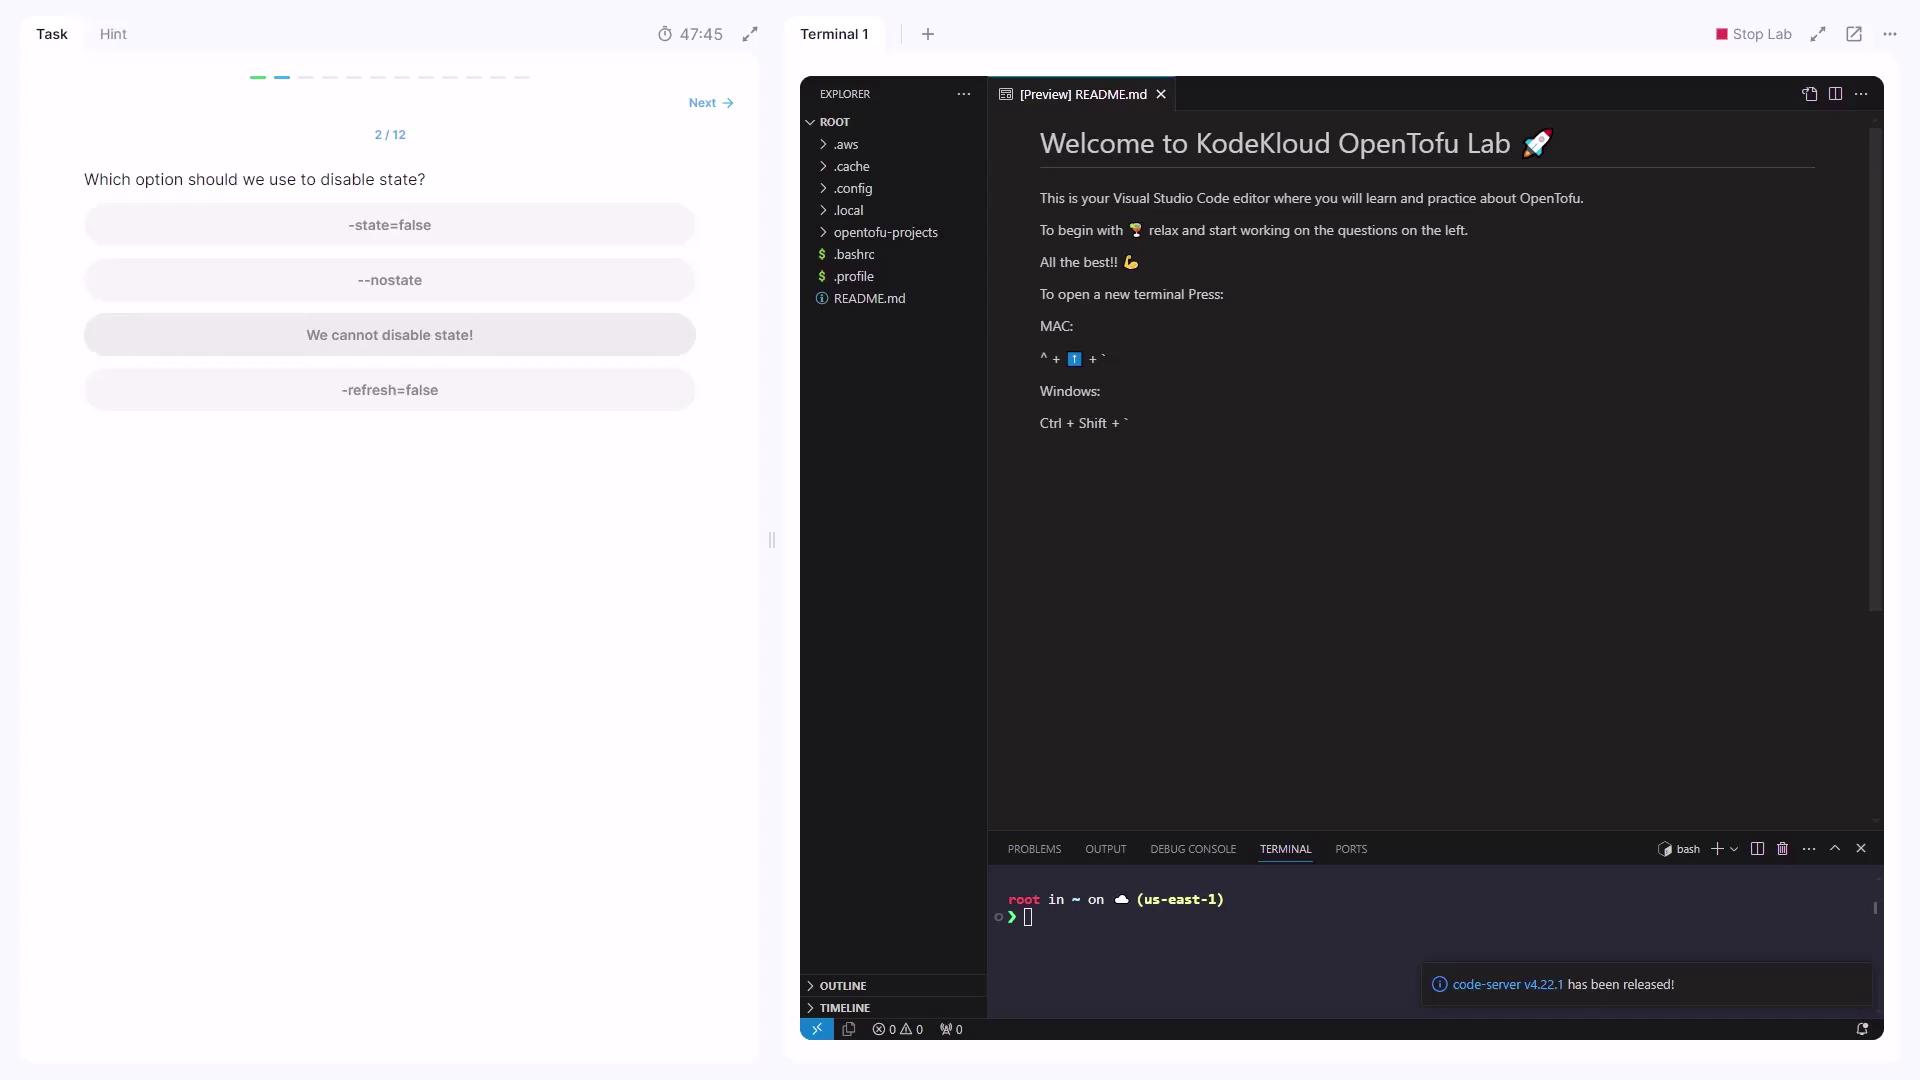
Disabling State
OpenTofu always relies on a state file to track existing resources. There is no option to disable this behavior.
Warning
OpenTofu always maintains a local state file (terraform.tfstate). You cannot disable state management.
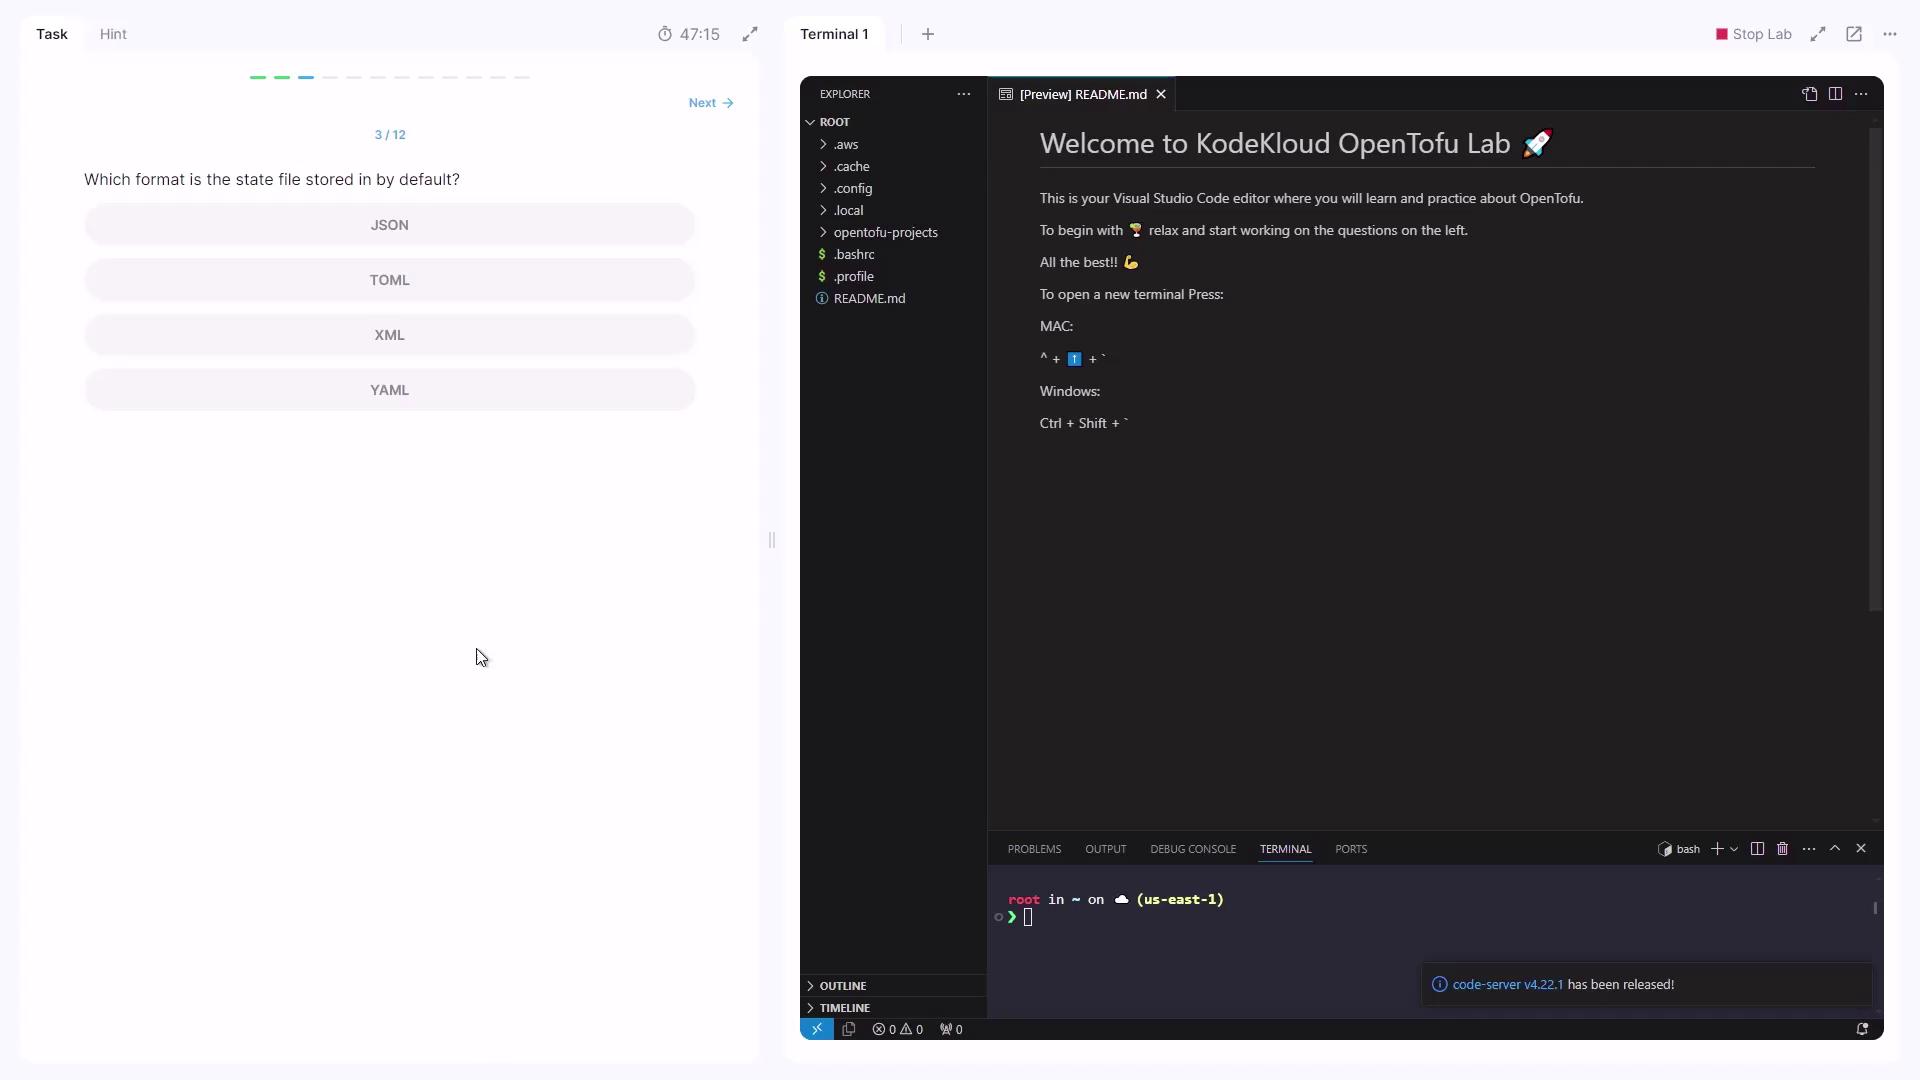
State File Format
Open the terraform.tfstate file and you’ll see it’s formatted in JSON.
Note
The JSON format makes it easy to parse the state file with tools like jq or programmatic scripts.
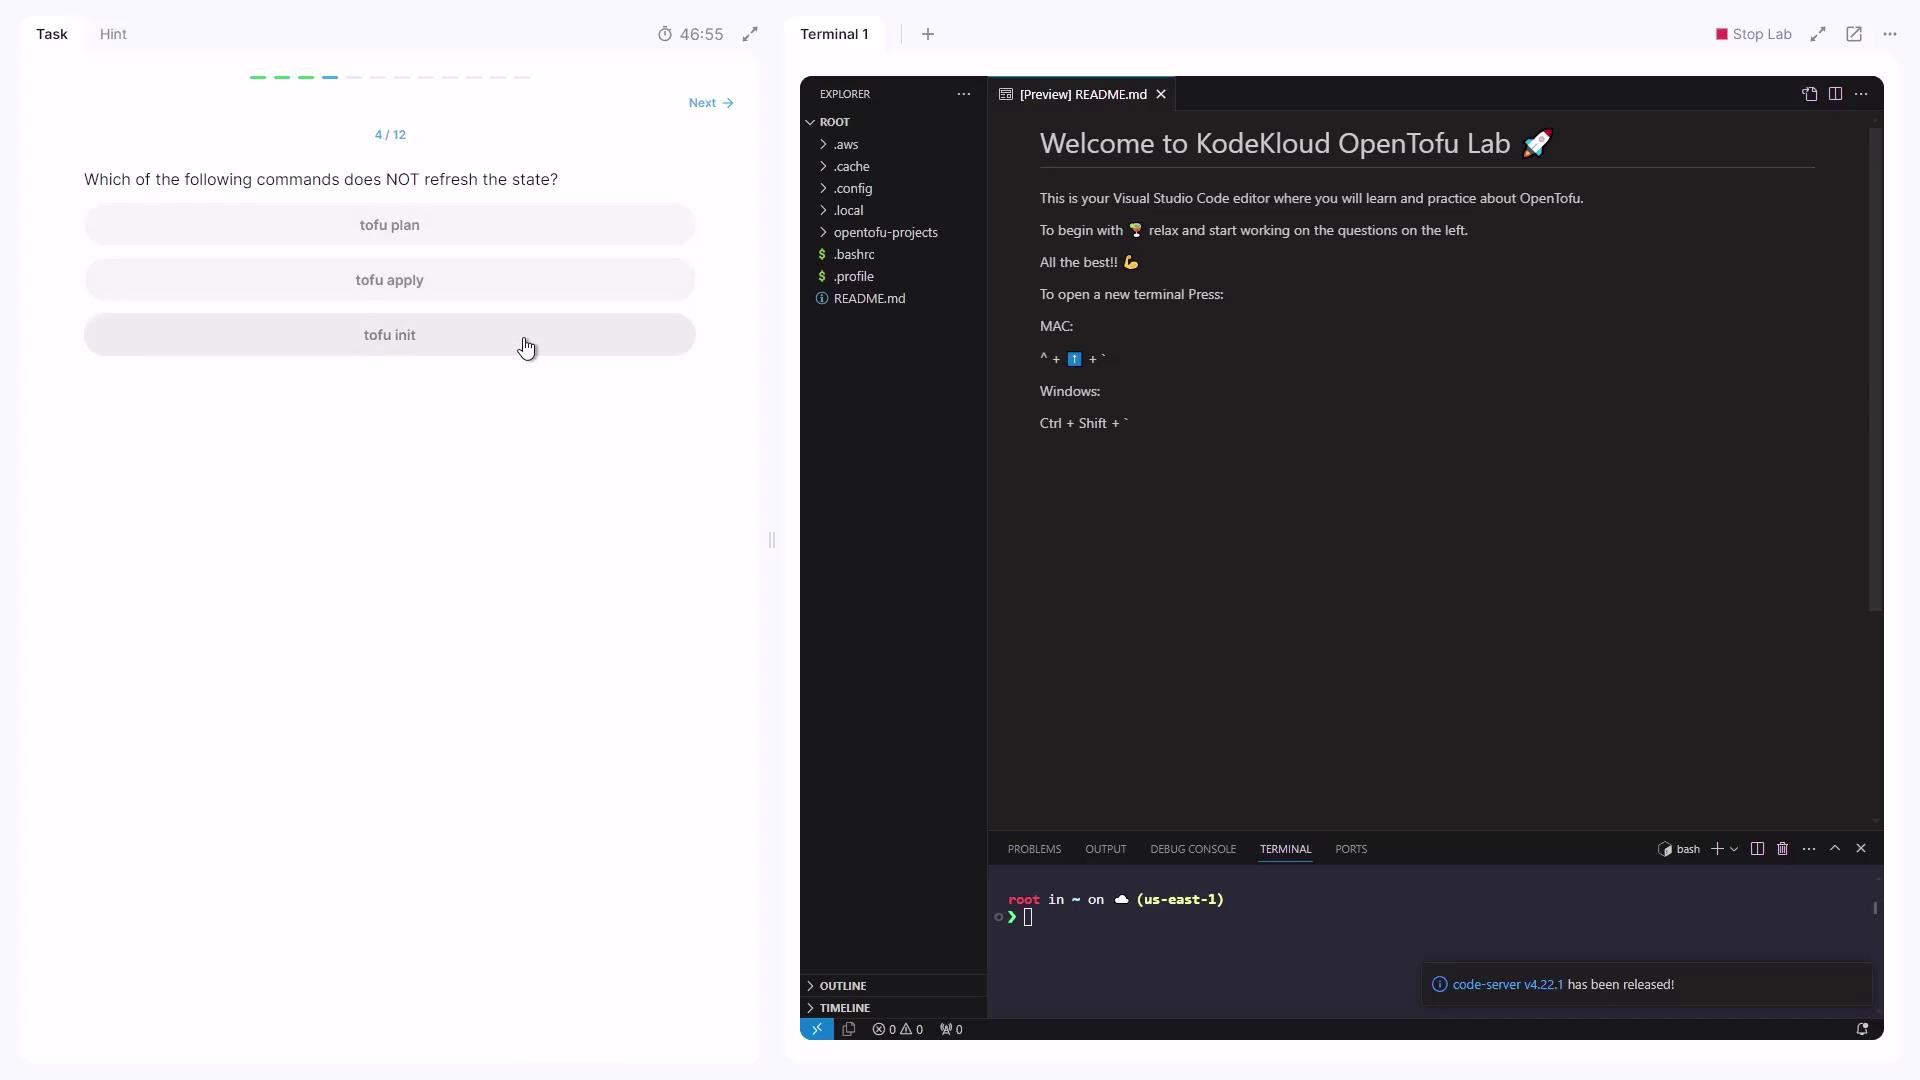
Commands and State Refresh
Some OpenTofu commands automatically refresh the state to match real-world resources:
| Command | Refreshes State? | Description |
|---|---|---|
opentofu plan | Yes | Generates and shows an execution plan |
opentofu apply | Yes | Applies changes and refreshes state |
opentofu init | No | Initializes the working directory |
Default State File Name
By default, the state file created is:
terraform.tfstate
Working with State in a Configuration
Navigate into your configuration directory:
cd /root/OpenTofu-project/project
You’ve already run opentofu init, so the .terraform folder exists—but no terraform.tfstate file yet, since opentofu apply hasn’t been executed.
1. Showing the State
opentofu show
No output appears because no state file exists yet.
2. Applying the Configuration
Run:
opentofu apply
When prompted, type yes. Sample output:
local_file.zoom: Creating...
local_file.ridder: Creating...
local_file.reverse-flash: Creating...
local_file.speed_force: Creating...
local_file.zoom: Creation complete after 0s [id=49a99e298eb6c5658742c255584f940948]
local_file.ridder: Creation complete after 0s [id=e9cbflbe0ee8cca695b7925def345088e16c7]
Apply complete! Resources: 4 added, 0 changed, 0 destroyed.
3. Inspecting the New State
Now re-run:
opentofu show
Search for the resource local_file.speed_force. In HCL form, it appears as:
# local_file.speed_force:
resource "local_file" "speed_force" {
  content                  = "speed-force"
  content_base64sha256     = "H5f8B6uJ7VQ7K0KVE0HT1hjs5aRlnpODNyZEt1L"
  content_base64sha512     = "C0fhaaC0aw1TigerQ8gYu6fu8n6onK91L1jctPU++M+HrPjS/LSKJHTV0v8QX8BQ78sR"
  filename                 = "ebeb8b595c8eb4e8e1acf24416a742fab2981"
  directory_permission     = "0777"
  file_permission          = "0777"
}
Here, the suffix fab2981 in the filename reflects the resource ID.
Add an EC2 instance and an S3 bucket to your configuration:
resource "aws_instance" "dev-server" {
  instance_type = "t2.micro"
  ami           = "ami-02cf456777cd"
}

resource "aws_s3_bucket" "flashpoint" {
  bucket = "project-flashpoint-paradox"
}
After running opentofu apply, inspect the JSON state directly or with:
opentofu show
A snippet for the EC2 instance in terraform.tfstate:
{
  "mode": "managed",
  "type": "aws_instance",
  "name": "dev-server",
  "instances": [
    {
      "attributes": {
        "ami": "ami-02cf4456777cd",
        "arn": "arn:aws:ec2:us-east-1:instance/i-5dbf6192afa91dd3",
        "associate_public_ip_address": true,
        "availability_zone": "us-east-1a",
        "private_ip": "10.40.132.251",
        "public_ip": "54.214.161.80"
      }
    }
  ]
}
Search for "private_ip" to locate the instance’s private IP:
"private_ip": "10.40.132.251"
References
Watch Video
Watch video content
Practice Lab
Practice lab