This article provides a guide on using Postman to test API endpoints for creating, retrieving, updating, and deleting products.
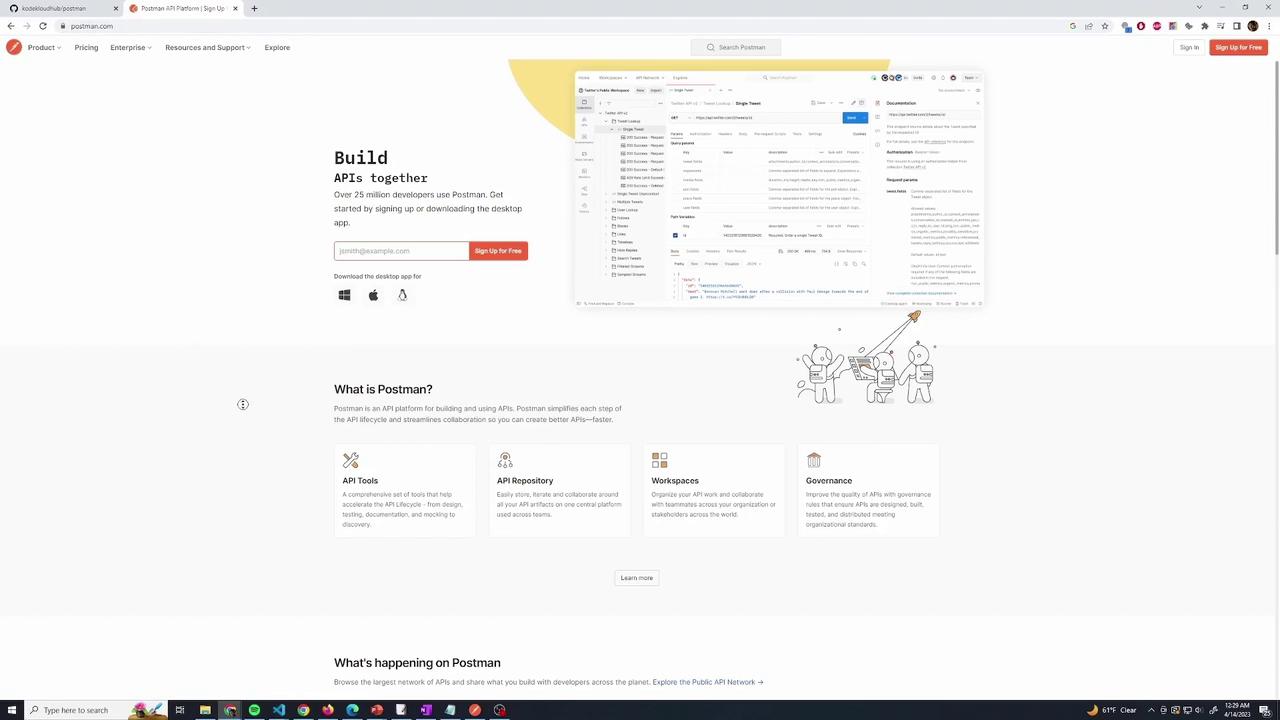
Postman offers both a web client and a desktop client. Although you can use the web client, the desktop version is recommended for its consistent behavior—especially in handling CORS. To download the app, scroll to the bottom of the Postman website and click on the “Download the app” link. Your operating system will be detected automatically, and you’ll be directed to the appropriate download page.
When you launch Postman, you’ll be greeted by its interface.
My Postman is set to dark mode, but you can switch themes by navigating to File > Settings > Themes. While signing in allows you to sync requests across devices, it is optional for this demonstration.
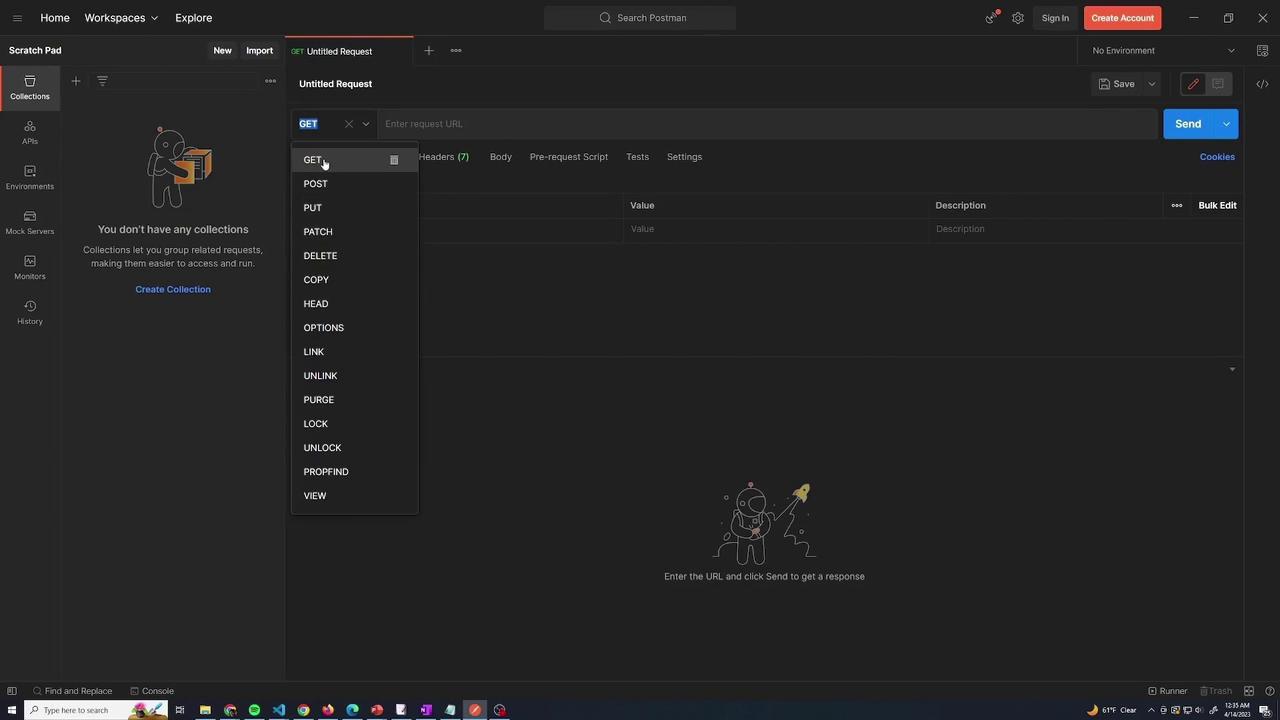
To create a new request, click the plus icon in Postman to open a new tab. Set the HTTP method to GET—matching our endpoint—and enter the URL (e.g., http://localhost:4000/). You can also set headers, input request data in the body, or configure authorization settings if necessary.
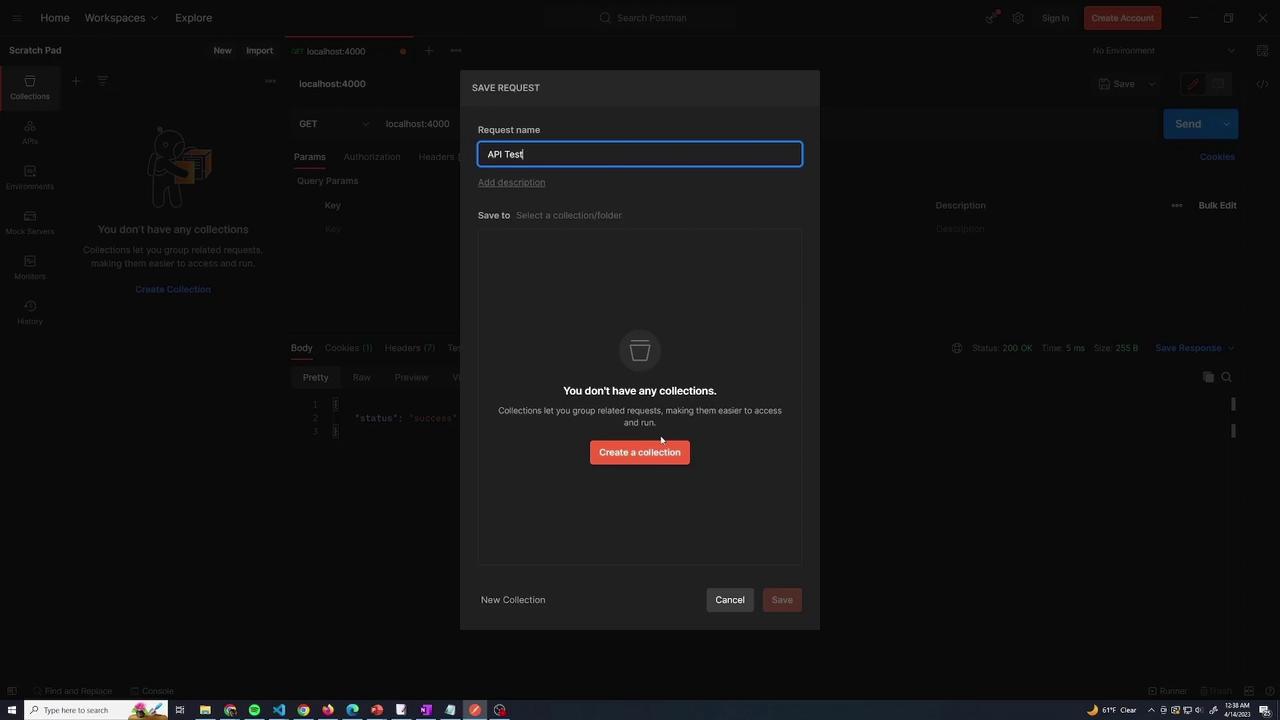
After setting up the request, click the “Send” button. The response pane will display the output, including the body:
Copy
{ "status": "success"}
Along with the response data, you can review the status code (e.g., 200 for success), response time (such as 5 milliseconds), and additional metrics like TCP session time and DNS lookup time.An additional benefit of Postman is the ability to save your requests for future use. Click “Save,” assign a request name (e.g., “API Test”), and add it to a collection. Collections are useful for grouping related API requests. For this demonstration, I created an “e-commerce” collection and stored the “API Test” request within it.
To add a product, send a POST request to the /products endpoint. The API expects three fields in the request body: name, price, and category. The relevant code snippet is:
After starting your server, you might see console output like:
Copy
12 packages are looking for fundingrun `npm fund` for detailsfound 0 vulnerabilitiesC:\Users\sanje\Documents\demo\postman>curl localhost:4000{"status":"success"}C:\Users\sanje\Documents\demo\postman>
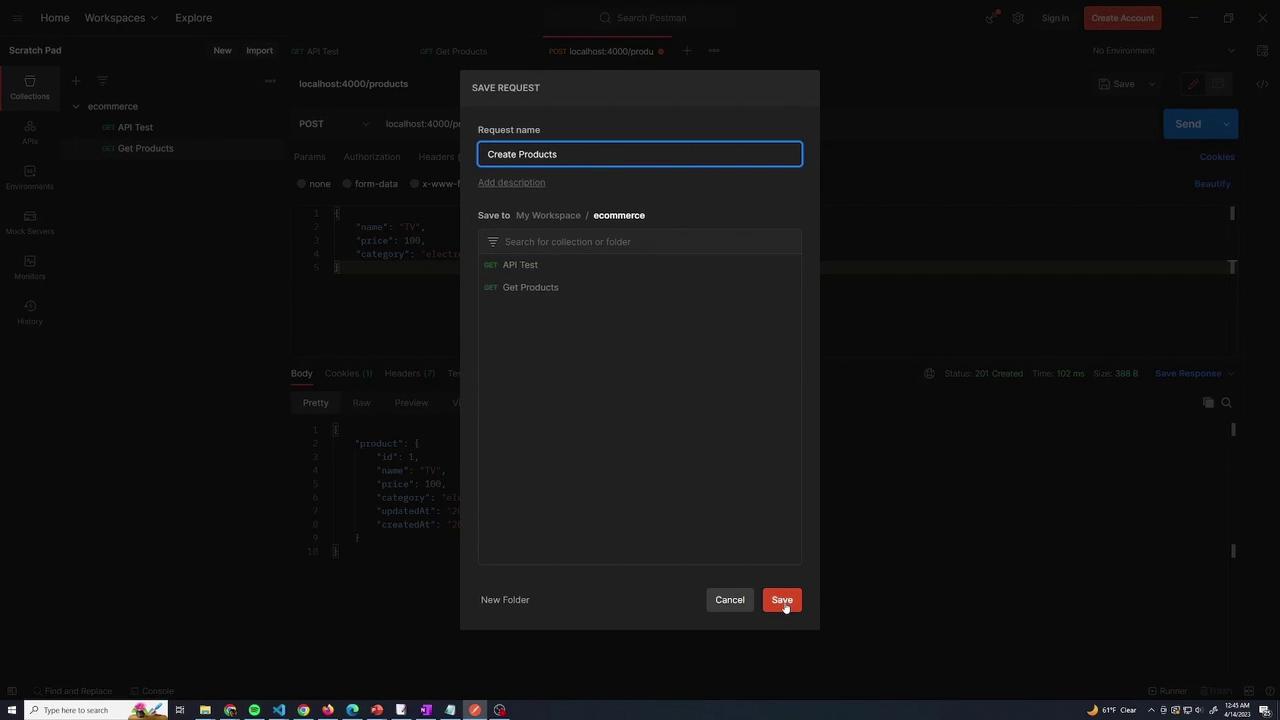
To create a product with Postman, set the method to POST and use the URL http://localhost:4000/products. In the Body tab, select “raw” and choose “JSON” as the format. Postman automatically sets the Content-Type header to application/json. Enter the following JSON data:
Click “Send.” The API should return a 201 status code along with the newly created product details, including an auto-generated id, createdAt, and updatedAt fields. Save this request as “Create Products” in the e-commerce collection.
app.patch("/products/:id", async (req, res) => { const id = req.params.id; const body = req.body; try { const product = await Product.findOne({ where: { id } }); if (!product) { return res .status(404) .json({ message: `Product with ${id} was not found` }); } product.set(body); await product.save(); res.json(product); } catch (e) { res.status(500).json({ message: e }); }});
To update a product via Postman, create a PATCH request with the URL http://localhost:4000/products/{id} (replace {id} with the actual product ID) and include the updated data in the raw JSON body. For example, to update the price:
Copy
{ "price": 150}
After clicking “Send,” the product’s price should be updated accordingly. Save this request as “Update Product.”
app.delete("/products/:id", async (req, res) => { const id = req.params.id; try { const product = await Product.destroy({ where: { id, }, }); if (!product) { return res.status(404).json({ message: `Product with ${id} not found` }); } res.status(204).send(); } catch (e) { res.status(500).json({ message: e }); }});
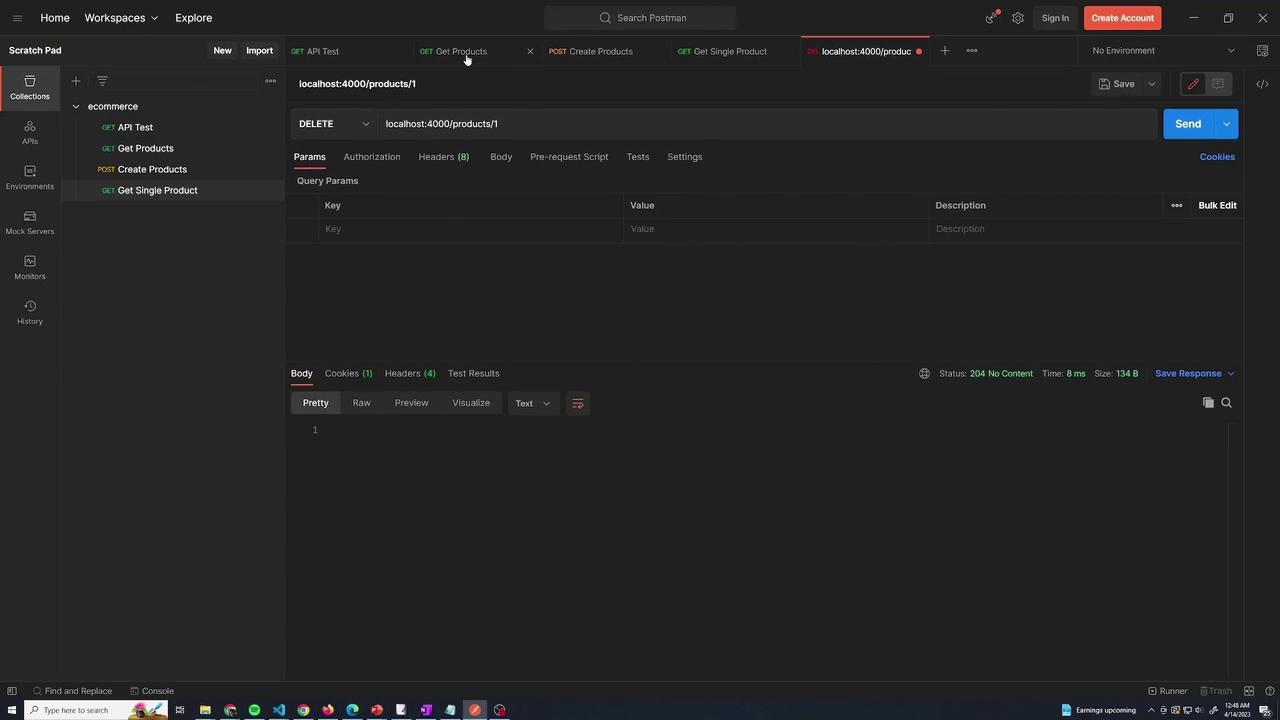
To test deletion, create a DELETE request in Postman with the URL http://localhost:4000/products/1 (or the corresponding product ID). A successful deletion will return a 204 status code with no content. You can verify the deletion by executing the GET request for products again and confirming that the product list is updated.
This lesson has walked you through the steps of using Postman to test various API endpoints for creating, retrieving, updating, and deleting products. By saving these requests within your organized “e-commerce” collection, you can easily re-run tests and continue API development with improved efficiency.Happy testing!