> ## Documentation Index
> Fetch the complete documentation index at: https://notes.kodekloud.com/llms.txt
> Use this file to discover all available pages before exploring further.
# Demo ArgoWorkflow Installation
> Guide to install and configure Argo Workflows on Kubernetes, expose the Argo Server, install the Argo CLI, and run example workflows.
In this lesson you'll install Argo Workflows into a Kubernetes cluster, expose the Argo Server for local access, and install the matching `argo` CLI so you can interact with the server and run workflows.
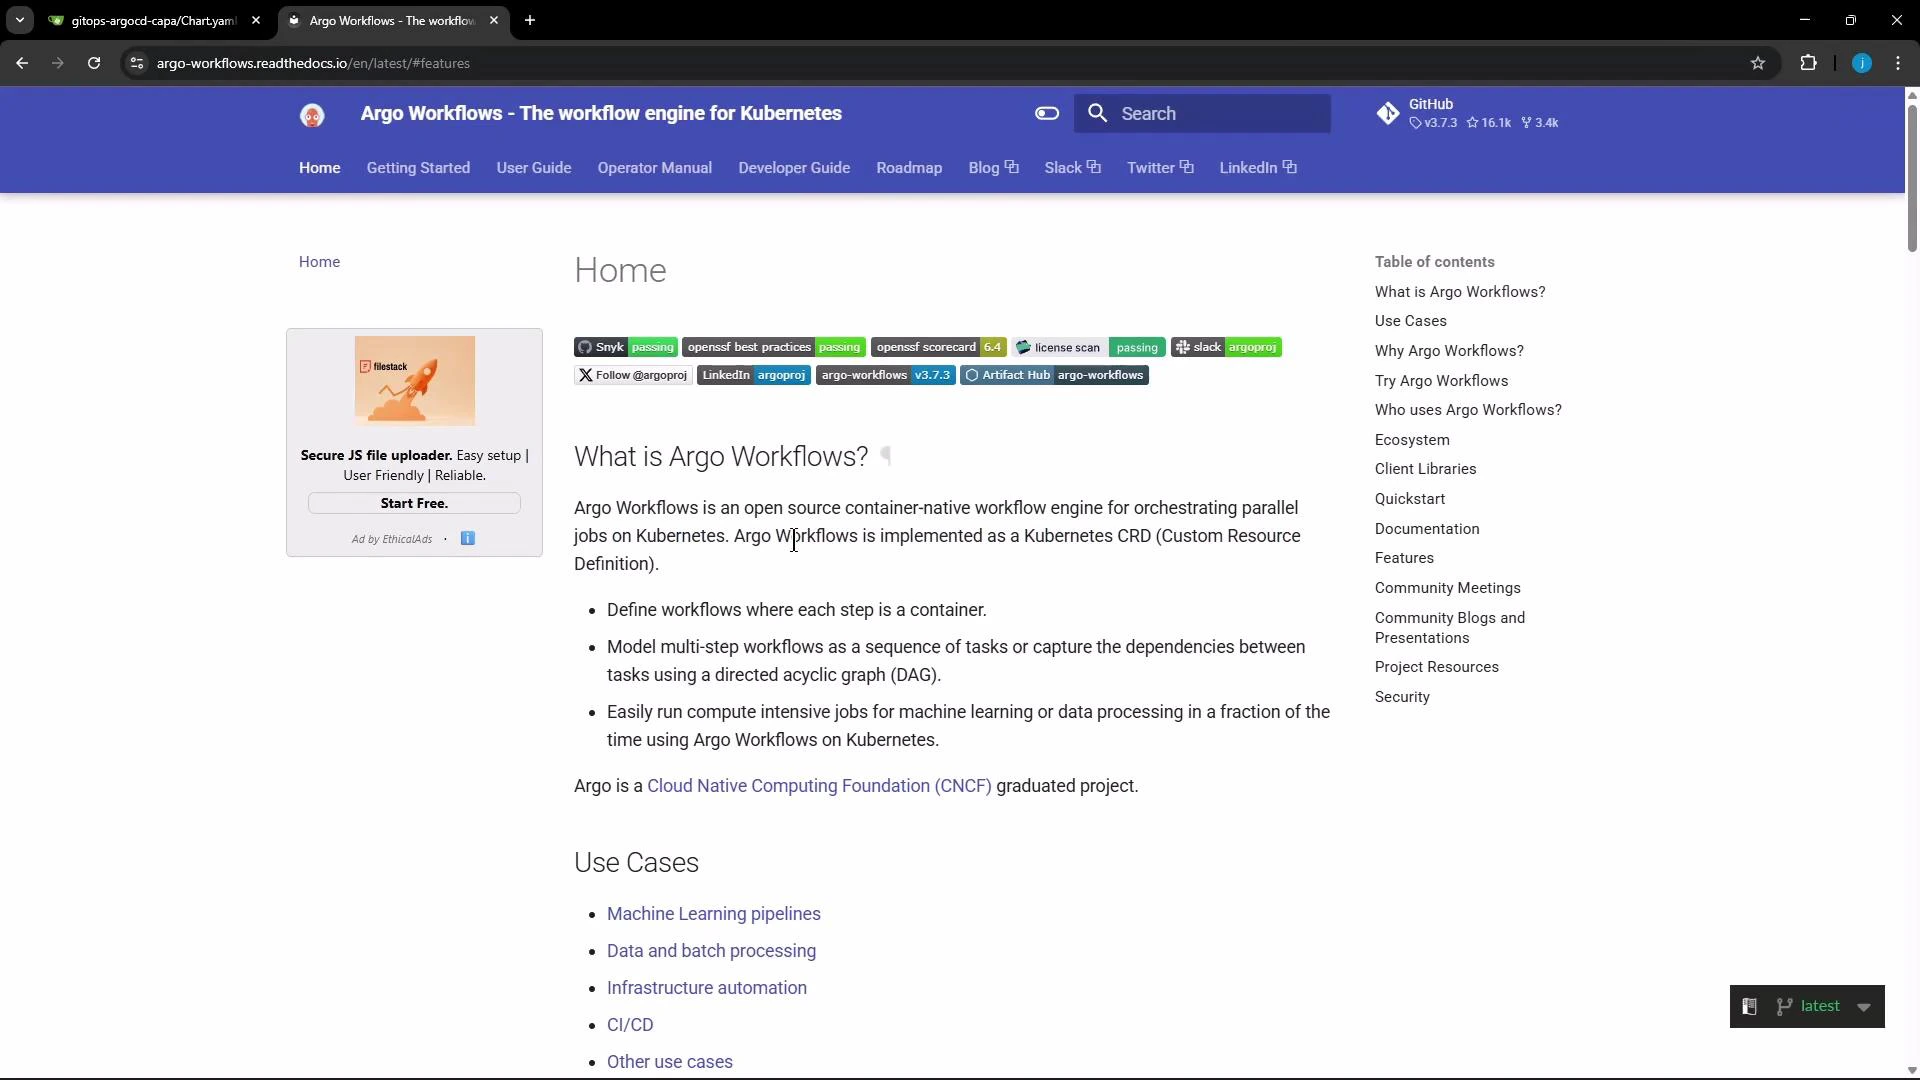
Start by opening the Argo Workflows documentation and navigating to the Getting Started page.
 ## 1. Choose a release and install the quick-start
Pick an Argo Workflows release (this guide uses v3.7.3). The quick-start minimal manifest creates the Workflow Controller, Argo Server, example services (httpbin), bundled MinIO artifact store, and the required CRDs.
Commands to install:
```bash theme={null}
# Set the version you want to install
ARGO_WORKFLOWS_VERSION="v3.7.3"
# Create the argo namespace
kubectl create namespace argo
# Install the minimal quick-start (controller, server, minio, httpbin, CRDs, etc.)
kubectl apply -n argo -f "https://github.com/argoproj/argo-workflows/releases/download/${ARGO_WORKFLOWS_VERSION}/quick-start-minimal.yaml"
```
Typical (condensed) output from applying the manifest:
```text theme={null}
namespace/argo created
customresourcedefinition.apiextensions.k8s.io/workflows.argoproj.io created
customresourcedefinition.apiextensions.k8s.io/workflowtemplates.argoproj.io created
customresourcedefinition.apiextensions.k8s.io/cronworkflows.argoproj.io created
# ...additional CRDs and resources...
deployment.apps/argo-server created
deployment.apps/workflow-controller created
deployment.apps/minio created
deployment.apps/httpbin created
service/argo-server created
service/minio created
service/httpbin created
```
## 2. What the quick-start deploys
| Resource | Purpose | Notes |
| ------------------------------------------------------- | --------------------------------- | ------------------------------------- |
| Workflow Controller | Executes workflow steps | Core runtime for Argo Workflows |
| Argo Server | REST/gRPC API + web UI | Provides the web UI and API endpoints |
| MinIO | S3-compatible artifact repository | Demo-only; for production use S3/GCS |
| httpbin | Demo HTTP service | Useful for example workflows |
| CRDs (Workflows, WorkflowTemplates, CronWorkflows, ...) | Custom resource definitions | Required for Argo CRs to work |
MinIO provided in the quick-start is suitable for demos and testing. For production systems, configure Argo to use a durable artifact repository (S3/GCS) and supply appropriate credentials.
## 3. Expose the Argo Server (optional)
By default the `argo-server` Service is a ClusterIP. To access the UI from your workstation you can:
* Change the Service to NodePort, or
* Use kubectl port-forward, or
* Add an Ingress/LoadBalancer in cloud environments.
Interactive example: edit the service to NodePort:
```bash theme={null}
kubectl -n argo edit svc argo-server
# Change "type: ClusterIP" to "type: NodePort" and save
```
Verify services and pods:
```bash theme={null}
kubectl -n argo get svc
# Example:
# NAME TYPE CLUSTER-IP EXTERNAL-IP PORT(S)
# argo-server NodePort 10.98.122.61 2746:30774/TCP
# httpbin ClusterIP 10.103.119.102 9100/TCP
kubectl -n argo get pods
# Example:
# NAME READY STATUS AGE
# argo-server-68bc7d7567-4681c 0/1 ContainerCreating 30s
# workflow-controller-5bb95ffc45-rp2fz 1/1 Running 30s
# minio-5cb4ff75c9-stmmw 1/1 Running 29s
# httpbin-58d7595979-xndwm 1/1 Running 29s
```
Wait until the `argo-server` pod is Running and Ready before continuing.
## 4. Install the Argo CLI
Download the matching `argo` CLI binary for your OS. The example below auto-detects macOS vs Linux; adjust the `ARGO_WORKFLOWS_VERSION` if needed.
```bash theme={null}
# Set the version you want to install
ARGO_WORKFLOWS_VERSION="v3.7.3"
# Detect OS (darwin or linux)
ARGO_OS="linux"
if [[ "$(uname -s)" == "Darwin" ]]; then
ARGO_OS="darwin"
fi
# Download the compressed binary
curl -sLO "https://github.com/argoproj/argo-workflows/releases/download/${ARGO_WORKFLOWS_VERSION}/argo-${ARGO_OS}-amd64.gz"
# Uncompress
gunzip "argo-${ARGO_OS}-amd64.gz"
# Make executable and move to a directory in PATH
chmod +x "argo-${ARGO_OS}-amd64"
sudo mv "argo-${ARGO_OS}-amd64" /usr/local/bin/argo
# Verify installation
argo version
```
Expected (condensed) output:
```text theme={null}
argo: v3.7.3
BuildDate: ...
GitCommit: ...
```
## 5. Configure the CLI to talk to the Argo Server
If you exposed the Argo Server via NodePort (for example 2746 -> 30774), set environment variables so the CLI uses the Argo Server rather than the Kubernetes API. Adjust values for your environment:
```bash theme={null}
export ARGO_SERVER='localhost:30774'
export ARGO_HTTP1=true
export ARGO_INSECURE=true
export ARGO_BASE_HREF=''
export ARGO_TOKEN=''
export ARGO_NAMESPACE=argo # namespace you installed Argo into
# export KUBECONFIG=... # set if you need a specific kubeconfig
```
Test the connection by listing workflows:
```bash theme={null}
argo list
```
## 6. Access the web UI
* Open your browser to `https://localhost:` (e.g., [https://localhost:30774](https://localhost:30774)) if you used NodePort.
* Accept any self-signed certificate warnings (the quick-start ships with demo certificates).
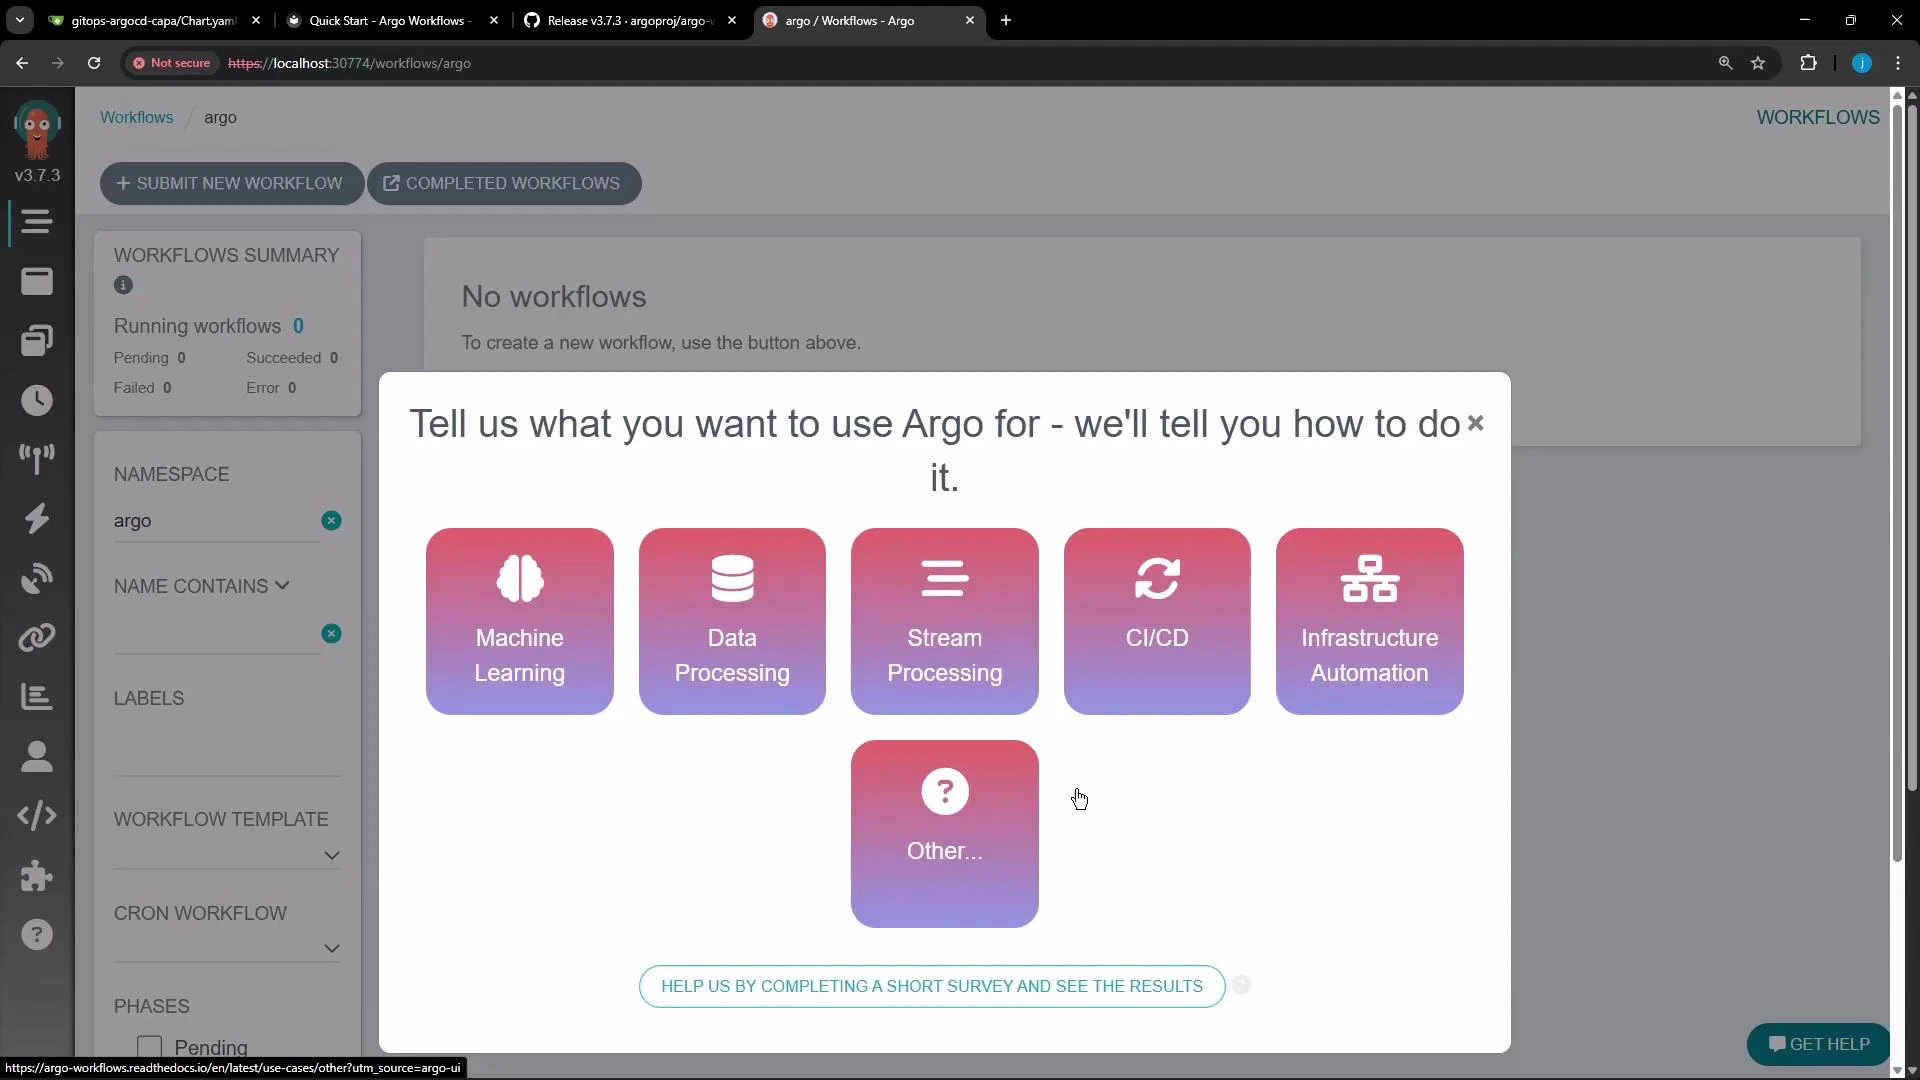
* The UI shows an initial "Tell us what you want to use Argo for" dialog on fresh installs and an empty workflow dashboard.
## 1. Choose a release and install the quick-start
Pick an Argo Workflows release (this guide uses v3.7.3). The quick-start minimal manifest creates the Workflow Controller, Argo Server, example services (httpbin), bundled MinIO artifact store, and the required CRDs.
Commands to install:
```bash theme={null}
# Set the version you want to install
ARGO_WORKFLOWS_VERSION="v3.7.3"
# Create the argo namespace
kubectl create namespace argo
# Install the minimal quick-start (controller, server, minio, httpbin, CRDs, etc.)
kubectl apply -n argo -f "https://github.com/argoproj/argo-workflows/releases/download/${ARGO_WORKFLOWS_VERSION}/quick-start-minimal.yaml"
```
Typical (condensed) output from applying the manifest:
```text theme={null}
namespace/argo created
customresourcedefinition.apiextensions.k8s.io/workflows.argoproj.io created
customresourcedefinition.apiextensions.k8s.io/workflowtemplates.argoproj.io created
customresourcedefinition.apiextensions.k8s.io/cronworkflows.argoproj.io created
# ...additional CRDs and resources...
deployment.apps/argo-server created
deployment.apps/workflow-controller created
deployment.apps/minio created
deployment.apps/httpbin created
service/argo-server created
service/minio created
service/httpbin created
```
## 2. What the quick-start deploys
| Resource | Purpose | Notes |
| ------------------------------------------------------- | --------------------------------- | ------------------------------------- |
| Workflow Controller | Executes workflow steps | Core runtime for Argo Workflows |
| Argo Server | REST/gRPC API + web UI | Provides the web UI and API endpoints |
| MinIO | S3-compatible artifact repository | Demo-only; for production use S3/GCS |
| httpbin | Demo HTTP service | Useful for example workflows |
| CRDs (Workflows, WorkflowTemplates, CronWorkflows, ...) | Custom resource definitions | Required for Argo CRs to work |
MinIO provided in the quick-start is suitable for demos and testing. For production systems, configure Argo to use a durable artifact repository (S3/GCS) and supply appropriate credentials.
## 3. Expose the Argo Server (optional)
By default the `argo-server` Service is a ClusterIP. To access the UI from your workstation you can:
* Change the Service to NodePort, or
* Use kubectl port-forward, or
* Add an Ingress/LoadBalancer in cloud environments.
Interactive example: edit the service to NodePort:
```bash theme={null}
kubectl -n argo edit svc argo-server
# Change "type: ClusterIP" to "type: NodePort" and save
```
Verify services and pods:
```bash theme={null}
kubectl -n argo get svc
# Example:
# NAME TYPE CLUSTER-IP EXTERNAL-IP PORT(S)
# argo-server NodePort 10.98.122.61 2746:30774/TCP
# httpbin ClusterIP 10.103.119.102 9100/TCP
kubectl -n argo get pods
# Example:
# NAME READY STATUS AGE
# argo-server-68bc7d7567-4681c 0/1 ContainerCreating 30s
# workflow-controller-5bb95ffc45-rp2fz 1/1 Running 30s
# minio-5cb4ff75c9-stmmw 1/1 Running 29s
# httpbin-58d7595979-xndwm 1/1 Running 29s
```
Wait until the `argo-server` pod is Running and Ready before continuing.
## 4. Install the Argo CLI
Download the matching `argo` CLI binary for your OS. The example below auto-detects macOS vs Linux; adjust the `ARGO_WORKFLOWS_VERSION` if needed.
```bash theme={null}
# Set the version you want to install
ARGO_WORKFLOWS_VERSION="v3.7.3"
# Detect OS (darwin or linux)
ARGO_OS="linux"
if [[ "$(uname -s)" == "Darwin" ]]; then
ARGO_OS="darwin"
fi
# Download the compressed binary
curl -sLO "https://github.com/argoproj/argo-workflows/releases/download/${ARGO_WORKFLOWS_VERSION}/argo-${ARGO_OS}-amd64.gz"
# Uncompress
gunzip "argo-${ARGO_OS}-amd64.gz"
# Make executable and move to a directory in PATH
chmod +x "argo-${ARGO_OS}-amd64"
sudo mv "argo-${ARGO_OS}-amd64" /usr/local/bin/argo
# Verify installation
argo version
```
Expected (condensed) output:
```text theme={null}
argo: v3.7.3
BuildDate: ...
GitCommit: ...
```
## 5. Configure the CLI to talk to the Argo Server
If you exposed the Argo Server via NodePort (for example 2746 -> 30774), set environment variables so the CLI uses the Argo Server rather than the Kubernetes API. Adjust values for your environment:
```bash theme={null}
export ARGO_SERVER='localhost:30774'
export ARGO_HTTP1=true
export ARGO_INSECURE=true
export ARGO_BASE_HREF=''
export ARGO_TOKEN=''
export ARGO_NAMESPACE=argo # namespace you installed Argo into
# export KUBECONFIG=... # set if you need a specific kubeconfig
```
Test the connection by listing workflows:
```bash theme={null}
argo list
```
## 6. Access the web UI
* Open your browser to `https://localhost:` (e.g., [https://localhost:30774](https://localhost:30774)) if you used NodePort.
* Accept any self-signed certificate warnings (the quick-start ships with demo certificates).
* The UI shows an initial "Tell us what you want to use Argo for" dialog on fresh installs and an empty workflow dashboard.
 ## 7. Next steps and common commands
* Submit example workflows from the Argo docs or local YAML files: `argo submit -n argo `
* Inspect and manage workflows: `argo list`, `argo get `, `argo logs -w `
* Define reusable WorkflowTemplates and scheduled CronWorkflows.
* Replace the bundled MinIO with a production artifact store (S3/GCS) by updating the Argo config map and providing credentials.
Common commands:
| Task | Command |
| -------------------- | -------------------------------------- |
| Submit workflow | `argo submit -n argo ` |
| List workflows | `argo list -n argo` |
| Get workflow details | `argo get -n argo ` |
| Stream logs | `argo logs -n argo -w ` |
That completes the installation and initial setup of Argo Workflows. You can now deploy and run example workflows via the CLI or the Web UI.
## Links and references
* Official documentation: [Argo Workflows](https://argoproj.github.io/argo-workflows/)
* Kubernetes docs: [Kubernetes Concepts](https://kubernetes.io/docs/concepts/)
* MinIO: [MinIO Documentation](https://min.io/)
## 7. Next steps and common commands
* Submit example workflows from the Argo docs or local YAML files: `argo submit -n argo `
* Inspect and manage workflows: `argo list`, `argo get `, `argo logs -w `
* Define reusable WorkflowTemplates and scheduled CronWorkflows.
* Replace the bundled MinIO with a production artifact store (S3/GCS) by updating the Argo config map and providing credentials.
Common commands:
| Task | Command |
| -------------------- | -------------------------------------- |
| Submit workflow | `argo submit -n argo ` |
| List workflows | `argo list -n argo` |
| Get workflow details | `argo get -n argo ` |
| Stream logs | `argo logs -n argo -w ` |
That completes the installation and initial setup of Argo Workflows. You can now deploy and run example workflows via the CLI or the Web UI.
## Links and references
* Official documentation: [Argo Workflows](https://argoproj.github.io/argo-workflows/)
* Kubernetes docs: [Kubernetes Concepts](https://kubernetes.io/docs/concepts/)
* MinIO: [MinIO Documentation](https://min.io/)