> ## Documentation Index
> Fetch the complete documentation index at: https://notes.kodekloud.com/llms.txt
> Use this file to discover all available pages before exploring further.
# Demo Installation with CLI
> Guide to install and verify Cilium on Kubernetes using the Cilium CLI, including creating a kind cluster, installing the CLI, deploying Cilium, checking status, and previewing manifests.
This guide walks through installing Cilium (a Kubernetes CNI powered by eBPF) on a cluster using the Cilium CLI. It covers creating a local example cluster with kind (optional), installing the cilium CLI, installing Cilium into the cluster, verifying the installation, and previewing the manifests that the CLI applies.
Target audience: Kubernetes users who want to replace or install a CNI with Cilium and those validating Cilium deployments in local or cloud clusters.
## Prerequisites
| Requirement | Purpose / Notes |
| -------------------------------- | ------------------------------------------------------------------------------------------------------------- |
| Kubernetes cluster without a CNI | The cluster must not already have a CNI installed (kubelet nodes will otherwise report NotReady). |
| kubectl configured | kubectl must point to the target cluster context. |
| (Optional) kind | Useful for local testing. The examples below show how to create a kind cluster with the default CNI disabled. |
You can use any Kubernetes distribution (kind, Minikube, EKS, GKE, etc.). The important requirement for this demonstration is that the cluster must not have a CNI installed — otherwise kubelet nodes will report NotReady until a CNI is present.
## 1 — Create a kind cluster (example)
If you want to follow along locally, create a kind cluster and disable the default CNI so we can install Cilium manually.
Save this example as `kind.config`:
```yaml theme={null}
kind: Cluster
apiVersion: kind.x-k8s.io/v1alpha4
name: tlv-cluster
networking:
ipFamily: dual
disableDefaultCNI: true
nodes:
- role: control-plane
- role: worker
- role: worker
```
Create the cluster:
```bash theme={null}
time kind create cluster --config kind.config
```
Switch kubectl context to the new cluster:
```bash theme={null}
kubectl config use-context kind-tlv-cluster
```
Verify node status. Nodes will typically show NotReady until a CNI is installed:
```bash theme={null}
kubectl get nodes
```
Example output:
```text theme={null}
NAME STATUS ROLES AGE VERSION
tlv-cluster-control-plane NotReady control-plane 45s v1.32.2
tlv-cluster-worker NotReady 30s v1.32.2
tlv-cluster-worker2 NotReady 30s v1.32.2
```
## 2 — Install the Cilium CLI
Open the official Cilium Quick Installation page for the latest installation instructions:
[https://docs.cilium.io/en/stable/gettingstarted/quick-install/](https://docs.cilium.io/en/stable/gettingstarted/quick-install/)
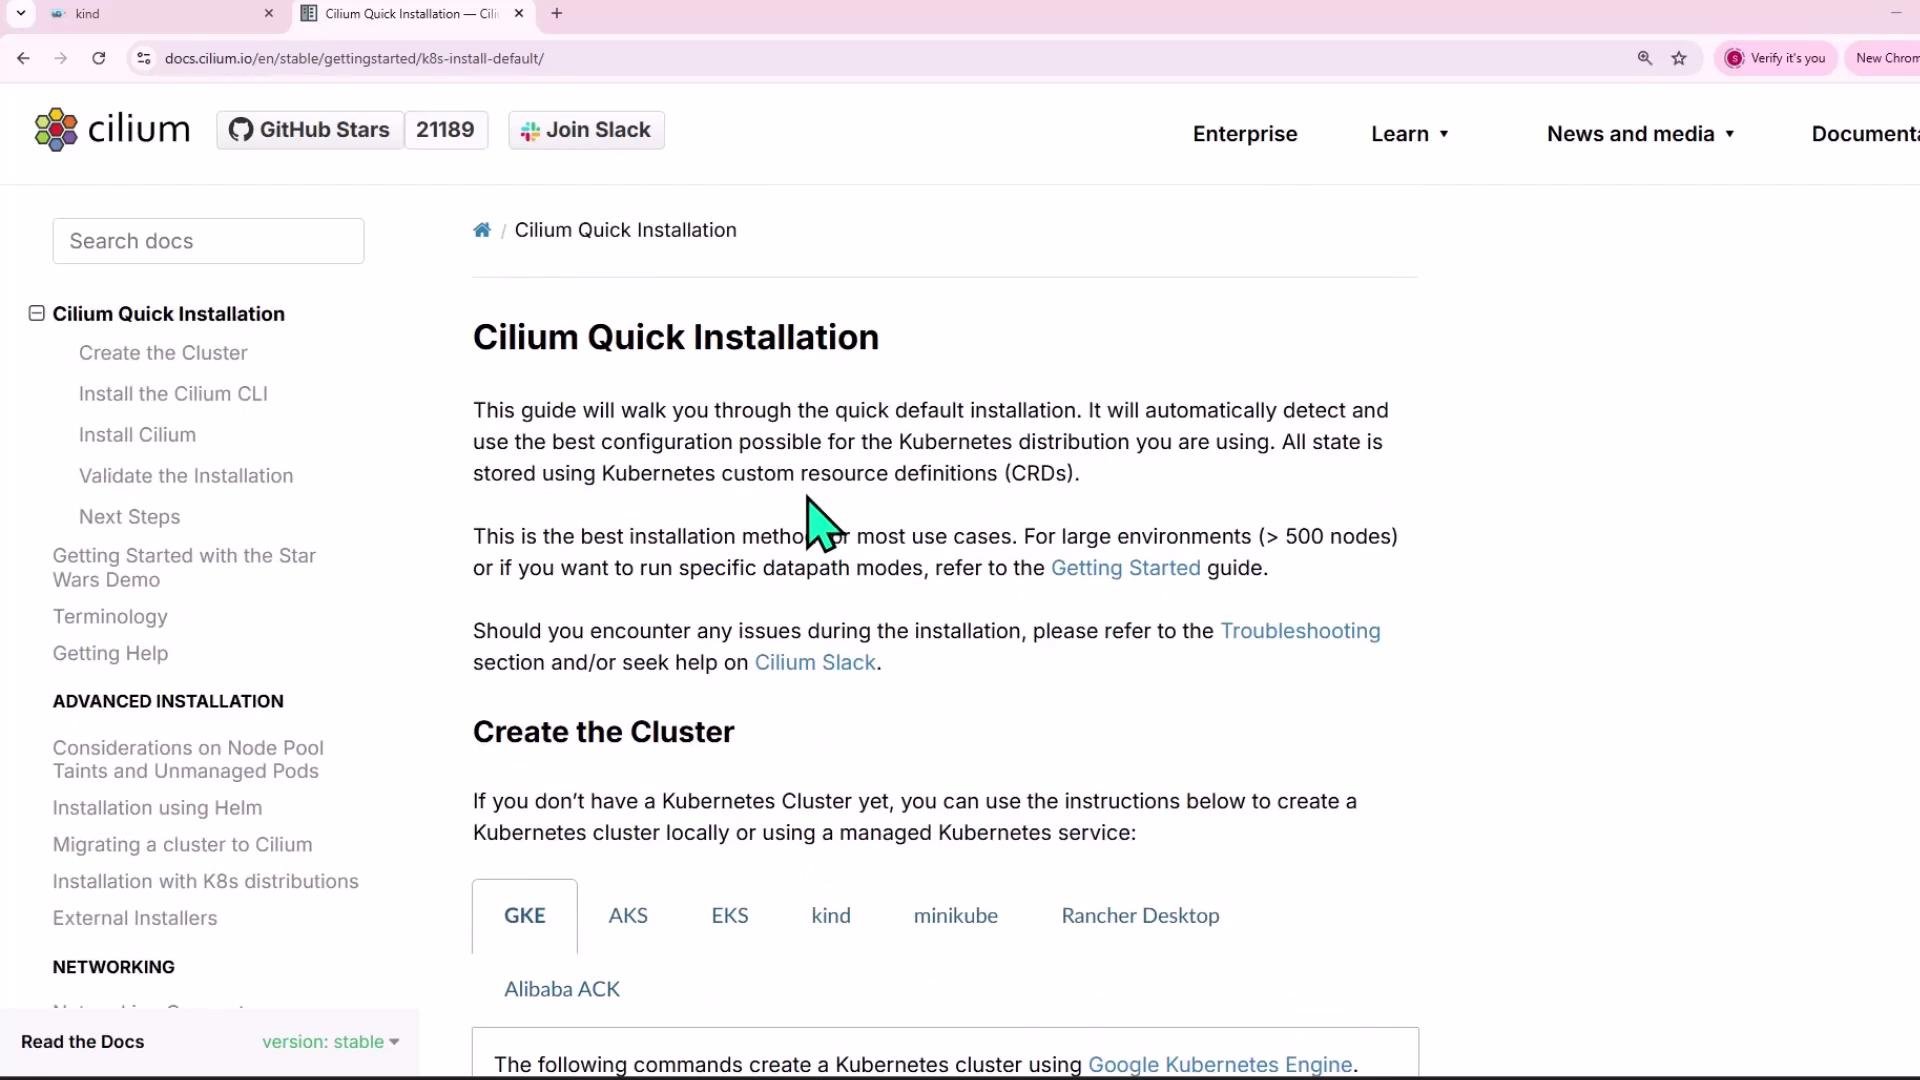 On a Linux host you can download and install the cilium CLI with the following script. It detects CPU architecture, validates the tarball checksum, and installs the binary to `/usr/local/bin`:
```bash theme={null}
CILIUM_CLI_VERSION=$(curl -s https://raw.githubusercontent.com/cilium/cilium-cli/main/stable.txt)
CLI_ARCH=amd64
if [ "$(uname -m)" = "aarch64" ]; then CLI_ARCH=arm64; fi
curl -L --fail --remote-name-all https://github.com/cilium/cilium-cli/releases/download/${CILIUM_CLI_VERSION}/cilium-linux-${CLI_ARCH}.tar.gz{,.sha256sum}
sha256sum --check cilium-linux-${CLI_ARCH}.tar.gz.sha256sum
sudo tar xzvf cilium-linux-${CLI_ARCH}.tar.gz -C /usr/local/bin
rm cilium-linux-${CLI_ARCH}.tar.gz{,.sha256sum}
```
Confirm installation:
```bash theme={null}
cilium version
```
Example output:
```text theme={null}
cilium-cli: v0.18.2 compiled with go1.24.0 on linux/amd64
cilium image (default): v1.17.0
cilium image (stable): v1.17.2
cilium image (running): unknown. Unable to obtain cilium version. Reason: release: not found
```
Note: the "cilium image (running)" field is unknown until Cilium is installed and running in the cluster.
## 3 — Install Cilium with the CLI
By default, the CLI installs into the current kubectl context. Install with:
```bash theme={null}
cilium install
```
If you need custom settings, prepare a Helm values file (the CLI converts these into the Helm chart values) and pass it with `--values`.
Example `values.yaml` (enable IPv6):
```yaml theme={null}
# Enable IPv6 support
ipv6:
enabled: true
```
Install with the custom values:
```bash theme={null}
cilium install --values values.yaml
```
The CLI auto-detects cluster type and existing components (for example, whether kube-proxy is installed). If kube-proxy is already present, the default behavior is to run Cilium alongside kube-proxy. To replace kube-proxy with Cilium's eBPF-based proxy, enable the appropriate Helm value or use CLI options to enable kube-proxy replacement.
A sample installer log (abridged):
```text theme={null}
Auto-detected Kubernetes kind: kind
Using Cilium version 1.17.0
Auto-detected cluster name: kind-tlv-cluster
Auto-detected kube-proxy has been installed
```
## 4 — Verify Cilium status
After install, verify the Cilium control plane, pods, and related components:
```bash theme={null}
cilium status
```
Example output (abridged and formatted):
```text theme={null}
Cilium: OK
Operator: OK
Envoy DaemonSet: OK
Hubble Relay: disabled
ClusterMesh: disabled
DaemonSet cilium Desired: 3, Ready: 3/3, Available: 3/3
DaemonSet cilium-envoy Desired: 3, Ready: 3/3, Available: 3/3
Deployment cilium-operator Desired: 1, Ready: 1/1, Available: 1/1
Containers:
cilium Running: 3
cilium-envoy Running: 3
cilium-operator Running: 1
Cluster Pods: 3/3 managed by Cilium
Helm chart version: 1.17.0
Image versions:
cilium quay.io/cilium/cilium:v1.17.0@sha256:...
cilium-envoy quay.io/cilium/cilium-envoy:v1.31.5@sha256:...
cilium-operator quay.io/cilium/operator-generic:v1.17.0@sha256:...
```
This output confirms the Cilium DaemonSet and operator are running and ready across the nodes.
If you want Cilium to replace kube-proxy functionality with the eBPF-based proxy, enable the appropriate Helm values (or use the CLI options) to enable kube-proxy replacement. That is a configuration choice — by default the installer runs alongside kube-proxy when it detects kube-proxy is installed.
## 5 — Preview the manifests (dry run)
To inspect the raw Kubernetes manifests that the CLI will apply, run a dry run and capture the output:
```bash theme={null}
cilium install --dry-run > cilium-dry-run.yaml
```
Open `cilium-dry-run.yaml` to review the generated resources (DaemonSets, Deployments, ConfigMaps, RBAC, etc.). Example excerpt (operator pod spec):
```yaml theme={null}
restartPolicy: Always
priorityClassName: system-cluster-critical
serviceAccountName: "cilium-operator"
automountServiceAccountToken: true
affinity:
podAntiAffinity:
requiredDuringSchedulingIgnoredDuringExecution:
- labelSelector:
matchLabels:
io.cilium/app: operator
topologyKey: kubernetes.io/hostname
nodeSelector:
kubernetes.io/os: linux
tolerations:
- operator: Exists
volumes:
- name: cilium-config-path
configMap:
name: cilium-config
```
Reviewing manifests is recommended for audits, compliance, or to tailor Cilium to production environments.
## Resources and next steps
* Cilium Quick Start / Installation: [https://docs.cilium.io/en/stable/gettingstarted/quick-install/](https://docs.cilium.io/en/stable/gettingstarted/quick-install/)
* Cilium CLI repo: [https://github.com/cilium/cilium-cli](https://github.com/cilium/cilium-cli)
* kind project (local Kubernetes): [https://kind.sigs.k8s.io/](https://kind.sigs.k8s.io/)
* Kubernetes docs: [https://kubernetes.io/docs/](https://kubernetes.io/docs/)
Suggested next steps:
* Review Helm values to enable production features (Hubble observability, ClusterMesh, etc.).
* If replacing kube-proxy, test kube-proxy replacement settings in a staging cluster first.
* Validate networking and policy behavior with sample workloads and network policies.
Table — Common cilium CLI commands
| Command | Purpose |
| ------------------------------------ | -------------------------------------------- |
| cilium install | Install Cilium into current kubectl context |
| cilium install --values values.yaml | Install with custom Helm values |
| cilium status | Show Cilium and component status |
| cilium install --dry-run > file.yaml | Preview generated manifests without applying |
You now have Cilium installed using the CLI. Adjust Helm values and CLI options based on your environment and production requirements.
On a Linux host you can download and install the cilium CLI with the following script. It detects CPU architecture, validates the tarball checksum, and installs the binary to `/usr/local/bin`:
```bash theme={null}
CILIUM_CLI_VERSION=$(curl -s https://raw.githubusercontent.com/cilium/cilium-cli/main/stable.txt)
CLI_ARCH=amd64
if [ "$(uname -m)" = "aarch64" ]; then CLI_ARCH=arm64; fi
curl -L --fail --remote-name-all https://github.com/cilium/cilium-cli/releases/download/${CILIUM_CLI_VERSION}/cilium-linux-${CLI_ARCH}.tar.gz{,.sha256sum}
sha256sum --check cilium-linux-${CLI_ARCH}.tar.gz.sha256sum
sudo tar xzvf cilium-linux-${CLI_ARCH}.tar.gz -C /usr/local/bin
rm cilium-linux-${CLI_ARCH}.tar.gz{,.sha256sum}
```
Confirm installation:
```bash theme={null}
cilium version
```
Example output:
```text theme={null}
cilium-cli: v0.18.2 compiled with go1.24.0 on linux/amd64
cilium image (default): v1.17.0
cilium image (stable): v1.17.2
cilium image (running): unknown. Unable to obtain cilium version. Reason: release: not found
```
Note: the "cilium image (running)" field is unknown until Cilium is installed and running in the cluster.
## 3 — Install Cilium with the CLI
By default, the CLI installs into the current kubectl context. Install with:
```bash theme={null}
cilium install
```
If you need custom settings, prepare a Helm values file (the CLI converts these into the Helm chart values) and pass it with `--values`.
Example `values.yaml` (enable IPv6):
```yaml theme={null}
# Enable IPv6 support
ipv6:
enabled: true
```
Install with the custom values:
```bash theme={null}
cilium install --values values.yaml
```
The CLI auto-detects cluster type and existing components (for example, whether kube-proxy is installed). If kube-proxy is already present, the default behavior is to run Cilium alongside kube-proxy. To replace kube-proxy with Cilium's eBPF-based proxy, enable the appropriate Helm value or use CLI options to enable kube-proxy replacement.
A sample installer log (abridged):
```text theme={null}
Auto-detected Kubernetes kind: kind
Using Cilium version 1.17.0
Auto-detected cluster name: kind-tlv-cluster
Auto-detected kube-proxy has been installed
```
## 4 — Verify Cilium status
After install, verify the Cilium control plane, pods, and related components:
```bash theme={null}
cilium status
```
Example output (abridged and formatted):
```text theme={null}
Cilium: OK
Operator: OK
Envoy DaemonSet: OK
Hubble Relay: disabled
ClusterMesh: disabled
DaemonSet cilium Desired: 3, Ready: 3/3, Available: 3/3
DaemonSet cilium-envoy Desired: 3, Ready: 3/3, Available: 3/3
Deployment cilium-operator Desired: 1, Ready: 1/1, Available: 1/1
Containers:
cilium Running: 3
cilium-envoy Running: 3
cilium-operator Running: 1
Cluster Pods: 3/3 managed by Cilium
Helm chart version: 1.17.0
Image versions:
cilium quay.io/cilium/cilium:v1.17.0@sha256:...
cilium-envoy quay.io/cilium/cilium-envoy:v1.31.5@sha256:...
cilium-operator quay.io/cilium/operator-generic:v1.17.0@sha256:...
```
This output confirms the Cilium DaemonSet and operator are running and ready across the nodes.
If you want Cilium to replace kube-proxy functionality with the eBPF-based proxy, enable the appropriate Helm values (or use the CLI options) to enable kube-proxy replacement. That is a configuration choice — by default the installer runs alongside kube-proxy when it detects kube-proxy is installed.
## 5 — Preview the manifests (dry run)
To inspect the raw Kubernetes manifests that the CLI will apply, run a dry run and capture the output:
```bash theme={null}
cilium install --dry-run > cilium-dry-run.yaml
```
Open `cilium-dry-run.yaml` to review the generated resources (DaemonSets, Deployments, ConfigMaps, RBAC, etc.). Example excerpt (operator pod spec):
```yaml theme={null}
restartPolicy: Always
priorityClassName: system-cluster-critical
serviceAccountName: "cilium-operator"
automountServiceAccountToken: true
affinity:
podAntiAffinity:
requiredDuringSchedulingIgnoredDuringExecution:
- labelSelector:
matchLabels:
io.cilium/app: operator
topologyKey: kubernetes.io/hostname
nodeSelector:
kubernetes.io/os: linux
tolerations:
- operator: Exists
volumes:
- name: cilium-config-path
configMap:
name: cilium-config
```
Reviewing manifests is recommended for audits, compliance, or to tailor Cilium to production environments.
## Resources and next steps
* Cilium Quick Start / Installation: [https://docs.cilium.io/en/stable/gettingstarted/quick-install/](https://docs.cilium.io/en/stable/gettingstarted/quick-install/)
* Cilium CLI repo: [https://github.com/cilium/cilium-cli](https://github.com/cilium/cilium-cli)
* kind project (local Kubernetes): [https://kind.sigs.k8s.io/](https://kind.sigs.k8s.io/)
* Kubernetes docs: [https://kubernetes.io/docs/](https://kubernetes.io/docs/)
Suggested next steps:
* Review Helm values to enable production features (Hubble observability, ClusterMesh, etc.).
* If replacing kube-proxy, test kube-proxy replacement settings in a staging cluster first.
* Validate networking and policy behavior with sample workloads and network policies.
Table — Common cilium CLI commands
| Command | Purpose |
| ------------------------------------ | -------------------------------------------- |
| cilium install | Install Cilium into current kubectl context |
| cilium install --values values.yaml | Install with custom Helm values |
| cilium status | Show Cilium and component status |
| cilium install --dry-run > file.yaml | Preview generated manifests without applying |
You now have Cilium installed using the CLI. Adjust Helm values and CLI options based on your environment and production requirements.