> ## Documentation Index
> Fetch the complete documentation index at: https://notes.kodekloud.com/llms.txt
> Use this file to discover all available pages before exploring further.
# Manage and Configure LVM Storage
> This article explains how to manage and configure LVM storage, covering setup, volume creation, resizing, and filesystem handling.
Understanding the advantages of LVM (Logical Volume Manager) begins with examining a common disk partitioning challenge. Consider a disk with three sections: one partition at the beginning, another in the middle, and unpartitioned space at the end. In traditional partitioning, if you need to expand partition 2, you can extend it into the free space to its right. However, if you want to grow partition 1—which has no adjacent free space—you face a significant limitation.
LVM overcomes this issue by abstracting the physical disk layout. Instead of rigidly partitioning the disk, you add the disk to LVM, which then manages all available space. The diagram below illustrates a disk layout where a beginning partition, a middle partition, and free unpartitioned space are managed seamlessly by LVM:
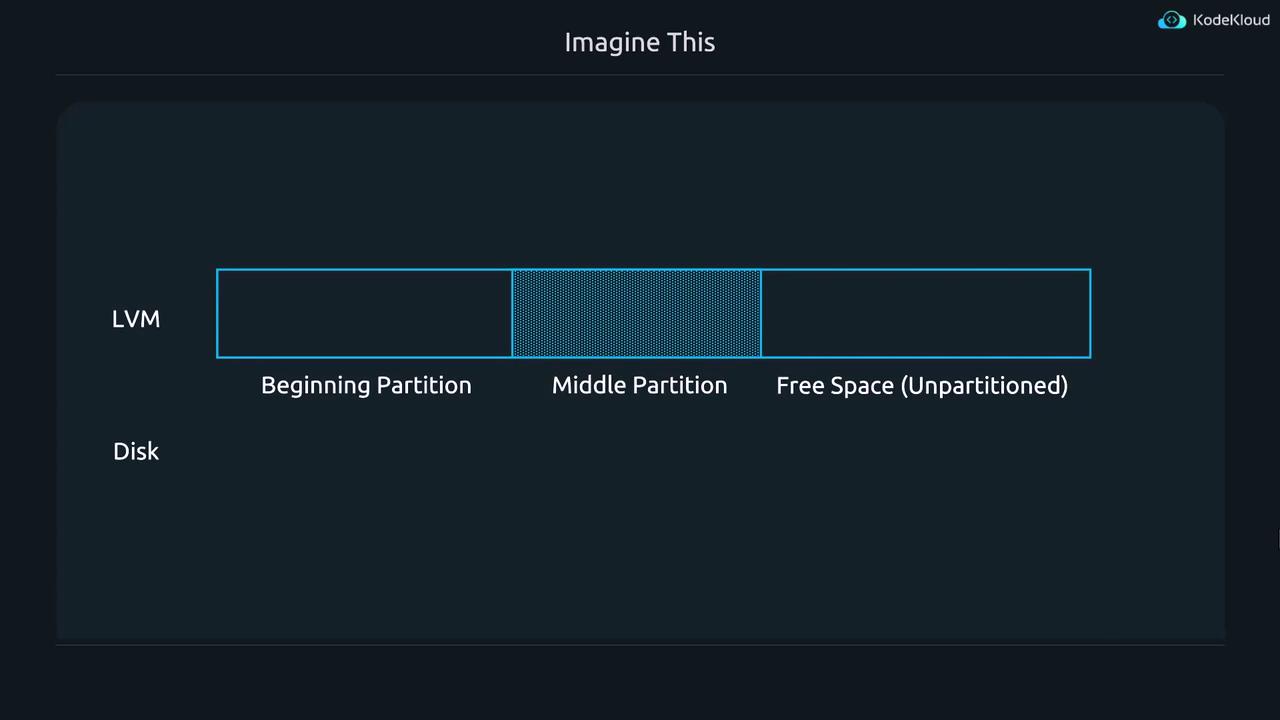
Now, imagine that same disk setup is managed using LVM. When you want to expand the first partition, LVM identifies available free space—even if it’s not contiguous—and logically combines it with partition 1. To the operating system, the partition appears as a continuous block, streamlining tasks like resizing and storage management for administrators.
This core concept of LVM sets the stage for its broader capabilities. Let’s dive into practical exercises to learn how to manage and configure LVM storage.
## Setting Up Virtual Disks
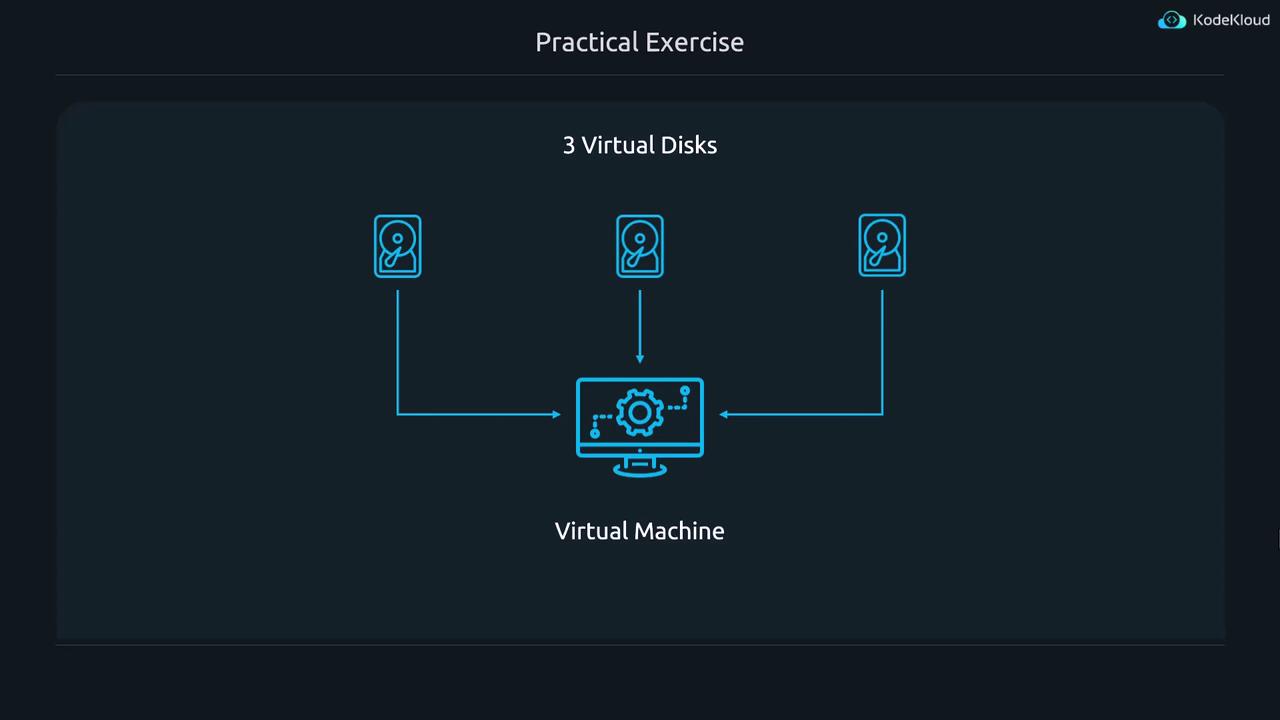
For this lesson, we will attach three virtual disks to a virtual machine, each with a capacity of 5 GB. The diagram below shows a virtual machine connected to three virtual disks to support our exercises:
To install the necessary LVM tools, run the following command. On most Ubuntu systems, this package is already installed:
```bash theme={null}
sudo apt install lvm2
```
When executed, you might see an output like:
```bash theme={null}
jeremy@kodekloud:~$ sudo apt install lvm2
[sudo] password for jeremy:
Reading package lists... Done
Building dependency tree... Done
Reading state information... Done
lvm2 is already the newest version (2.03.16-3ubuntu3).
lvm2 set to manually installed.
0 upgraded, 0 newly installed, 0 to remove and 4 not upgraded.
jeremy@kodekloud:~$
```
## Key LVM Concepts: PV, VG, LV, and PE
LVM uses specific terms to describe its components:
* **PV (Physical Volume):** The actual storage device (disk, SSD, or partition).
* **VG (Volume Group):** A pool of storage created by grouping one or more PVs.
* **LV (Logical Volume):** A virtual partition carved out within a VG.
* **PE (Physical Extent):** The smallest allocation unit on a PV.
Understanding these terms is crucial since most LVM commands reference one or more of these elements.
### Examining Physical Volumes (PVs)
Physical Volumes are the underlying devices that LVM manages. To list available disks and partitions—including those already used for LVM—run:
```bash theme={null}
sudo lvmdiskscan
```
Example output:
```bash theme={null}
jeremy@kodekloud:~$ sudo lvmdiskscan
[sudo] password for jeremy:
/dev/sda2 [ 2.00 GiB]
/dev/sda3 [ <43.00 GiB] LVM physical volume
/dev/sdb1 [ 4.00 GiB]
/dev/sdb2 [ 4.00 GiB]
/dev/sdb3 [ < 2.00 GiB]
/dev/sdc [ 5.00 GiB]
/dev/sdd [ 5.00 GiB]
/dev/sde [ 5.00 GiB]
3 disks
4 partitions
0 LVM physical volume whole disks
1 LVM physical volume
jeremy@kodekloud:~$
```
In the example above, `/dev/sda3` is already used as a PV by Ubuntu. For our lesson, we will focus on using the new disks. Create two PVs on your new disks with:
```bash theme={null}
sudo pvcreate /dev/sdc /dev/sdd
```
After creating the PVs, check their status:
```bash theme={null}
sudo pvs
```
Example output:
```bash theme={null}
jeremy@kodekloud:~$ sudo pvs
PV VG Fmt Attr PSize PFree
/dev/sda3 ubuntu-vg lvm2 a- <43.00g 21.50g
/dev/sdc lvm2 5.00g 5.00g
/dev/sdd lvm2 5.00g 5.00g
jeremy@kodekloud:~$
```
The "PFree" column indicates the unallocated storage in each PV.
### Creating and Extending a Volume Group (VG)
After setting up your PVs, the next step is to combine them into a Volume Group (VG). Think of a VG as a single virtual disk composed of multiple PVs. For example, to create a VG named "my\_volume" using the two 5 GB PVs, run:
```bash theme={null}
sudo vgcreate my_volume /dev/sdc /dev/sdd
```
If you later add another disk, follow these steps to extend the VG:
1. Create a PV on the new disk:
```bash theme={null}
sudo pvcreate /dev/sde
```
2. Extend the VG:
```bash theme={null}
sudo vgextend my_volume /dev/sde
```
The output will indicate that "my\_volume" now includes three PVs with a larger combined size. To remove a PV not used by any LV, use:
```bash theme={null}
sudo vgreduce my_volume /dev/sde
```
And if you no longer need this PV, remove it with:
```bash theme={null}
sudo pvremove /dev/sde
```
## Creating Logical Volumes (LVs)
Logical Volumes act like partitions but are more flexible than traditional ones. With your VG established, you can create LVs within it.
1. Create a logical volume named "partition1" of 2 GB within "my\_volume":
```bash theme={null}
sudo lvcreate --size 2G --name partition1 my_volume
```
2. Verify your Volume Group status to see that "partition1" is allocated and free space remains.
3. Next, create a second logical volume named "partition2" with a size of 6 GB:
```bash theme={null}
sudo lvcreate --size 6G --name partition2 my_volume
```
4. To view all logical volumes, use:
```bash theme={null}
sudo lvs
```
Example session:
```bash theme={null}
jeremy@kodekloud:~$ sudo vgs
VG #PV #LV #SN Attr VSize VFree
my_volume 2 1 0 wz--n 9.99g 7.99g
ubuntu-vg 1 1 0 wz--n <43.00g 21.50g
jeremy@kodekloud:~$
jeremy@kodekloud:~$ sudo lvcreate --size 6G --name partition2 my_volume
Logical volume "partition2" created.
```
In this setup, "my\_volume" functions as a virtual 10 GB disk, containing two LVs (2 GB and 6 GB) with some free space remaining.
## Resizing Logical Volumes
One of LVM's key features is the ability to resize LVs without impacting their logical appearance. Data is stored in units called physical extents (PEs). Although an LV may span non-contiguous physical extents, the system sees it as a continuous disk.
To extend an LV to use all available free space in a VG, use the --extents option with 100%VG. For example, resizing "partition1" is done by:
```bash theme={null}
sudo lvresize --extents 100%VG my_volume/partition1
```
A sample session might look like this:
```bash theme={null}
jeremy@kodekloud:~$ sudo vgs
VG #PV #LV #SN Attr VSize VFree
my_volume 2 1 0 wz--n 9.99g 7.99g
ubuntu-vg 1 1 0 wz--n <43.00g 21.50g
jeremy@kodekloud:~$ sudo lvcreate --size 6G --name partition2 my_volume
Logical volume "partition2" created.
jeremy@kodekloud:~$ sudo lvs
LV VG Attr LSize Pool Origin Data% Meta% Move Log Cpy%Sync Convert
partition1 my_volume -wi-a----- 2.00g
partition2 my_volume -wi-a----- 6.00g
ubuntu-lv ubuntu-vg -wi-a----- <21.50g
jeremy@kodekloud:~$ sudo vgs
VG #PV #LV #SN Attr VSize VFree
my_volume 2 2 0 wz--n 9.99g 1.99g
ubuntu-vg 1 1 0 wz--n <43.00g 21.50g
jeremy@kodekloud:~$ sudo lvresize --extents 100%VG my_volume/partition1
Reducing 100%VG to remaining free space 3.99 GiB in VG.
Size of logical volume my_volume/partition1 changed from 2.00 GiB (512 extents) to 3.99 GiB (1022 extents).
Logical volume my_volume/partition1 successfully resized.
jeremy@kodekloud:~$
```
Using this command, "partition1" expands without interrupting its continuous appearance to the operating system.
Shrinking a logical volume that contains data is risky. Always ensure your data is backed up before resizing volumes.
If you need to shrink an LV—say, returning it to 2 GB—make sure you understand the risks and use:
```bash theme={null}
sudo lvresize --size 2G my_volume/partition1
```
The system will warn you:
```plaintext theme={null}
WARNING: Reducing active logical volume to 2.00 GiB.
THIS MAY DESTROY YOUR DATA (filesystem etc.)
Do you really want to reduce my_volume/partition1? [y/n]: Y
```
Confirm the operation by typing "Y".
## Handling Filesystems on Logical Volumes
An empty logical volume has no filesystem, so it cannot store files until you create one. LVs are typically made available using paths formatted as:
/dev/\/\
For example, an LV in "ubuntu-vg" might appear as `/dev/ubuntu-vg/ubuntu-lv`. To inspect detailed information about LVs, run:
```bash theme={null}
sudo lvdisplay
```
Once an LV is created, you can format it with an ext4 filesystem using:
```bash theme={null}
sudo mkfs.ext4 /dev/my_volume/partition1
```
After formatting an LV, ensure that the filesystem is managed carefully. Resizing the logical volume without adjusting the filesystem can result in the filesystem not utilizing the extra space.
For example, resizing the LV without altering the filesystem:
```bash theme={null}
sudo lvresize --size 3G my_volume/partition1
```
To resize both the LV and its ext4 filesystem simultaneously, use the --resizefs option:
```bash theme={null}
sudo lvresize --resizefs --size 3G my_volume/partition1
```
A sample output after resizing might be:
```bash theme={null}
sudo lvresize --resizefs --size 3G my_volume/partition1
fsck from util-linux 2.39.3
/dev/mapper/my_volume-partition1: clean, 11/131072 files, 26156/524288 blocks
Size of logical volume my_volume/partition1 changed from 2.00 GiB (512 extents) to 3.00 GiB (768 extents).
Logical volume my_volume/partition1 successfully resized.
resize2fs 1.47.0 (5-Feb-2023)
Resizing the filesystem on /dev/mapper/my_volume-partition1 to 786432 (4k) blocks.
The filesystem on /dev/mapper/my_volume-partition1 is now 786432 (4k) blocks long.
```
Keep in mind that while many filesystems (such as ext4) support online expansion, they may not allow shrinking after data has been written.
## Conclusion
This lesson has covered the fundamentals of managing and configuring LVM storage—from creating physical volumes, forming volume groups, setting up logical volumes, and resizing them along with their filesystems. By abstracting physical storage into flexible, dynamically adjustable volumes, LVM alleviates many limitations found in traditional partitioning schemes, reducing downtime and simplifying storage management.
For further reference, consult the LVM manual by running `man lvm` or use terminal tab completion for hints. Happy managing!