> ## Documentation Index
> Fetch the complete documentation index at: https://notes.kodekloud.com/llms.txt
> Use this file to discover all available pages before exploring further.
# Use Network Block Devices NBD
> Learn to mount remote block devices using Network Block Devices, extending storage capabilities across your network.
In this lesson, you'll learn how to mount remote block devices using Network Block Devices (NBD). This method allows your local system to access a storage device that physically resides on a different machine, thereby extending storage capabilities across your network.
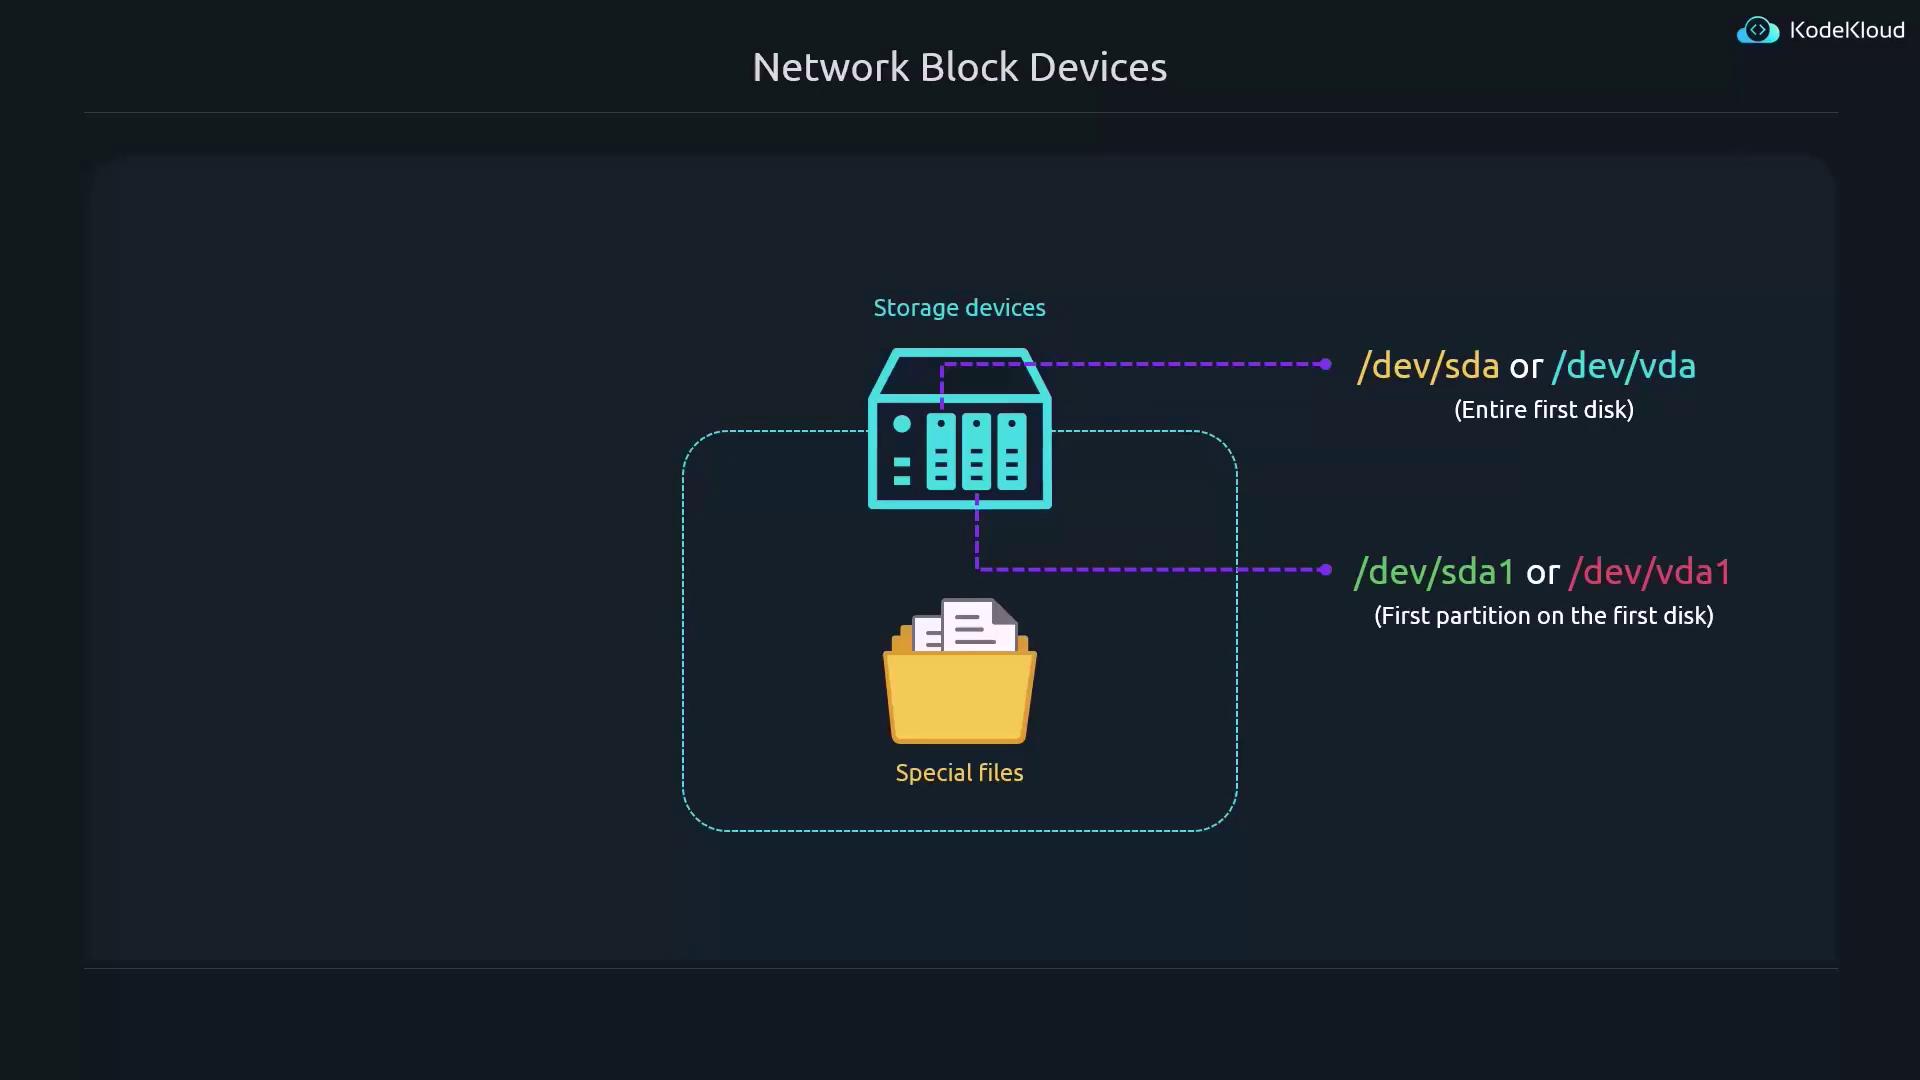
Special files in Linux typically reference local storage devices. For example, `/dev/sda` or `/dev/vda` represents the entire first storage device, while `/dev/sda1` or `/dev/vda1` refers to a specific partition on that disk.
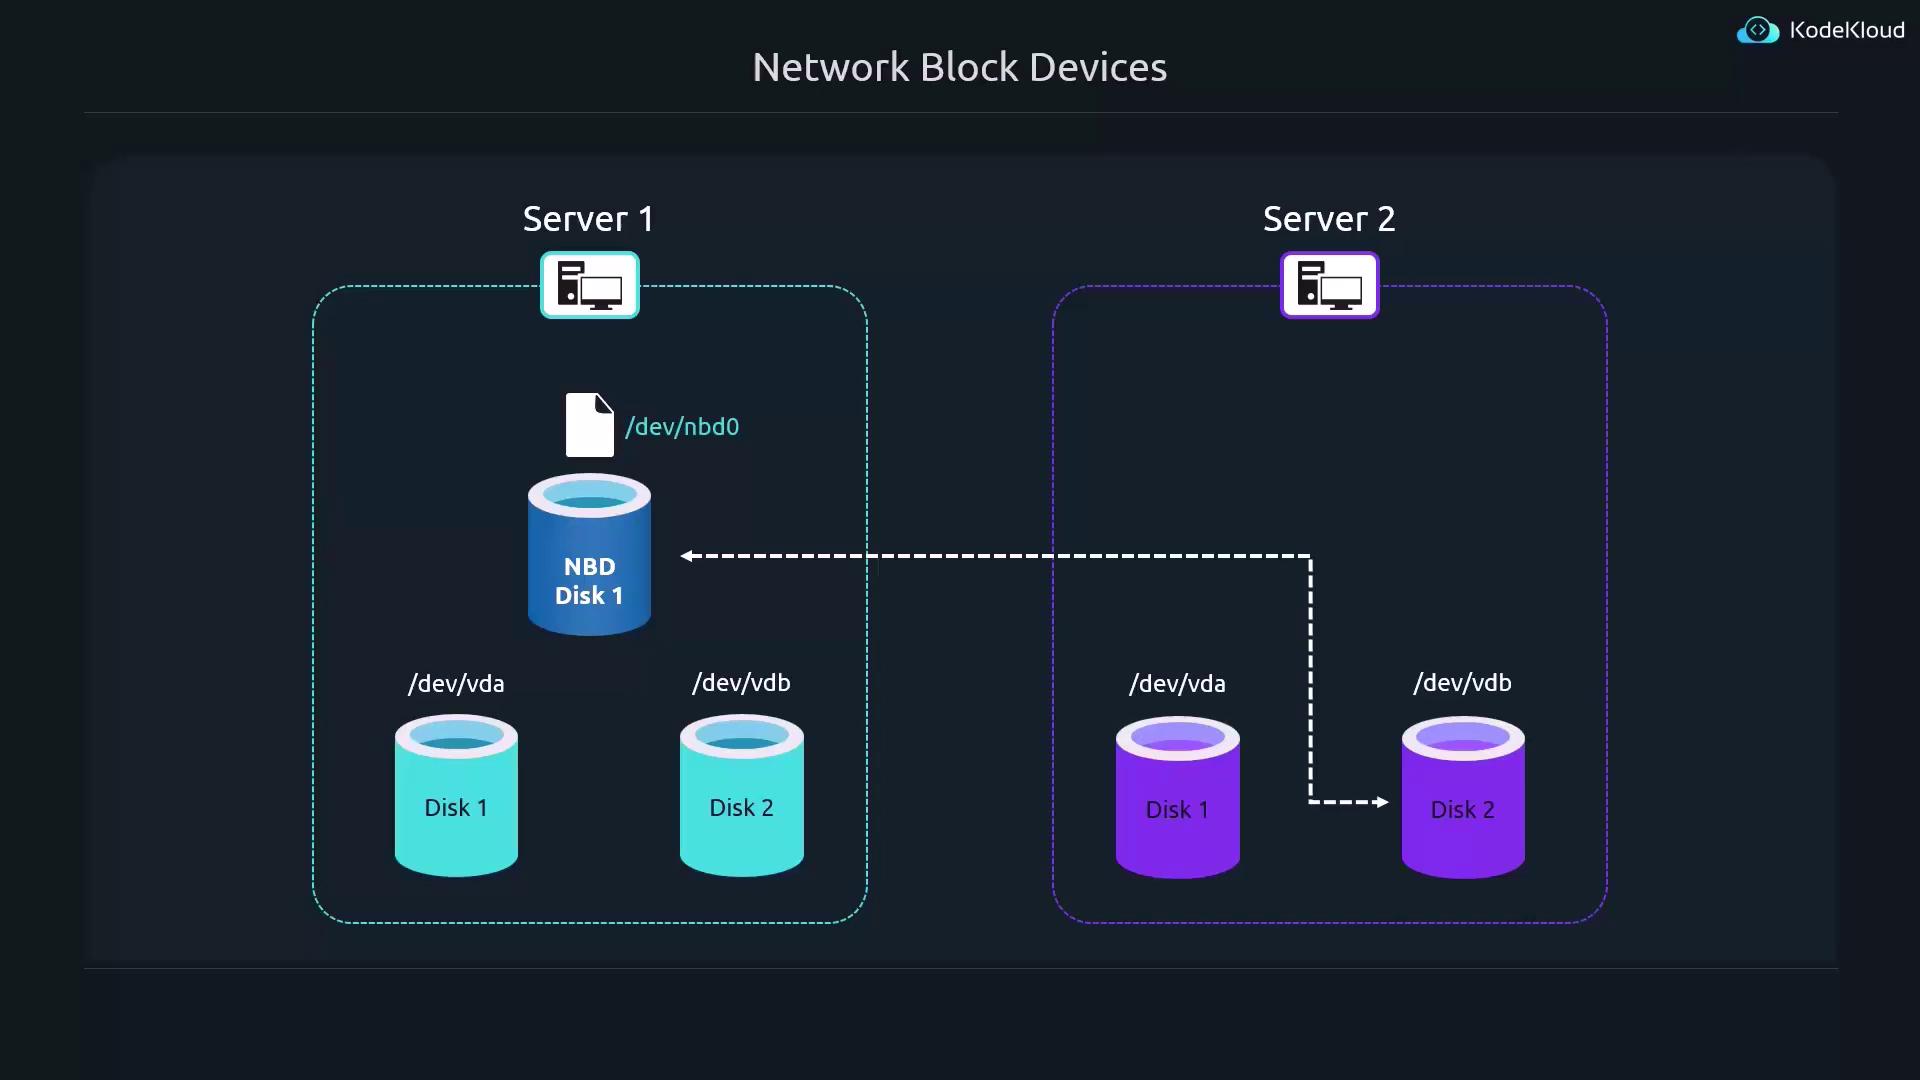
NBDs function similarly to local block special files; however, they map remote storage devices over the network. Consider the following scenario with two servers:
* **Server 1** has two storage devices: `/dev/vda` and `/dev/vdb`.
* **Server 2** also provides two storage devices with similar identifiers.
With NBD, Server 1 can seamlessly incorporate a third disk that physically resides on Server 2. The NBD tools create a special file (e.g., `/dev/nbd0`), which applications treat as a standard block device, while all read and write operations on `/dev/nbd0` are transparently forwarded to the actual block device (e.g., `/dev/vdb`) on Server 2.
Below, we cover how to configure both the NBD server (the system that shares its block device) and the NBD client (the system that connects to and uses the remote block device).
***
## Configuring the NBD Server
Follow these steps on the server that will export the block device:
1. Use the package manager to install the NBD server:
```bash theme={null}
sudo apt in...
```
Use the package manager to install the NBD server:
```bash theme={null}
sudo apt install nbd-server
```
A sample output could be similar to:
```bash theme={null}
jeremy@kodekloud:~$ sudo apt install nbd-server
Reading package lists... Done
Building dependency tree... Done
Reading state information... Done
The following NEW packages will be installed:
nbd-server
0 upgraded, 1 newly installed, 0 to remove and 1 not upgraded.
Need to get 63.3 kB of archives.
After this operation, 184 kB of additional disk space will be used.
Get:1 http://us.archive.ubuntu.com/ubuntu noble-updates/main amd64 nbd-server amd64 1:3.26.1-1ubuntu0.1 [63.3 kB]
Fetched 63.3 kB in 1s (72.9 kB/s)
Preconfiguring packages ...
Selecting previously unselected package nbd-server.
(Replacing database ... 145155 files and directories currently installed.)
Preparing to unpack .../nbd-server_1%3a3.26.1-1ubuntu0.1_amd64.deb ...
Unpacking nbd-server (1:3.26.1-1ubuntu0.1) ...
Setting up nbd-server (1:3.26.1-1ubuntu0.1) ...
Creating config file /etc/nbd-server/config with new version
info: Selecting UID from range 100 to 999 ...
info: Selecting GID from range 100 to 999 ...
info: Adding system user `nbd' (UID 112) ...
info: Adding new group `nbd' (GID 113) ...
Progress: [ 60%] [#################################################......................]
```
2. Open the configuration file using your preferred text editor:
```bash theme={null}
...
```
Open the configuration file using your preferred text editor:
```bash theme={null}
sudo vim /etc/nbd-server/config
```
By default, the NBD daemon runs as the user `nbd`, which might not have access to block devices like `/dev/sda`. The configuration contains comments guiding you to run the daemon as `root` if necessary. You can either explicitly set the user and group as `root` or comment out these lines entirely. For instance:
```ini theme={null}
[generic]
# If you want to run everything as root rather than the nbd user, you
# may either say "root" in the two following lines, or remove them
# altogether. Do not remove the [generic] section, however.
# user = nbd
# group = nbd
includedir = /etc/nbd-server/conf.d
allowlist = true
# What follows are export definitions. Your section header must be unique.
[partition2]
exportname=/dev/sda1
```
In this example, the export definition under `[partition2]` specifies that `/dev/sda1` will be shared. Make sure the device path matches your intended configuration.
3. Save your changes and restart the NBD server to apply the new configuration:
...
Save your changes and restart the NBD server to apply the new configuration:
```bash theme={null}
sudo systemctl restart nbd-server.service
```
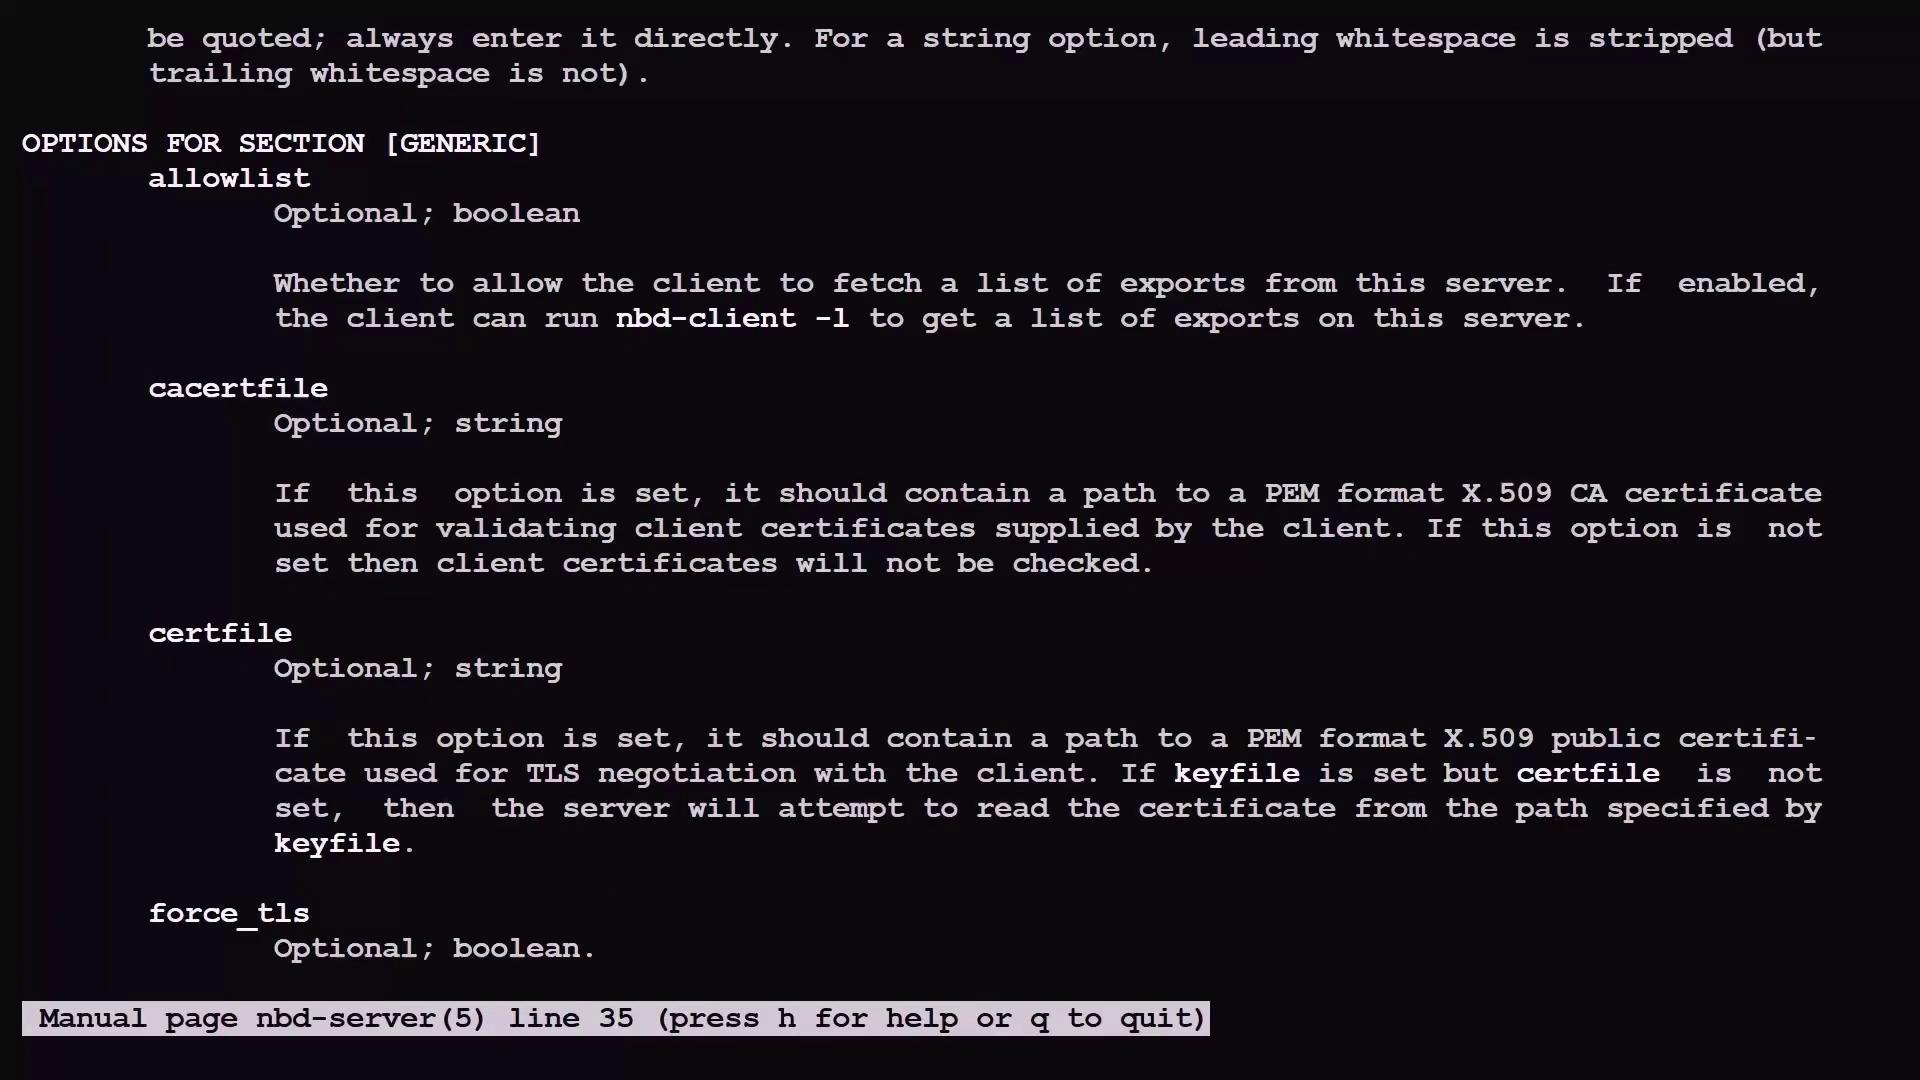
For more configuration options, consult the manual:
```bash theme={null}
man 5 nbd-server
```
This manual details generic and export-specific settings.
***
## Configuring the NBD Client
On the client machine where you want to access the remote block device, complete the following steps:
1. Install the NBD client utilities:
```bash theme={null}
sudo apt install nbd-client
```
...
Install the NBD client utilities:
```bash theme={null}
sudo apt install nbd-client
```
Sample output might look like:
```bash theme={null}
Need to get 43.5 kB of archives.
After this operation, 131 kB of additional disk space will be used.
Get:1 http://us.archive.ubuntu.com/ubuntu noble/universe amd64 nbd-client amd64 1:3.26.1-1build1 [43.5 kB]
Fetched 43.5 kB in 1s (44.2 kB/s)
Preconfiguring packages ...
Selecting previously unselected package nbd-client.
(Reading database ... 83311 files and directories currently installed.)
Preparing to unpack .../nbd-client_1%3a3.26.1-1build1_amd64.deb ...
Unpacking nbd-client (1:3.26.1-1build1) ...
Setting up nbd-client (1:3.26.1-1build1) ...
update-initramfs: deferring update (trigger activated)
update-rc.d: warning: start and stop actions are no longer supported; falling back to defaults
Processing triggers for man-db (2.12.0-4build2) ...
Processing triggers for initramfs-tools (0.142ubuntu25) ...
update-initramfs: Generating /boot/initrd.img-6.8.0-31-generic
Scanning processes...
Scanning linux images...
Running kernel seems to be up-to-date.
No services need to be restarted.
No containers need to be restarted.
No user sessions are running outdated binaries.
No VM guests are running outdated hypervisor (qemu) binaries on this host.
jeremy@kodekloud:~$
```
2. To support remote block devices, load the necessary kernel module:
```bas... theme={null}
```
To support remote block devices, load the necessary kernel module:
```bash theme={null}
sudo modprobe nbd
```
This module will load for the current session only. To load it automatically at boot, add it to the modules configuration:
```bash theme={null}
sudo vim /etc/modules-load.d/modules.conf
```
Then insert the following line:
```text theme={null}
nbd
```
Save and exit the file.
3. Establish an NBD connection by specifying the server's IP and the export name...
Establish an NBD connection by specifying the server's IP and the export name with the `-N` option (for example, `partition2`):
```bash theme={null}
sudo nbd-client 127.0.0.1 -N partition2
```
The expected output might look as follows:
```bash theme={null}
$ sudo nbd-client 127.0.0.1 -N partition2
Negotiation: ..size = 2048MB
Connected /dev/nbd0
jeremy@kodekloud:~$
```
The special file `/dev/nbd0` now represents the remote block device. Every operation on `/dev/nbd0` is forwarded to the designated block device on the server.
4. Treat the remote block device like any local one
Treat the remote block device like any local one. For instance, mount it to the `/mnt` directory:
```bash theme={null}
sudo mount /dev/nbd0 /mnt
ls /mnt
```
A sample listing might display the files on the mounted block device:
```bash theme={null}
jeremy@kodekloud:~$ sudo mount /dev/nbd0 /mnt
jeremy@kodekloud:~$ ls /mnt
config-6.8.0-31-generic
config-6.8.0-35-generic
grub
initrd.img
initrd.img-6.8.0-31-generic
initrd.img-6.8.0-35-generic
lost+found
System.map-6.8.0-31-generic
System.map-6.8.0-35-generic
vmlinuz
vmlinuz-6.8.0-31-generic
vmlinuz-6.8.0-35-generic
vmlinuz.old
```
5. When it’s time to disconnect the remote device, follow these steps:
* \*\*U...
When it’s time to disconnect the remote device, follow these steps:
* **Unmount the file system:**
```bash theme={null}
sudo umount /mnt
```
* **Verify block device status:**
```bash theme={null}
lsblk
```
The output should show `/dev/nbd0` with a non-zero size.
* **Detach the NBD connection:**
```bash theme={null}
sudo nbd-client -d /dev/nbd0
```
Running `lsblk` again should indicate that `/dev/nbd0` now has a zero-byte size, confirming successful detachment.
An example session might be:
```bash theme={null}
jeremy@kodekloud:~$ sudo umount /mnt
jeremy@kodekloud:~$ lsblk
NAME MAJ:MIN RM SIZE RO TYPE MOUNTPOINTS
sda 8:0 0 45G 0 disk
├─sda1 8:1 0 1M 0 part /boot
├─sda2 8:2 0 2G 0 part
└─sda3 8:3 0 21.5G 0 lvm /
sr0 11:0 1 1024M 0 rom
nbd0 43:0 0 2G 0 disk
...
jeremy@kodekloud:~$ sudo nbd-client -d /dev/nbd0
jeremy@kodekloud:~$ lsblk
NAME MAJ:MIN RM SIZE RO TYPE MOUNTPOINTS
sda 8:0 0 45G 0 disk
├─sda1 8:1 0 1M 0 part /boot
├─sda2 8:2 0 2G 0 part
└─sda3 8:3 0 43G 0 part
sr0 11:0 1 1024M 0 rom
nbd0 43:16 0 0B 0 disk
...
```
6. To view all available exports on the NBD server, use the `-l` option:
```... theme={null}
```
To view all available exports on the NBD server, use the `-l` option:
```bash theme={null}
sudo nbd-client -l 127.0.0.1
```
Example output:
```bash theme={null}
jeremy@kodekloud:~$ sudo nbd-client -l 127.0.0.1
Negotiation: ..
partition2
```
This capability is enabled by the `allowlist = true` setting in the **generic** section of the NBD server configuration.
***
## Summary
In this lesson, you learned how to export a local block device using an NBD server and connect to it remotely via an NBD client. Here’s a quick reference table summarizing the process:
| Step | Action | Command Example |
| --------------------------- | ---------------------------------------------------- | ------------------------------------------- |
| Install NBD Server | Set up the NBD server package | `sudo apt install nbd-server` |
| Edit NBD Configuration | Configure export definitions and user settings | `sudo vim /etc/nbd-server/config` |
| Restart NBD Daemon | Apply configuration changes | `sudo systemctl restart nbd-server.service` |
| Install NBD Client | Set up the NBD client utilities | `sudo apt install nbd-client` |
| Load NBD Kernel Module | Enable kernel support for remote block devices | `sudo modprobe nbd` |
| Connect Remote Block Device | Attach the remote block device over the network | `sudo nbd-client 127.0.0.1 -N partition2` |
| Mount Remote Block Device | Mount the associated device to your local filesystem | `sudo mount /dev/nbd0 /mnt` |
| Detach Remote Block Device | Safely disconnect the NBD device | `sudo nbd-client -d /dev/nbd0` |
| List Available Exports | Discover available exports on the NBD server | `sudo nbd-client -l 127.0.0.1` |
This completes the core concepts of using Network Block Devices. Armed with these instructions, you can now export local block devices from one server and mount them remotely on another.
Let's move on to our next lesson.