> ## Documentation Index
> Fetch the complete documentation index at: https://notes.kodekloud.com/llms.txt
> Use this file to discover all available pages before exploring further.
# Use Remote Filesystems NFS
> This article explains how to use the Network File System (NFS) protocol for sharing remote file systems between Linux computers.
In previous lessons, we explored working with local file systems and local block storage devices—data stored on the same system where you are logged in. In this lesson, we focus on using remote file systems by leveraging the Network File System (NFS) protocol, a popular method for sharing data between Linux computers.
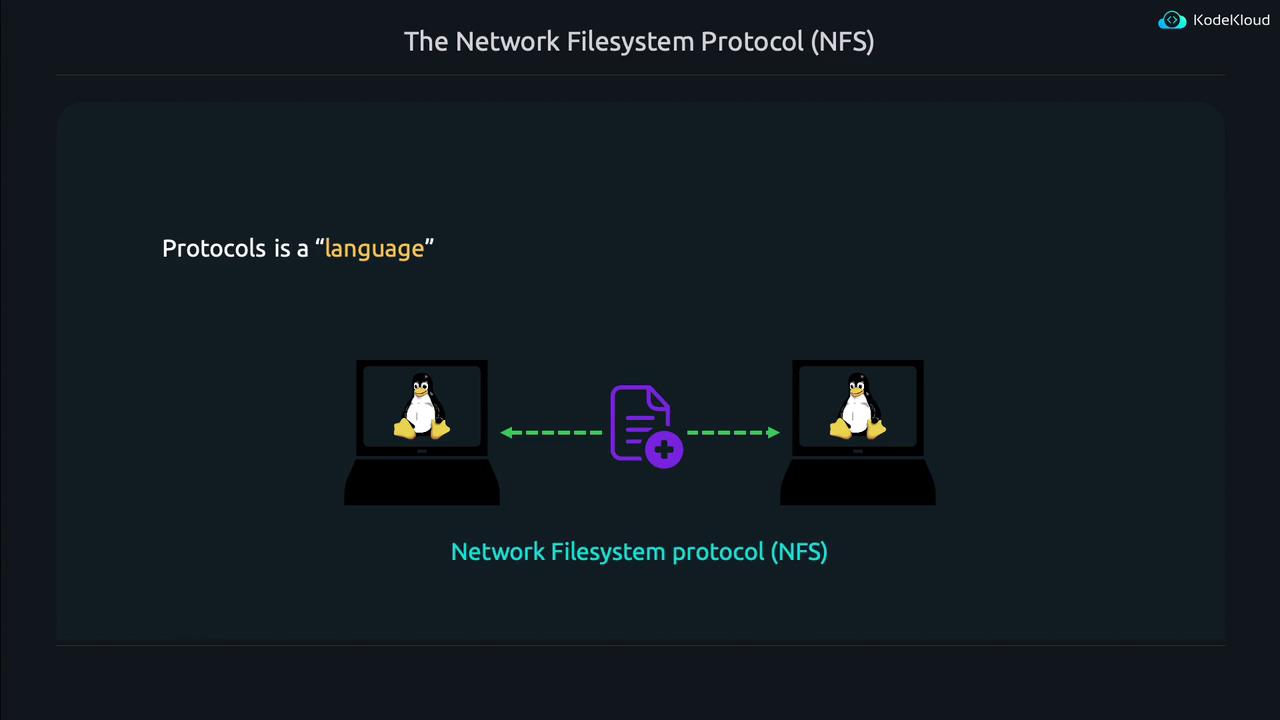
NFS operates based on a two-step process:
1. Configuring an NFS server to share a file system with remote machines.
2. Setting up an NFS client to mount the remote file system.
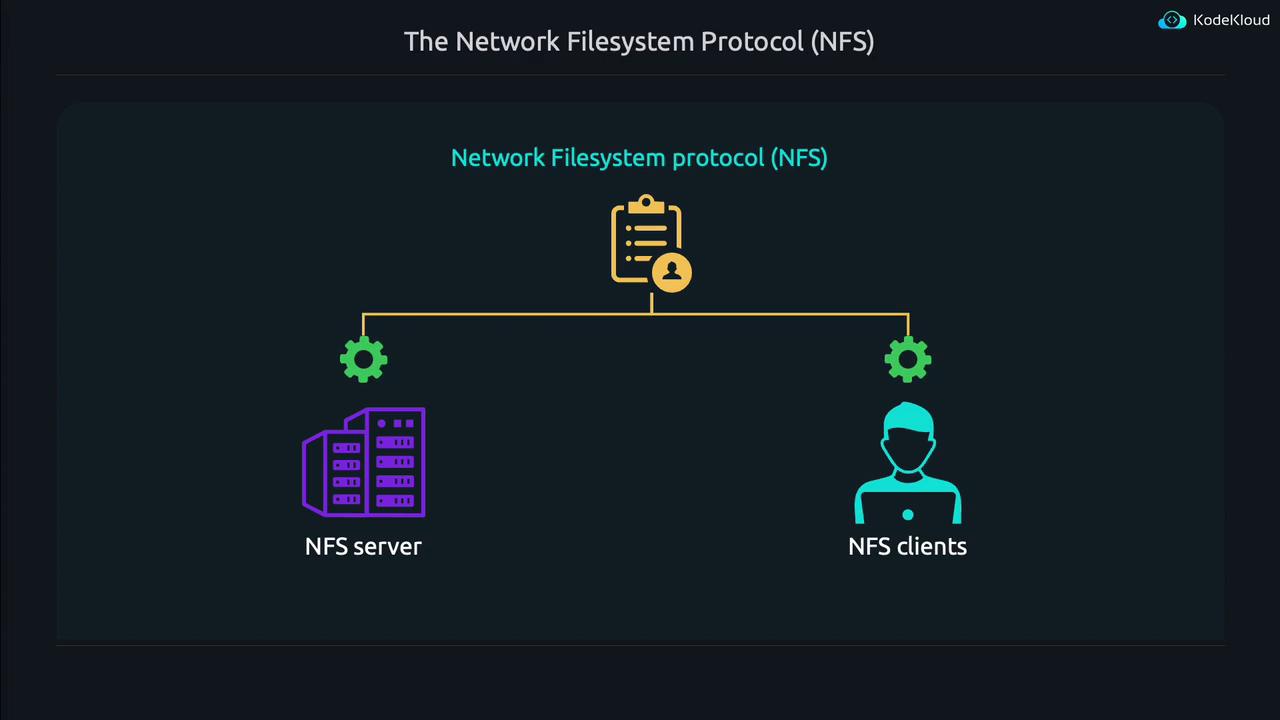
The NFS protocol simplifies remote file sharing by standardizing communication between the server and client. This allows Linux systems to seamlessly share and access files over the network.
## Configuring the NFS Server
Begin by setting up the NFS server—the system that shares data with clients.
### Step 1: Install the NFS Server Package
Install the necessary package using the following command:
```bash theme={null}
sudo apt install nfs-kernel-server
```
### Step 2: Define File System Shares
Specify which directories to share by editing the `/etc/exports` file. Open the file with your preferred text editor:
```bash theme={null}
sudo vim /etc/exports
```
Inside this file, you will see commented examples that illustrate the basic syntax. The general format for an export declaration is:
1. The directory to be shared (e.g., `/nfs/disk1/backups` or `/srv/homes`).
2. One or more allowed NFS clients (specified as hostnames, fully qualified domain names, or IP addresses).
3. Optionally, a range of IP addresses can be allowed using CIDR notation (e.g., `10.0.16.0/24`).
4. Export options enclosed in parentheses, such as `(rw,sync,no_subtree_check)` for read/write access or `(ro,sync,no_subtree_check)` for read-only access.
Here’s an example configuration in `/etc/exports`:
```bash theme={null}
# Example export configuration:
"/nfs/disk1/backups" hostname1(rw,sync,no_subtree_check) hostname2(ro,sync,no_subtree_check)
# You can replace 'hostname1' with an IP like "10.0.0.9", or use a CIDR range like "10.0.16.0/24"
```
### Understanding Export Options
* **rw**: Permits both read and write operations.
* **ro**: Restricts the share to read-only access.
* **sync**: Ensures data is written to the storage device before confirming the operation.
* **async**: Allows asynchronous writes, which can boost performance but might risk data loss in sudden reboots.
* **no\_subtree\_check**: Disables subtree checking, which avoids potential issues when files are moved or renamed.
* **no\_root\_squash**: By default, NFS remaps client root users to a lesser privileged user (`nobody`). This option lets the client's root user retain root privileges on the remote share.
For additional details and options, refer to the manual page:
```bash theme={null}
man exports
```
### Adding an Export Example
To share the `/etc` directory with a computer having IP address `127.0.0.1` (read-only), add the following line to `/etc/exports`:
```bash theme={null}
/etc 127.0.0.1(ro,sync,no_subtree_check)
```
After modifying the file, re-export the directories to update the NFS server's configuration:
```bash theme={null}
sudo exportfs -r
```
The `-r` flag forces the server to refresh its list of shared directories. To confirm the current exports and their settings, run:
```bash theme={null}
sudo exportfs -v
```
When using wildcards in client specifications, ensure there are no additional spaces between the hostname (or wildcard) and the opening parenthesis. For example:
```bash theme={null}
/etc *.example.com(ro,sync,no_subtree_check)
```
## Configuring the NFS Client
Configuring the client side is straightforward. First, install the necessary NFS utilities:
```bash theme={null}
sudo apt install nfs-common
```
### Mounting an NFS Share
Assuming an NFS server is sharing the `/etc` directory, you can mount it using:
```bash theme={null}
sudo mount IP_or_hostname_of_server:/path/to/remote/directory /path/to/local/directory
```
For example, to mount the `/etc` directory from an NFS server at `127.0.0.1` to your local `/mnt` directory, run:
```bash theme={null}
sudo mount 127.0.0.1:/etc /mnt
```
Similarly, if using a hostname such as `server1`, the command becomes:
```bash theme={null}
sudo mount server1:/etc /mnt
```
To unmount the NFS share later, execute:
```bash theme={null}
sudo umount /mnt
```
### Auto-Mounting at Boot
To mount the NFS share automatically during system boot, edit the `/etc/fstab` file:
```bash theme={null}
sudo vim /etc/fstab
```
Then add a line similar to the following:
```text theme={null}
127.0.0.1:/etc /mnt nfs defaults 0 0
```
This entry includes:
* **Source:** `127.0.0.1:/etc`
* **Mount Point:** `/mnt`
* **File System Type:** `nfs`
* **Mount Options:** `defaults` (modifiable based on requirements)
* **Dump and Pass Fields:** Both set to `0` for a network-mounted file system
An example snippet from your `/etc/fstab` might look like:
```text theme={null}
# /etc/fstab: static file system information.
#
#
/ ext4 defaults 0 1
/dev/disk/by-uuid/ec83bbc6-458e-490c-9188-2d5cc97a0e20 /boot ext4 defaults 0 1
127.0.0.1:/etc /mnt nfs defaults 0 0
```
Ensure that your NFS server and client firewall settings allow NFS traffic. Any network restrictions might prevent proper communication between the systems.
## Summary
This lesson covered the essential steps for setting up an NFS server and configuring NFS clients to mount remote file systems. You learned how to:
* Install and configure the NFS server package.
* Define shared directories using the `/etc/exports` file and understand key export options.
* Verify and manage the shared directories with `exportfs`.
* Install NFS utilities on the client side, mount and unmount the NFS share, and configure automatic mounting using the `/etc/fstab` file.
With this knowledge, you can efficiently share file systems between Linux systems using NFS.
Let's move on to the next lesson.