> ## Documentation Index
> Fetch the complete documentation index at: https://notes.kodekloud.com/llms.txt
> Use this file to discover all available pages before exploring further.
# Demo Working With Logical Volumes
> Hands-on walkthrough for creating and managing Linux LVM, including initializing physical volumes, creating and resizing volume groups and logical volumes, formatting and mounting filesystems, moving data, and cleanup
In this hands-on walkthrough you'll create and manage Logical Volumes (LVM). We'll:
* initialize block device partitions as Physical Volumes (PVs)
* create and extend a Volume Group (VG)
* create, format, mount, and extend a Logical Volume (LV)
* move data off a failing PV
* grow the filesystem to use added space
* make the mount persistent and clean up when finished
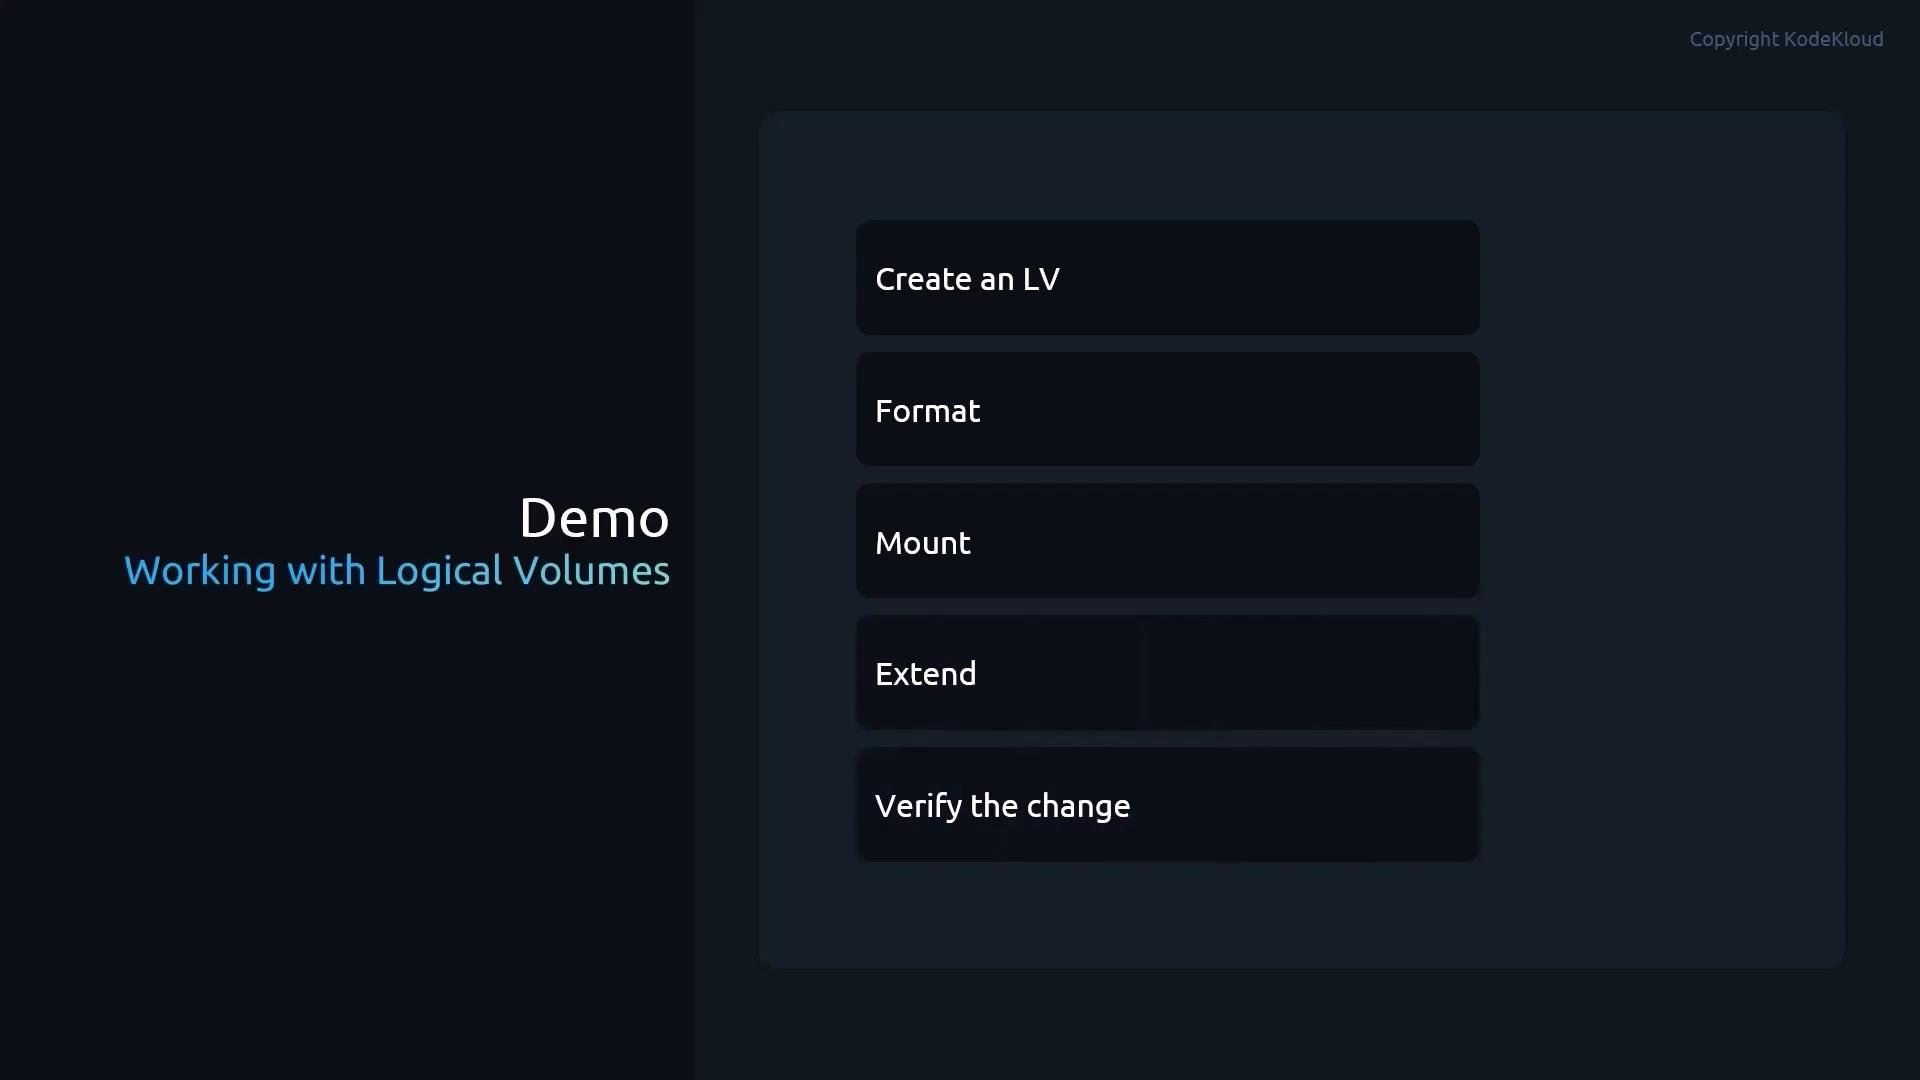 By the end you'll not only know what logical volumes are, but how to manage them on a running Linux system.
Callout: prerequisites and quick tips
This demo assumes root privileges. LVM commands (pvcreate, vgcreate, lvcreate, etc.) require administrative access. If you run into "device busy" errors, ensure the device is not mounted or in use.
Quick LVM reference
| Resource Type | Purpose | Example command |
| - | - | - |
| Physical Volume (PV) | A disk partition or whole disk under LVM control | `pvcreate /dev/sdb1` |
| Volume Group (VG) | Pool of storage made from PVs | `vgcreate vg1 /dev/sdb1` |
| Logical Volume (LV) | A logical block device carved from a VG | `lvcreate -n lv1 -L 400M vg1` |
Inspect block devices
Start by listing block devices to identify the partitions on `/dev/sdb`:
```bash theme={null}
root@control:/# lsblk
NAME MAJ:MIN RM SIZE RO TYPE MOUNTPOINTS
sda 8:0 0 20G 0 disk
├─sda2 8:2 0 1G 0 part
└─sda3 8:3 0 19G 0 part
├─rhel-root 253:0 0 17G 0 lvm /
└─rhel-swap 253:1 0 2G 0 lvm
sdb 8:16 0 5.1G 0 disk
├─sdb1 8:17 0 476M 0 part
├─sdb2 8:18 0 476M 0 part
└─sdb3 8:19 0 474.9M 0 part
sr0 11:0 1 1024M 0 rom
```
Initialize partitions as Physical Volumes (PVs)
Use `pvcreate` to prepare partitions for LVM:
```bash theme={null}
root@control:/# pvcreate /dev/sdb1 /dev/sdb2 /dev/sdb3
Physical volume "/dev/sdb1" successfully created.
Physical volume "/dev/sdb2" successfully created.
Physical volume "/dev/sdb3" successfully created.
```
Verify created PVs with `pvdisplay` (or `pvscan` / `pvs`):
```bash theme={null}
root@control:/# pvdisplay
--- Physical volume ---
PV Name /dev/sdb1
VG Name
PV Size 476.00 MiB / not usable 4.00 KiB
...
(repeat for /dev/sdb2 and /dev/sdb3)
```
Create and inspect a Volume Group (VG)
Create a VG named `vg1` using one PV (we'll add more shortly):
```bash theme={null}
root@control:/# vgcreate vg1 /dev/sdb1
Volume group "vg1" successfully created
```
Inspect the VG:
```bash theme={null}
root@control:/# vgdisplay vg1
--- Volume group ---
VG Name vg1
VG Size 476.00 MiB
Free PE / Size 476 / 476.00 MiB
...
```
Extend the VG by adding another PV:
```bash theme={null}
root@control:/# vgextend vg1 /dev/sdb2
Volume group "vg1" successfully extended
```
To remove a PV from a VG (for maintenance or replacement) use `vgreduce`. Example:
```bash theme={null}
root@control:/# vgreduce vg1 /dev/sdb2
Removed "/dev/sdb2" from volume group "vg1"
```
You can re-add PVs as needed:
```bash theme={null}
root@control:/# vgextend vg1 /dev/sdb2 /dev/sdb3
Volume group "vg1" successfully extended
```
Create a Logical Volume (LV)
Create an LV named `lv1` of 400 MiB in `vg1`:
```bash theme={null}
root@control:/# lvcreate -n lv1 -L 400M vg1
Logical volume "lv1" created.
```
Confirm the LV:
```bash theme={null}
root@control:/# lvdisplay /dev/vg1/lv1
--- Logical volume ---
LV Name /dev/vg1/lv1
LV Size 400.00 MiB
...
```
Format and mount the LV
Create a mount point and format the LV with XFS:
```bash theme={null}
root@control:/# mkdir -p /mountlv
root@control:/# mkfs.xfs /dev/vg1/lv1
meta-data=/dev/mapper/vg1-lv1 isize=512 ...
```
Mount the LV and verify with `lsblk`:
```bash theme={null}
root@control:/# mount /dev/vg1/lv1 /mountlv
root@control:/# lsblk
NAME MAJ:MIN RM SIZE RO TYPE MOUNTPOINTS
sda 8:0 0 20G 0 disk
├─sda2 8:2 0 1G 0 part
├─sda3 8:3 0 19G 0 part
│ ├─rhel-root 253:0 0 17G 0 lvm /
│ └─rhel-swap 253:1 0 2G 0 lvm
sdb 8:16 0 5.1G 0 disk
├─sdb1 8:17 0 476M 0 part
├─sdb2 8:18 0 476M 0 part
│ └─vg1-lv1 253:2 0 400M 0 lvm /mountlv
└─sdb3 8:19 0 474.9M 0 part
```
Check space usage for the mount:
```bash theme={null}
root@control:/# df -h /mountlv
Filesystem Size Used Avail Use% Mounted on
/dev/mapper/vg1-lv1 336M 27M 310M 8% /mountlv
```
Extend the Logical Volume
You can extend an LV to an absolute size or by specifying an increment. To resize `lv1` from 400 MiB to 800 MiB:
```bash theme={null}
root@control:/# lvextend /dev/vg1/lv1 -L 800M
Size of logical volume vg1/lv1 changed from 400.00 MiB (100 extents) to 800.00 MiB (200 extents).
Logical volume vg1/lv1 successfully resized.
```
Important: growing the LV updates the block device size, but the filesystem on top of that LV must also be grown before the OS can use the additional space.
Move data off a failing PV (pvmove)
If a PV is failing or needs to be removed from service, relocate its data with `pvmove`:
```bash theme={null}
root@control:/# pvmove /dev/sdb1
/dev/sdb1: Moved: 100.00%
```
After `pvmove`, verify the LV no longer uses the old PV:
```bash theme={null}
root@control:/# lsblk
NAME MAJ:MIN RM SIZE RO TYPE MOUNTPOINTS
sda 8:0 0 20G 0 disk
...
sdb 8:16 0 5.1G 0 disk
├─sdb1 8:17 0 476M 0 part
├─sdb2 8:18 0 476M 0 part
│ └─vg1-lv1 253:2 0 800M 0 lvm /mountlv
└─sdb3 8:19 0 474.9M 0 part
```
Grow the filesystem to use the new space
Check `df` to confirm the filesystem still reports the old size:
```bash theme={null}
root@control:/# df -h /mountlv
Filesystem Size Used Avail Use% Mounted on
/dev/mapper/vg1-lv1 336M 27M 310M 8% /mountlv
```
For XFS filesystems, use `xfs_growfs` and specify the mount point (XFS is grown online while mounted):
```bash theme={null}
root@control:/# xfs_growfs /mountlv
meta-data=/dev/mapper/vg1-lv1 isize=512 agcount=4, agsize=25600 blks
...
data blocks changed from 102400 to 204800
```
Verify the filesystem reflects the larger size:
```bash theme={null}
root@control:/# df -h /mountlv
Filesystem Size Used Avail Use% Mounted on
/dev/mapper/vg1-lv1 736M 35M 702M 5% /mountlv
```
Callout: filesystem compatibility note
`xfs_growfs` only works on XFS filesystems. For ext3/ext4 use `resize2fs`. XFS filesystems can be grown but not shrunk; ext3/ext4 can usually be grown and sometimes reduced.
Make the LV mount persistent
Get the LV device UUID with `blkid` and add an `/etc/fstab` entry to ensure the mount survives reboots:
```bash theme={null}
root@control:/# blkid /dev/vg1/lv1
/dev/vg1/lv1: UUID="006ac1bf-2ed5-4f51-bbbd-a7260e8f3ed6" BLOCK_SIZE="512" TYPE="xfs"
```
Example `/etc/fstab` fragment (use the UUID you obtained):
```text theme={null}
#
# /etc/fstab
# Created by anaconda on Tue Mar 31 10:50:07 2026
#
# Accessible filesystems, by reference, are maintained under '/dev/disk/'.
# See man pages [fstab(5)](https://man7.org/linux/man-pages/man5/fstab.5.html), [findfs(8)](https://man7.org/linux/man-pages/man8/findfs.8.html), [mount(8)](https://man7.org/linux/man-pages/man8/mount.8.html) and/or [blkid(8)](https://man7.org/linux/man-pages/man8/blkid.8.html) for more info.
#
UUID=d3b9cb8c-5cf7-45cb-8bef-9dec51747be4 / xfs defaults 0 0
UUID=691cc3c4-617b-46de-88a8-72845adc7636 /boot xfs defaults 0 0
UUID=f7ba6641-f5c1-4503-a64f-c804eda85768 none swap defaults 0 0
UUID=006ac1bf-2ed5-4f51-bbbd-a7260e8f3ed6 /mountlv xfs defaults 0 0
```
To test the fstab entry:
1. Unmount the filesystem
2. If systemd caches fstab, reload the daemon
3. Run `mount -a` to mount all filesystems from fstab
```bash theme={null}
root@control:/# umount /mountlv
root@control:/# systemctl daemon-reload
root@control:/# mount -a
root@control:/# lsblk
NAME MAJ:MIN RM SIZE RO TYPE MOUNTPOINTS
sda 8:0 0 20G 0 disk
├─sda2 8:2 0 1G 0 part /boot
└─sda3 8:3 0 19G 0 part
├─rhel-root 253:0 0 17G 0 lvm /
└─rhel-swap 253:1 0 2G 0 lvm
sdb 8:16 0 5.1G 0 disk
├─sdb1 8:17 0 476M 0 part
├─sdb2 8:18 0 476M 0 part
│ └─vg1-lv1 253:2 0 800M 0 lvm /mountlv
└─sdb3 8:19 0 474.9M 0 part
```
Cleanup when finished
When you're done with the demo, unmount and remove the LV, VG, and PV labels to restore devices to their pre-LVM state:
```bash theme={null}
root@control:/# umount /mountlv
root@control:/# lvremove /dev/vg1/lv1
Do you really want to remove active logical volume vg1/lv1? [y/n]: y
Logical volume "lv1" successfully removed.
root@control:/# vgremove vg1
Volume group "vg1" successfully removed
root@control:/# pvremove /dev/sdb1 /dev/sdb2 /dev/sdb3
Labels on physical volume "/dev/sdb1" successfully wiped.
Labels on physical volume "/dev/sdb2" successfully wiped.
Labels on physical volume "/dev/sdb3" successfully wiped.
```
Summary
This demo covered the full lifecycle of LVM on a system:
* prepare partitions as PVs with `pvcreate`
* create and manage VGs with `vgcreate`, `vgextend`, and `vgreduce`
* create and resize LVs with `lvcreate` and `lvextend`
* relocate data away from failing PVs with `pvmove`
* format and mount LVs, then grow filesystems (`xfs_growfs` for XFS)
* persist mounts via `/etc/fstab`
* and cleanup (remove LV, VG, PV labels)
Links and references
* LVM documentation: [https://linux-lvm.org/](https://linux-lvm.org/)
* xfs\_growfs man page: [https://man7.org/linux/man-pages/man8/xfs\_growfs.8.html](https://man7.org/linux/man-pages/man8/xfs_growfs.8.html)
* resize2fs man page (ext3/ext4): [https://man7.org/linux/man-pages/man8/resize2fs.8.html](https://man7.org/linux/man-pages/man8/resize2fs.8.html)
* fstab and mount man pages: [https://man7.org/linux/man-pages/man5/fstab.5.html](https://man7.org/linux/man-pages/man5/fstab.5.html) and [https://man7.org/linux/man-pages/man8/mount.8.html](https://man7.org/linux/man-pages/man8/mount.8.html)
* blkid man page: [https://man7.org/linux/man-pages/man8/blkid.8.html](https://man7.org/linux/man-pages/man8/blkid.8.html)
This documentation is built and hosted on [Mintlify](https://mintlify.com), a developer documentation platform.
By the end you'll not only know what logical volumes are, but how to manage them on a running Linux system.
Callout: prerequisites and quick tips
This demo assumes root privileges. LVM commands (pvcreate, vgcreate, lvcreate, etc.) require administrative access. If you run into "device busy" errors, ensure the device is not mounted or in use.
Quick LVM reference
| Resource Type | Purpose | Example command |
| - | - | - |
| Physical Volume (PV) | A disk partition or whole disk under LVM control | `pvcreate /dev/sdb1` |
| Volume Group (VG) | Pool of storage made from PVs | `vgcreate vg1 /dev/sdb1` |
| Logical Volume (LV) | A logical block device carved from a VG | `lvcreate -n lv1 -L 400M vg1` |
Inspect block devices
Start by listing block devices to identify the partitions on `/dev/sdb`:
```bash theme={null}
root@control:/# lsblk
NAME MAJ:MIN RM SIZE RO TYPE MOUNTPOINTS
sda 8:0 0 20G 0 disk
├─sda2 8:2 0 1G 0 part
└─sda3 8:3 0 19G 0 part
├─rhel-root 253:0 0 17G 0 lvm /
└─rhel-swap 253:1 0 2G 0 lvm
sdb 8:16 0 5.1G 0 disk
├─sdb1 8:17 0 476M 0 part
├─sdb2 8:18 0 476M 0 part
└─sdb3 8:19 0 474.9M 0 part
sr0 11:0 1 1024M 0 rom
```
Initialize partitions as Physical Volumes (PVs)
Use `pvcreate` to prepare partitions for LVM:
```bash theme={null}
root@control:/# pvcreate /dev/sdb1 /dev/sdb2 /dev/sdb3
Physical volume "/dev/sdb1" successfully created.
Physical volume "/dev/sdb2" successfully created.
Physical volume "/dev/sdb3" successfully created.
```
Verify created PVs with `pvdisplay` (or `pvscan` / `pvs`):
```bash theme={null}
root@control:/# pvdisplay
--- Physical volume ---
PV Name /dev/sdb1
VG Name
PV Size 476.00 MiB / not usable 4.00 KiB
...
(repeat for /dev/sdb2 and /dev/sdb3)
```
Create and inspect a Volume Group (VG)
Create a VG named `vg1` using one PV (we'll add more shortly):
```bash theme={null}
root@control:/# vgcreate vg1 /dev/sdb1
Volume group "vg1" successfully created
```
Inspect the VG:
```bash theme={null}
root@control:/# vgdisplay vg1
--- Volume group ---
VG Name vg1
VG Size 476.00 MiB
Free PE / Size 476 / 476.00 MiB
...
```
Extend the VG by adding another PV:
```bash theme={null}
root@control:/# vgextend vg1 /dev/sdb2
Volume group "vg1" successfully extended
```
To remove a PV from a VG (for maintenance or replacement) use `vgreduce`. Example:
```bash theme={null}
root@control:/# vgreduce vg1 /dev/sdb2
Removed "/dev/sdb2" from volume group "vg1"
```
You can re-add PVs as needed:
```bash theme={null}
root@control:/# vgextend vg1 /dev/sdb2 /dev/sdb3
Volume group "vg1" successfully extended
```
Create a Logical Volume (LV)
Create an LV named `lv1` of 400 MiB in `vg1`:
```bash theme={null}
root@control:/# lvcreate -n lv1 -L 400M vg1
Logical volume "lv1" created.
```
Confirm the LV:
```bash theme={null}
root@control:/# lvdisplay /dev/vg1/lv1
--- Logical volume ---
LV Name /dev/vg1/lv1
LV Size 400.00 MiB
...
```
Format and mount the LV
Create a mount point and format the LV with XFS:
```bash theme={null}
root@control:/# mkdir -p /mountlv
root@control:/# mkfs.xfs /dev/vg1/lv1
meta-data=/dev/mapper/vg1-lv1 isize=512 ...
```
Mount the LV and verify with `lsblk`:
```bash theme={null}
root@control:/# mount /dev/vg1/lv1 /mountlv
root@control:/# lsblk
NAME MAJ:MIN RM SIZE RO TYPE MOUNTPOINTS
sda 8:0 0 20G 0 disk
├─sda2 8:2 0 1G 0 part
├─sda3 8:3 0 19G 0 part
│ ├─rhel-root 253:0 0 17G 0 lvm /
│ └─rhel-swap 253:1 0 2G 0 lvm
sdb 8:16 0 5.1G 0 disk
├─sdb1 8:17 0 476M 0 part
├─sdb2 8:18 0 476M 0 part
│ └─vg1-lv1 253:2 0 400M 0 lvm /mountlv
└─sdb3 8:19 0 474.9M 0 part
```
Check space usage for the mount:
```bash theme={null}
root@control:/# df -h /mountlv
Filesystem Size Used Avail Use% Mounted on
/dev/mapper/vg1-lv1 336M 27M 310M 8% /mountlv
```
Extend the Logical Volume
You can extend an LV to an absolute size or by specifying an increment. To resize `lv1` from 400 MiB to 800 MiB:
```bash theme={null}
root@control:/# lvextend /dev/vg1/lv1 -L 800M
Size of logical volume vg1/lv1 changed from 400.00 MiB (100 extents) to 800.00 MiB (200 extents).
Logical volume vg1/lv1 successfully resized.
```
Important: growing the LV updates the block device size, but the filesystem on top of that LV must also be grown before the OS can use the additional space.
Move data off a failing PV (pvmove)
If a PV is failing or needs to be removed from service, relocate its data with `pvmove`:
```bash theme={null}
root@control:/# pvmove /dev/sdb1
/dev/sdb1: Moved: 100.00%
```
After `pvmove`, verify the LV no longer uses the old PV:
```bash theme={null}
root@control:/# lsblk
NAME MAJ:MIN RM SIZE RO TYPE MOUNTPOINTS
sda 8:0 0 20G 0 disk
...
sdb 8:16 0 5.1G 0 disk
├─sdb1 8:17 0 476M 0 part
├─sdb2 8:18 0 476M 0 part
│ └─vg1-lv1 253:2 0 800M 0 lvm /mountlv
└─sdb3 8:19 0 474.9M 0 part
```
Grow the filesystem to use the new space
Check `df` to confirm the filesystem still reports the old size:
```bash theme={null}
root@control:/# df -h /mountlv
Filesystem Size Used Avail Use% Mounted on
/dev/mapper/vg1-lv1 336M 27M 310M 8% /mountlv
```
For XFS filesystems, use `xfs_growfs` and specify the mount point (XFS is grown online while mounted):
```bash theme={null}
root@control:/# xfs_growfs /mountlv
meta-data=/dev/mapper/vg1-lv1 isize=512 agcount=4, agsize=25600 blks
...
data blocks changed from 102400 to 204800
```
Verify the filesystem reflects the larger size:
```bash theme={null}
root@control:/# df -h /mountlv
Filesystem Size Used Avail Use% Mounted on
/dev/mapper/vg1-lv1 736M 35M 702M 5% /mountlv
```
Callout: filesystem compatibility note
`xfs_growfs` only works on XFS filesystems. For ext3/ext4 use `resize2fs`. XFS filesystems can be grown but not shrunk; ext3/ext4 can usually be grown and sometimes reduced.
Make the LV mount persistent
Get the LV device UUID with `blkid` and add an `/etc/fstab` entry to ensure the mount survives reboots:
```bash theme={null}
root@control:/# blkid /dev/vg1/lv1
/dev/vg1/lv1: UUID="006ac1bf-2ed5-4f51-bbbd-a7260e8f3ed6" BLOCK_SIZE="512" TYPE="xfs"
```
Example `/etc/fstab` fragment (use the UUID you obtained):
```text theme={null}
#
# /etc/fstab
# Created by anaconda on Tue Mar 31 10:50:07 2026
#
# Accessible filesystems, by reference, are maintained under '/dev/disk/'.
# See man pages [fstab(5)](https://man7.org/linux/man-pages/man5/fstab.5.html), [findfs(8)](https://man7.org/linux/man-pages/man8/findfs.8.html), [mount(8)](https://man7.org/linux/man-pages/man8/mount.8.html) and/or [blkid(8)](https://man7.org/linux/man-pages/man8/blkid.8.html) for more info.
#
UUID=d3b9cb8c-5cf7-45cb-8bef-9dec51747be4 / xfs defaults 0 0
UUID=691cc3c4-617b-46de-88a8-72845adc7636 /boot xfs defaults 0 0
UUID=f7ba6641-f5c1-4503-a64f-c804eda85768 none swap defaults 0 0
UUID=006ac1bf-2ed5-4f51-bbbd-a7260e8f3ed6 /mountlv xfs defaults 0 0
```
To test the fstab entry:
1. Unmount the filesystem
2. If systemd caches fstab, reload the daemon
3. Run `mount -a` to mount all filesystems from fstab
```bash theme={null}
root@control:/# umount /mountlv
root@control:/# systemctl daemon-reload
root@control:/# mount -a
root@control:/# lsblk
NAME MAJ:MIN RM SIZE RO TYPE MOUNTPOINTS
sda 8:0 0 20G 0 disk
├─sda2 8:2 0 1G 0 part /boot
└─sda3 8:3 0 19G 0 part
├─rhel-root 253:0 0 17G 0 lvm /
└─rhel-swap 253:1 0 2G 0 lvm
sdb 8:16 0 5.1G 0 disk
├─sdb1 8:17 0 476M 0 part
├─sdb2 8:18 0 476M 0 part
│ └─vg1-lv1 253:2 0 800M 0 lvm /mountlv
└─sdb3 8:19 0 474.9M 0 part
```
Cleanup when finished
When you're done with the demo, unmount and remove the LV, VG, and PV labels to restore devices to their pre-LVM state:
```bash theme={null}
root@control:/# umount /mountlv
root@control:/# lvremove /dev/vg1/lv1
Do you really want to remove active logical volume vg1/lv1? [y/n]: y
Logical volume "lv1" successfully removed.
root@control:/# vgremove vg1
Volume group "vg1" successfully removed
root@control:/# pvremove /dev/sdb1 /dev/sdb2 /dev/sdb3
Labels on physical volume "/dev/sdb1" successfully wiped.
Labels on physical volume "/dev/sdb2" successfully wiped.
Labels on physical volume "/dev/sdb3" successfully wiped.
```
Summary
This demo covered the full lifecycle of LVM on a system:
* prepare partitions as PVs with `pvcreate`
* create and manage VGs with `vgcreate`, `vgextend`, and `vgreduce`
* create and resize LVs with `lvcreate` and `lvextend`
* relocate data away from failing PVs with `pvmove`
* format and mount LVs, then grow filesystems (`xfs_growfs` for XFS)
* persist mounts via `/etc/fstab`
* and cleanup (remove LV, VG, PV labels)
Links and references
* LVM documentation: [https://linux-lvm.org/](https://linux-lvm.org/)
* xfs\_growfs man page: [https://man7.org/linux/man-pages/man8/xfs\_growfs.8.html](https://man7.org/linux/man-pages/man8/xfs_growfs.8.html)
* resize2fs man page (ext3/ext4): [https://man7.org/linux/man-pages/man8/resize2fs.8.html](https://man7.org/linux/man-pages/man8/resize2fs.8.html)
* fstab and mount man pages: [https://man7.org/linux/man-pages/man5/fstab.5.html](https://man7.org/linux/man-pages/man5/fstab.5.html) and [https://man7.org/linux/man-pages/man8/mount.8.html](https://man7.org/linux/man-pages/man8/mount.8.html)
* blkid man page: [https://man7.org/linux/man-pages/man8/blkid.8.html](https://man7.org/linux/man-pages/man8/blkid.8.html)
This documentation is built and hosted on [Mintlify](https://mintlify.com), a developer documentation platform.