> ## Documentation Index
> Fetch the complete documentation index at: https://notes.kodekloud.com/llms.txt
> Use this file to discover all available pages before exploring further.
# Setting up PyTorch
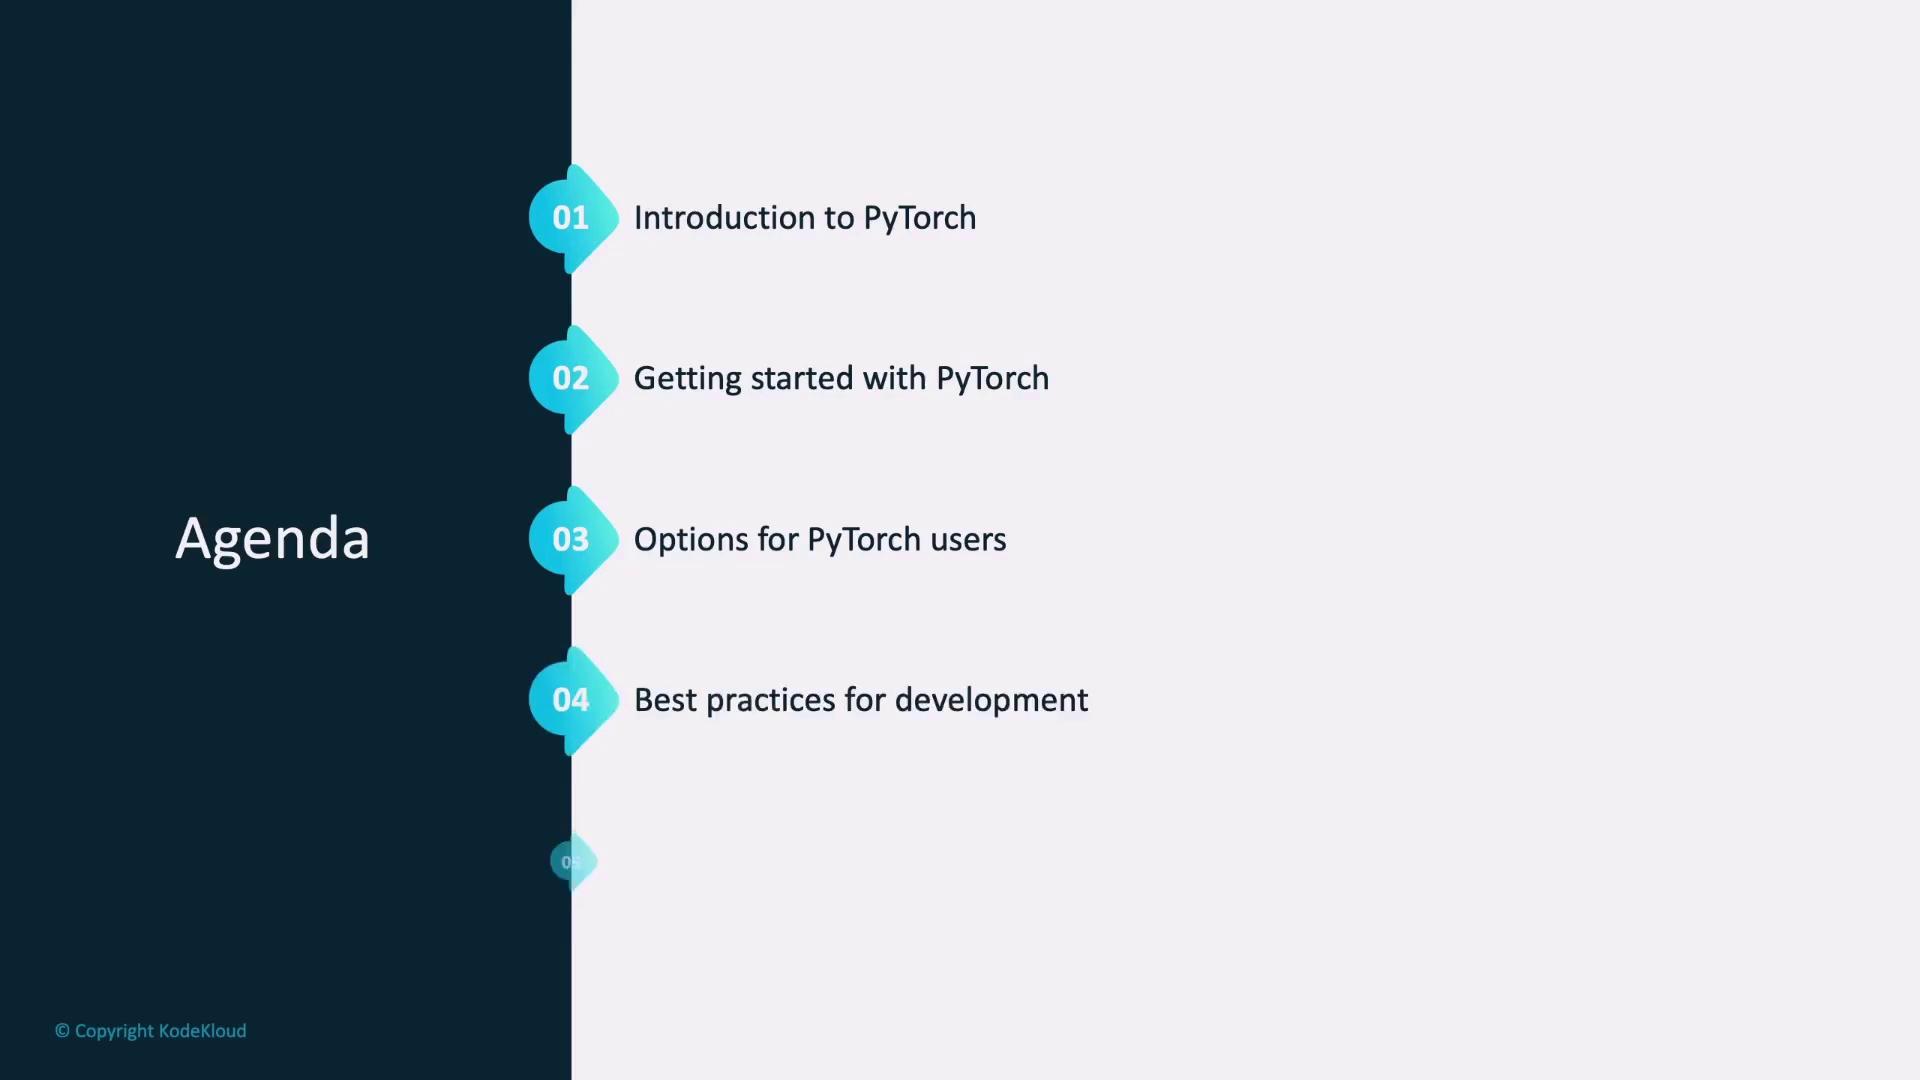
> This guide offers a comprehensive introduction to installing and configuring PyTorch, covering installation options, best practices, and managing Python environments.
This guide offers a comprehensive introduction to installing and configuing PyTorch. It covers installation options, best development practices, and ways to manage your Python environments for PyTorch projects.
Let's start by reviewing the prerequisites.
## Prerequisites
PyTorch is a Python-based deep learning library, so a Python installation is required. It is recommended to have Python 3.8 or later installed.
It is wise to use the latest stable releases of both Python and PyTorch. Both tools are free, open-source, and compatible with major operating systems such as Windows, Linux, and macOS. You have several installation options including pip, Anaconda, or building from source.
For GPU acceleration, ensure that NVIDIA's CUDA toolkit and the necessary supporting packages are installed. For CPU-only installations, CUDA is not required.
Additionally, confirm that your system meets the hardware requirements—a minimum of 4 GiB of RAM and enough storage space for PyTorch and its dependencies.
## Installing PyTorch
There are multiple methods to install PyTorch. Below are the primary approaches.
### Using pip
pip is the default package manager for Python, allowing you to install packages directly from the Python Package Index.
To install PyTorch along with the `torchvision` (for image processing) and `torchaudio` (for audio processing) libraries, open your terminal or command prompt and run:
```bash theme={null}
pip install torch torchvision torchaudio
```
After installation, verify your setup with:
```bash theme={null}
pip list
```
### Using Anaconda
Anaconda simplifies package management and environment isolation, making it ideal for data science and machine learning projects. With conda, you can avoid dependency conflicts by creating separate environments.
Ensure that the conda CLI is installed, then run:
```bash theme={null}
conda install pytorch torchvision torchaudio -c pytorch
```
This command installs PyTorch and its related libraries from the official PyTorch Anaconda channel.
If you prefer building PyTorch from source, you must clone the repository and ensure you have a C++17-compatible compiler (e.g., GCC 9.4 on Linux or Visual Studio Build Tools on Windows). For GPU support, a compatible version of CUDA and cuDNN is also required.
### Using Docker and Cloud Services
Docker provides an isolated container environment for running PyTorch. Official Docker images from PyTorch also support GPU acceleration if available. To launch a Docker container with GPU support, use:
```bash theme={null}
docker run --gpus all --rm -ti --ipc=host pytorch/pytorch:latest
```
Several cloud providers offer pre-configured environments for PyTorch:
* **Google Colab**: Provides free notebooks with GPU support.
* **Amazon SageMaker**: Offers integrated notebook solutions (SageMaker is a paid service).
* **Azure Machine Learning**: Hosts notebooks suitable for development and deployment (typically at a cost).
## Managing Python Environments
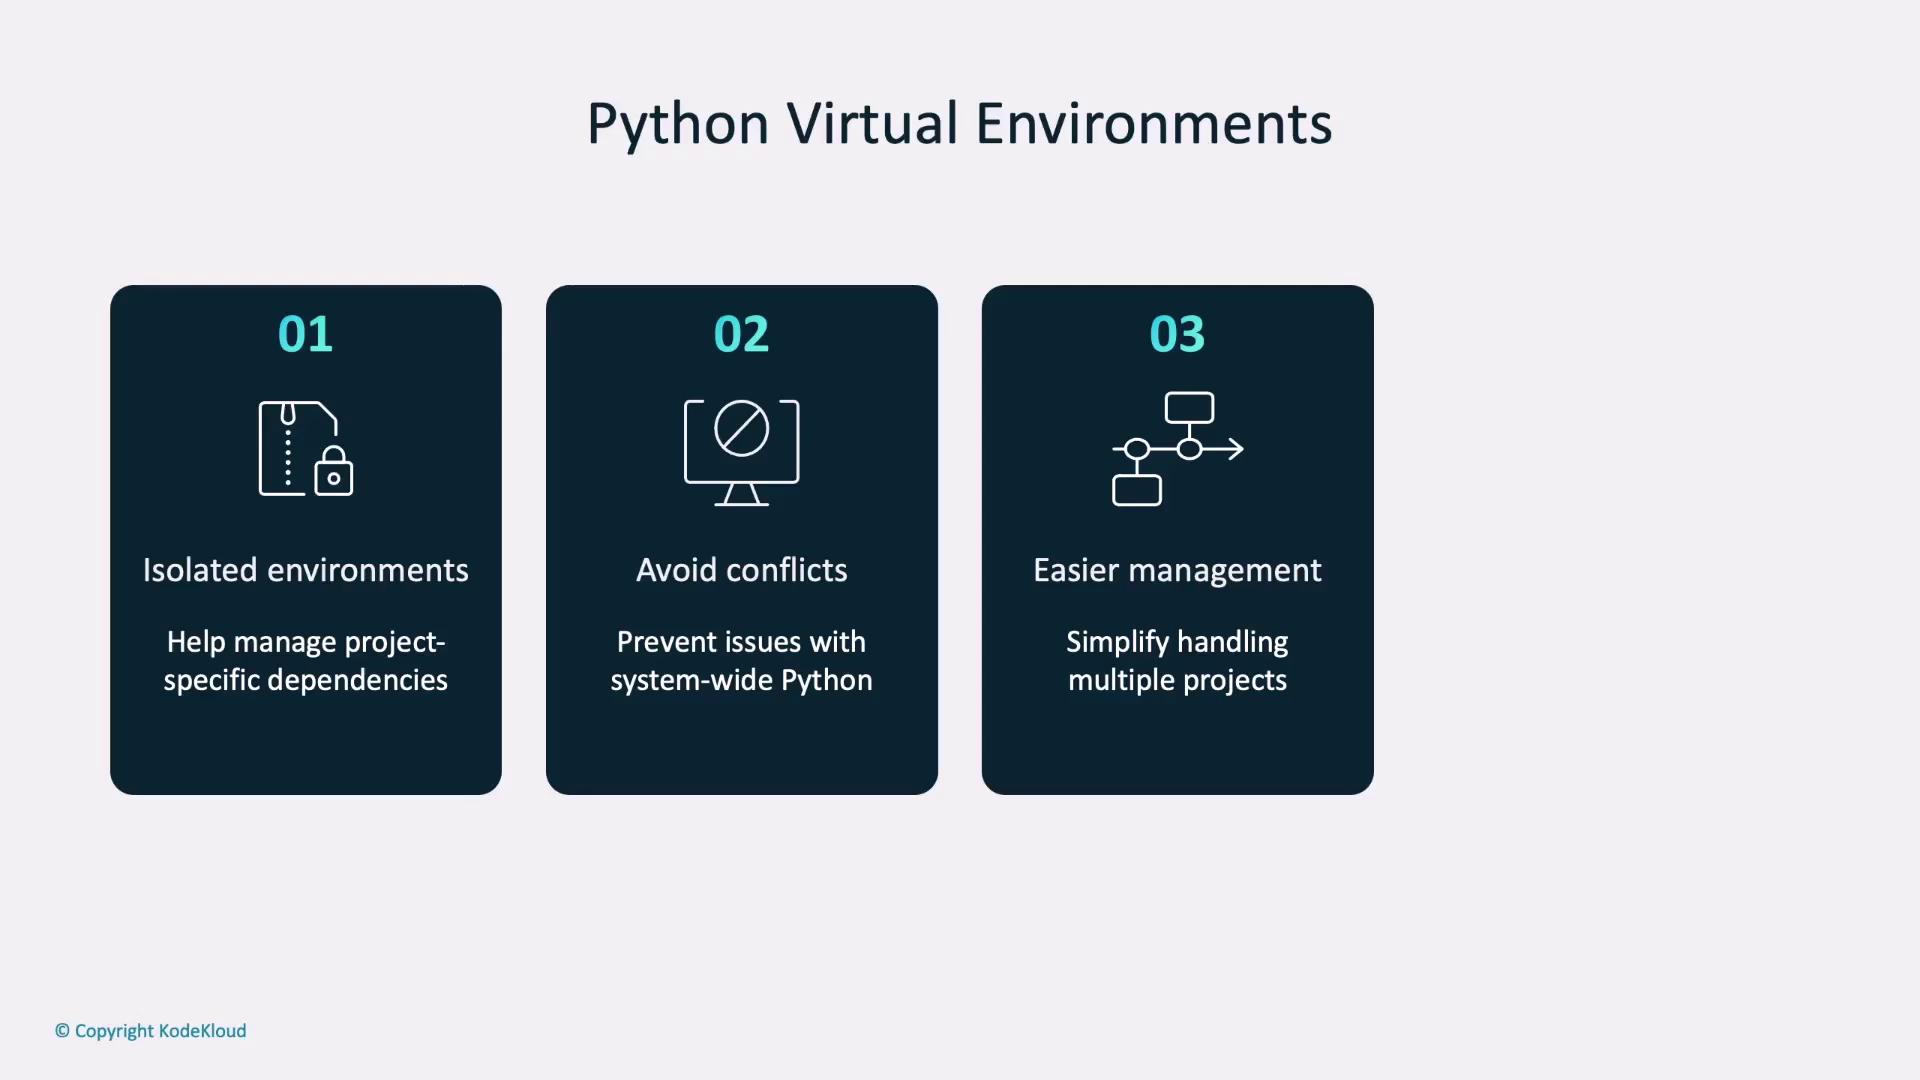
Using Python virtual environments helps manage project-specific dependencies without affecting the global Python installation. This isolation is particularly useful when working with multiple projects that might require different library versions.
### Creating and Activating a Virtual Environment
Create a virtual environment using:
```bash theme={null}
python -m venv myenv
```
Activate the environment:
* On Linux/macOS:
```bash theme={null}
source myenv/bin/activate
```
* On Windows:
```bash theme={null}
myenv\Scripts\activate
```
Once the virtual environment is active, install the necessary libraries. To capture your dependencies, export them to a requirements file:
```bash theme={null}
pip freeze > requirements.txt
```
To replicate the environment later, install all the dependencies using:
```bash theme={null}
pip install -r requirements.txt
```
## Next Steps
With these methods for setting up PyTorch and managing your environment covered, you are ready to explore the hands-on demonstration of PyTorch concepts and their applications.
For more detailed information on PyTorch and related technologies, consider exploring the following resources:
* [PyTorch Official Documentation](https://pytorch.org/docs/)
* [Introduction to Deep Learning with PyTorch](https://pytorch.org/tutorials/)
* [Python Virtual Environments Guide](https://docs.python.org/3/library/venv.html)
Happy coding!