> ## Documentation Index
> Fetch the complete documentation index at: https://notes.kodekloud.com/llms.txt
> Use this file to discover all available pages before exploring further.
# Create Posts Sql
> Learn to create a new post using FastAPI and PostgreSQL while ensuring SQL parameterization and preventing SQL injection.
In this lesson, you will learn how to create a new post using FastAPI along with PostgreSQL, while following best practices for SQL parameterization. We will cover how to insert a post into the database, prevent SQL injection, retrieve the newly created record, and commit the transaction to persist the changes. The code examples and console outputs provided will help you understand the workflow in a clear, step-by-step manner.
***
## 1. Initial Endpoint Setup
We start by defining endpoints to retrieve all posts, create a new post, and fetch a specific post by its ID. Previously, posts were stored in an in-memory list and a Pydantic model was used to parse the request body. For instance:
```python theme={null}
@app.get("/posts/")
def get_posts():
cursor.execute("""SELECT * FROM posts""")
posts = cursor.fetchall()
return {"data": posts}
@app.post("/posts", status_code=status.HTTP_201_CREATED)
def create_posts(post: Post):
post_dict = post.dict()
post_dict['id'] = randrange(0, 100000)
my_posts.append(post_dict)
return {"data": post_dict}
@app.get("/posts/{id}")
def get_post(id: int):
...
```
This initial version works for basic illustration purposes; however, it doesn't interact with a SQL database.
***
## 2. Inserting Data with SQL
To insert a new post into the PostgreSQL database, we use the cursor's `execute` method with a parameterized SQL `INSERT` statement. Consider the following SQL command that shows the structure of the `posts` table:
```sql theme={null}
SELECT * FROM public.posts
ORDER BY "id" ASC;
```
The table includes three critical fields: `title`, `content`, and `published`. An ID and creation timestamp are automatically generated. To insert values into these columns, we use placeholders (`%s`) in our query and provide a tuple of values. For example:
```python theme={null}
@app.post("/posts", status_code=status.HTTP_201_CREATED)
def create_posts(post: Post):
cursor.execute(
"""INSERT INTO posts (title, content, published) VALUES (%s, %s, %s)""",
(post.title, post.content, post.published)
)
return {"data": "created post"}
```
Using parameterized queries not only simplifies the code but also protects the database by ensuring that inputs are sanitized.
***
## 3. Preventing SQL Injection
Using f-strings to insert values directly into SQL statements can lead to vulnerabilities such as SQL injection. For example, avoid using:
```python theme={null}
# This method is vulnerable to SQL injection and should be avoided.
cursor.execute(f"INSERT INTO posts (title, content, published) VALUES({post.title}, {post.content})")
```
Always use parameterized queries to ensure that values are treated strictly as data. This practice helps safeguard your database from possible SQL injection attacks.
Never interpolate user inputs directly into SQL queries. Always use parameterized queries to prevent malicious code execution.
***
## 4. Returning the Created Post
It is often useful to return the record that was just created. Many databases support a `RETURNING` clause that allows you to fetch the inserted data immediately. Ensure that the order of values in the tuple matches the order of placeholders. Here’s how you can modify your endpoint:
```python theme={null}
@app.post("/posts", status_code=status.HTTP_201_CREATED)
def create_post(post: Post):
cursor.execute(
"""INSERT INTO posts (title, content, published) VALUES (%s, %s, %s) RETURNING *""",
(post.title, post.content, post.published)
)
new_post = cursor.fetchone()
return {"data": new_post}
```
***
## 5. Committing the Transaction
After executing the INSERT statement, the changes remain staged until you commit the transaction. Without calling `commit()`, your changes will not be permanently saved in PostgreSQL. The final version of the endpoint includes not only the INSERT operation but also the commit to ensure the database is updated:
```python theme={null}
@app.get("/posts")
def get_posts():
cursor.execute("SELECT * FROM posts")
posts = cursor.fetchall()
return {"data": posts}
@app.post("/posts", status_code=status.HTTP_201_CREATED)
def create_posts(post: Post):
cursor.execute(
"""INSERT INTO posts (title, content, published) VALUES (%s, %s, %s) RETURNING *""",
(post.title, post.content, post.published)
)
new_post = cursor.fetchone()
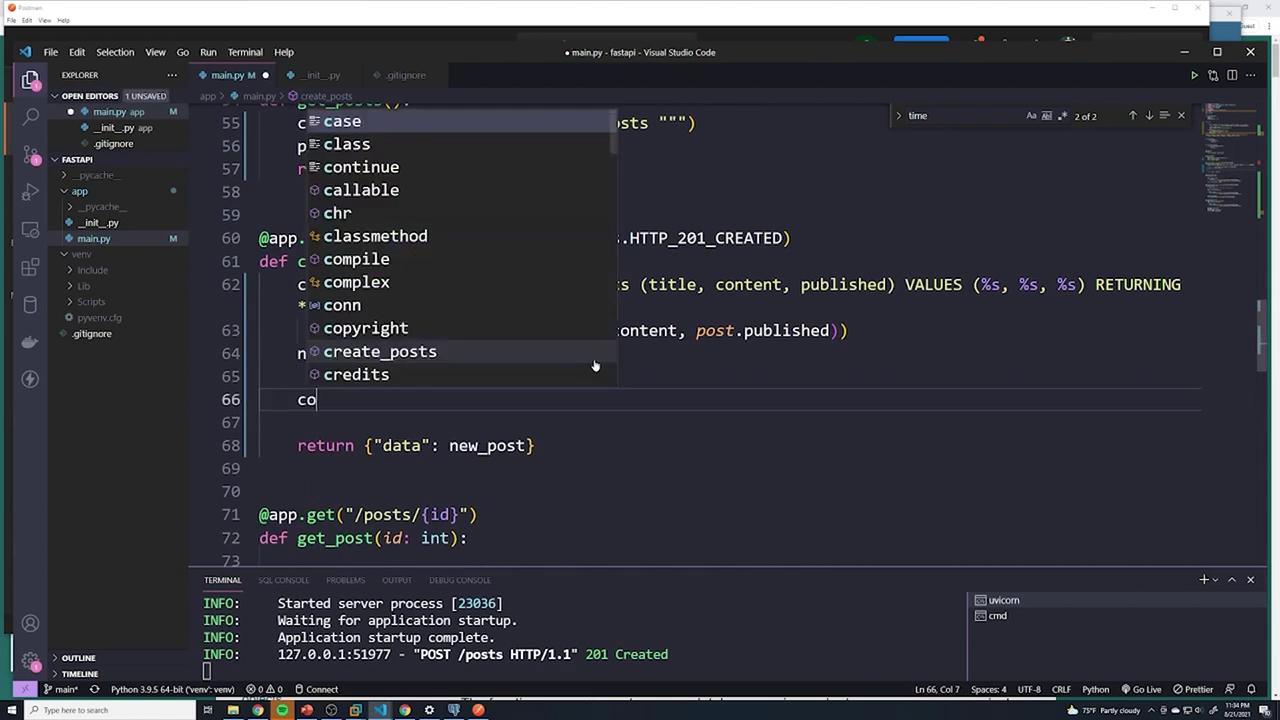
conn.commit() # Commit the transaction to save changes in the database.
return {"data": new_post}
@app.get("/posts/{id}")
def get_post(id: int):
post = find_post(id)
if not post:
raise HTTPException(
status_code=status.HTTP_404_NOT_FOUND,
detail=f"post with id: {id} was not found"
)
return {"data": post}
```
The console outputs during server startup and requests might look similar to the following:
```plaintext theme={null}
INFO: Started server process [23036]
INFO: Waiting for application startup.
INFO: Application startup complete.
INFO: Uvicorn running on http://127.0.0.1:51977 - "POST /posts HTTP/1.1" 201 Created
```
***
## 6. Verifying the Insert in pgAdmin
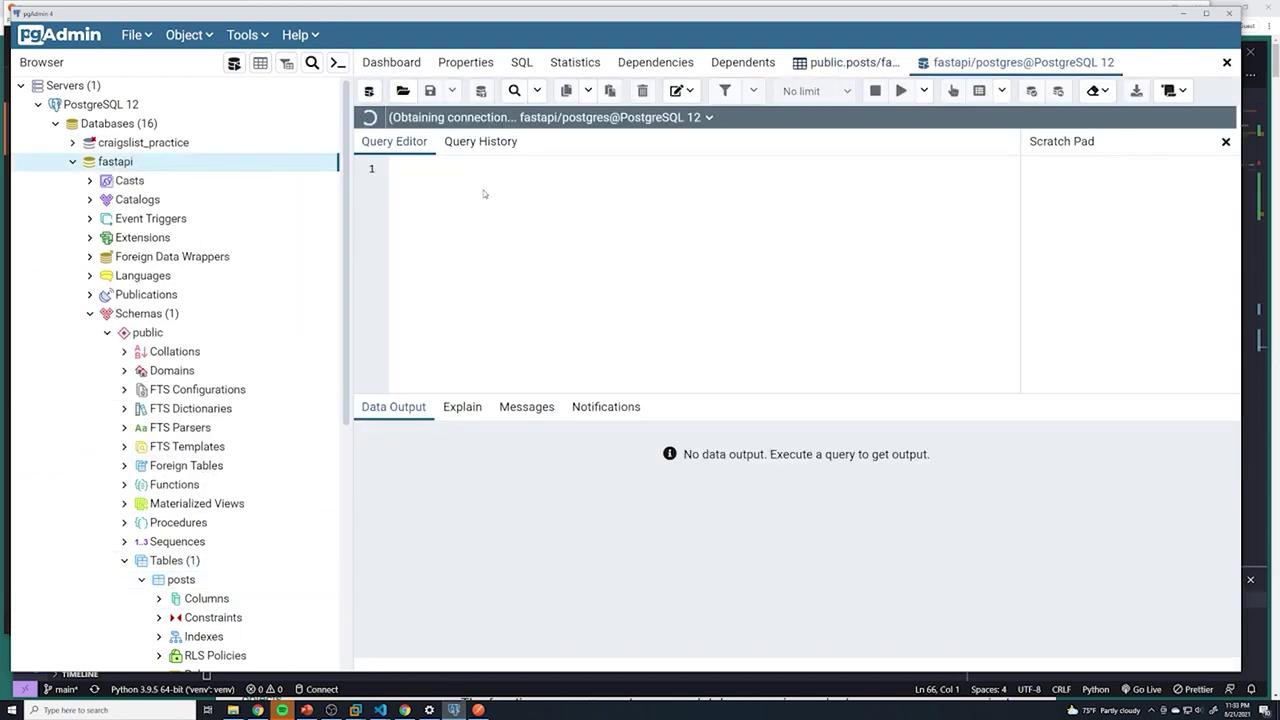
After creating a new post, verify that the record is successfully inserted by running the following SQL query in your database client (e.g., pgAdmin):
```sql theme={null}
SELECT * FROM posts;
```
The results will display the details of the posts, including the newly inserted record.
***
## 7. Committing via Visual Studio Code
When working within an integrated development environment such as Visual Studio Code, ensure that the transaction is committed by invoking `conn.commit()`. This results in visible output in the terminal confirming that the commit was successful.
***
By following these best practices—using parameterized SQL queries, retrieving the inserted record with the RETURNING clause, and committing the transaction—you can ensure secure and reliable interactions between your FastAPI application and PostgreSQL database.
For further reading on best practices in SQL operations and FastAPI development, check out the [FastAPI documentation](https://fastapi.tiangolo.com/) and [PostgreSQL documentation](https://www.postgresql.org/docs/).