> ## Documentation Index
> Fetch the complete documentation index at: https://notes.kodekloud.com/llms.txt
> Use this file to discover all available pages before exploring further.
# Setup Git
> Learn to configure Git for projects, enabling change tracking and establishing a remote repository for code storage to simplify deployment and enhance collaboration.
In this lesson, you'll learn how to configure Git for your projects—enabling change tracking and establishing a remote repository for code storage. This process not only simplifies deployment but also enhances collaboration within your team.
Below is an example FastAPI application used in our project. Although this code snippet isn’t directly related to Git setup, it provides context for what will be version controlled.
```python theme={null}
from fastapi import FastAPI
from fastapi.middleware.cors import CORSMiddleware
app = FastAPI()
origins = ["*"]
app.add_middleware(
CORSMiddleware,
allow_origins=origins,
allow_credentials=True,
allow_methods=["*"],
allow_headers=["*"],
)
# Including routers for posts, users, authentication, and votes
app.include_router(post.router)
app.include_router(user.router)
app.include_router(auth.router)
app.include_router(vote.router)
@app.get("/")
def root():
return {"message": "Hello World"}
```
Before setting up Git, consider these preliminary steps: by default, Git tracks all files in your project. However, you might not want to include files such as sensitive environment variables, cache directories (e.g., `__pycache__`), or your virtual environment folder (commonly named `venv`). To avoid tracking these files, create a `.gitignore` file in your project's root folder (be sure to include the leading dot).
Within the `.gitignore` file, add entries similar to the following:
* `.env` (for your environment variables)
* `__pycache__/`
* Your virtual environment folder (e.g., `venv`)
Next, capture the current state of your project’s dependencies by running:
```bash theme={null}
(venv) C:\Users\sanje\Documents\Courses\fastapi> pip freeze
```
This command lists all installed packages along with their versions. A typical output might look like:
```plaintext theme={null}
aiofiles==0.5.0
alembic==1.6.5
aniso8601==7.0.0
async-exit-stack==1.0.1
async-generator==1.10
bcrypt==3.2.0
certifi==2021.5.30
cffi==1.14.6
charset-normalizer==2.0.4
click==7.1.2
cryptography==3.4.8
python==3.9.5
```
To share these dependency details with your team, pipe the output into a file named `requirements.txt`:
```bash theme={null}
(venv) C:\Users\sanje\Documents\Courses\fastapi> pip freeze > requirements.txt
```
When someone clones your repository, all dependencies can be installed via:
```bash theme={null}
pip install -r requirements.txt
```
Make sure your `.gitignore` and `requirements.txt` are up-to-date before making your initial commit.
## Installing Git
If Git is not installed on your machine, download and install it by visiting the official Git [downloads page](https://git-scm.com/downloads) or by searching for "Git" online. During installation on Windows, follow the wizard instructions, and ensure you override the default branch name from “master” to “main” to align with current GitHub conventions.
During the installation process, you may see a prompt requiring acknowledgement of the license agreement. Accept the license to proceed.
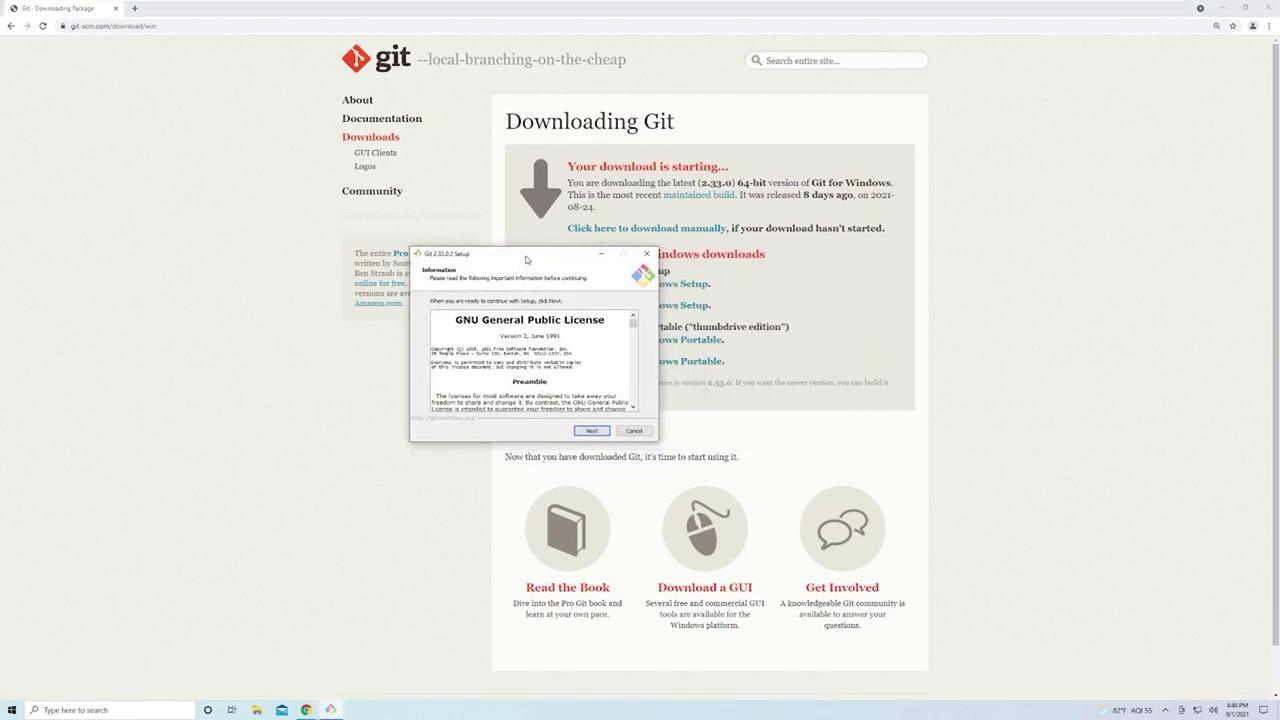
Once installed, open a terminal or command prompt and verify the installation with:
```bash theme={null}
git --version
```
A version output confirms that Git is correctly installed.
## Creating a GitHub Repository
Next, set up a remote repository on GitHub:
1. Visit [GitHub](https://github.com) and log in (or sign up if you don’t have an account).
2. Click on the "New repository" button.
3. Fill in the repository name, description, and visibility (choose public for simplicity).
4. Click "Create repository."

## Configuring Your Local Repository
Initialize your project folder as a Git repository. Open your terminal in the project’s root directory and execute:
```bash theme={null}
git init
```
This command creates a hidden `.git` folder where Git stores all repository data. Next, add all project files (respecting the rules defined in your `.gitignore`) with:
```bash theme={null}
git add --all
```
Before committing, you might have a sample Python model file (e.g., a SQLAlchemy model) that demonstrates what is being tracked:
```python theme={null}
from sqlalchemy import Column, Integer, String, Boolean
from sqlalchemy.sql import text
from sqlalchemy.sql.types import TIMESTAMP
from .database import Base
class Post(Base):
__tablename__ = "posts"
id = Column(Integer, primary_key=True, nullable=False)
title = Column(String, nullable=False)
content = Column(String, nullable=False)
published = Column(Boolean, server_default="TRUE", nullable=False)
created_at = Column(TIMESTAMP(timezone=True), nullable=False, server_default=text("now()"))
```
Before committing your changes, Git might prompt you for your user identity. Configure your Git username and email globally:
```bash theme={null}
git config --global user.email "you@example.com"
git config --global user.name "Your Name"
```
Then, commit your changes:
```bash theme={null}
git commit -m "initial commit"
```
Rename your default branch to “main” and add the remote repository URL (replace the URL with your actual repository URL):
```bash theme={null}
git branch -M main
git remote add origin https://github.com/Sanjeev-Thiyagarajan/example-fastapi.git
```
Finally, push your code to GitHub:
```bash theme={null}
git push -u origin main
```
You may be prompted to authenticate via your browser or with a personal access token. Once authenticated, your code will be pushed to the remote repository. A typical output may resemble:
```plaintext theme={null}
Enumerating objects: 34, done.
Counting objects: 100% (34/34), done.
Delta compression using up to 2 threads
Compressing objects: 100% (30/30), done.
Writing objects: 100% (34/34), done.
Total 34 (delta 0), reused 0 (delta 0), pack-reused 0
To https://github.com/Sanjeev-Thiyagarajan/example-fastapi.git
* [new branch] main -> main
Branch 'main' set up to track remote branch 'main' from 'origin'.
```
At this point, your repository is successfully configured both locally and on GitHub. Your `.gitignore` is safeguarding unnecessary files, and the `requirements.txt` captures all dependencies, ensuring smooth transitions during deployment and collaboration.
With Git now set up, you are ready to move on to deploying your application.