> ## Documentation Index
> Fetch the complete documentation index at: https://notes.kodekloud.com/llms.txt
> Use this file to discover all available pages before exploring further.
# Manage and configure LVM storage
> This article provides a comprehensive guide on managing and configuring LVM storage in Linux, covering key concepts, commands, and operations.
Welcome to our comprehensive guide on managing and configuring LVM (Logical Volume Manager) storage in Linux. LVM is a powerful tool that provides storage flexibility by allowing you to combine free space from different parts of a disk—or even from multiple disks—into a single continuous partition as seen by the operating system. With LVM, you can easily resize storage partitions, making it convenient to expand capacity as your needs grow.
In this guide, you will explore various LVM operations, including creating physical volumes, volume groups, and logical volumes, as well as resizing and formatting them. Most CentOS installations come with LVM tools pre-installed. If your system does not have them, install the package with:
```bash theme={null}
sudo dnf install lvm2
```
For demonstration purposes, assume that three new virtual disks, each with 5 gigabytes of capacity, have been added to your virtual machine.
## Key LVM Concepts
Before diving into the commands, it is essential to understand the core LVM terminology:
* **PV (Physical Volume):** A real storage device such as an entire disk or a partition.
* **VG (Volume Group):** A collection (or pool) of physical volumes that creates a single virtual disk.
* **LV (Logical Volume):** A partition created within a volume group.
* **PE (Physical Extent):** The basic unit into which a physical volume is subdivided.
## Viewing Available Physical Volumes
A Physical Volume (PV) represents a real storage device. To display all available PVs and check which ones are used by LVM, execute:
```bash theme={null}
sudo lvmdiskscan
```
You might see output similar to:
```bash theme={null}
[aaron@LFCS-CentOS ~]$ sudo lvmdiskscan
[sudo] password for aaron:
/dev/sda1 [ 1.00 GiB]
/dev/sda2 [ <19.00 GiB] LVM physical volume
/dev/sdb1 [ 4.00 GiB]
/dev/sdb2 [ 4.00 GiB]
/dev/sdb3 [ <2.00 GiB]
/dev/sdc [ 5.00 GiB]
/dev/sdd [ 5.00 GiB]
/dev/sde [ 5.00 GiB]
3 disks
4 partitions
0 LVM physical volume whole disks
1 LVM physical volume
[aaron@LFCS-CentOS ~]$
```
In this output, `/dev/sda2` is already configured as an LVM physical volume (likely set up during the CentOS installation), so it will be excluded from further operations in this lesson.
## Creating Physical Volumes
To incorporate new storage, designate two of the new disks (for example, `/dev/sdc` and `/dev/sdd`) as physical volumes:
```bash theme={null}
sudo pvcreate /dev/sdc /dev/sdd
```
A successful output will look like:
```bash theme={null}
[aaron@LFCS-CentOS ~]$ sudo pvcreate /dev/sdc /dev/sdd
Physical volume "/dev/sdc" successfully created.
Physical volume "/dev/sdd" successfully created.
[aaron@LFCS-CentOS ~]$
```
Verify the current physical volumes with:
```bash theme={null}
sudo pvs
```
Expected output:
```bash theme={null}
[aaron@LFCS-CentOS ~]$ sudo pvs
PV VG Fmt Attr PSize PFree
/dev/sda2 cs lvm2 a-- <19.00g 0
/dev/sdc lvm2 --- 5.00g 5.00g
/dev/sdd lvm2 --- 5.00g 5.00g
[aaron@LFCS-CentOS ~]$
```
The **PFree** column shows the free storage available on each physical volume.
## Creating a Volume Group
To utilize the available storage, create a Volume Group (VG) that aggregates the physical volumes into one virtual disk. For example, combining `/dev/sdc` and `/dev/sdd` creates a VG of 10 gigabytes. Create the volume group named "my\_volume" with:
```bash theme={null}
sudo vgcreate my_volume /dev/sdc /dev/sdd
```
Output confirmation:
```bash theme={null}
[aaron@LFCS-CentOS ~]$ sudo vgcreate my_volume /dev/sdc /dev/sdd
Volume group "my_volume" successfully created
[aaron@LFCS-CentOS ~]$
```
## Extending a Volume Group
If you require additional storage, you can extend the volume group. First, create a physical volume on a new disk (e.g., `/dev/sde`):
```bash theme={null}
sudo pvcreate /dev/sde
```
Next, extend your volume group with:
```bash theme={null}
sudo vgextend my_volume /dev/sde
```
Then verify the updated volume group details using:
```bash theme={null}
sudo vgs
```
A sample output might be:
```bash theme={null}
[aaron@LFCS-CentOS ~]$ sudo vgs
VG #PV #LV #SN Attr VSize VFree
cs 1 2 0 wz--n <19.00g 0
my_volume 3 0 0 wz--n <14.99g <14.99g
[aaron@LFCS-CentOS ~]$
```
If a physical volume is no longer needed, you can remove it from the volume group using `vgreduce` and then wipe its LVM signature with `pvremove`.
```bash theme={null}
sudo vgreduce my_volume /dev/sde
sudo pvremove /dev/sde
```
## Creating Logical Volumes
Once the physical volumes and volume group are ready, create Logical Volumes (LVs) to act as partitions within the VG.
Create a logical volume named "partition1" with a size of 2GB in "my\_volume":
```bash theme={null}
sudo lvcreate --size 2G --name partition1 my_volume
```
Expected output:
```bash theme={null}
[aaron@LFCS-CentOS ~]$ sudo lvcreate --size 2G --name partition1 my_volume
Logical volume "partition1" created.
[aaron@LFCS-CentOS ~]$
```
Check the volume groups to view logical volumes and available free space:
```bash theme={null}
sudo vgs
```
Sample output:
```bash theme={null}
[aaron@LFCS-CentOS ~]$ sudo vgs
VG #PV #LV #SN Attr VSize VFree
cs 1 2 0 wz--n- <19.00g 0
my_volume 2 1 0 wz--n- 9.9g 7.99g
[aaron@LFCS-CentOS ~]$
```
You may also create a second logical volume (e.g., "partition2") with a size of 6GB:
```bash theme={null}
sudo lvcreate --size 6G --name partition2 my_volume
```
Verify with:
```bash theme={null}
sudo lvs
```
Which might output:
```bash theme={null}
[aaron@LFCS-CentOS ~]$ sudo lvs
LV VG Attr LSize Pool Origin Data% Meta% Move Log Cpy%Sync Convert
root cs -wi-a---- <17.00g
swap cs -wi-a---- 2.00g
partition1 my_volume -wi-a---- 2.00g
partition2 my_volume -wi-a---- 6.00g
[aaron@LFCS-CentOS ~]$
```
And for a final check:
```bash theme={null}
sudo vgs
```
Example:
```bash theme={null}
[aaron@LFCS-CentOS ~]$ sudo vgs
VG #PV #LV #SN Attr VSize VFree
cs 1 2 0 wz--n <19.00g 0
my_volume 2 2 0 wz--n 9.99g 1.99g
[aaron@LFCS-CentOS ~]$
```
## Resizing Logical Volumes (LVs)
### Growing a Logical Volume
Data in an LV is divided into physical extents (PEs). To expand an LV to utilize all available extents in its volume group, run:
```bash theme={null}
sudo lvresize --extents 100%VG my_volume/partition1
```
A sample output might be:
```bash theme={null}
Reducing 100%VG to remaining free space 3.99 GiB in VG.
Size of logical volume my_volume/partition1 changed from 2.00 GiB (512 extents) to 3.99 GiB (1022 extents).
Logical volume my_volume/partition1 successfully resized.
```
### Shrinking a Logical Volume
To reduce a logical volume to a specific size (for example, 2GB), use:
```bash theme={null}
sudo lvresize --size 2G my_volume/partition1
```
This command will warn you about potential data loss. If you are sure, confirm the reduction:
```bash theme={null}
WARNING: Reducing active logical volume to 2.00 GiB.
THIS MAY DESTROY YOUR DATA (filesystem etc.)
Do you really want to reduce my_volume/partition1? [y/n]: y
Size of logical volume my_volume/partition1 changed from 3.99 GiB (1022 extents) to 2.00 GiB (512 extents).
Logical volume my_volume/partition1 successfully resized.
```
Always ensure you have a backup before reducing the size of a logical volume as this operation can result in data loss.
### Creating a Filesystem on a Logical Volume
An LV must be formatted with a filesystem before it becomes useful. For instance, to format "partition1" with the XFS filesystem, run:
```bash theme={null}
sudo mkfs.xfs /dev/my_volume/partition1
```
The output will confirm the creation of the new XFS filesystem along with details such as metadata and block sizes.
### Resizing an LV with an Existing Filesystem
If your logical volume includes a filesystem, you need to resize both the LV and the filesystem concurrently. XFS supports online expansion (but cannot be shrunk while mounted). To expand "partition1" from 2GB to 3GB, run:
```bash theme={null}
sudo lvresize --resizefs --size 3G my_volume/partition1
```
An example output sequence:
```bash theme={null}
Size of logical volume my_volume/partition1 changed from 2.00 GiB (512 extents) to 3.00 GiB (768 extents).
Logical volume my_volume/partition1 successfully resized.
meta-data=/dev/mapper/my_volume-partition1 isize=512 agcount=4, agsize=131072 blks
...
data blocks changed from 524288 to 786432
```
Note that while many filesystems can expand online, they generally cannot be shrunk without unmounting.
## Viewing Logical Volume Details
To display detailed information about your logical volumes, use:
```bash theme={null}
sudo lvdisplay
```
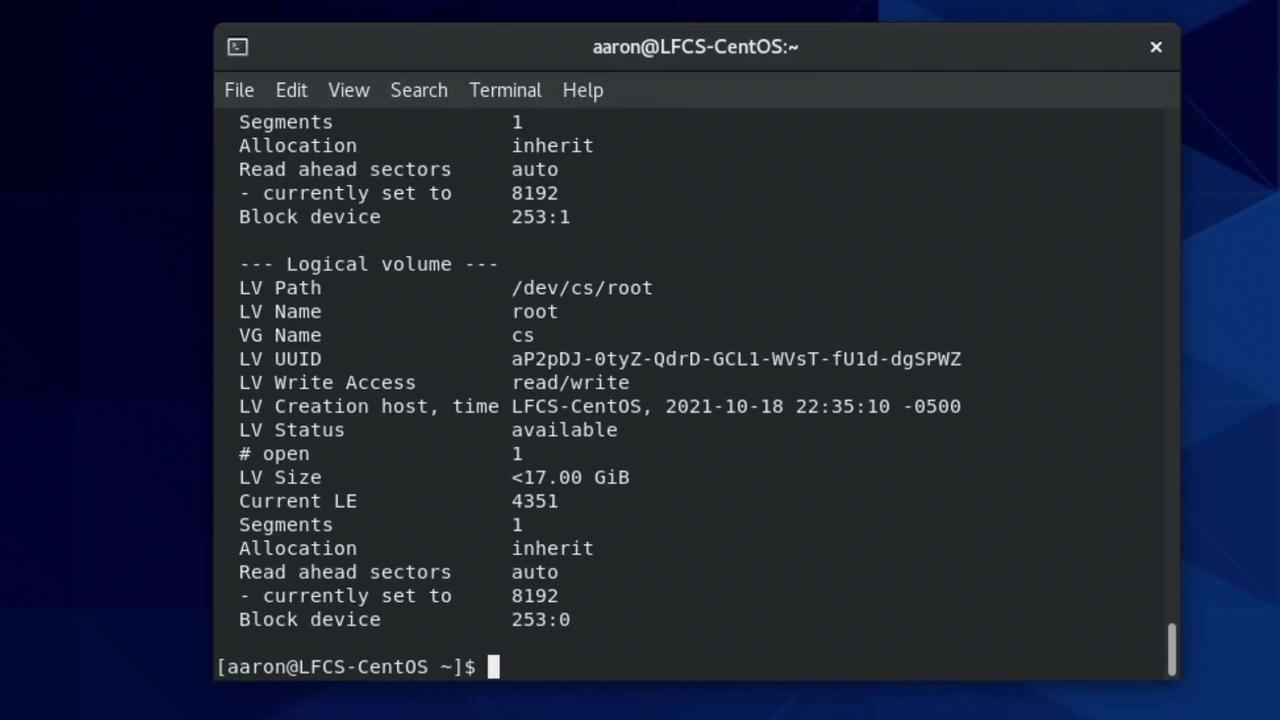
This command shows details such as the LV path, name, size, status, and more. An example output for "partition1" might be:
```text theme={null}
--- Logical volume ---
LV Path /dev/my_volume/partition1
LV Name partition1
VG Name my_volume
LV UUID EIlInFA-hqqM-F9Sp-3F7m-oPte-hElc-jRx4vN
LV Write Access read/write
LV Creation host, time LFCS-CentOS, 2022-03-24 17:37:40 -0500
LV Status available
# open 0
LV Size 2.00 GiB
Current LE 512
Segments 1
Allocation inherit
Read ahead sectors auto (currently set to 8192)
Block device 253:2
```
This LV path (/dev/my\_volume/partition1) works in a similar way to standard device files like `/dev/vda`.
## Additional LVM Commands and Tips
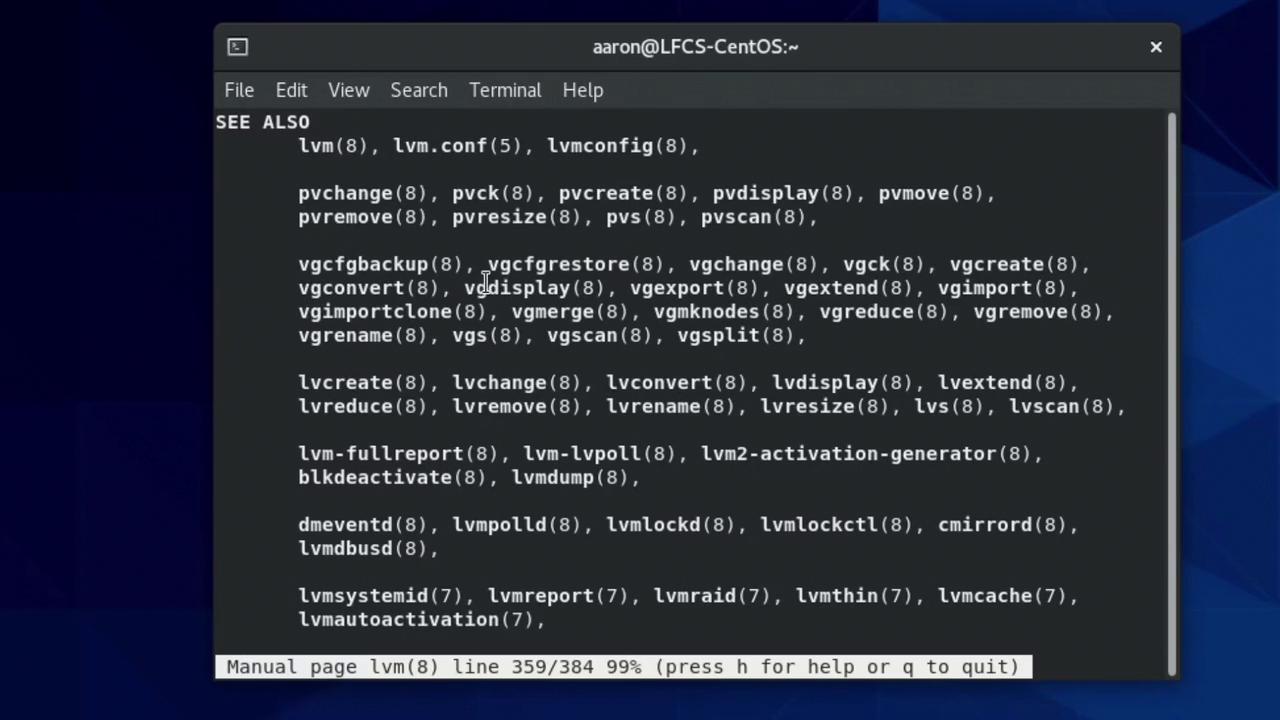
If you ever need help or a quick refresher on any LVM command, refer to the manual pages by running:
```bash theme={null}
man lvm
```
While navigating the manual, you can use tab-completion in the terminal. For example, type "vg" and press Tab twice to see available VG options such as:
* vgcreate
* vgdisplay
* vgexport
* vgchange
* vgck
* vgextend
* vgimport
* vgmerge
* vgimportdevices
* vgcfgrestore
* vgmknodes
* vgreduce
* vgs
* vgsplit
This concludes our guide on managing and configuring LVM storage in Linux. Armed with these commands and tips, you are now ready to explore further lab exercises and enhance your Linux storage management skills.