Red Hat Certified System Administrator(RHCSA)
Manage Security
Configure key based authentication for SSH
Welcome to this comprehensive guide on configuring SSH servers and clients on Linux. In this tutorial, you will learn how to modify the settings for both the SSH daemon (server) and the SSH client with an emphasis on enhancing security using key-based authentication.
──────────────────────────────────────────────
Configuring the SSH Server (sshd)
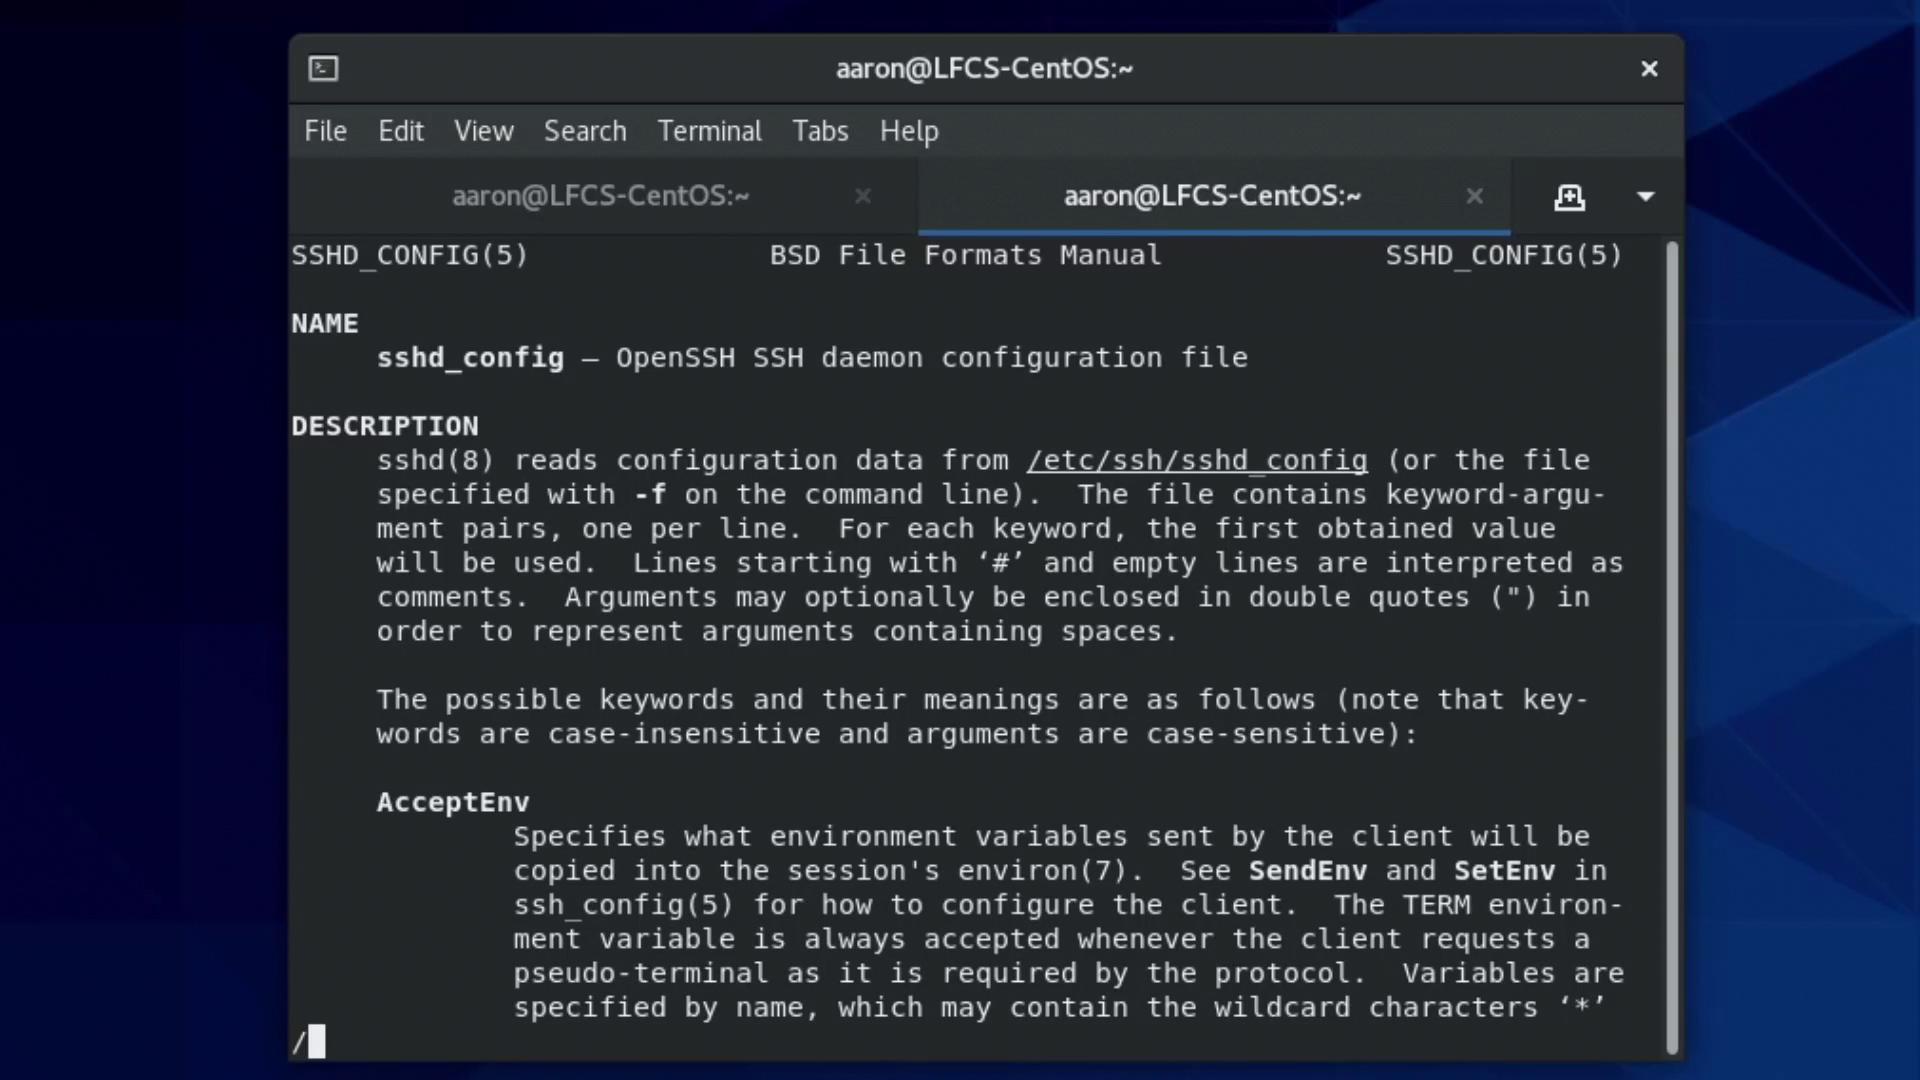
The main configuration file for the SSH server is located at /etc/ssh/sshd_config
. Since the OpenSSH daemon runs by default, you can begin modifying its settings immediately.
Editing the Configuration File
Start by opening the SSH server configuration file with Vim:
[aaron@LFCS-CentOS ~]$ sudo vim /etc/ssh/sshd_config
At the top of the file, you will find numerous comments that outline the default settings and parameters. For instance:
# OpenBSD: sshd_config,v 1.103 2018/04/09 20:41:22 tj Exp $
# This is the sshd server system-wide configuration file. See
# sshd_config(5) for more information.
# This sshd was compiled with PATH=/usr/local/bin:/usr/bin:/usr/local/sbin:/usr/sbin
# The strategy used for options in the default sshd_config shipped with
# OpenSSH is to specify options with their default value where
# possible, but leave them commented. Uncommented options override the
# default value.
# If you want to change the port on a SELinux system, you have to tell SELinux about this change.
# semanage port -a -t ssh_port_t -p tcp #PORTNUMBER
#Port 22
#AddressFamily any
#ListenAddress 0.0.0.0
#ListenAddress ::
HostKey /etc/ssh/ssh_host_rsa_key
Review these comments to understand the available options.
Changing the Listening Port
By default, the SSH daemon listens on port 22. Although this directive is commented out, you can customize it by uncommenting it and specifying a new port. For example, to change the port to 988, update the file as shown below:
# This is the sshd server system-wide configuration file. See
# sshd_config(5) for more information.
#
# The strategy used for options in the default sshd_config shipped with
# OpenSSH is to specify options with their default value where possible,
# but leave them commented. Uncommented options override the default value.
#
# If you want to change the port on a SELinux system, you have to tell SELinux about this change.
# semanage port -a -t ssh_port_t -p tcp #PORTNUMBER
#
Port 988
#AddressFamily any
#ListenAddress 0.0.0.0
#ListenAddress ::
HostKey /etc/ssh/ssh_host_rsa_key
HostKey /etc/ssh/ssh_host_ecdsa_key
Setting the Address Family and Listen Address
The AddressFamily
directive determines whether the daemon will use IPv4, IPv6, or both. Here are the available options:
• any (default)
• inet (IPv4 only)
• inet6 (IPv6 only)
If your server has multiple IP addresses—for example, a public IP (203.0.113.1) and an internal IP (10.11.12.9)—you can restrict SSH connections to internal hosts by specifying the listen address:
Port 988
AddressFamily inet
ListenAddress 10.11.12.9
#ListenAddress ::
HostKey /etc/ssh/ssh_host_rsa_key
HostKey /etc/ssh/ssh_host_ecdsa_key
HostKey /etc/ssh/ssh_host_ed25519_key
Logging and Authentication Settings
Below the network configuration, you will find directives related to logging and authentication. For example:
# Logging
#SyslogFacility AUTH
SyslogFacility AUTHPRIV
#LogLevel INFO
# Authentication:
#LoginGraceTime 2m
PermitRootLogin yes
#StrictModes yes
#MaxAuthTries 6
#MaxSessions 10
#PubkeyAuthentication yes
# The default is to check both .ssh/authorized_keys and .ssh/authorized_keys2,
# but installations override this so that only .ssh/authorized_keys is used.
AuthorizedKeysFile .ssh/authorized_keys
#AuthorizedPrincipalsFile none
To prevent remote root logins, change the PermitRootLogin
directive from yes
to no
:
# Authentication:
#LoginGraceTime 2m
PermitRootLogin no
#StrictModes yes
#MaxAuthTries 6
#MaxSessions 10
#PubkeyAuthentication yes
AuthorizedKeysFile .ssh/authorized_keys
Enabling or Disabling Password Authentication
By default, password authentication is enabled. However, using SSH keys is recommended for stronger security. To disable password authentication, update these lines:
PasswordAuthentication yes
ChallengeResponseAuthentication no
Modify them as follows:
PasswordAuthentication no
ChallengeResponseAuthentication no
If you need to allow password authentication for a specific user (for example, user "aaron"), you can add a match block at the end:
PasswordAuthentication no
Match User aaron
PasswordAuthentication yes
:::note After making changes to the SSH server configuration, always reload the SSH daemon to apply them: :::
Reload the SSH service with:
sudo systemctl reload sshd.service
──────────────────────────────────────────────
Configuring the SSH Client
The SSH client is available by default on Windows 10, macOS, and Linux. Its configuration files are typically stored in a user's .ssh
directory.
Creating a Client Configuration File
If you connect to multiple servers, streamlining connection details with a client configuration file can be very beneficial. First, verify that the .ssh
directory exists:
[aaron@LFCS-CentOS ~]$ ls -a
Then, create or modify the client configuration file located at ~/.ssh/config
:
[aaron@LFCS-CentOS ~]$ vim ~/.ssh/config
For example, you might define an alias for a server like this:
Host centos
HostName 10.11.12.9
Port 22
User aaron
After saving the file, secure it by restricting its permissions:
chmod 600 ~/.ssh/config
Now you can connect to your server using the defined alias:
ssh centos
Generating SSH Key Pairs
To use SSH keys for authentication instead of passwords, generate a key pair on your local machine:
[aaron@LFCS-CentOS ~]$ ssh-keygen
When prompted, press Enter to accept the default file location (typically /home/aaron/.ssh/id_rsa
) and decide whether to secure the key with a passphrase. This process creates:
• A private key: id_rsa
• A public key: id_rsa.pub
Copying the Public Key to the Server
To enable key-based authentication, copy your public key to the server’s authorized_keys
file. The easiest method is using the ssh-copy-id
command:
ssh-copy-id [email protected]
This command appends your public key to the server’s ~/.ssh/authorized_keys
file. If ssh-copy-id
is not available, you can manually copy the public key. First, display it on your client:
cat ~/.ssh/id_rsa.pub
Then, on the server, open (or create) the authorized keys file:
[aaron@LFCS-CentOS .ssh]$ vim authorized_keys
Paste the public key into the file, save it, and then restrict its permissions:
chmod 600 ~/.ssh/authorized_keys
Managing Known Hosts
The first time you connect to an SSH server, its fingerprint is stored in the known_hosts
file. If the fingerprint changes—such as after a server reinstallation—you might need to remove the outdated entry:
ssh-keygen -R 10.11.12.9
To clear all stored fingerprints, simply remove the entire known_hosts
file:
rm ~/.ssh/known_hosts
──────────────────────────────────────────────
Customizing Client Default Settings
System-wide SSH client settings are stored in /etc/ssh/ssh_config
. For example, you might see directives like:
# IdentityFile ~/.ssh/id_rsa
# Port 22
If your internal network uses an alternate port—say 229—you can modify this setting. Rather than editing the system-wide file (which may be overwritten during upgrades), create a custom configuration file in the /etc/ssh/ssh_config.d
directory:
sudo vim /etc/ssh/ssh_config.d/99-our-settings.conf
Inside this file, add your custom configurations. For instance, to change the default port:
Port 229
With this adjustment, your SSH client will attempt connections using port 229 by default.
──────────────────────────────────────────────
Diagrams and Manual Page Searches
For further details on configuration options, consult the manual pages. Here are some examples:
When reviewing the manual for the SSH daemon configuration, you can search for “AddressFamily” by typing
/Family
in the less pager. This highlights the corresponding section in the manual.
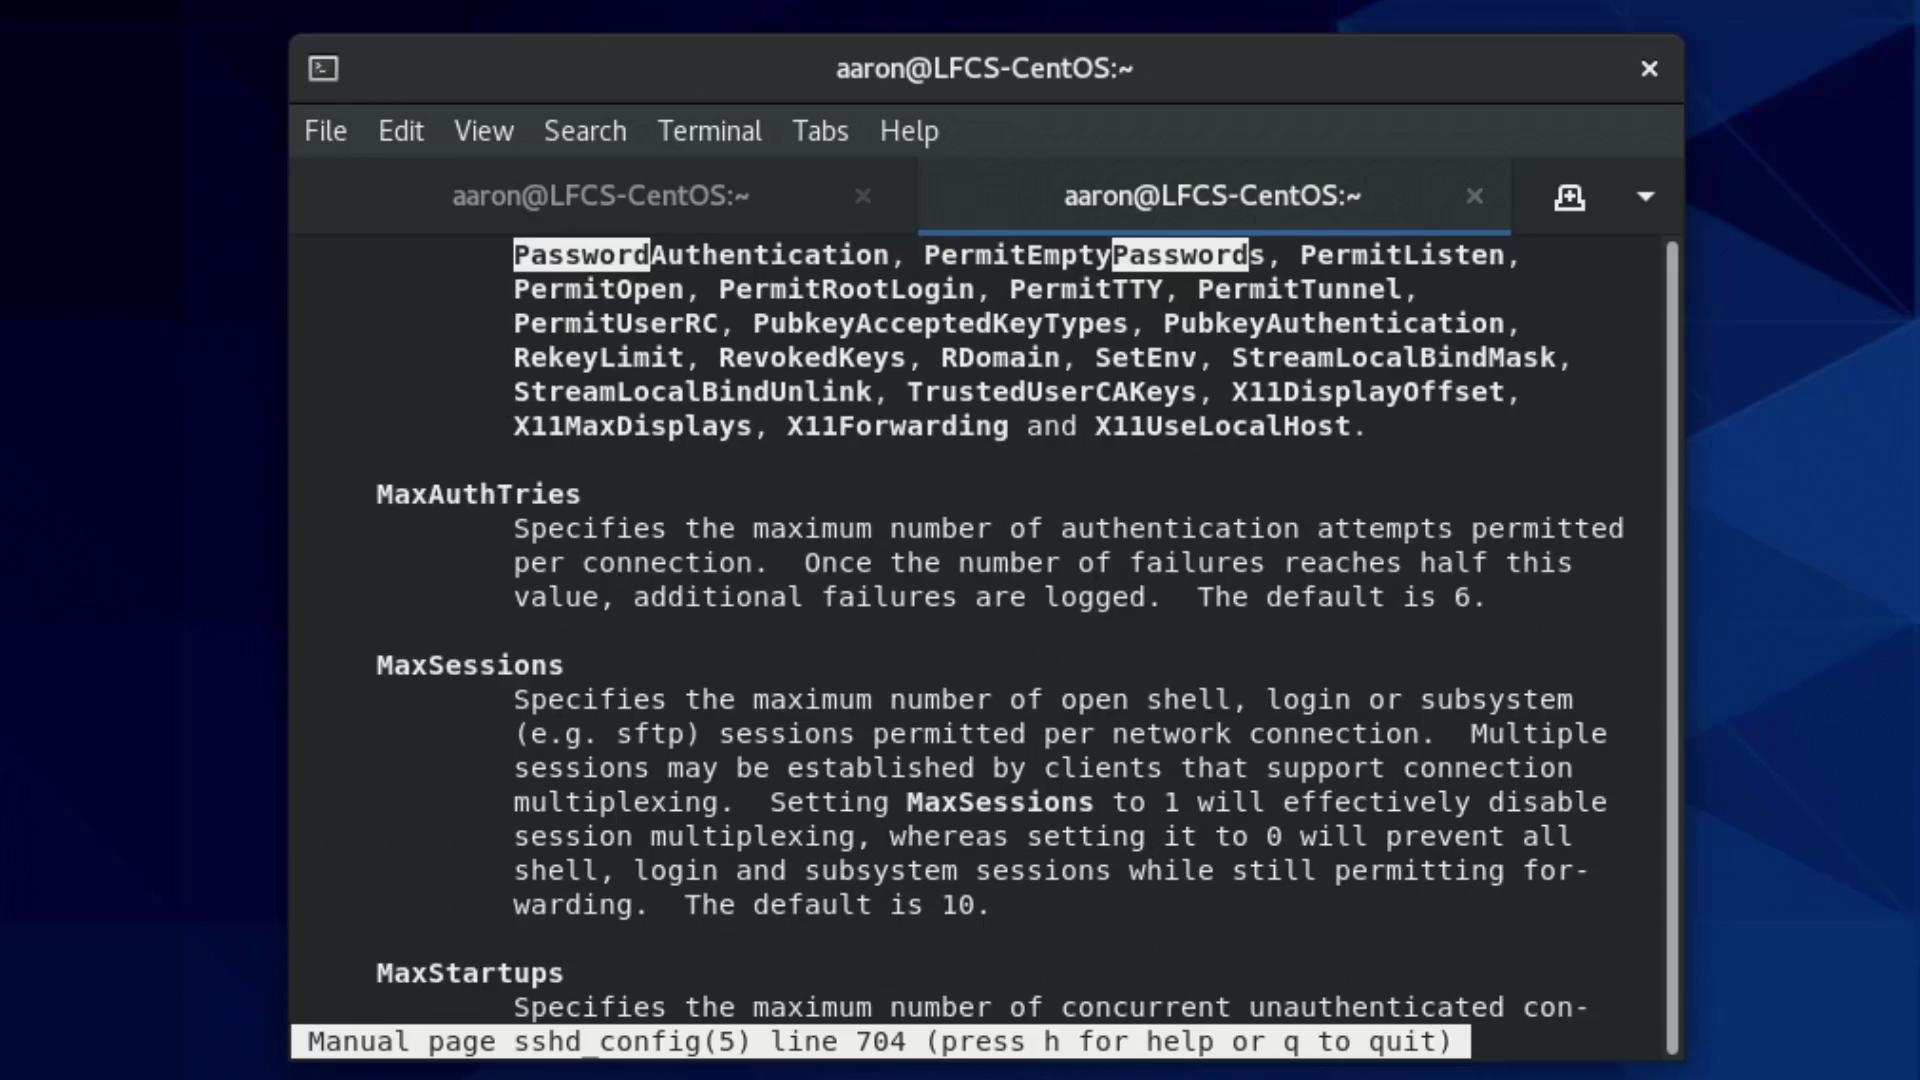
To better understand various SSH authentication methods, search for “password” in the SSHD manual page. This returns information on public key, password, and other authentication techniques.
Additional details on settings such as
PasswordAuthentication
andMaxAuthTries
are visible further down the manual page.
──────────────────────────────────────────────
Conclusion
This guide has walked you through configuring both the SSH server and client on Linux with a focus on securing connections through key-based authentication. Begin by editing /etc/ssh/sshd_config
to update your network and authentication settings. Generate SSH keys and update your client's configuration for streamlined, secure connections.
:::note Whenever you modify the SSH server configuration, remember to reload the daemon: :::
sudo systemctl reload sshd.service
Proceed to your next lab or lecture for more advanced configurations. Happy configuring!
Watch Video
Watch video content
Practice Lab
Practice lab