This comprehensive guide covers diagnosing and managing Linux processes, including creation, monitoring, termination, and key commands for effective process control.
Welcome to this comprehensive guide on diagnosing and managing Linux processes. In this article, you will learn how processes are created, monitored, and terminated on Linux systems. We will explain key commands such as ls, ps, top, nice, renice, kill, and lsof, while also demonstrating how to control processes using backgrounding, foregrounding, and job control.
Every time you launch a program, it runs as a process until it completes its task or is terminated. For instance, when you run the command ls, a temporary process is created to display the directory’s contents and then it ends.
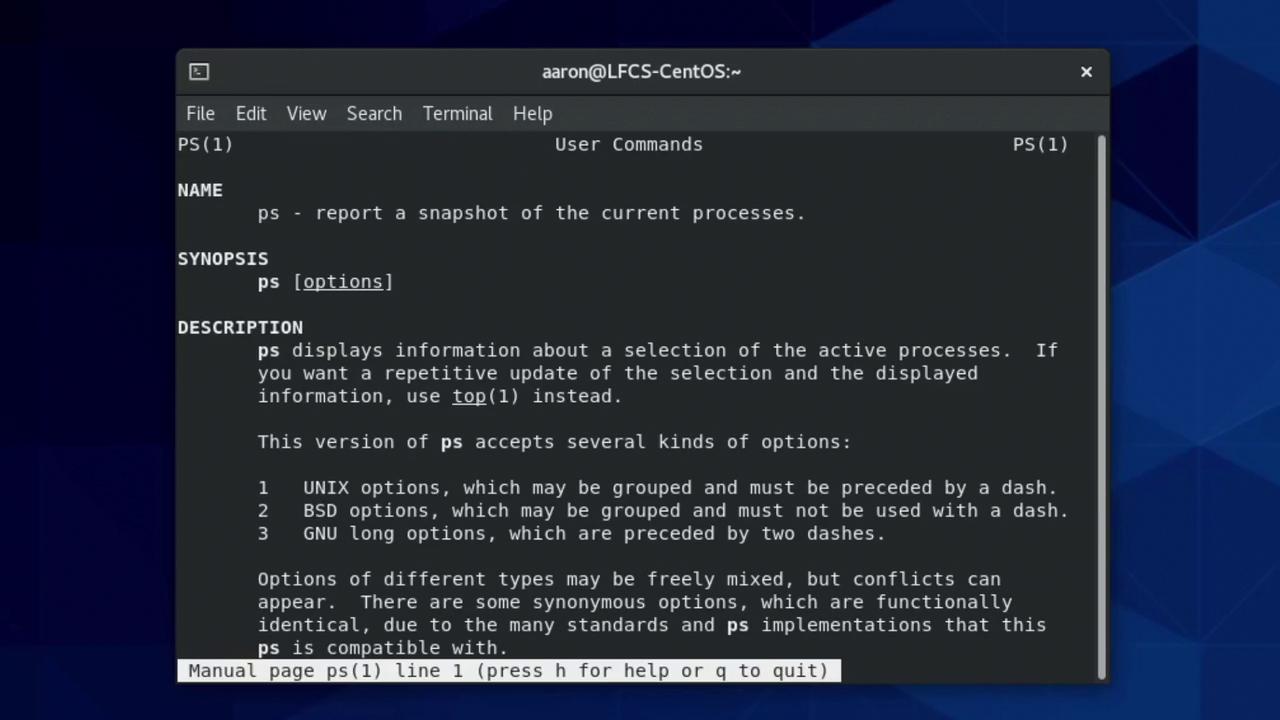
The ps command is an essential tool for inspecting processes on a Linux system. However, it can be a bit confusing because it supports two syntax styles: Unix-style (options prefixed with a dash) and BSD-style (without a dash). For example, ps -a differs from ps a as each produces distinct outputs. For further details, refer to the manual page using:
Copy
man ps
By default, running ps without options displays processes associated with the current terminal session:
Unlike ps, which offers a snapshot view, the top command provides continuous, real-time monitoring of processes. It dynamically orders processes based on CPU usage, offering an interactive overview:
Copy
top - 00:27:42 up 35 min, 1 user, load average: 0.02, 0.04, 0.03Tasks: 236 total, 1 running, 235 sleeping, 0 stopped, 0 zombie%Cpu(s): 0.0 us, 0.0 sy, 100.0 id, 0.0 wa, 0.0 hi, 0.0 si, 0.0 stMiB Mem : 3731.4 total, 1588.9 free, 915.5 used, 1227.6 buff/cacheMiB Swap: 2048.0 total, 2048.0 free, 0.0 used. 2554.1 avail Mem PID USER PR NI VIRT RES SHR S %CPU %MEM TIME+ COMMAND 6601 aaron 20 0 3142460 185096 104268 S 6.2 4.8 0:06.60 gnome-s+ 1 root 20 0 241296 14000 8912 S 0.0 0.4 0:01.26 systemd 2 root 20 0 0 0 0 S 0.0 0.0 0:00.00 kthreadd ...
Use the arrow keys or the page up/down keys to scroll through the list. To exit the top utility, simply press the Q key.
The pgrep command allows you to search for processes by name. For example, to list processes that include “syslog” in their name, along with their full command details:
Copy
[aaron@LFCS-CentOS ~]$ pgrep -a syslog1455 /usr/sbin/rsyslogd -n
Linux employs a “niceness” value ranging from -20 to +19 to determine process scheduling priority—a lower niceness value equates to a higher priority. For instance, a process with a niceness of -20 can preempt one with a value of 19 when both require CPU time.
You can verify the niceness value using the BSD long format with ps -l:
Copy
[aaron@LFCS-CentOS ~]$ ps l
Processes inherit the niceness value of their parent by default.
A regular user can only increase the niceness value (i.e., lower the priority) to values between 0 and 19. To assign a negative niceness (i.e., higher priority), root privileges are necessary.For example, attempting to start Bash with a higher priority as a non-root user produces:
To adjust the niceness of a running process, use the renice command. For instance, if a Bash shell running as user “aaron” with PID 8209 has a niceness of 12, you can change it to 7 as follows:
Copy
[aaron@LFCS-CentOS ~]$ renice 7 8209renice: failed to set priority for 8209 (process ID): Permission denied[aaron@LFCS-CentOS ~]$ sudo renice 7 82098209 (process ID) old priority 12, new priority 7
As a regular user, you can only decrease the priority once per session. Further priority reductions require root privileges.
Linux processes can receive signals to prompt various actions, such as termination or pause. Two critical signals, SIGSTOP and SIGKILL, cannot be ignored or handled by the process:
SIGSTOP: Temporarily pauses the process until a SIGCONT signal is received.
SIGKILL: Immediately terminates the process without cleanup.
You can specify a signal by its name (with or without the SIG prefix) when sending it to a process with the kill command. For example, to send a SIGHUP (hang-up) signal:
Copy
[aaron@LFCS-CentOS ~]$ kill -SIGHUP <PID>
If no signal is explicitly stated, SIGTERM (termination) is sent by default.
The pkill command allows you to send signals to all processes that match a specified name. For example, to send SIGKILL to all processes with “bash” in their name, first view the matching processes with:
Copy
[aaron@LFCS-CentOS ~]$ pgrep -a bash7726 bash8062 bash8098 bash
Then, if appropriate, execute:
Copy
[aaron@LFCS-CentOS ~]$ pkill -SIGKILL bash
Be cautious when terminating processes. Ending your shell (bash) could cause you to lose your terminal session.
For long-running commands like sleep 180, you might want to interrupt without completely terminating the process. Pressing Ctrl + C aborts a running process. However, for interactive applications like vim, you can suspend it with Ctrl + Z:
Copy
[aaron@LFCS-CentOS ~]$ vim /etc/hostname[1]+ Stopped vim /etc/hostname[aaron@LFCS-CentOS ~]$
To bring the process back to the foreground, execute:
To move a background job to the foreground, specify its job number:
Copy
[aaron@LFCS-CentOS ~]$ fg 1
If you accidentally bring a long-running process to the foreground, you can pause and then resume it in the background by pressing Ctrl + Z followed by:
The lsof command (short for “list open files”) provides a list of files and directories in use by a process. For example, to list files open by your Bash shell (suppose its PID is 8401):
Copy
[aaron@LFCS-CentOS ~]$ pgrep -a bash8401 bash[aaron@LFCS-CentOS ~]$ lsof -p 8401bash 8401 aaron mem REG 253,0 286 34275178 /usr/lib/locale/en_US.UTF-8/...bash 8401 aaron mem REG 253,0 57 34201565 /usr/lib/locale/en_US.UTF-8/......
If you attempt to view open files for a process owned by root, using sudo might be required:
In this article, we covered various techniques for process management in Linux, including:
Viewing process snapshots with ps
Continuous monitoring using top
Adjusting process priority with nice and renice
Sending signals with kill and pkill
Managing processes with job control commands (fg, bg, and jobs)
Investigating open files using lsof
Visualizing process relationships
This concludes our deep dive into diagnosing and managing processes in Linux. With these techniques, you’ll be well-prepared to troubleshoot and manage processes effectively in any Linux environment. Happy troubleshooting!