> ## Documentation Index
> Fetch the complete documentation index at: https://notes.kodekloud.com/llms.txt
> Use this file to discover all available pages before exploring further.
# Interrupt the boot process in order to gain access to a system
> This article explains how to interrupt the Linux boot process to gain access to a system when the root password is lost.
In this article, we explain how to interrupt the Linux boot process to gain access to a system when, for example, the root password is lost. The procedures below outline the steps for both Red Hat Enterprise Linux 8 and Red Hat Enterprise Linux 9.
─────────────────────────────
## Red Hat Enterprise Linux 8
Begin by logging into your Red Hat Enterprise Linux 8 virtual machine and perform a restart. When the GRUB boot menu appears, press the down arrow key to pause the automatic boot process. This menu displays the available kernel versions. Next, press **E** to edit the default kernel entry.
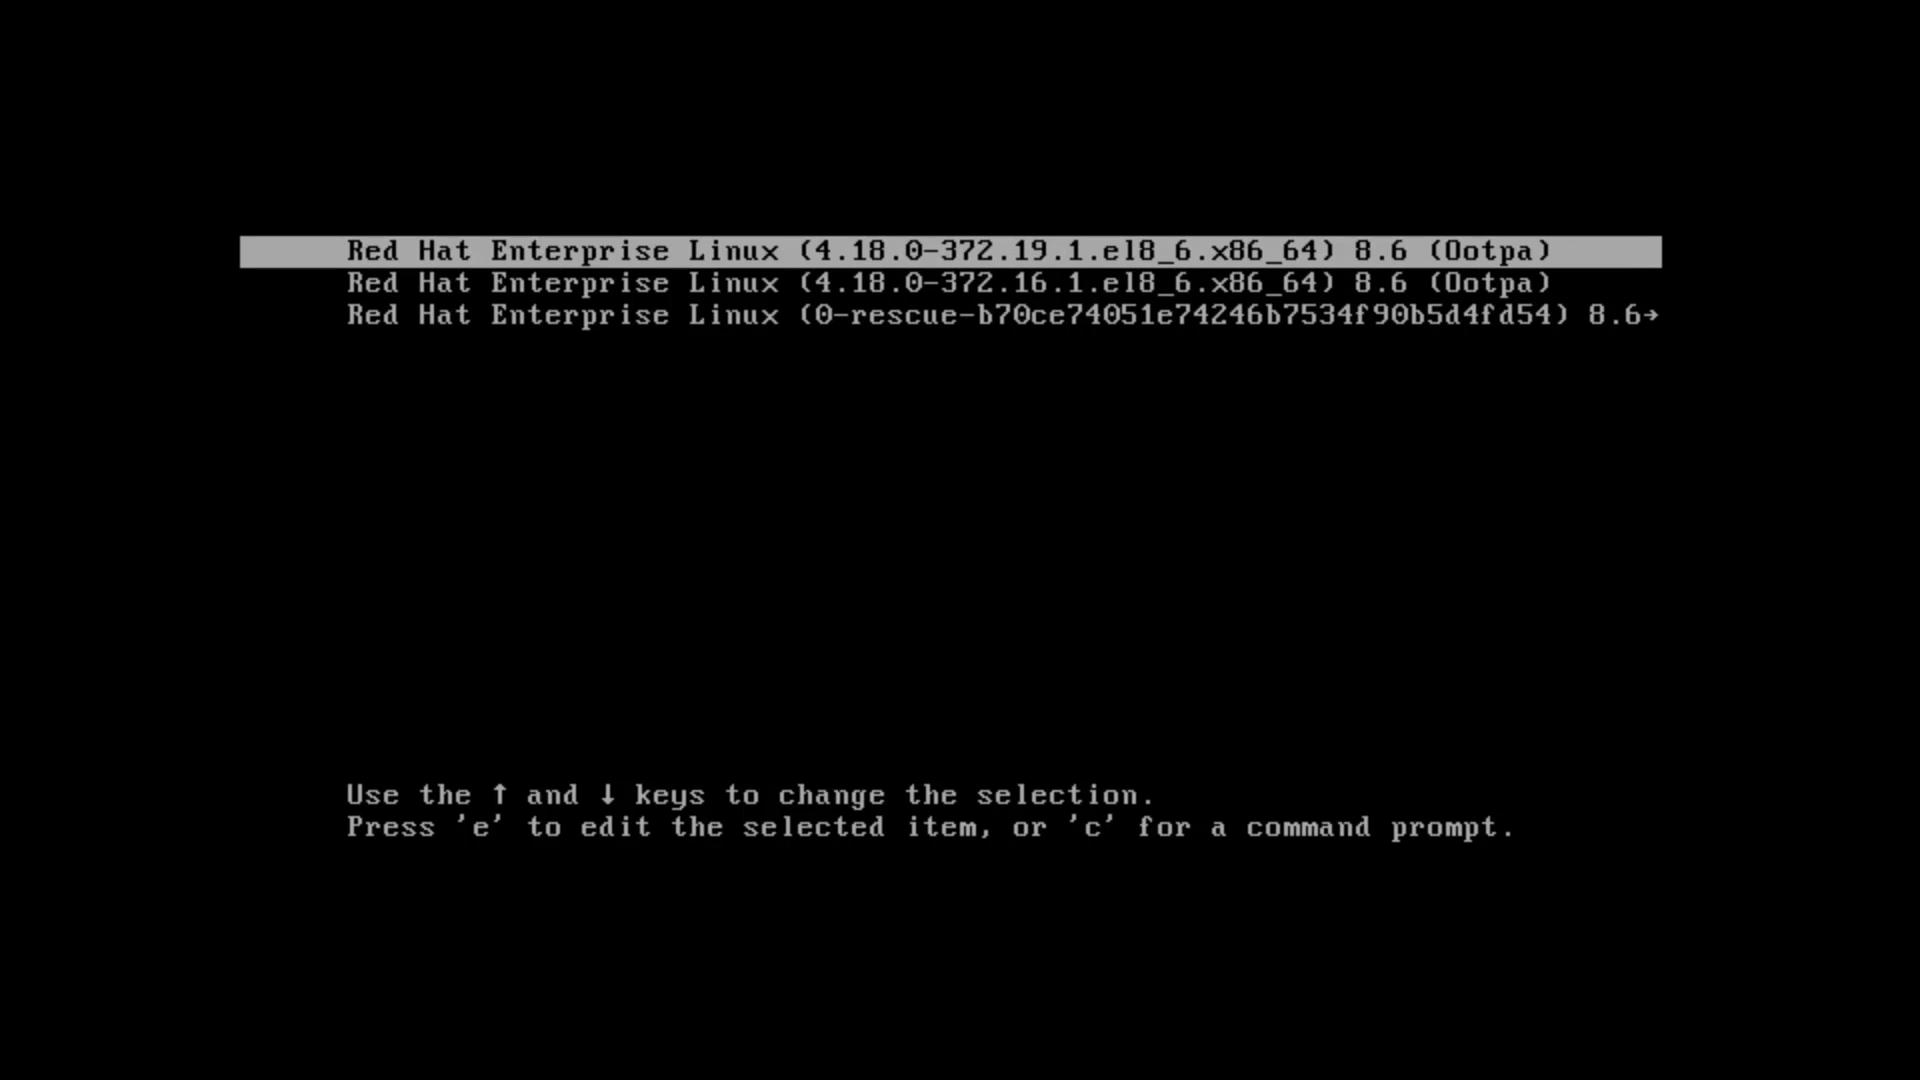
At this stage, you will see the kernel line with various options passed by GRUB. There are several scenarios where modifying these boot parameters is necessary. In our case, we assume the root password has been lost and emergency access is required. Follow these steps:
1. Scroll down to the Linux kernel line and press **Ctrl-E** to move the cursor to the end of the line.
2. Ensure that there is a single space after the `quiet` option.
3. Append the parameter `rd.break` to introduce a breakpoint, halting the normal boot process.
Below is the final, edited kernel entry (along with the associated initrd line) that should be present before you boot:
```bash theme={null}
load_video
set gfx_payload=keep
insmod gzio
linux ($root)/vmlinuz-4.18.0-372.19.1.el8_6.x86_64 root=/dev/mapper/rhel-root \
ro crashkernel=auto resume=/dev/mapper/rhel-swap rd.lvm.lv=rhel/root rd.lvm.lv=rhel/swap \
rhgb quiet rd.break
initrd ($root)/initramfs-4.18.0-372.19.1.el8_6.x86_64.img $tuned_initrd
```
Press **Ctrl-X** to boot using the modified command line. The system will initiate its normal graphical boot process until it reaches the breakpoint and drops into an emergency shell, which is indicated by a `#` prompt.
At this emergency prompt, note that many utilities (such as `whoami`) might not be available. Although your Linux file system is mounted in read-only mode under `/sysroot`, you can proceed with the following commands to remount it as read-write, update the root password, and prepare the system for a normal reboot:
```bash theme={null}
switch_root:/# mount | grep /sysroot
/dev/mapper/rhel-root on /sysroot type xfs (ro,relatime,attr2,inode64,logbufs=8,logsize=32k,noquota)
switch_root:/# mount -o remount,rw /sysroot
switch_root:/# mount | grep /sysroot
/dev/mapper/rhel-root on /sysroot type xfs (rw,relatime,attr2,inode64,logbufs=8,logsize=32k,noquota)
```
Next, change your working directory to the mounted file system and use the `chroot` command to switch to the actual root environment:
```bash theme={null}
switch_root:/# cd /sysroot
switch_root:/sysroot# chroot /sysroot
sh-4.4# ls
bin dev home lib media opt root sbin sys usr
boot etc kodekloud lib64 mnt proc run srv tmp var
```
With the shell now operating within the real root, update the root password:
```bash theme={null}
sh-4.4# passwd root
Changing password for user root.
New password:
Retype new password:
passwd: all authentication tokens updated successfully.
```
Red Hat Enterprise Linux systems use SELinux for security. It is essential to signal the system to relabel file contexts on the next boot.
To trigger this process, create the hidden file `.autorelabel` in the root directory:
```bash theme={null}
sh-4.4# touch .autorelabel
```
After creating the file, exit the chroot and the emergency shell:
```bash theme={null}
sh-4.4# exit
switch_root:/sysroot# exit
```
The system will now reboot and perform an SELinux targeted policy relabeling. You might observe output similar to the following as the system corrects file labels:
```text theme={null}
[ 4.351970] selinux-autorelabel[869]: *** Warning -- SELinux targeted policy relabel is required.
[ 4.352094] selinux-autorelabel[869]: *** Relabeling could take a very long time, depending on file system size and speed of hard drives.
[ 17.168846] selinux-autorelabel[876]: Warning: Skipping the following R/O filesystems: /boot, /dev/hugepages, /dev/mqueue, /dev/pts, /dev/shm, /run, /sys, /sys/fs/cgroup/freezer, ...
```
After relabeling, the normal login prompt will appear. You can log in using the new root password. For example, to switch to the root user using the `su` command:
```bash theme={null}
aaron@rhel8-node1:~$ su
```
On systems without a graphical login, simply enter the root username and the new password at the text-based prompt.
─────────────────────────────
## Red Hat Enterprise Linux 9
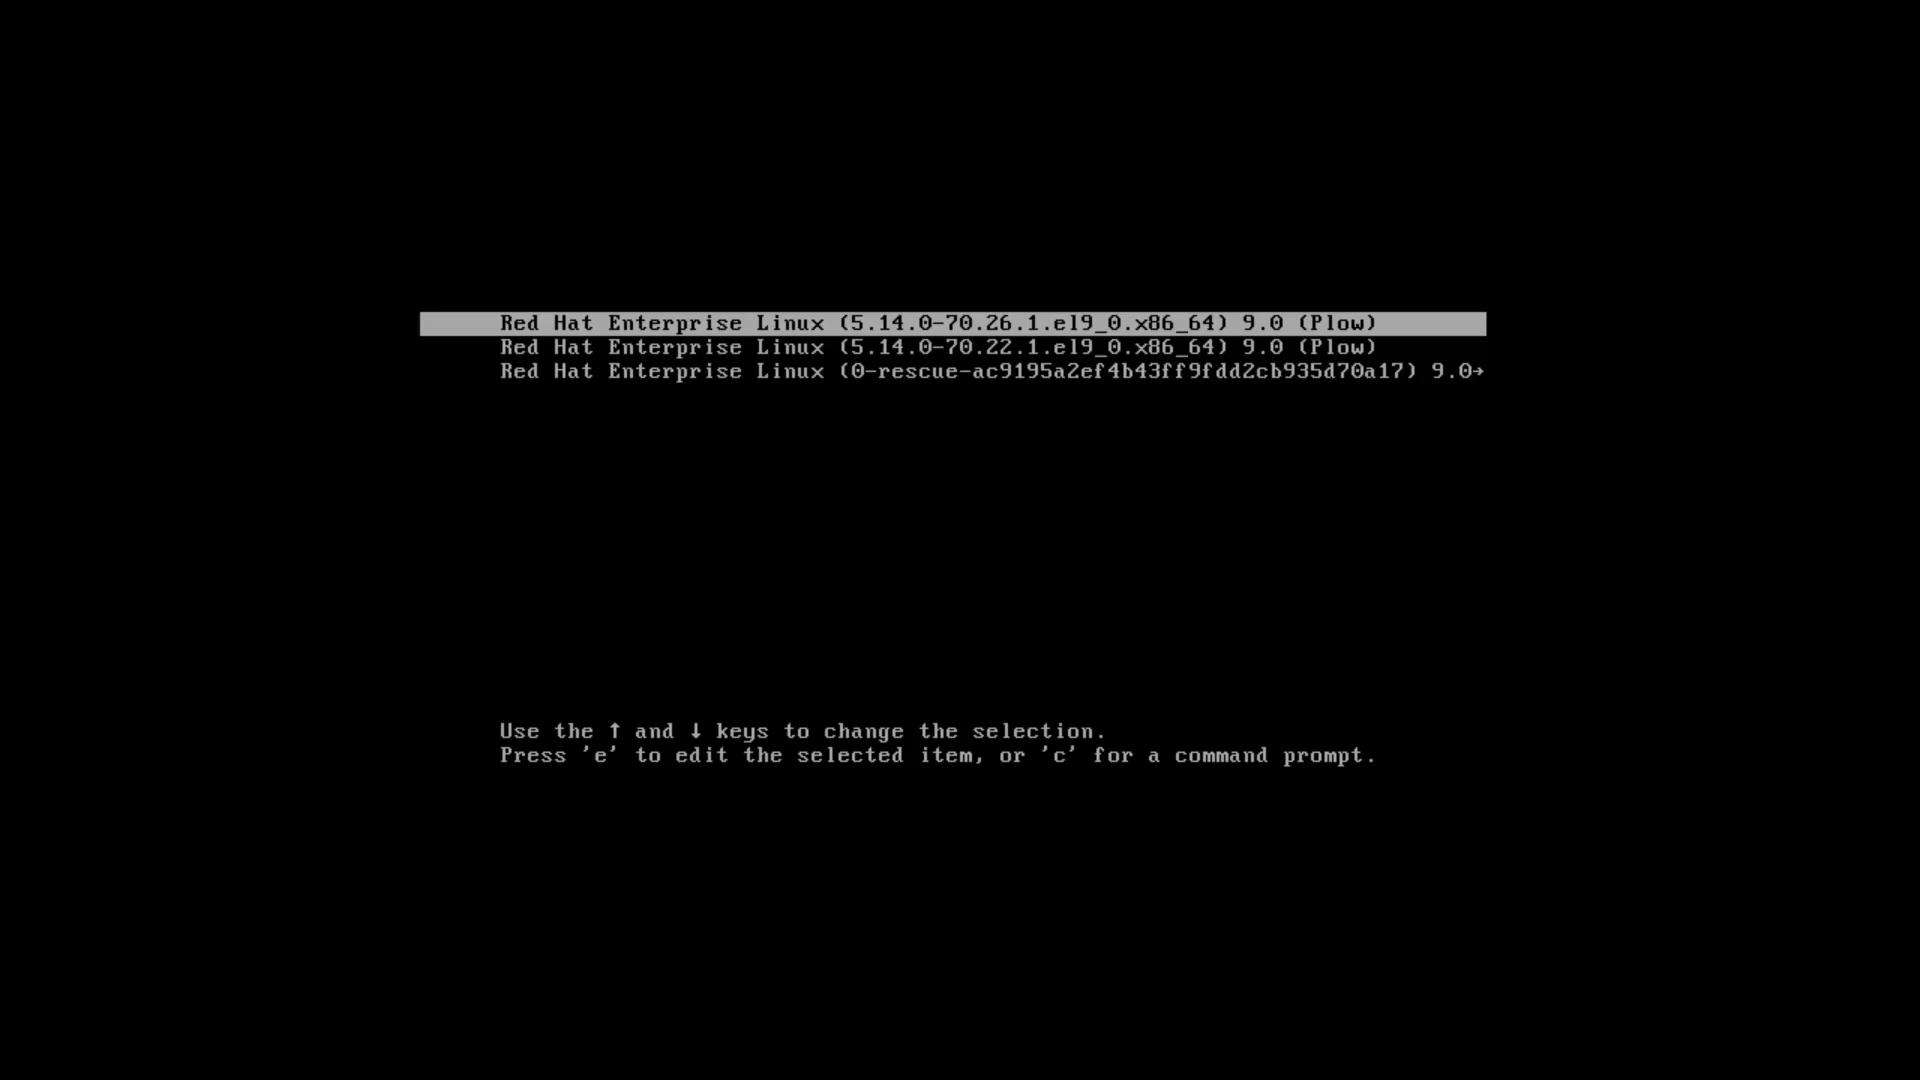
The process for RHEL 9 is similar, with some adjustments because of changes in Dracut (the tool that creates the initial RAM filesystem). Begin by stopping the virtual machine at the GRUB bootloader screen, then press **E** to edit the boot parameters.
Scroll down to the Linux kernel line. You should see a configuration similar to the following:
```bash theme={null}
load_video
set gfx_payload=keep
insmod gzio
linux ($root)/vmlinuz-5.14.0-70.26.1.el9_0.x86_64 root=/dev/mapper/rhel-root ro crashkernel=1G-4G:192M,4G-64G:256M,64G-512M resume=/dev/mapper/rhel-swap \
rd.lvm.lv=rhel/root rd.lvm.lv=rhel/swap rhgb quiet
initrd ($root)/initramfs-5.14.0-70.26.1.el9_0.x86_64.img $tuned_initrd
```
Make the following changes to the command line:
1. Replace the read-only root option (`ro`) with read-write (`rw`) just before the `crashkernel` parameter.
2. Instead of appending `rd.break`, add the parameter `init=/bin/bash` to launch a bash shell directly.
The modified kernel command should appear as follows:
```bash theme={null}
load_video
set gfx_payload=keep
insmod gzio
linux ($root)/vmlinuz-5.14.0-70.26.1.el9_0.x86_64 root=/dev/mapper/rhel-root rw crashkernel=1G-4G:192M,4G-64G:256M,64G-512M resume=/dev/mapper/rhel-swap \
rd.lvm.lv=rhel/root rd.lvm.lv=rhel/swap rhgb quiet init=/bin/bash
initrd ($root)/initramfs-5.14.0-70.26.1.el9_0.x86_64.img $tuned_initrd
```
Press **Ctrl-X** to boot. This action will drop you straight into a bash shell as the root user with the file system mounted in read-write mode.
At the bash prompt, update the root password:
```bash theme={null}
bash-5.1# passwd
Changing password for user root.
New password:
Retype new password:
passwd: all authentication tokens updated successfully.
```
Then, create the `.autorelabel` file to ensure SELinux contexts are corrected on the next boot:
```bash theme={null}
bash-5.1# touch .autorelabel
```
Now, execute the init process manually to continue the boot sequence without an immediate reboot:
```bash theme={null}
bash-5.1# exec /sbin/init
```
The system will proceed to boot, perform any necessary SELinux relabeling, and eventually present you with the login prompt. For text-based environments, use the updated root credentials to log in. In graphical environments, log in with your regular user account and then switch to the root account using:
```bash theme={null}
aaron@rhel9-node1:~$ su -
Password:
[root@rhel9-node1 ~]#
```
─────────────────────────────
## Conclusion
This guide demonstrated how to interrupt the boot process on both Red Hat Enterprise Linux 8 and 9 to recover or modify the root password. By modifying the GRUB boot parameters, you can access an emergency or bash shell to perform system maintenance. Remember, if SELinux is enabled, creating the `.autorelabel` file is critical to ensure correct file contexts on the subsequent boot.
Thank you for following along. Continue exploring our labs and documentation to further strengthen your Linux system administration skills.