Access a shell prompt and issue commands with correct syntax
This article teaches methods to log in to a Linux system using both local and remote graphical and text-mode consoles.
In this lesson, you’ll learn various methods to log in to a Linux system—both locally and remotely—using graphical and text-mode consoles. We will cover not only how to perform these logins but also the reasons behind using each method.
Logging into a local Linux system using a text-mode console.
Logging into a local Linux system using a graphical-mode console.
Logging into a remote Linux system using text-mode login.
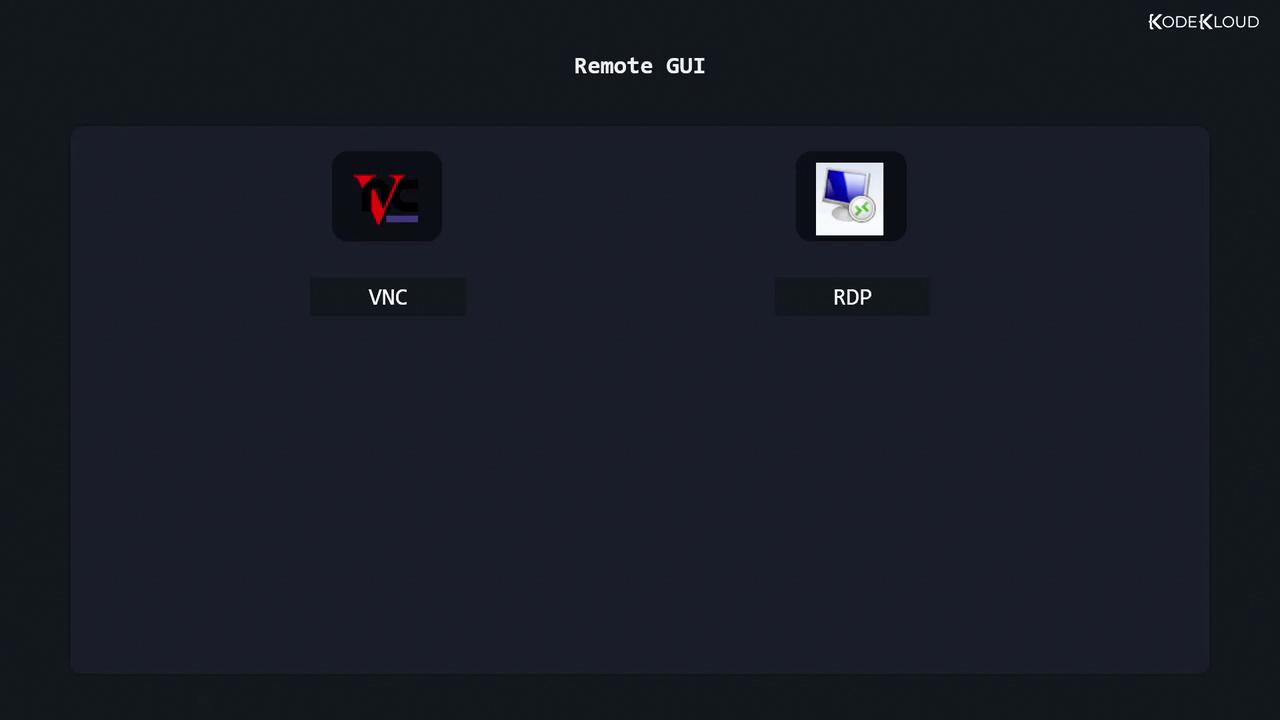
Logging into a remote Linux system using graphical-mode login.
You’ll often come across terms such as console, virtual terminal, and terminal emulator. A console is a display for system messages and commands, whereas a terminal emulator is a graphical application that mimics this behavior within a window.
• Console: Provides text display and command input.
• Terminal Emulator: A graphical application that replicates the console’s functionality.
Below is an example of a text-mode login screen on a CentOS system:
CentOS Linux 8Kernel 4.18.0-305.19.1.el8.x86_64 on an x86_64Activate the web console with: systemctl enable --now cockpit.socketcentos-vm login:
Historically, these terms originated when computers were expensive and shared among many users through physical consoles or terminals. Today, even though hardware has evolved, these concepts continue to exist in software form. For example, during the boot process, the system console displays diagnostic messages.Consider this snippet from a boot log:
[ OK ] Mounted Mount unit for snapd, revision 13270.[ OK ] Mounted Mount unit for core18, revision 2128.[ OK ] Mounted Mount unit for lxd, revision 21029.[ OK ] Mounted Mount unit for lxd, revision 21545.[ OK ] Mounted Mount unit for snapd, revision 12704.[ OK ] Reached target Local File Systems.[ OK ] Starting Load AppArmor profiles...[ OK ] Finished Set console font and keymap...[ OK ] Starting Create final runtime dir for shutdown pivot root...[ OK ] Finished Tell Plymouth To Write Out Runtime Data...[ OK ] Starting Create Volatile Files and Directories...[ OK ] Finished Create final runtime dir for shutdown pivot root.[ OK ] Finished Tell Plymouth To Write Out Runtime Data.[ OK ] Finished Create Volatile Files and Directories.[ OK ] Starting Update UTMP about System Boot/Shutodwn...[ OK ] Finished Update UTMP about System Boot/Shutodwn.[ OK ] Starting Load AppArmor profiles managed internally by snapd...[ OK ] Finished Load AppArmor profiles managed internally by snapd.[ OK ] Starting Initial cloud-init job (pre-networking)...[ OK ] Reached target System Time Set.[ OK ] Reached target System Time Synchronized.[ OK ] Started Initial cloud-init job (pre-networking).[ OK ] Started Network Service.[ OK ] Started Wait for Network to be Configured...[ OK ] Started Network Name Service...[ OK ] Started Network Name Lookups.at Wed, 20 Oct 2021 00:20:32 +0000 Up 6.59 seconds.
After the system has booted, you can switch to another virtual terminal. For example, pressing Ctrl-Alt-F2 takes you to VT2:
Activate the web console with: systemctl enable --now cockpit.socket
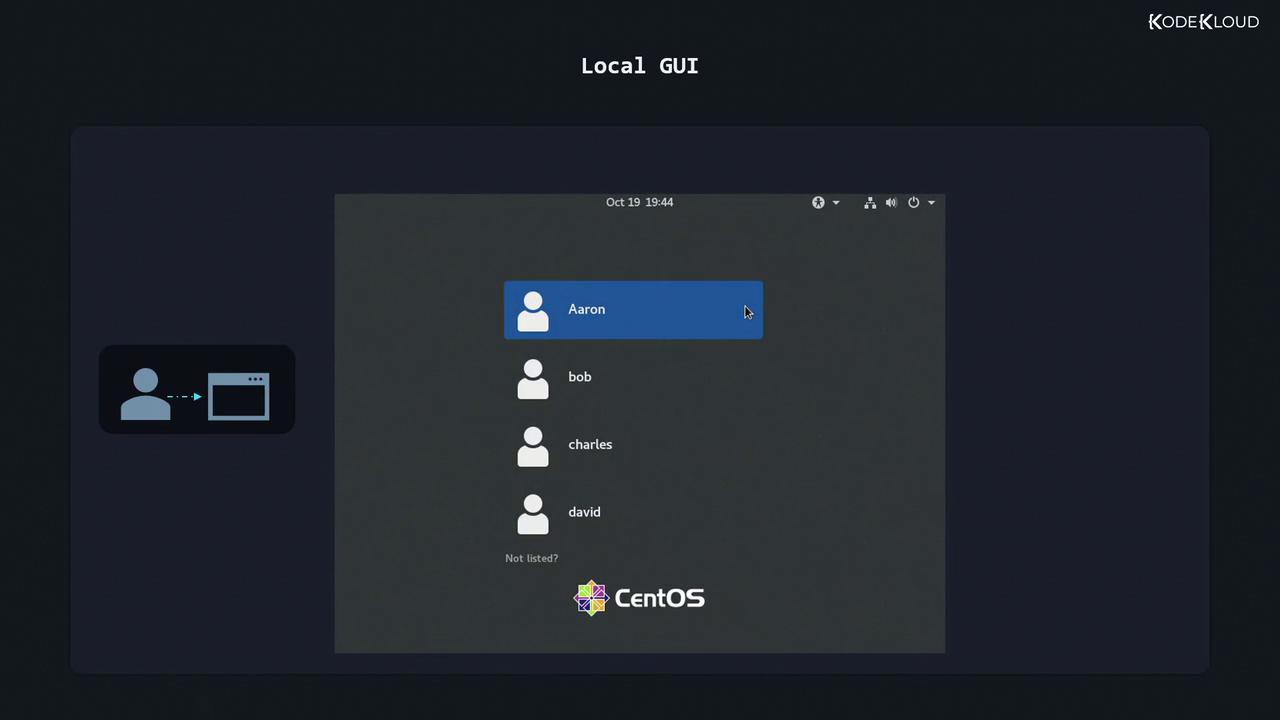
For systems equipped with a GUI, you typically open a terminal emulator to enter your commands. When logging in to a local GUI, you might see a list of user accounts. For example:
Always remember to log out once your work is complete. For server-oriented Linux systems (those that typically operate without a GUI), you will see a login prompt asking you to enter your username and password manually:
CentOS Stream 8Kernel 4.18.0-338.el8.x86_64 on an x86_64Activate the web console with: systemctl enable --now cockpit.socketLFCS-CentOS login: aaronPassword: _
Note: The password is not echoed on the screen as you type. Once you are ready to exit, use the command exit to log out:
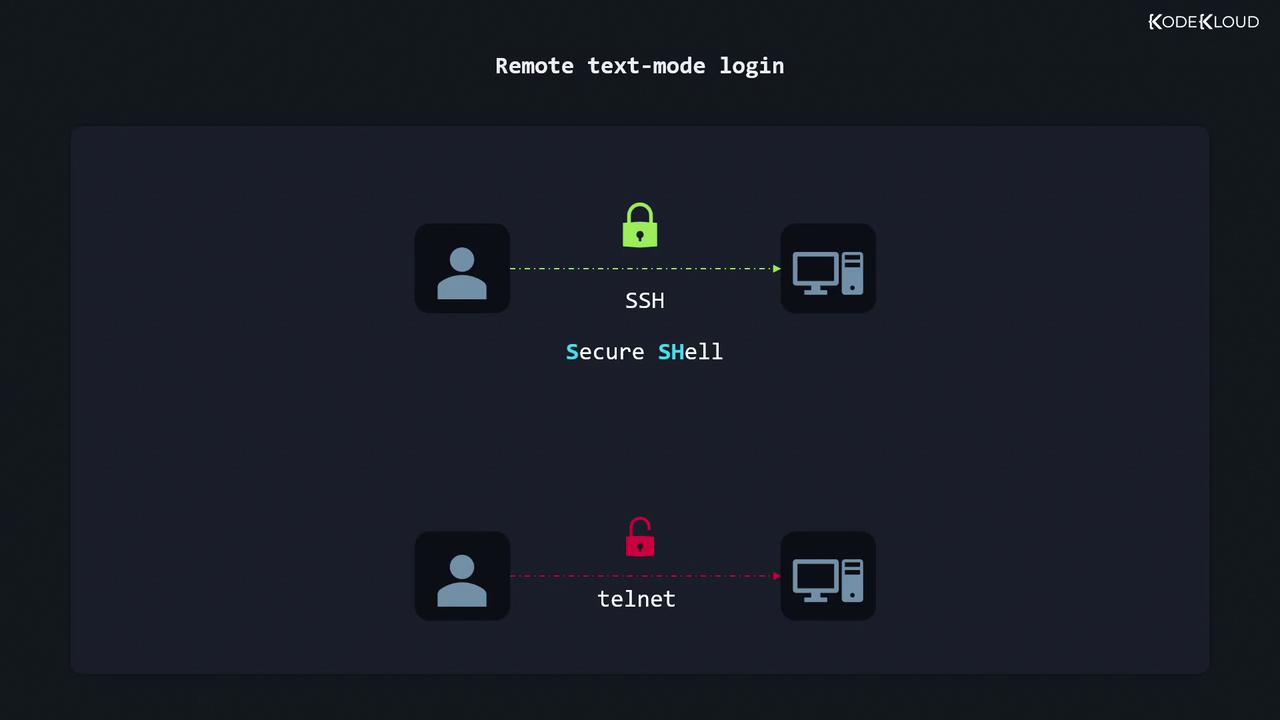
For remote text-based logins, the most widely used tool is the OpenSSH daemon. Unlike Telnet, SSH (Secure Shell) encrypts the communication, ensuring that sensitive data like passwords remains protected during transmission.
SSH is highly secure and has been proven over many years. Always use SSH for remote text-mode logins to maintain proper security standards.
A comparison image below shows that SSH (secured with a green lock) is far more secure than Telnet (which displays a red lock):
If you are following along on a virtual machine, log in locally and run the following command to check your machine’s IP address. The output highlights an example IP address (192.168.0.17) which you can use to simulate a remote server login:
$ ip a1: lo: <LOOPBACK,UP,LOWER_UP> mtu 65536 qdisc noqueue state UNKNOWN group default qlen 1000 link/loopback 00:00:00:00:00:00 brd 00:00:00:00:00:00 inet 127.0.0.1/8 scope host lo valid_lft forever preferred_lft forever inet6 ::1/128 scope host valid_lft forever preferred_lft forever2: enp0s3: <BROADCAST,MULTICAST,UP,LOWER_UP> mtu 1500 qdisc fq_codel state UP group default qlen 1000 link/ether 08:00:27:6b:d7:87 brd ff:ff:ff:ff:ff:ff inet 192.168.0.17/24 brd 192.168.0.255 scope global dynamic noprefixroute enp0s3 valid_lft 1966sec preferred_lft 1966sec inet6 fe80::a00:27ff:fe6b:d787/64 scope link noprefixroute
This IP address identifies the server running the SSH daemon, which listens for remote connections. To connect from your local machine, use an SSH client. Most macOS and Linux systems come with an SSH client pre-installed. Simply open your terminal and initiate the connection.For example, listing files in a local session might look like:
[aaron@LFCS-Centos ~]$ ls -a.bash_profile .bash_history .bashrc .bash_logout config Desktop Documents Downloads cache .esd_auth ICEauthority local mozilla Music Pictures pk1 Public Templates Videos .ssh
Earlier Windows versions required third-party SSH clients such as PuTTY. However, modern versions like Windows 10 include a native SSH client. To connect to a remote server, open Command Prompt (type “cmd” in the Start Menu) and run:
C:\Users\Aaron>ssh aaron@192.168.0.17
Replace “aaron” with your actual username and “192.168.0.17” with your server’s IP address. After executing the command, you will be prompted to enter your password:
$ ssh aaron@192.168.0.17aaron@192.168.0.17's password:Activate the web console with: systemctl enable --now cockpit.socketLast login: Tue Oct 19 20:27:15 2021 from 192.168.0.3[aaron@LFCS-CentOS ~]$
Once connected, you can perform the exercises in this lesson within your SSH session.The demonstration above walks you through various login approaches available on Linux systems. Enjoy exploring these methods and happy learning!