Introduction to Linux access control covering user and group management, file ownership and permissions, and safe privilege escalation using su and sudo with sudoers and visudo guidance.
In this lesson we’ll cover Linux security basics focused on access control: user accounts, groups, file ownership and permissions, and privilege escalation. You’ll learn how to create and manage users, inspect account details, and switch identities safely using su and sudo. Each topic includes commands and examples so you can practice these essential administrative skills.
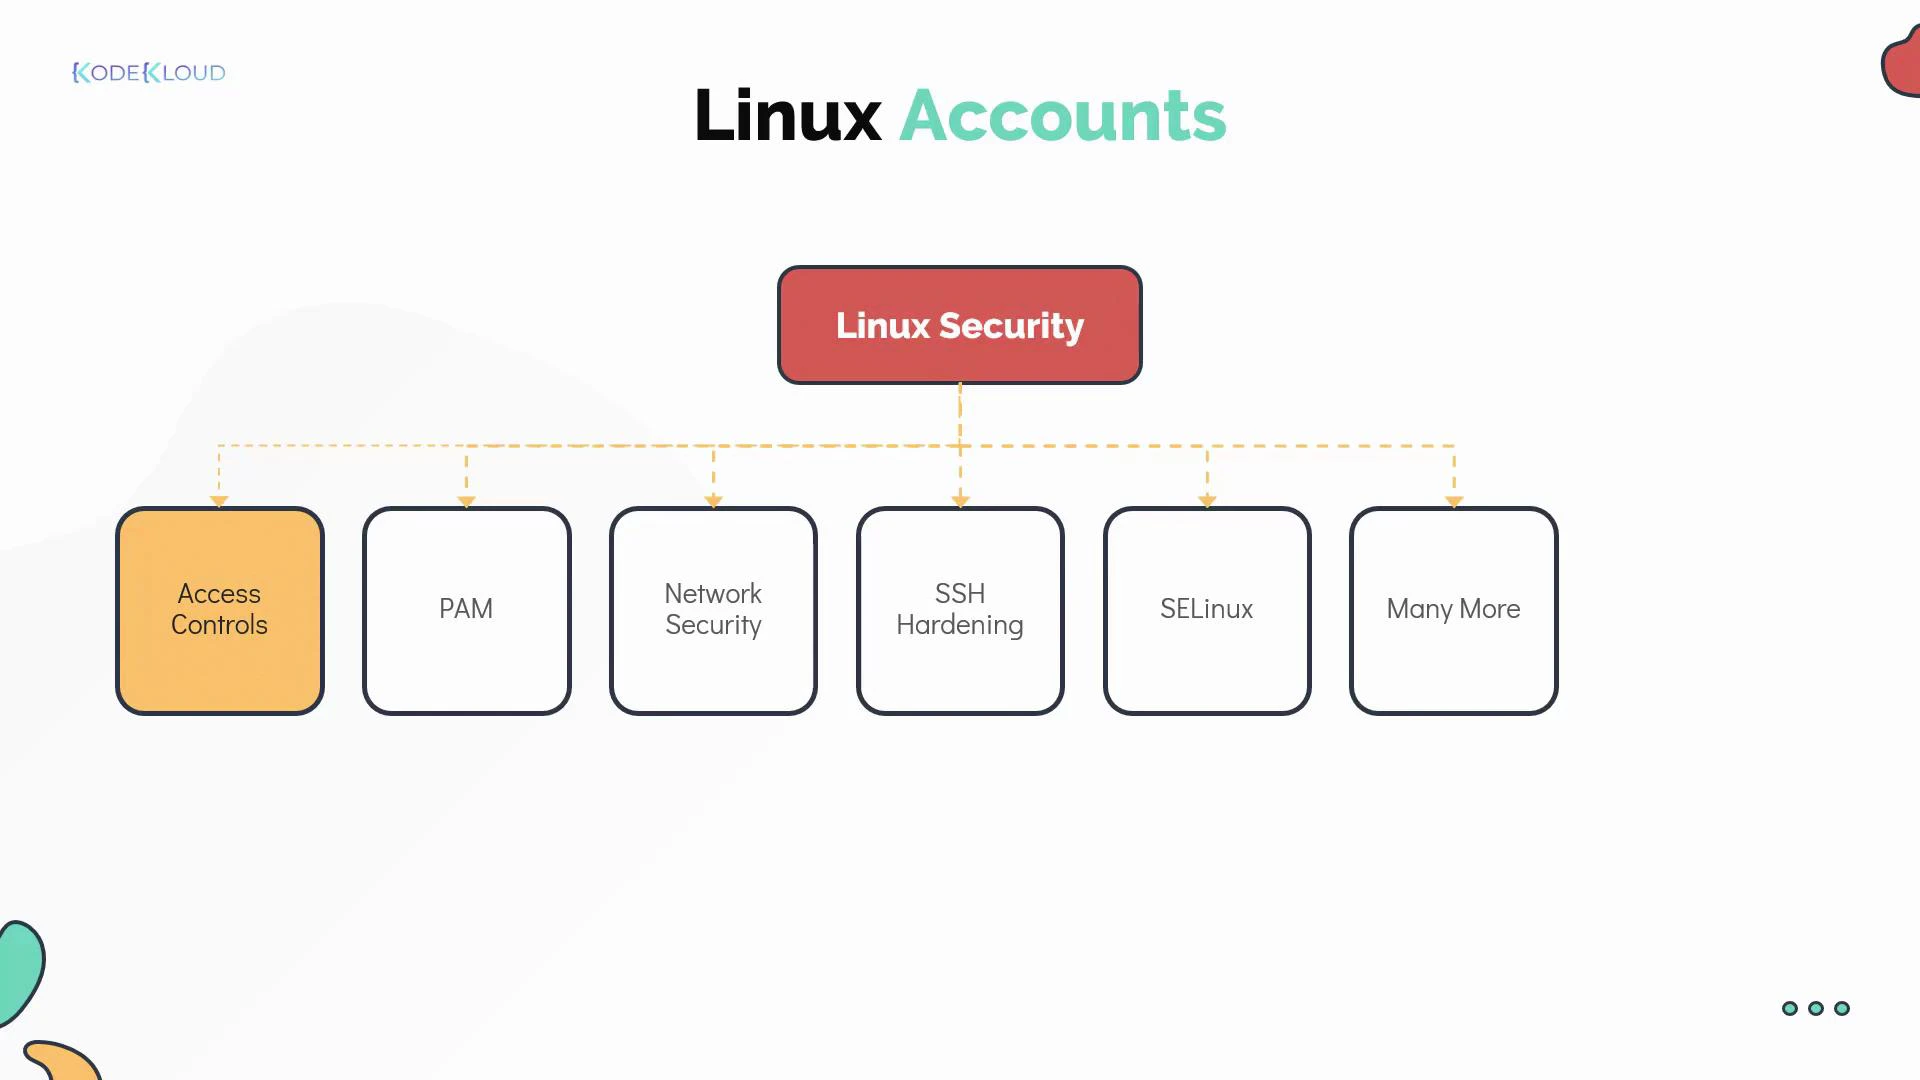
Security in Linux spans many layers:
Authentication (who you are) — often handled via passwords, keys, and frameworks such as PAM (Pluggable Authentication Modules).
Access control (what you can do) — user and group permissions, file modes, ACLs, and mandatory access controls such as SELinux.
Network and service protection — firewalling (iptables, nftables, firewalld), SSH hardening, and service isolation.
Audit and accountability — centralized logs, sudo logs, and system accounting.
This lesson focuses on the basics: user and group accounts, how user metadata is stored, and how to escalate or switch privileges safely.For deeper reading:
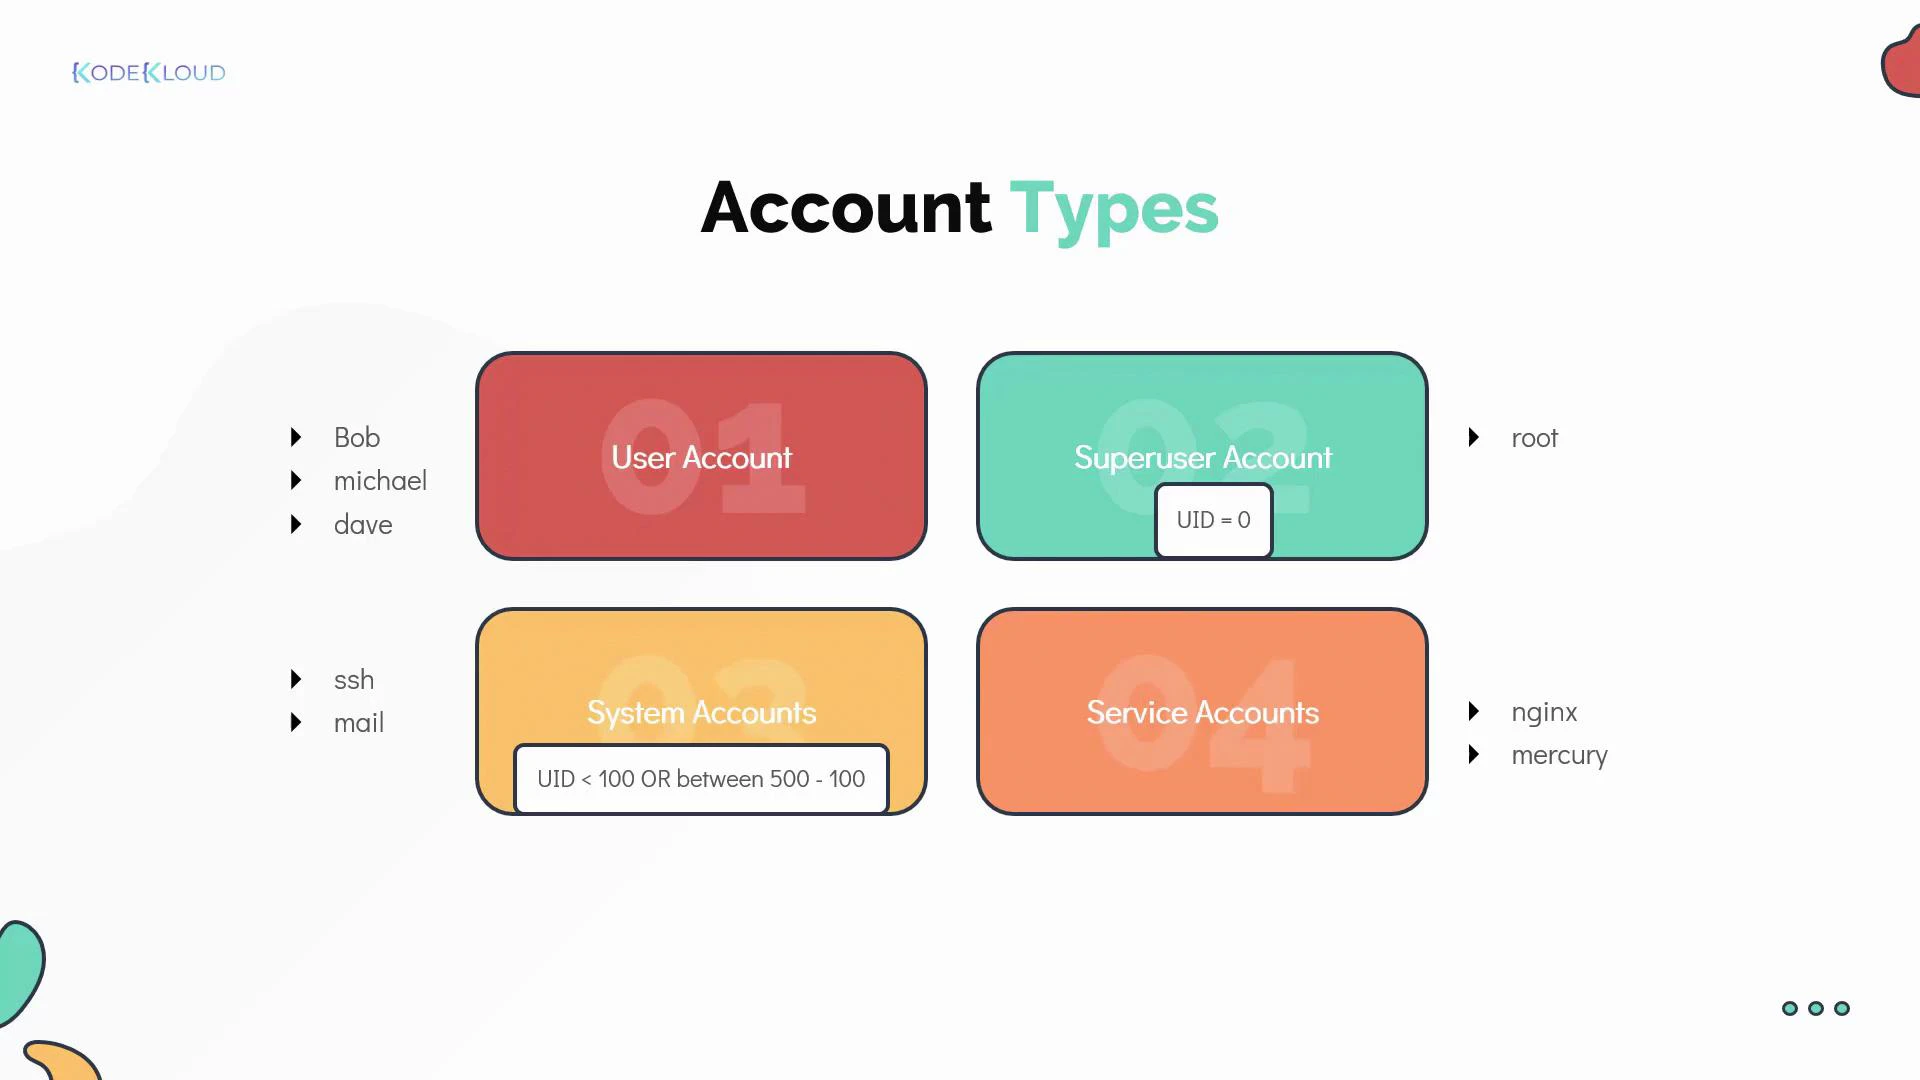
A Linux user account represents an identity that can authenticate and perform actions on the system. Each account stores metadata used by the kernel and system services to control access.Typical account fields:
username
password placeholder (usually an x in /etc/passwd, with the hashed password in /etc/shadow)
UID (user ID) — unique integer
primary GID (group ID)
optional comment / GECOS (human-readable info)
home directory
default login shell
Account and group data are stored in:
/etc/passwd — account metadata and login shell/home
Example: two developers (bob and michael) can be members of the same group (e.g., developers) to share access to common files.Example contents of /etc/passwd and /etc/group:
sudo lets authorized users run commands as another user (commonly root) by authenticating with their own password.
Sudo policies are configured in /etc/sudoers and in files under /etc/sudoers.d/.
sudo provides better auditing and fine-grained privilege delegation.
Example usage:
michael@ubuntu-server:~$ sudo apt-get install nginx[sudo] password for michael:
Sample /etc/sudoers (simplified):
# /etc/sudoers - example entriesUser privilege specificationroot ALL=(ALL:ALL) ALL# Members of the admin group may gain root privileges%admin ALL=(ALL) ALL# Allow members of group sudo to execute any command%sudo ALL=(ALL:ALL) ALL# Allow bob to run any commandbob ALL=(ALL:ALL) ALL# Allow sarah to reboot the systemsarah localhost=/usr/bin/shutdown -r now# See sudoers(5) for more information on "#include" directives: https://man7.org/linux/man-pages/man5/sudoers.5.html#includedir /etc/sudoers.d
Always use visudo to edit /etc/sudoers. visudo locks the file and checks for syntax errors before saving, preventing misconfiguration that could lock out administrative access.
Sudo examples of delegation:
Grant full root access to a user: username ALL=(ALL:ALL) ALL
Grant a group limited privileges: %developers ALL=(ALL) /usr/bin/systemctl restart myservice