Running Local LLMs With Ollama
Building AI Applications
Demo Creating an App Using Ollama OpenAI Python Client
title: "Demo: Creating an AI Poem Web App with Ollama & OpenAI Python Client" template_engine: jinja
In this tutorial, you’ll build a simple Flask web application that uses a locally hosted Ollama LLM via the OpenAI Python client. The code is structured so you can switch between Ollama’s REST API and the official OpenAI API without refactoring your app.
1. Project Setup
- Create a new directory and navigate into it:
mkdir ollama-app && cd ollama-app - Initialize a Python virtual environment and activate it:
python -m venv venv source venv/bin/activate - Install the required packages:
pip install --upgrade openai Flask python-dotenv
Note: Make sure you’re using Python 3.8+ and have pip updated for smooth installations.
2. Open in Your Editor
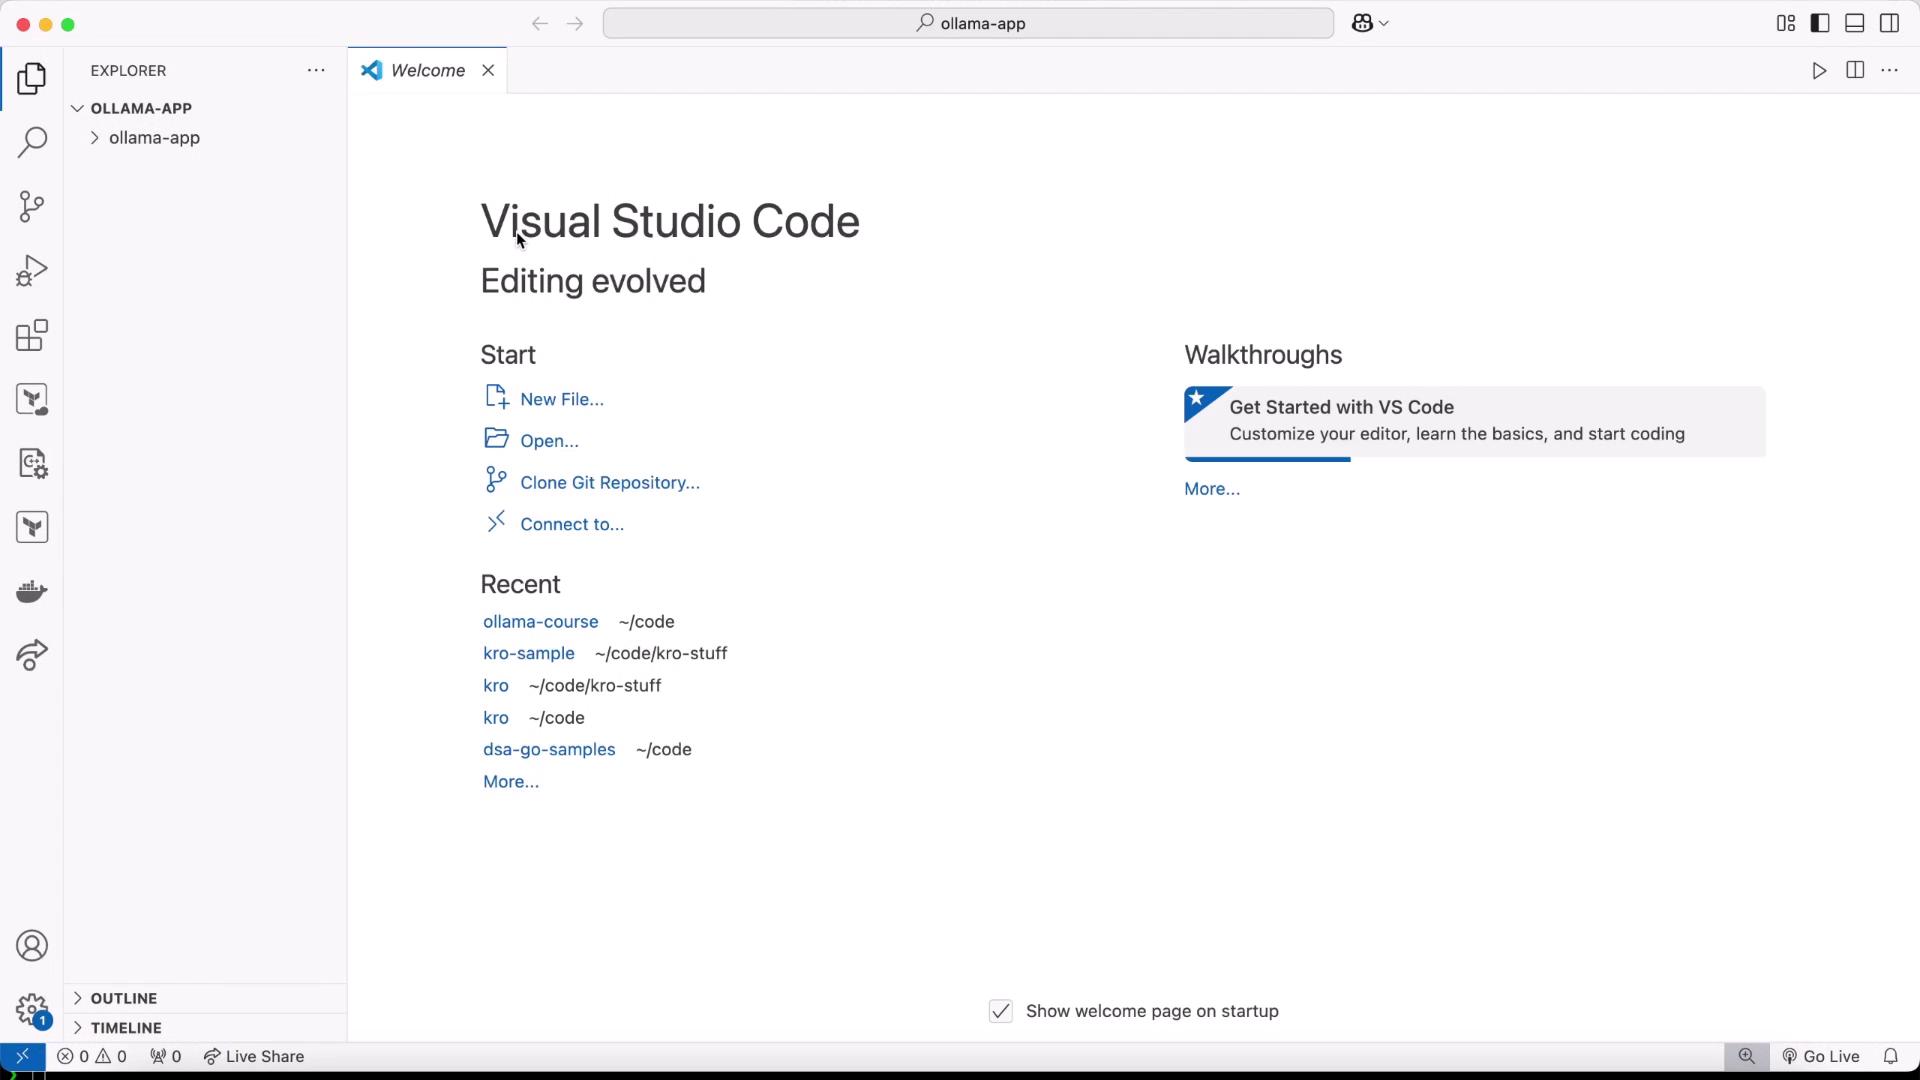
Open this folder in your preferred IDE (e.g., VS Code) and create a file named server.py.

3. Configure Environment Variables
At the project root, create a .env file to store your configuration:
OPENAI_API_KEY=kodekloud
LLM_ENDPOINT="http://localhost:11434/v1"
MODEL=llama3.2
PORT=3000
| Variable | Description | Example |
|---|---|---|
OPENAI_API_KEY | API key for the OpenAI client (any string for Ollama dev) | kodekloud |
LLM_ENDPOINT | URL of the Ollama REST server | http://localhost:11434/v1 |
MODEL | LLM model name | llama3.2 |
PORT | Port number for the Flask app | 3000 |
4. Build the Flask Server
import os
from flask import Flask, request, render_template_string
from openai import OpenAI
from dotenv import load_dotenv

load_dotenv()

app = Flask(__name__)

client = OpenAI(
    api_key=os.getenv("OPENAI_API_KEY"),
    base_url=os.getenv("LLM_ENDPOINT")
)

HTML_TEMPLATE = """
<!DOCTYPE html>
<html>
<head>
  <title>AI Poem Generator</title>
  <style>
    body { font-family: sans-serif; max-width: 600px; margin: 2em auto; }
    textarea { width: 100%; height: 100px; }
    .poem { white-space: pre-wrap; margin-top: 1em; padding: 1em; background: #f4f4f4; }
  </style>
</head>
<body>
  <h1>AI Poem Generator</h1>
  <form method="post">
    <textarea name="input" placeholder="Enter a prompt..."></textarea><br>
    <button type="submit">Generate Poem</button>
  </form>,
    <div class="poem">{{ poem }}</div>,
</body>
</html>
"""

@app.route("/", methods=["GET", "POST"])
def index():
    poem = None
    if request.method == "POST":
        user_input = request.form.get("input", "")
        try:
            response = client.chat.completions.create(
                model=os.getenv("MODEL"),
                messages=[
                    {"role": "system", "content": "You are an AI trained to write poems."},
                    {"role": "user", "content": user_input}
                ]
            )
            poem = response.choices[0].message.content
        except Exception as e:
            app.logger.error("LLM request failed: %s", e)
            poem = "An error occurred while generating your poem."
    return render_template_string(HTML_TEMPLATE, poem=poem)

if __name__ == "__main__":
    port = int(os.getenv("PORT", 3000))
    app.run(host="0.0.0.0", port=port)
,[object Object],[object Object],[object Object],[object Object],[object Object],[object Object],[object Object],[object Object],[object Object],[object Object],[object Object],[object Object],[object Object],[object Object],[object Object],[object Object],[object Object],[object Object],[object Object],[object Object],[object Object],[object Object]