> ## Documentation Index
> Fetch the complete documentation index at: https://notes.kodekloud.com/llms.txt
> Use this file to discover all available pages before exploring further.
# Demo Migrating an Application to Use the OpenAI API
> This guide explains how to migrate a Flask-based AI app to use the OpenAI API while developing locally with Ollama.
This guide shows you how to update a Flask-based AI app to use the OpenAI API in production while still developing locally with Ollama. By changing only a few environment variables, you can switch between free local development and cost-effective cloud inference.
***
## 1. Create an OpenAI API Key
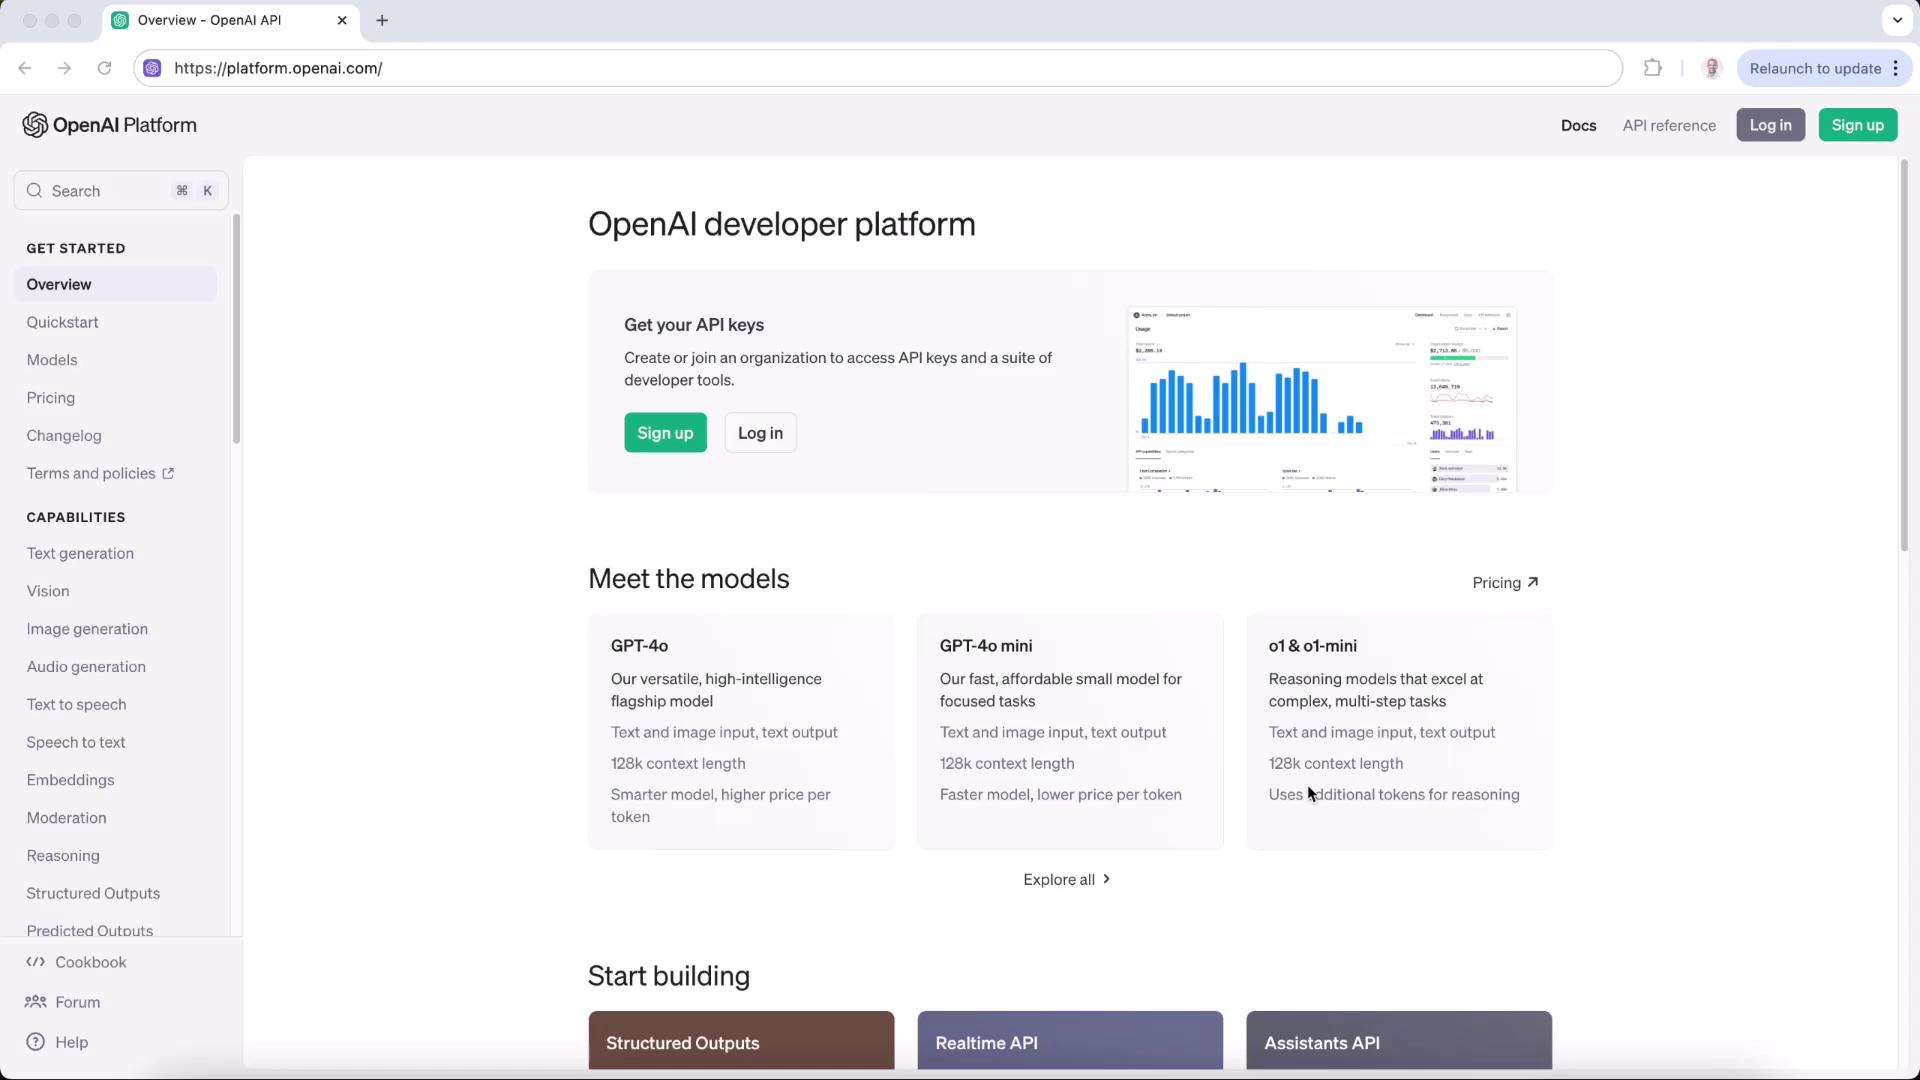
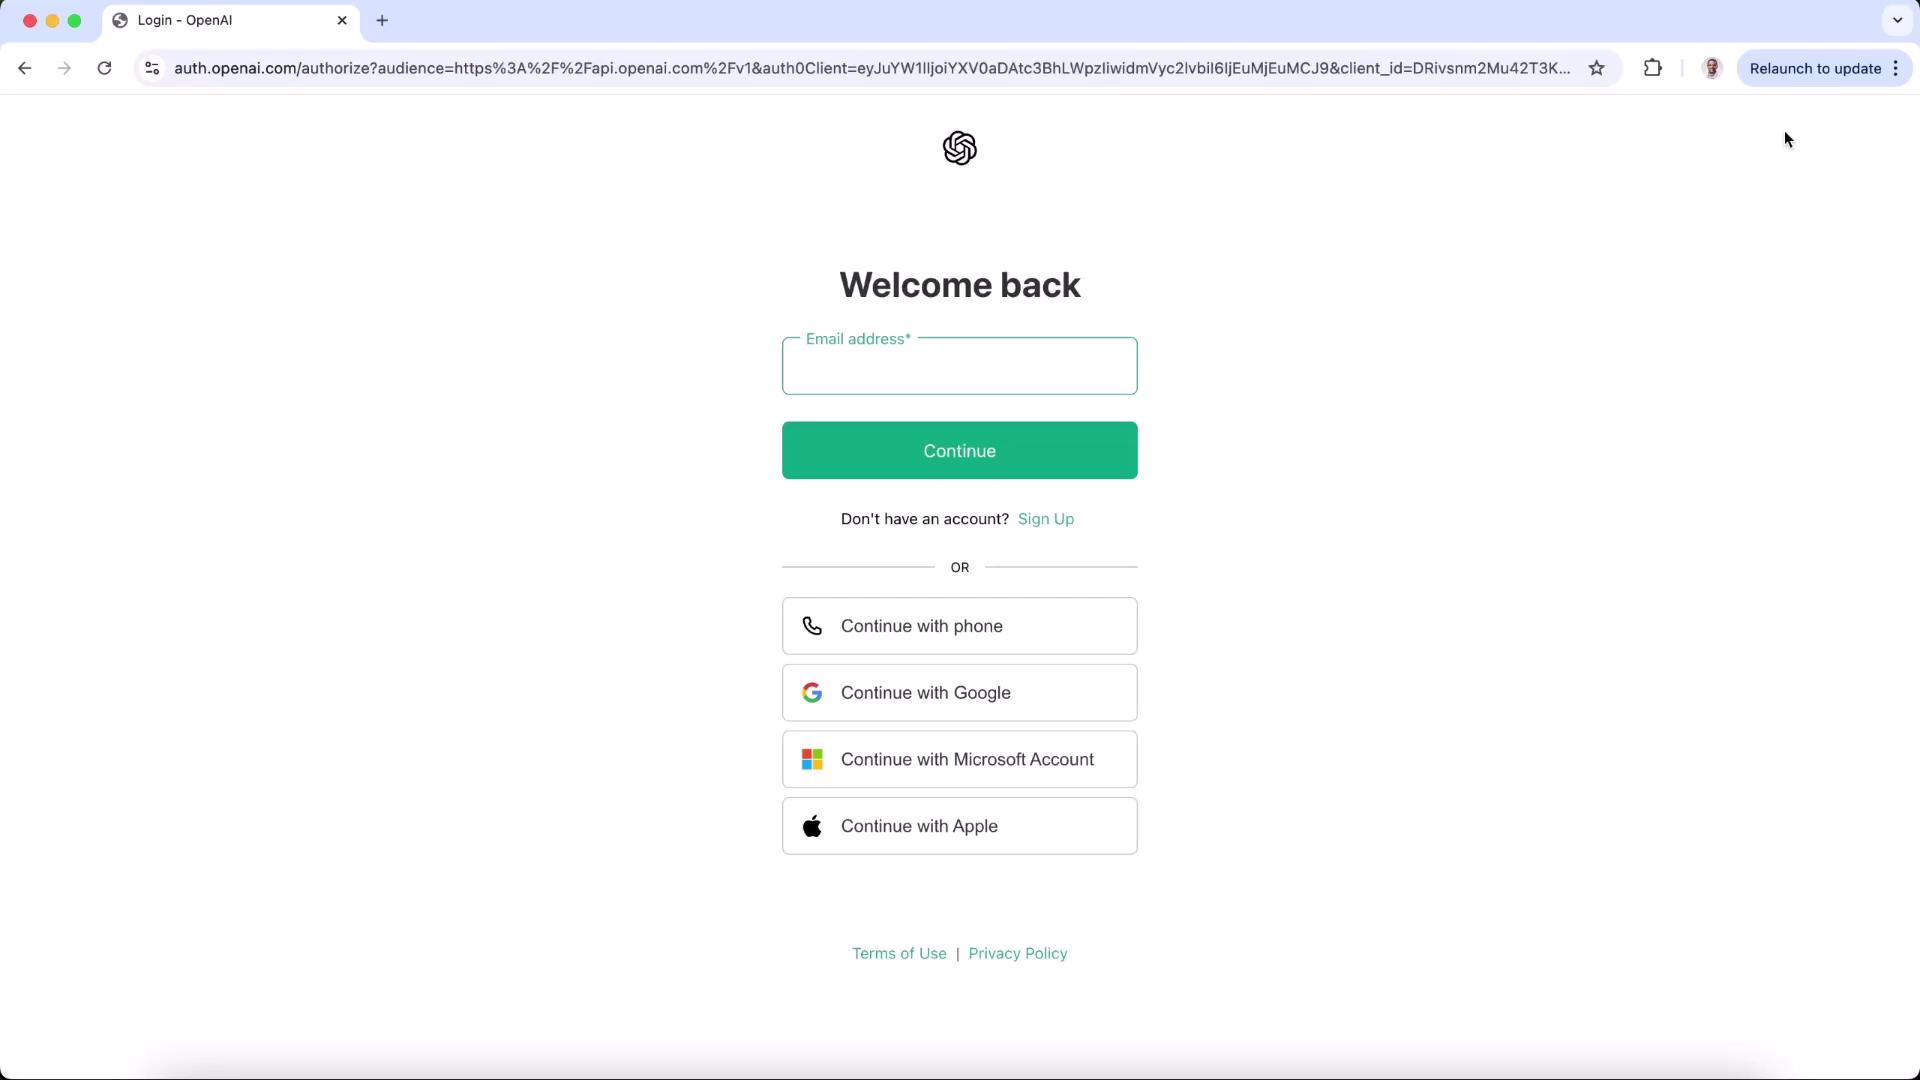
1. Sign in or sign up at [platform.openai.com](https://platform.openai.com/).
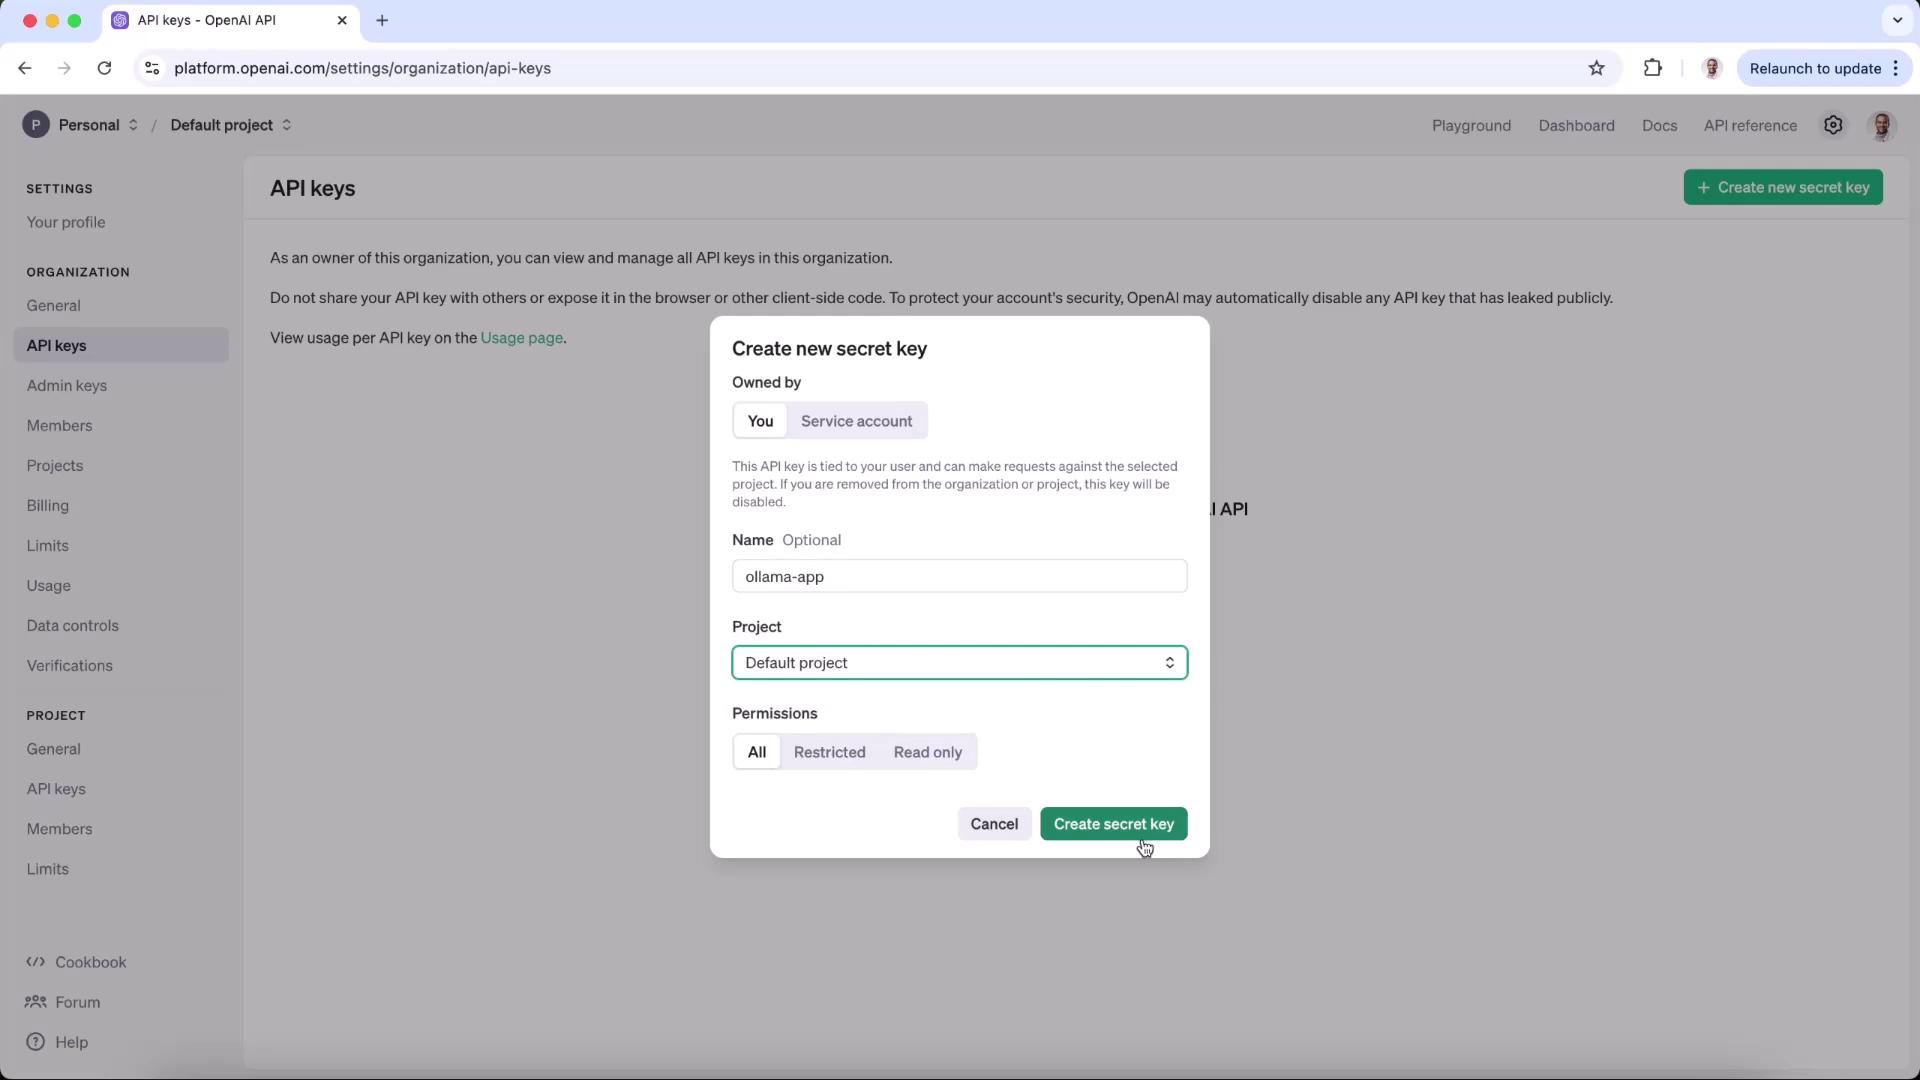
2. Navigate to **Settings → API keys**, then click **Create new secret key**.
3. Provide a name (e.g., “Ollama app”), assign it to your default project, set permissions, and copy the secret key.
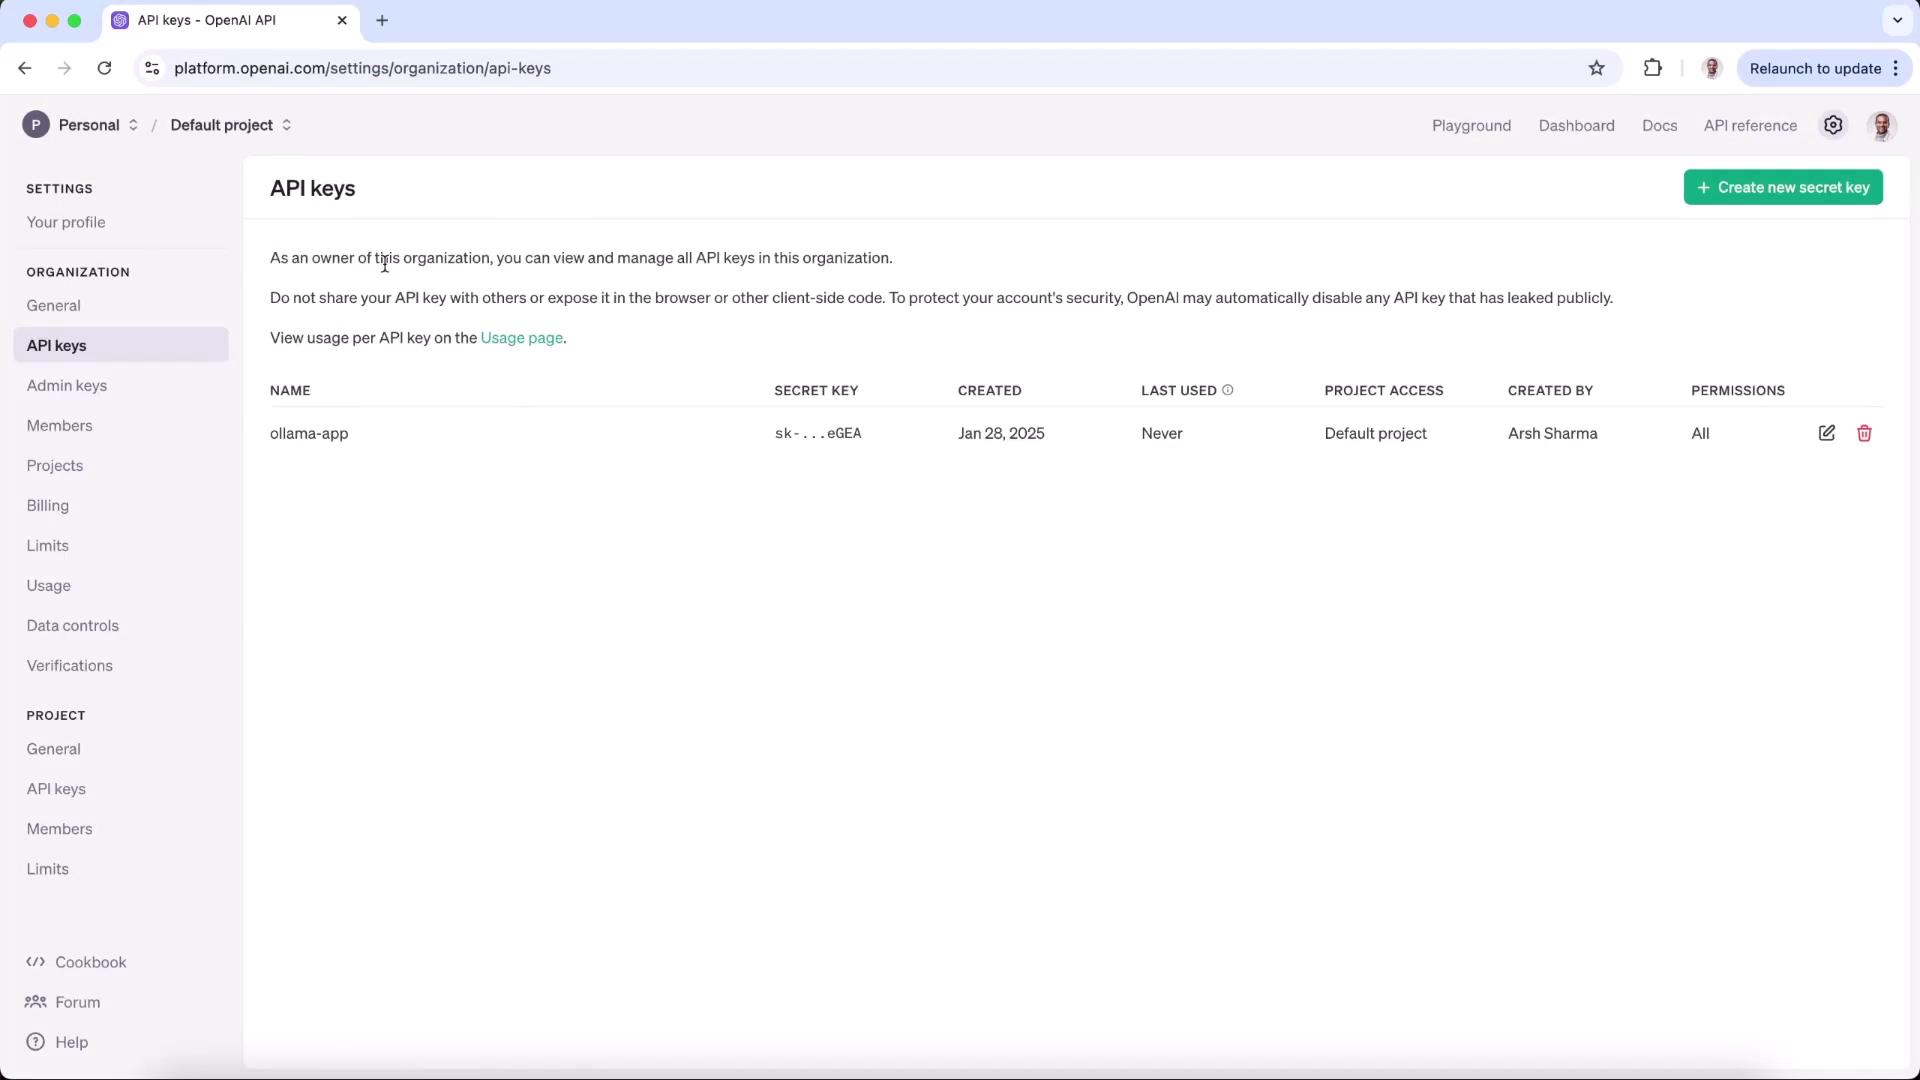
4. Confirm that your new key appears under **API keys**.
::: note
Keep your secret key safe. Do not commit it to version control.
:::
***
## 2. Choose a Model
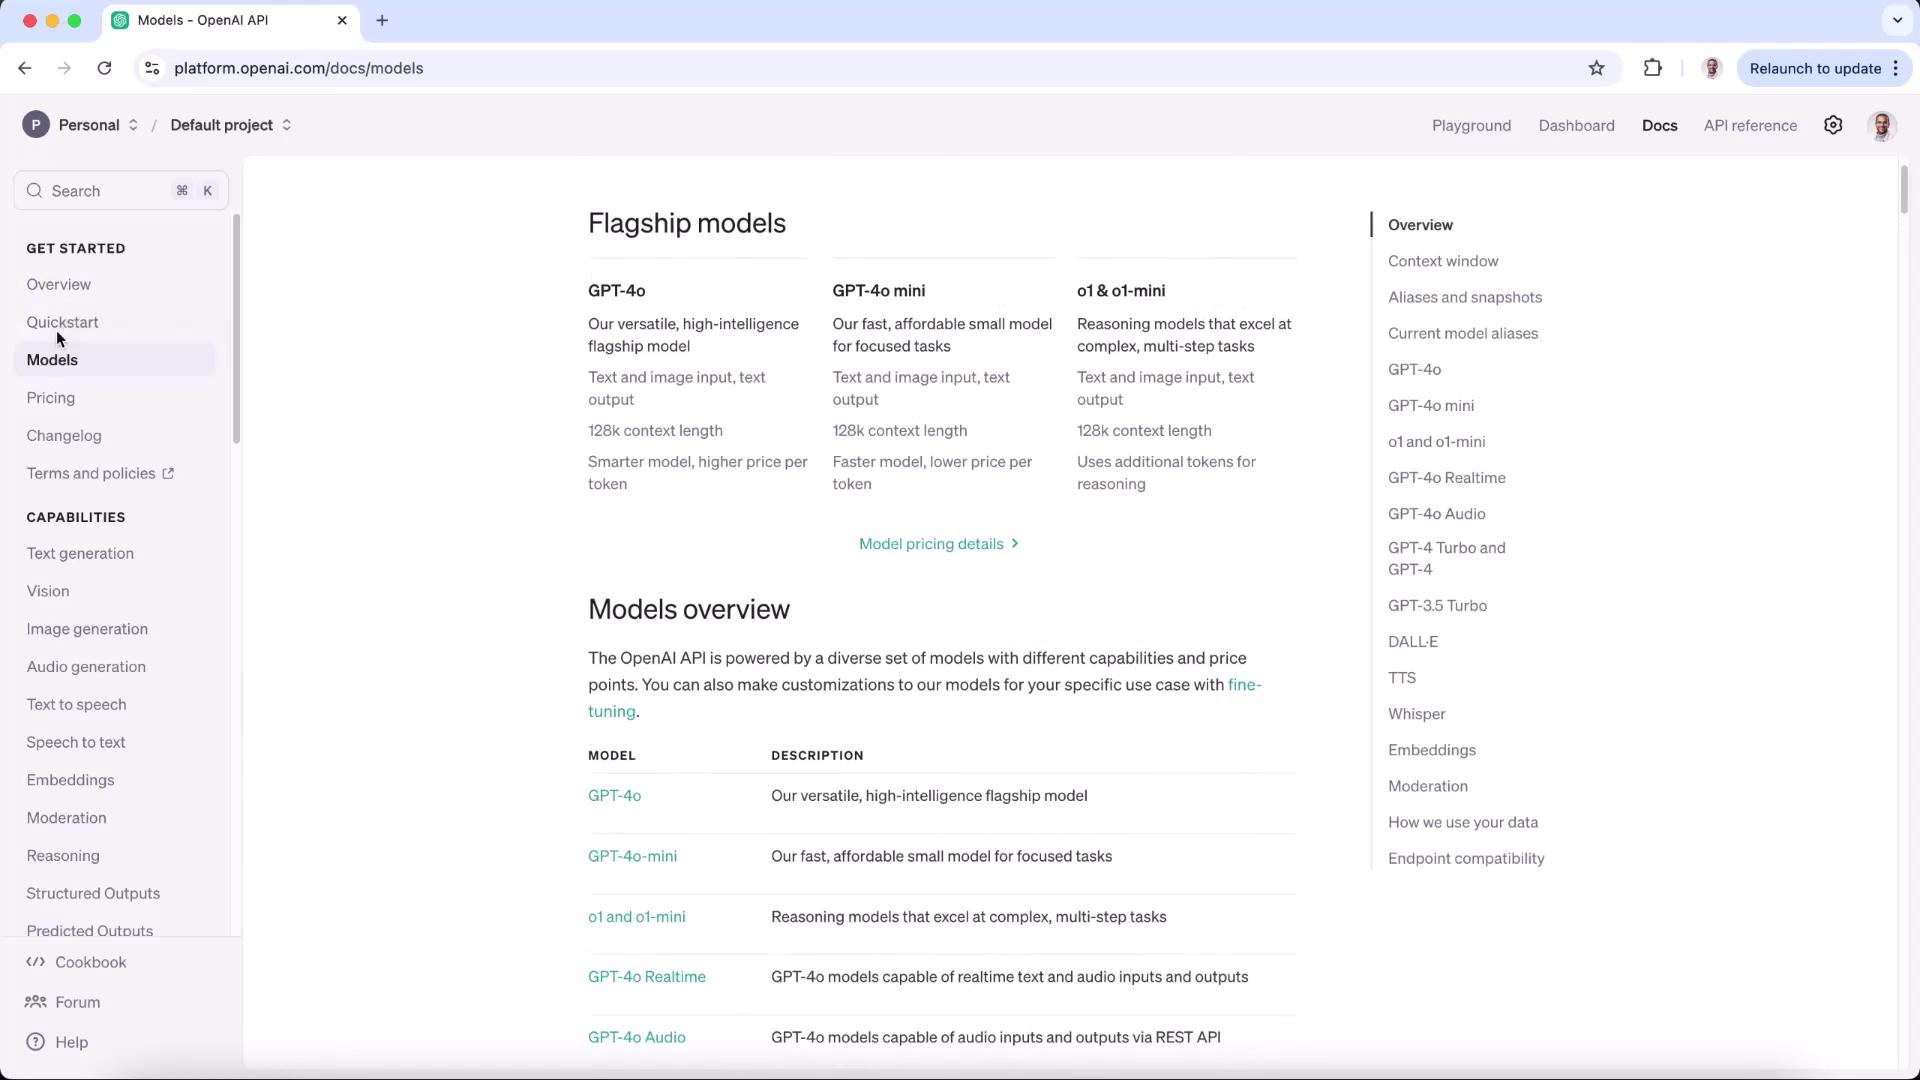
Open the [Quickstart Guide](https://platform.openai.com/docs/quickstart) or the [Models Reference](https://platform.openai.com/docs/models) to compare models. In this demo, we’ll use **gpt-4o-mini**.
| Environment | Endpoint | Model | Authentication |
| ------------------- | ------------------------------------------------------ | ----------- | -------------- |
| Local (Ollama) | [http://localhost:11434](http://localhost:11434) | o1-mini | none |
| Production (OpenAI) | [https://api.openai.com/v1](https://api.openai.com/v1) | gpt-4o-mini | Bearer API Key |
***
## 3. Update Your Environment Variables
In your project’s `.env` file, replace the Ollama endpoint with OpenAI’s and add your secret key:
```dotenv theme={null}
OPENAI_API_KEY=your_openai_api_key_here
LLM_ENDPOINT="https://api.openai.com/v1"
MODEL=gpt-4o-mini
```
***
## 4. Update the Flask Server
Install the OpenAI Python client and `python-dotenv` if you haven’t already:
```bash theme={null}
pip install openai python-dotenv Flask
```
```python theme={null}
import os
from flask import Flask, request, render_template_string
from openai import OpenAI
from dotenv import load_dotenv
load_dotenv()
app = Flask(__name__)
client = OpenAI(
api_key=os.getenv("OPENAI_API_KEY"),
base_url=os.getenv("LLM_ENDPOINT")
)
HTML_TEMPLATE = """
AI-Generated Poem
AI Poem Generator
Generated Poem:
{{ poem }}
"""
@app.route("/", methods=["GET", "POST"])
def index():
poem = None
if request.method == "POST":
prompt = request.form["prompt"]
response = client.chat.completions.create(
model=os.getenv("MODEL"),
messages=[
{"role": "system", "content": "You are a helpful assistant."},
{"role": "user", "content": prompt}
],
store=True
)
poem = response.choices[0].message.content
return render_template_string(HTML_TEMPLATE, poem=poem)
if __name__ == '__main__':
app.run(port=3000)
```
::: warning
Always use `https://api.openai.com/v1`. Requests over HTTP will be rejected with a 403 error.
:::
***
## 5. Run and Test
1. Activate your virtual environment:
```bash theme={null}
source ollama-app/bin/activate
```
2. Start the Flask server:
```bash theme={null}
python server.py
```
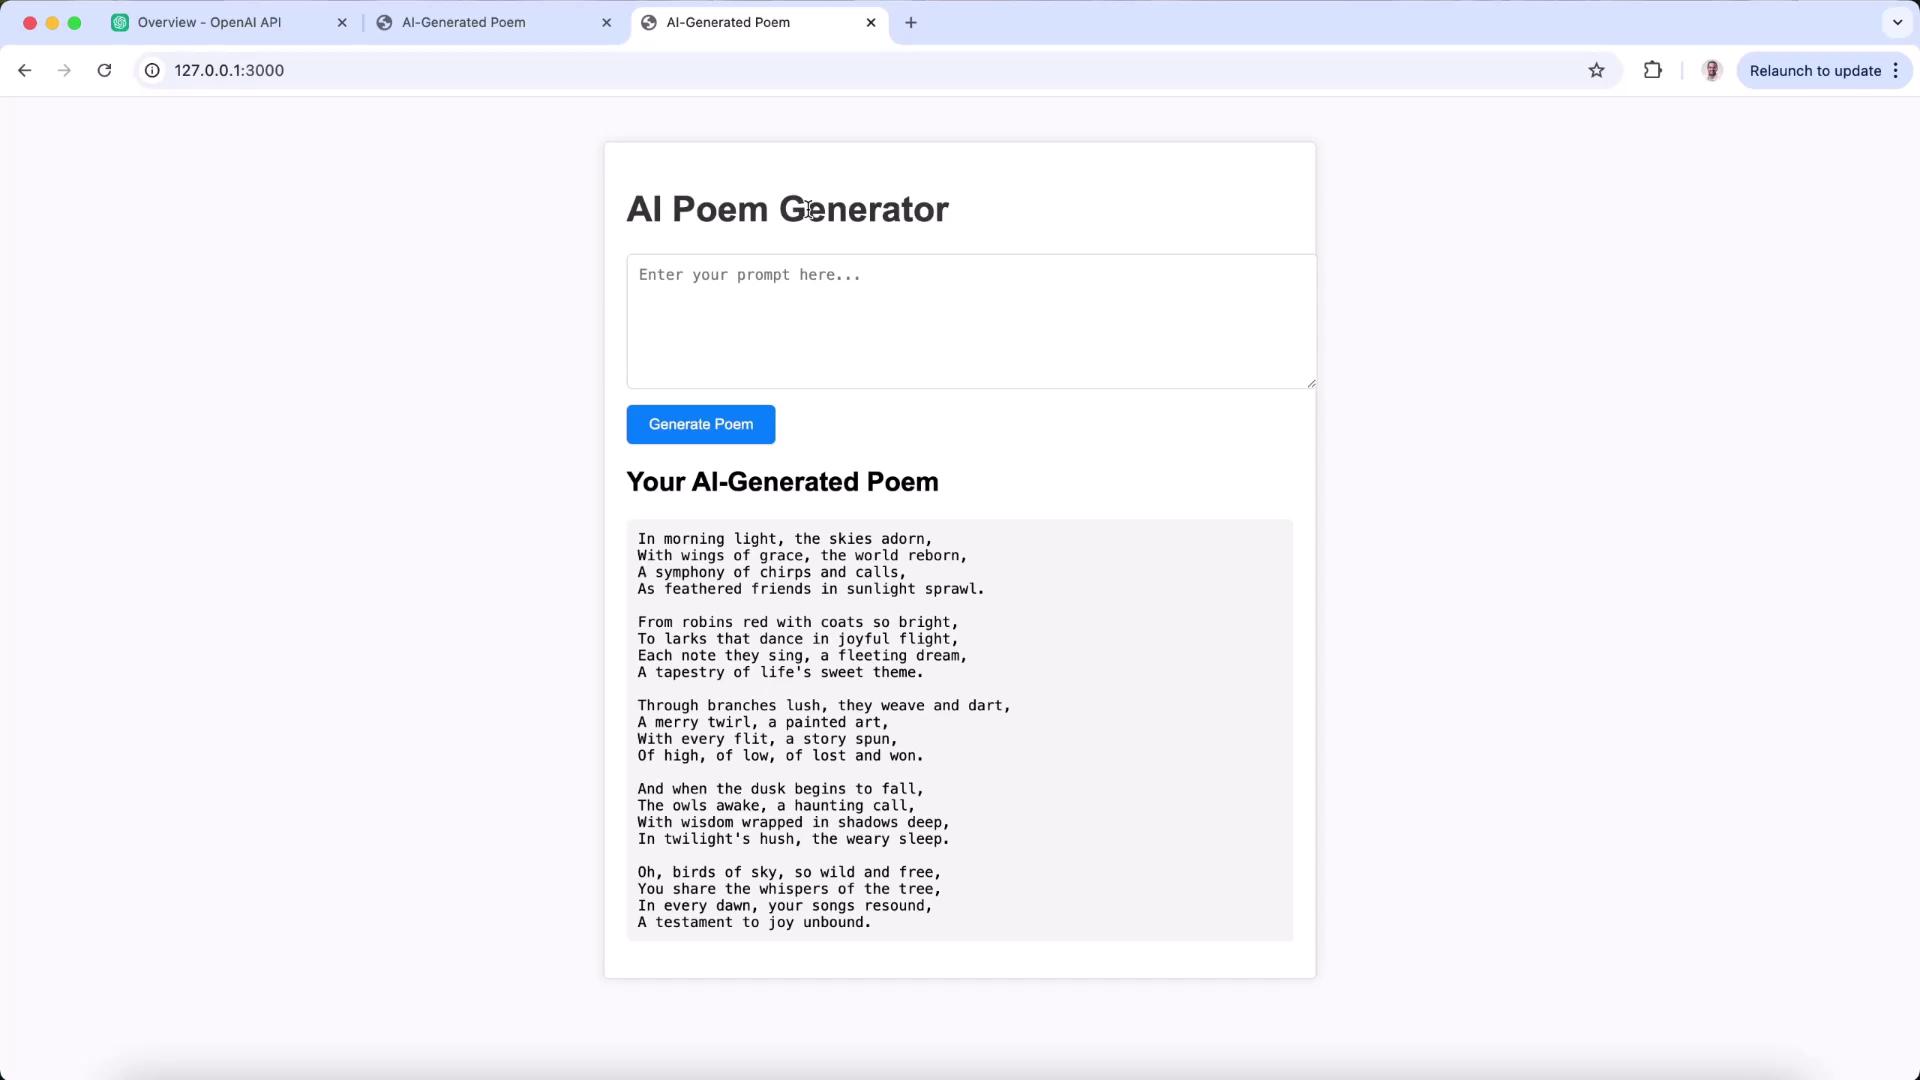
3. In your browser, go to [http://127.0.0.1:3000](http://127.0.0.1:3000), enter a prompt (e.g., “a poem on birds”) and click **Generate Poem**.
If you accidentally point to `http://api.openai.com`, you’ll see:
```json theme={null}
Error code: 403 - {
"error": {
"code": "http_unsupported",
"message": "The OpenAI API is only accessible over HTTPS. Ensure the URL starts with 'https://'."
}
}
```
Switching to the `https://` endpoint resolves this.
***
With just an environment-variable tweak, your app seamlessly transitions from local Ollama LLMs to production-ready OpenAI models.
## References
* [OpenAI Quickstart Guide](https://platform.openai.com/docs/quickstart)
* [OpenAI Models Reference](https://platform.openai.com/docs/models)
* [Python OpenAI Library](https://pypi.org/project/openai/)
* [python-dotenv Documentation](https://pypi.org/project/python-dotenv/)