> ## Documentation Index
> Fetch the complete documentation index at: https://notes.kodekloud.com/llms.txt
> Use this file to discover all available pages before exploring further.
# OpenAI Compatibility for Ollama
> This guide explains how to use Ollamas compatibility with the OpenAI API for seamless local development and production deployment.
In this guide, we’ll show how Ollama’s seamless compatibility with the OpenAI API lets you build and test LLM-powered applications locally—and then switch to the OpenAI cloud for production with zero code changes. You’ll learn how to configure your environment variables, compare development versus production setups, and follow a real-world workflow.
## Why Use OpenAI Compatibility?
By leveraging the OpenAI client libraries against a local Ollama endpoint, you get:
* Consistent API interface across development and production
* Zero code rewriting when moving to the cloud
* Full control for local testing without incurring API costs
Let’s follow Jane’s journey from local development to production-ready deployment.
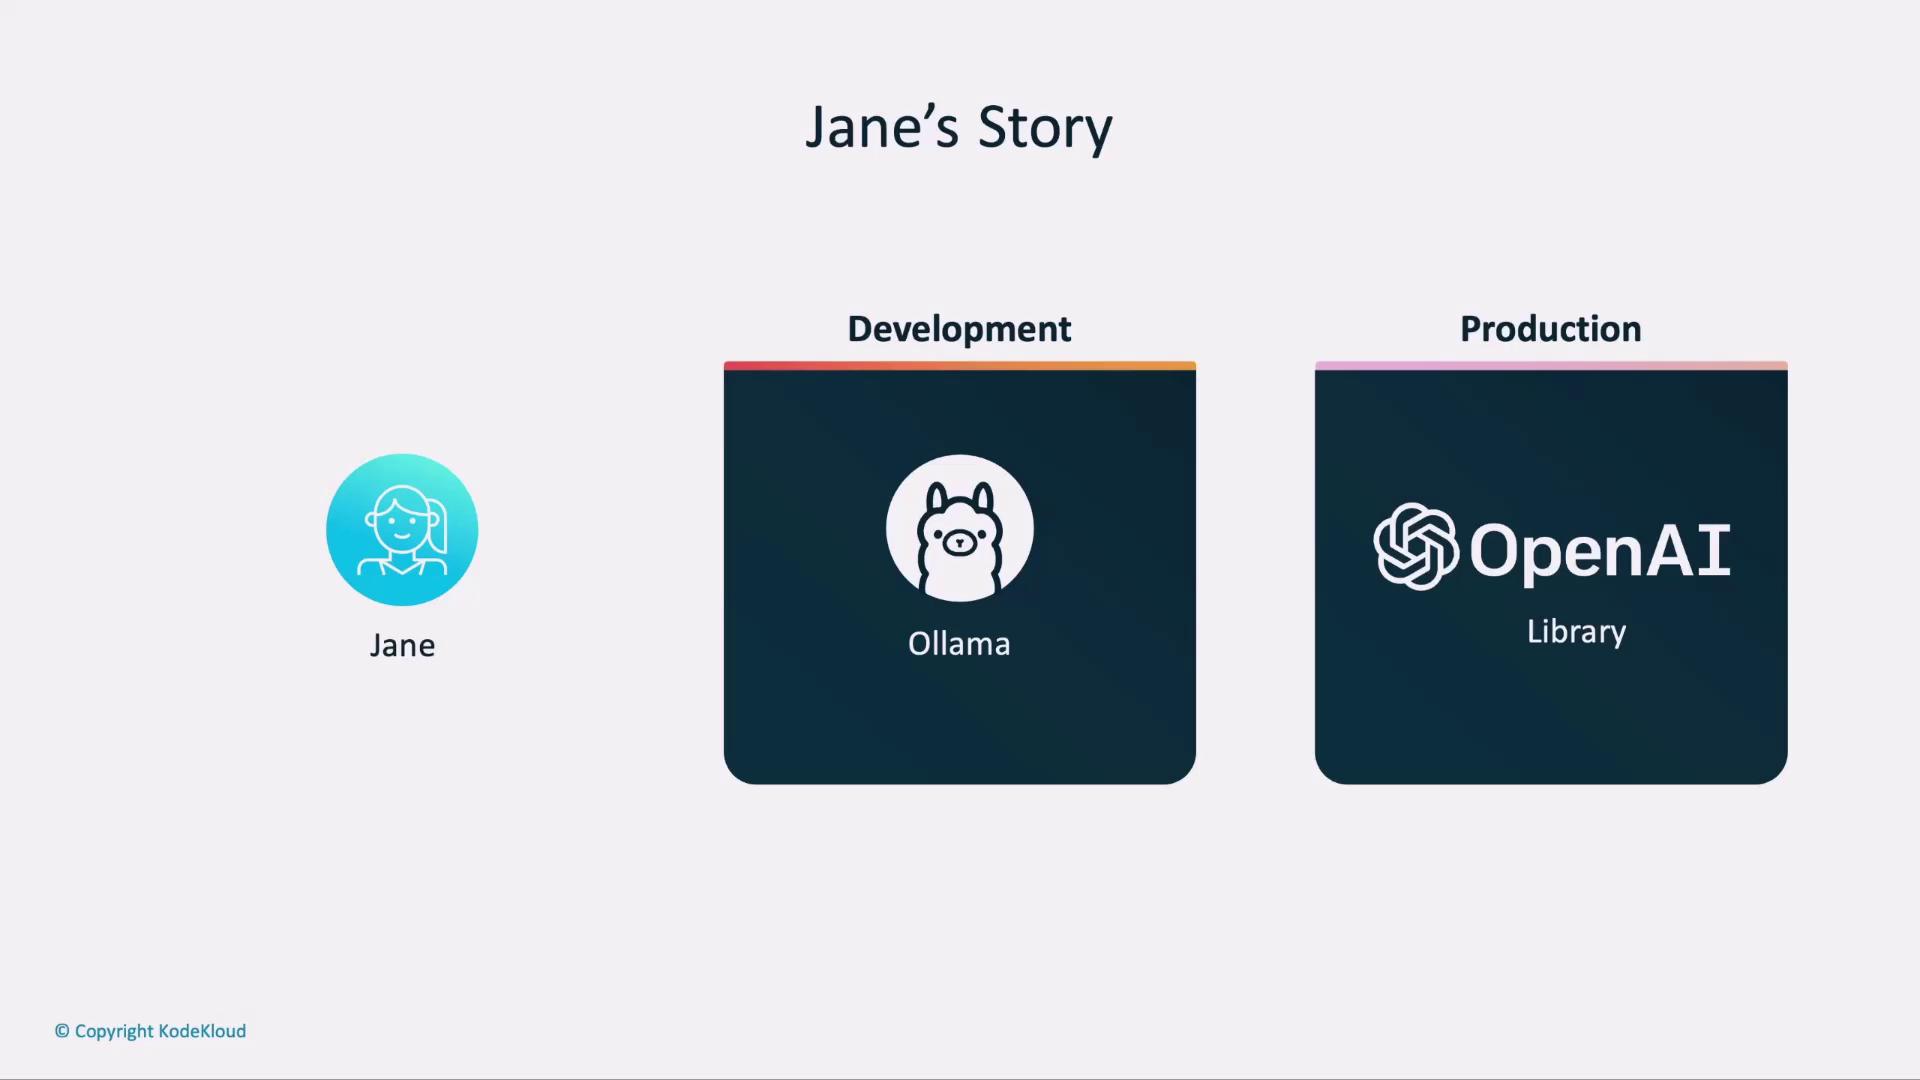
## 1. Development Environment Setup
In development, point your OpenAI client at Ollama’s REST API. Add these lines to your `.env` file:
```bash theme={null}
# .env (Development)
OPENAI_API_KEY=anyrandomtext
LLM_ENDPOINT="http://localhost:11434/v1"
MODEL=llama3:2:1b
```
Ollama does **not** validate `OPENAI_API_KEY` locally. Feel free to use a placeholder value while testing.
Then initialize your OpenAI client in code as usual:
```javascript theme={null}
import OpenAI from "openai";
const openai = new OpenAI({
apiKey: process.env.OPENAI_API_KEY,
baseURL: process.env.LLM_ENDPOINT,
});
```
## 2. Production Environment Setup
When you’re ready to go live, sign in to the [OpenAI dashboard](https://platform.openai.com/account/api-keys) to create an API key. Update your `.env` as follows:
```bash theme={null}
# .env (Production)
OPENAI_API_KEY=sk-XXXXXXXXXXXXXXXXXXXXXXXX
LLM_ENDPOINT="https://api.openai.com/v1"
MODEL=gpt-3.5-turbo
```
Keep your real `OPENAI_API_KEY` secure. Never commit it to source control or expose it in client-side code.
### Configuration Comparison
| Environment | OPENAI\_API\_KEY | LLM\_ENDPOINT | MODEL |
| ----------- | ------------------- | --------------------------- | --------------- |
| Development | `anyrandomtext` | `http://localhost:11434/v1` | `llama3:2:1b` |
| Production | Your OpenAI API key | `https://api.openai.com/v1` | `gpt-3.5-turbo` |
No changes to your application code are required—just swapping environment variables.
## 3. Next Steps
1. Generate or rotate your OpenAI API keys via the [OpenAI dashboard](https://platform.openai.com/account/api-keys).
2. Deploy your application, ensuring the production `.env` is configured.
## References
* [Ollama Documentation](https://ollama.com/docs)
* [OpenAI API Reference](https://platform.openai.com/docs/api-reference)
* [Kubernetes Basics](https://kubernetes.io/docs/concepts/overview/what-is-kubernetes/)