Running Local LLMs With Ollama
Customising Models With Ollama
Uploading Custom Models
In this tutorial, you'll learn how to share your custom local LLMs by uploading them to the Ollama model registry. We’ll start with a quick recap of model customization and then walk through the steps to publish and distribute models seamlessly.
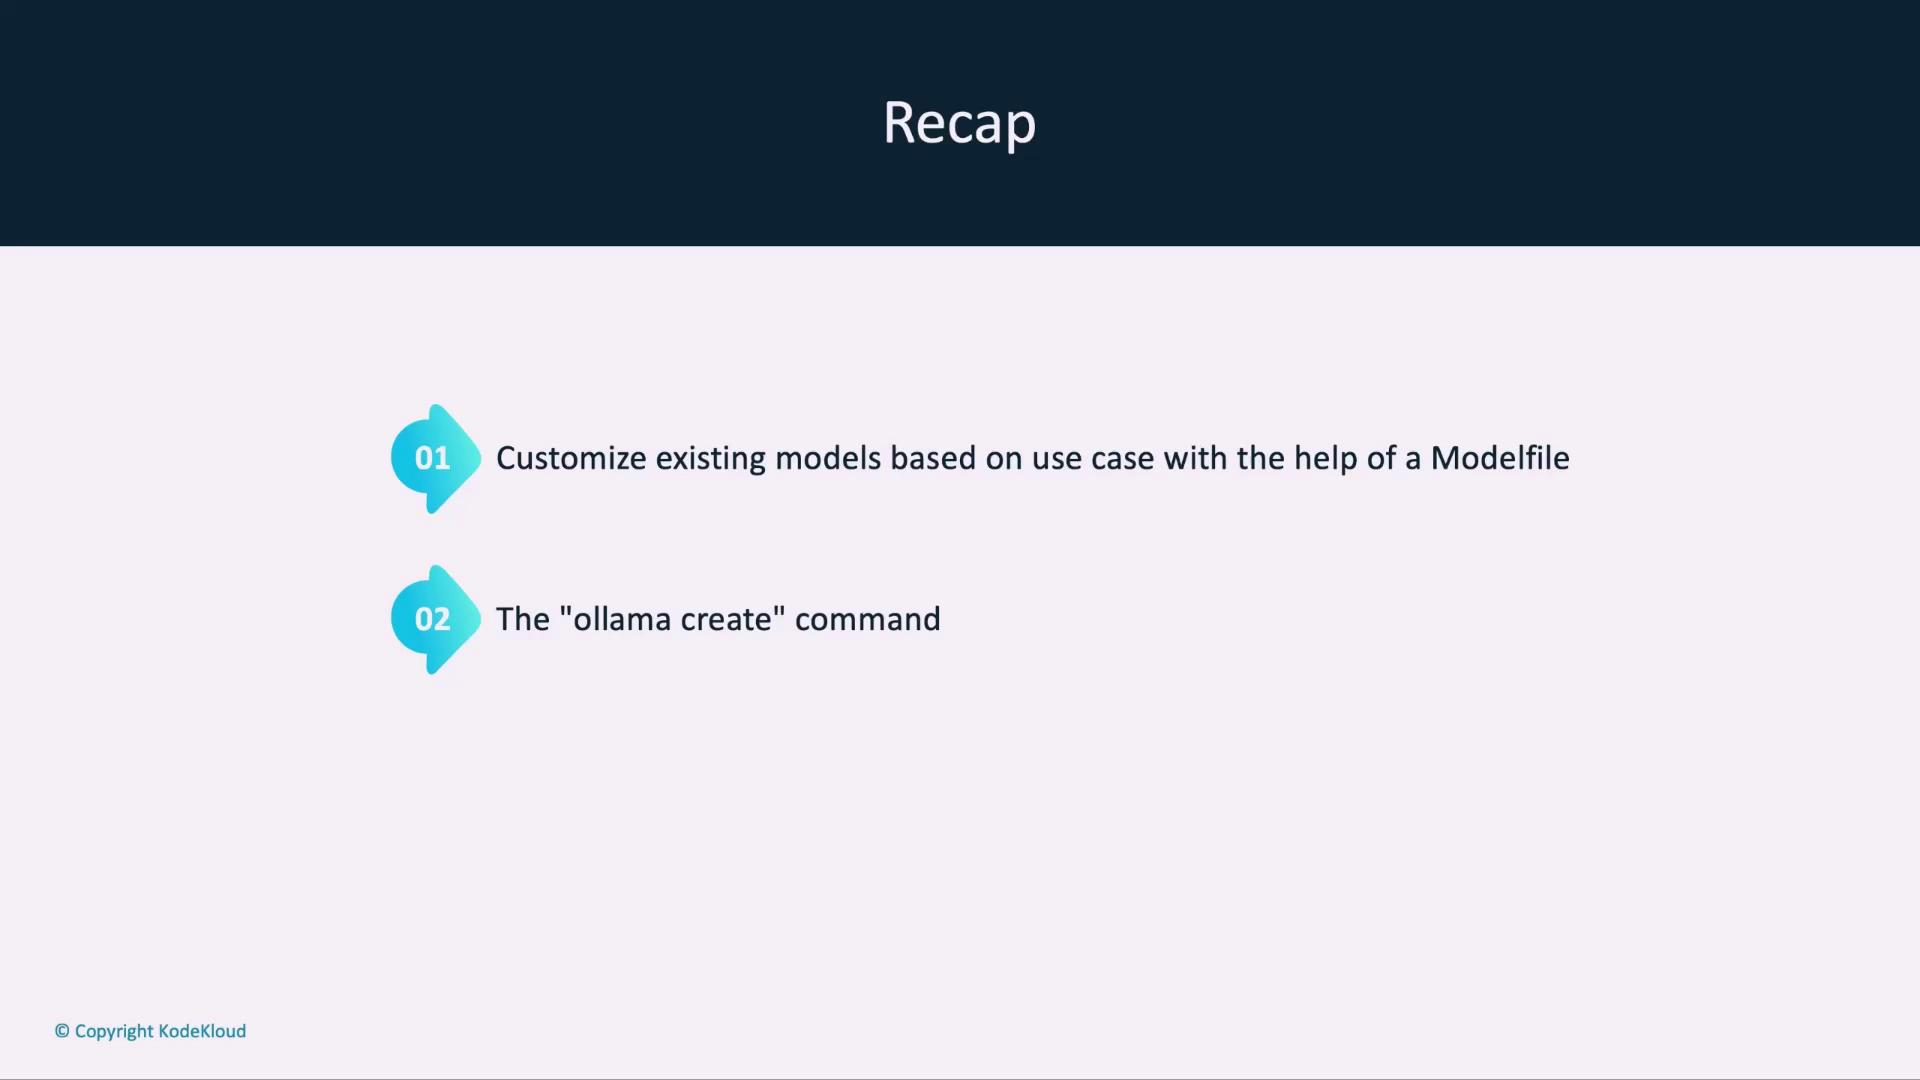
Recap
We’ve already covered:
- Customizing existing models with a
Modelfiledefinition - Building a new model using the
ollama createcommand

Why Use a Model Registry?
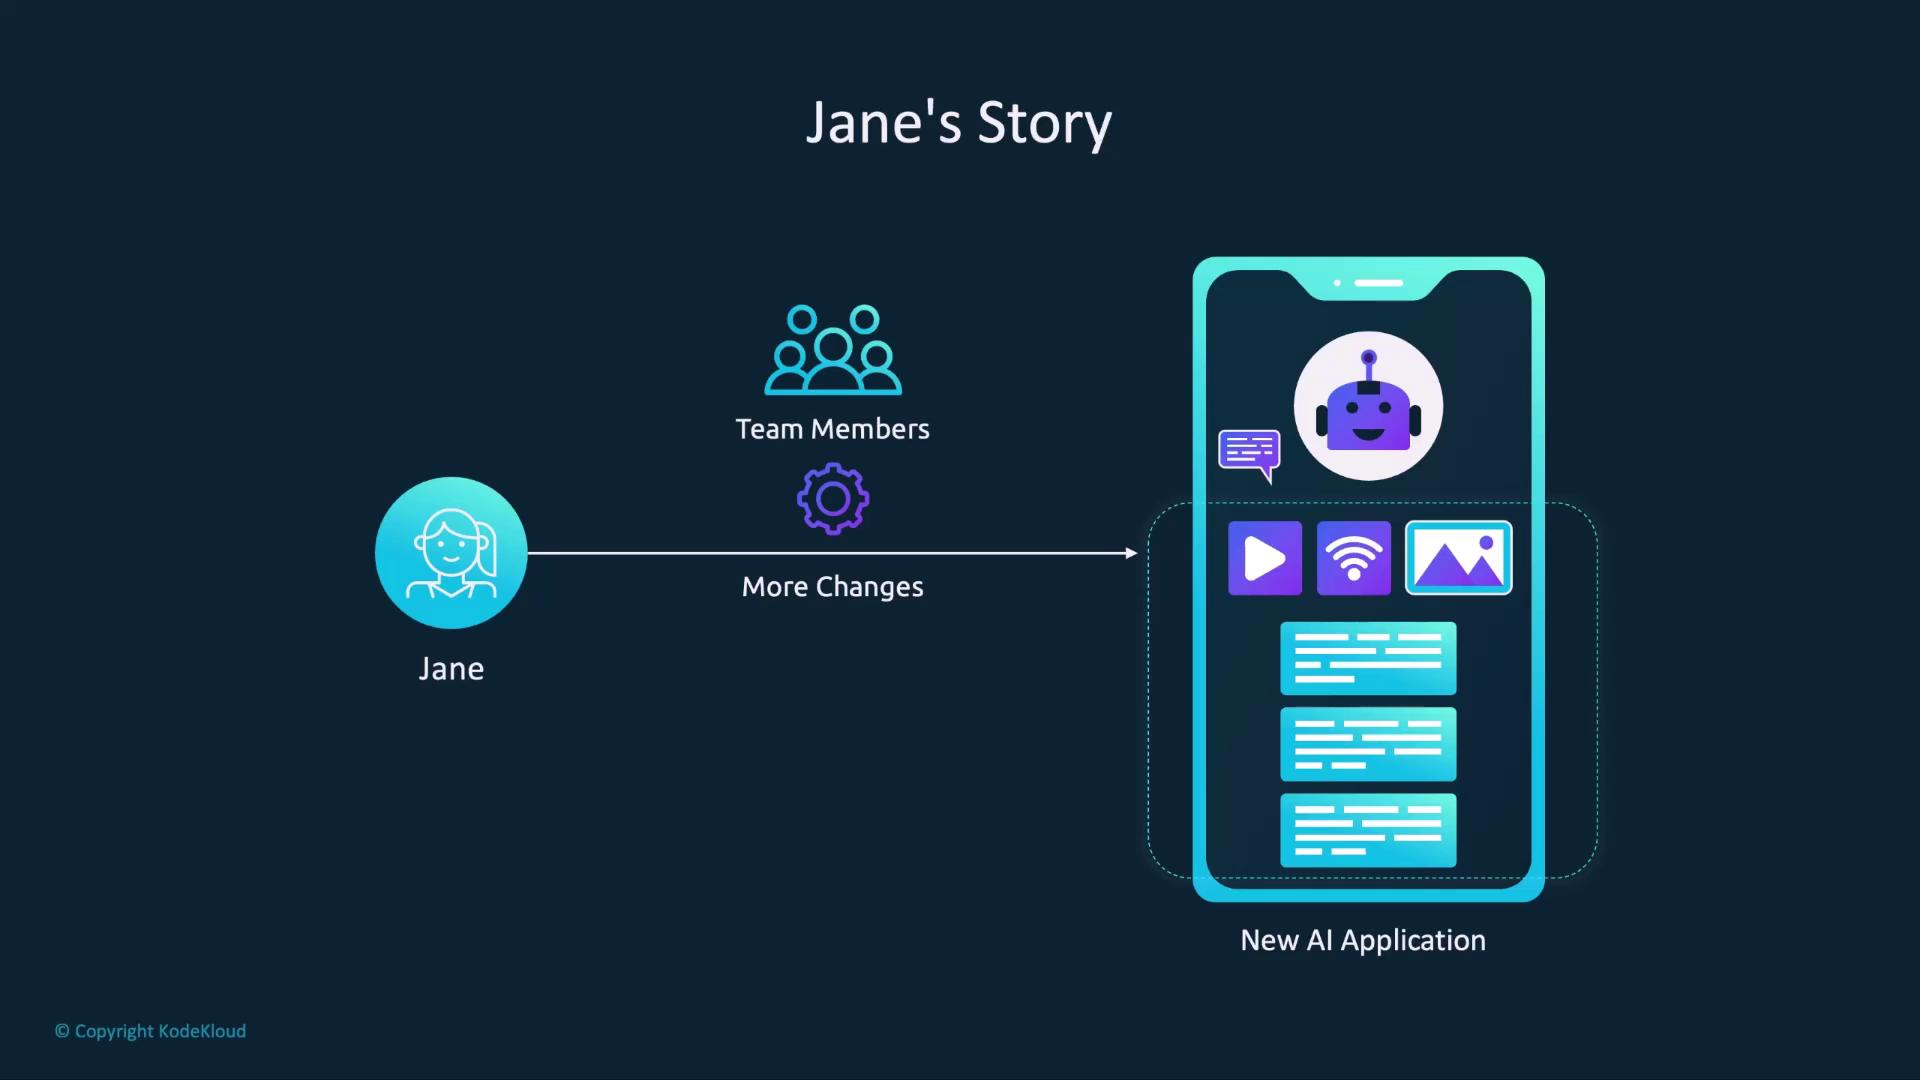
Imagine Jane, an AI developer, has fine-tuned a model for her application. Distributing the raw Modelfile means each teammate must pull and rebuild the model locally every time there’s an update—error prone and time-consuming:

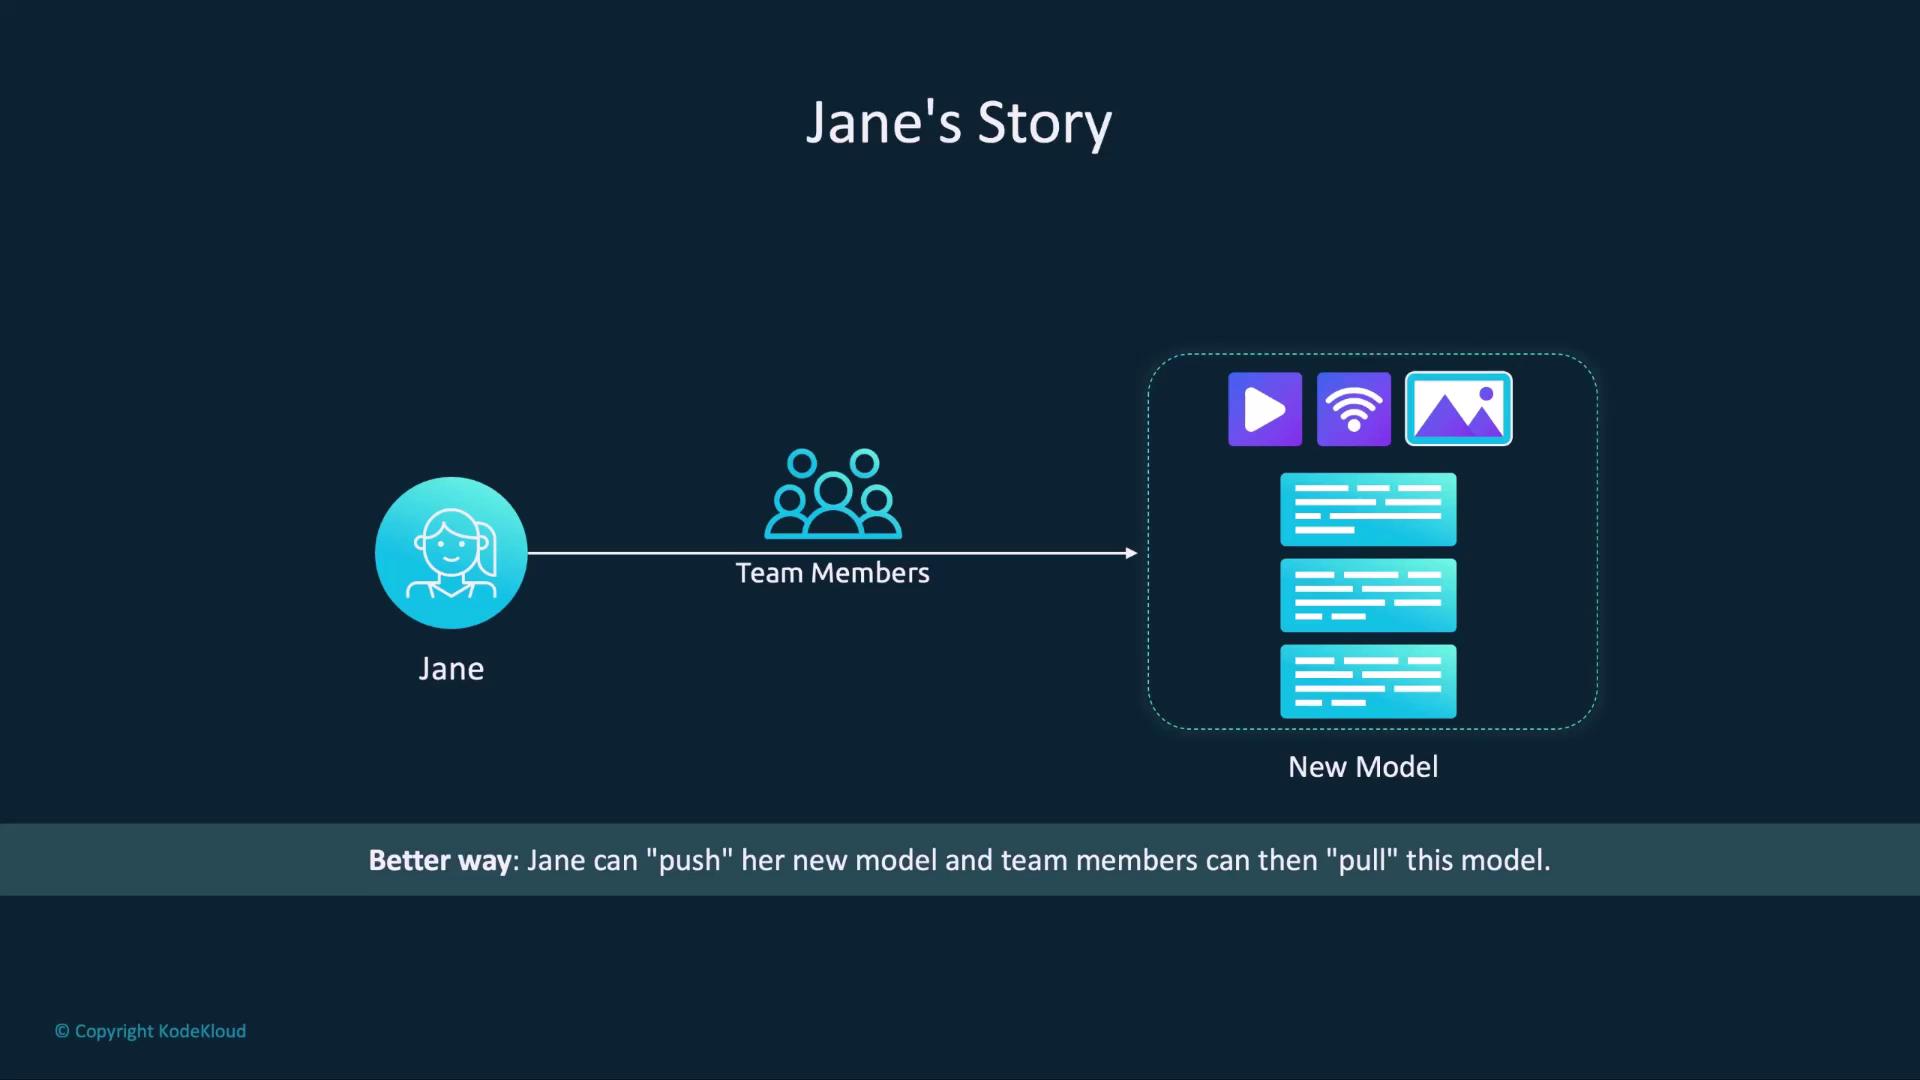
A registry-based approach mirrors how container images work with Docker Hub:
Just push updates once, and everyone can pull the latest version:

Publishing Your Model
Follow these steps to upload and share your custom model on Ollama:
Create an Ollama Account
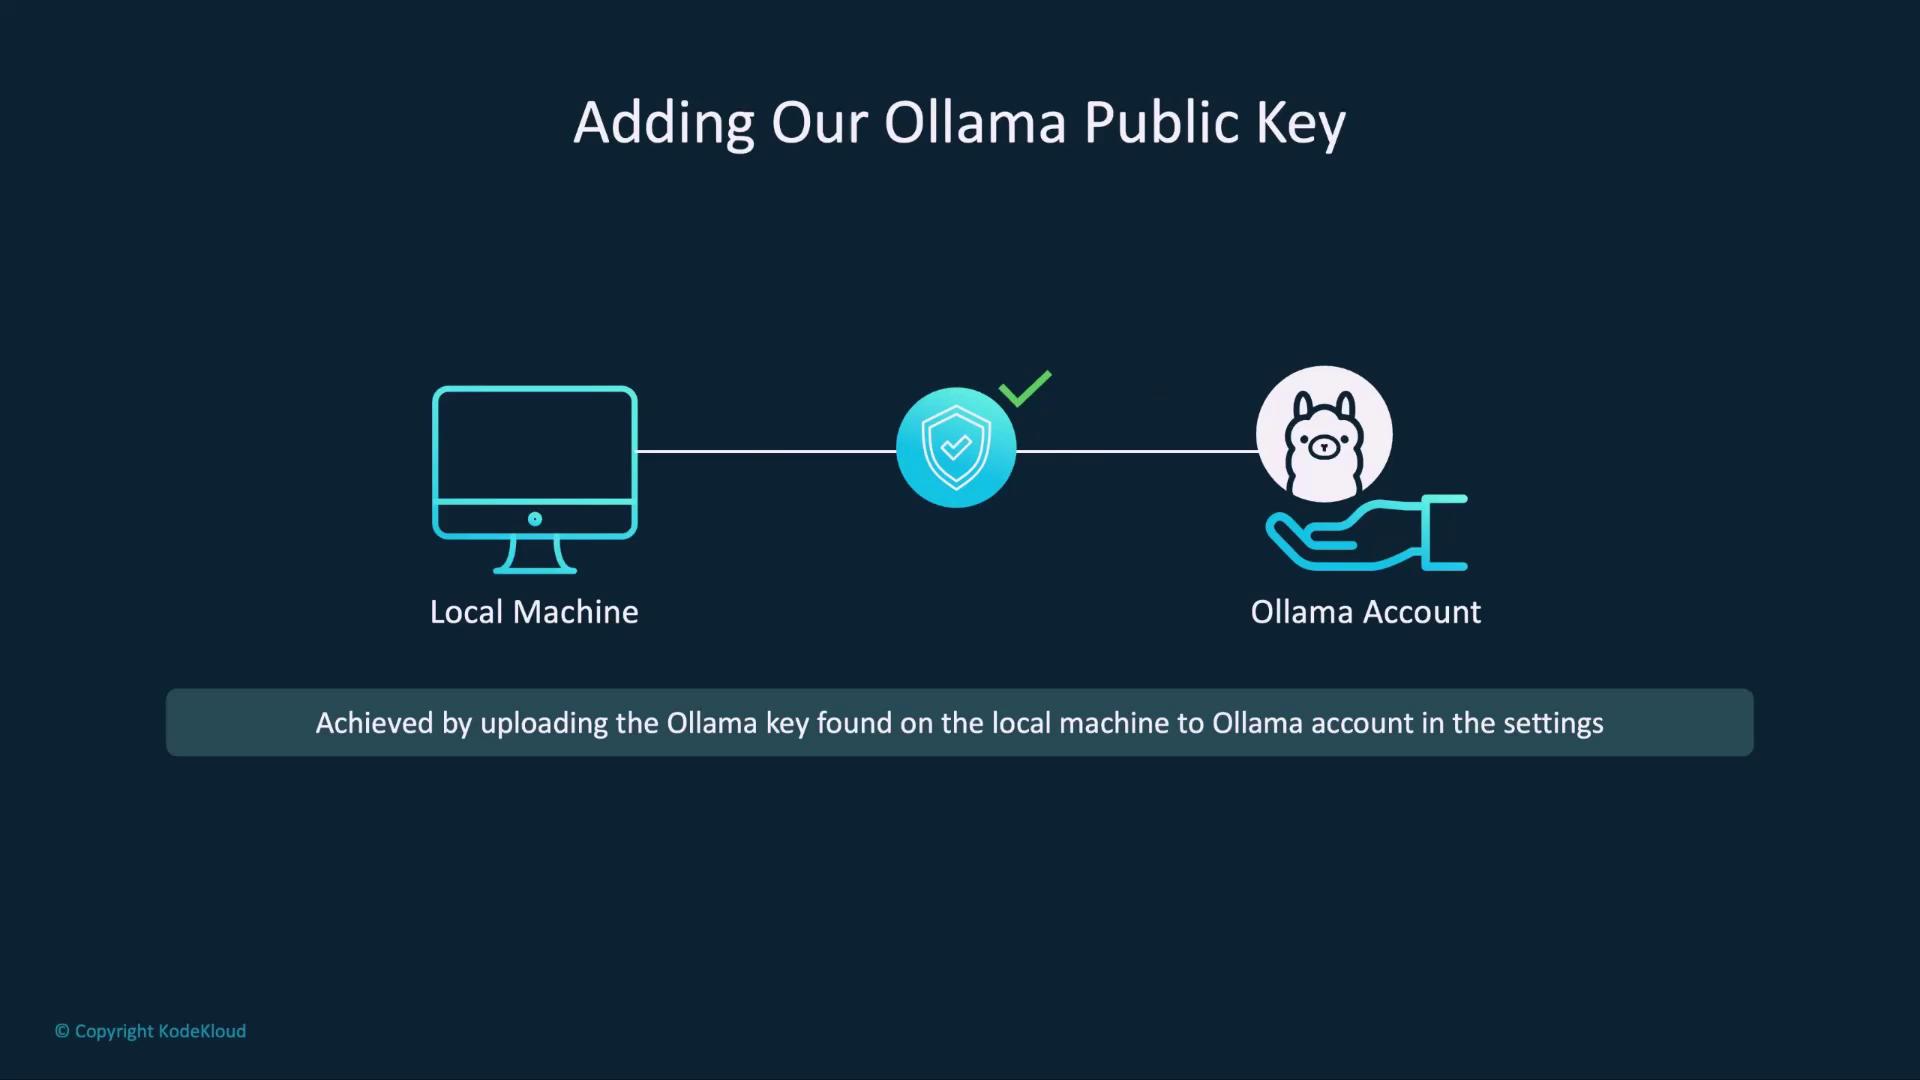
Sign up at ollama.com and verify your email. You’ll use this account to push and manage models.Configure Your SSH Public Key
Ollama uses SSH keys to authenticate model uploads. Locate or generate your public key and add it to your account settings.Platform Default Public Key Path macOS ~/.ollama/id_ed25519.pubLinux ~/.ollama/id_ed25519.pubWindows C:\Users\<username>\.ollama\id_ed25519.pubNote
If you don’t have an SSH key pair yet, generate one with:
ssh-keygen -t ed25519 -f ~/.ollama/id_ed25519 -C "[email protected]"
Tag Your Model for Your Namespace
Prefix your local model name with your Ollama username:$ ollama cp harris your_username/harris copied 'harris' to 'your_username/harris'Warning
Make sure to replace
your_usernamewith your actual Ollama username to avoid naming conflicts.Push the Model to the Registry
Upload your tagged model:$ ollama push your_username/harris retrieving manifest pushing dde5aa3fc5ff... 100% 2.0 GB pushing 966de95ca8a6... 100% 1.4 KB ... success You can find your model at: https://ollama.com/your_username/harrisView and Run Your Published Model
Open your model’s page to see details like architecture, parameters, and license—similar to Llama 3.2 and other public models. You’ll also find theollama runcommand to pull and launch the model locally:
Once configured, any update to your Modelfile can be published with:
$ ollama push your_username/harris
Teammates can instantly pull the latest build:
$ ollama run your_username/harris
Proceed to the demonstration below to see this process in action!
Links and References
Watch Video
Watch video content