> ## Documentation Index
> Fetch the complete documentation index at: https://notes.kodekloud.com/llms.txt
> Use this file to discover all available pages before exploring further.
# Structs
> This lesson explores Rusts structs, enabling organization of related data into custom types for efficient program development.
In this lesson, we explore one of Rust's fundamental features: structs. Structs allow you to organize related data into custom data types. By the end of this lesson, you’ll be confident in creating, accessing, and managing structs to build efficient Rust programs.
## What is a Struct?
In Rust, a struct is a custom data type that groups related values together. Think of a struct as a container that bundles multiple pieces of data under one name. For example, a `Person` struct can group attributes like name, age, and phone number together.
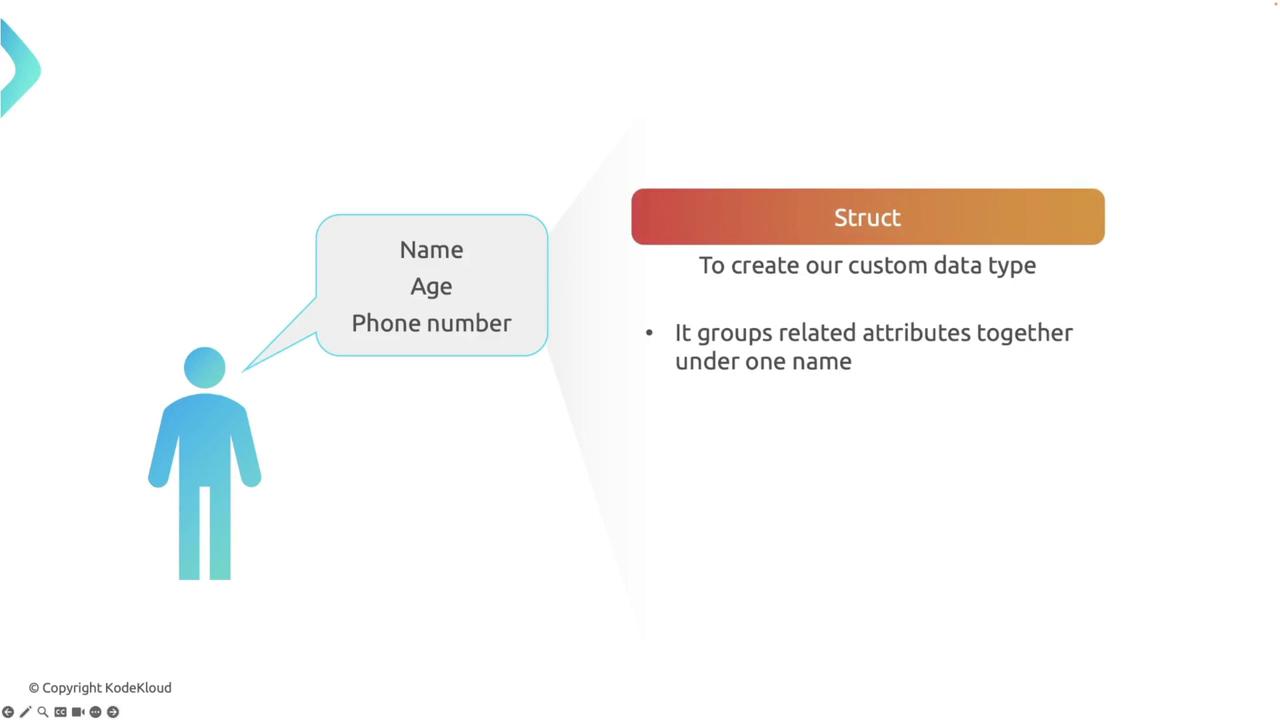
In the diagram above, the `Person` struct gathers multiple attributes—name, age, and phone number—into a single, coherent unit.
## Benefits of Using Structs
Structs offer several advantages:
* **Organization:** They encapsulate complex data into a single unit, enhancing code readability and maintainability.
* **Type Safety:** They enforce specific data types for each field.
* **Reusability:** Structs can be reused across various parts of your program, which promotes modularity.

## Defining a Struct
Defining a struct in Rust is straightforward. The basic syntax is as follows:
```plaintext theme={null}
struct StructName {
field1: FieldType1,
field2: FieldType2,
// More fields...
}
```
You begin with the `struct` keyword, followed by the struct name and a list of fields with their respective data types.
### Example: Defining a Rectangle Struct
Below is an example demonstrating how to define a `Rectangle` struct with two fields: `width` and `height` of type `u32`.
```rust theme={null}
struct Rectangle {
width: u32,
height: u32,
}
```
To create an instance of this struct, you assign concrete values to each field using the following syntax:
```rust theme={null}
fn main() {
let r1 = Rectangle {
width: 30,
height: 50,
};
println!("Width: {}", r1.width);
println!("Height: {}", r1.height);
}
```
In this example, the instance `r1` represents a rectangle with a width of 30 and a height of 50, and fields are accessed using dot notation (e.g., `r1.width`).
### Struct Field Shorthand
Rust allows for a shorthand syntax when variable names match the field names. Consider the following simplification:
```rust theme={null}
fn main() {
let width = 30;
let height = 50;
let r1 = Rectangle { width, height };
println!("Width: {}", r1.width);
println!("Height: {}", r1.height);
}
```
This shorthand makes the code cleaner by reducing redundancy.
## Struct Update Syntax
Rust supports a special update syntax that creates a new instance of a struct by copying values from an existing instance while updating specified fields:
```rust theme={null}
fn main() {
let r1 = Rectangle {
width: 30,
height: 50,
};
let r2 = Rectangle {
height: 60,
..r1
};
println!("r2 Width: {}", r2.width);
println!("r2 Height: {}", r2.height);
}
```
In this snippet, `r2` reuses the `width` from `r1` while updating the `height` to 60.
## Ownership with Structs
Understanding ownership is crucial when working with structs in Rust. Each struct field might have different ownership rules.
When you assign one struct instance to another without implementing the `Copy` trait, ownership moves, and the original variable becomes invalid.
Consider the following example:
```rust theme={null}
struct Rectangle {
width: u32,
height: u32,
}
fn main() {
let rect1 = Rectangle {
width: 30,
height: 50,
};
let rect2 = rect1; // Moves ownership from rect1 to rect2
// println!("rect1 Width: {}", rect1.width); // Error: rect1 is no longer valid
println!("rect2 Width: {}", rect2.width);
println!("rect2 Height: {}", rect2.height);
}
```
After moving ownership from `rect1` to `rect2`, attempting to access `rect1` will result in a compile-time error because `Rectangle` does not automatically implement the `Copy` trait.
## Borrowing and References
Borrowing in Rust lets you reference data without transferring its ownership. The following example demonstrates immutable borrowing:
```rust theme={null}
struct Rectangle {
width: u32,
height: u32,
}
fn print_dimensions(rect: &Rectangle) {
println!("Width: {}", rect.width);
println!("Height: {}", rect.height);
}
fn main() {
let rect1 = Rectangle {
width: 30,
height: 50,
};
print_dimensions(&rect1); // Borrow rect1 immutably
println!("rect1 Width: {}", rect1.width);
}
```
In this case, `print_dimensions` borrows `rect1` immutably. This allows continued access to `rect1` after the function call.
### Mutable Borrowing
If modifications are necessary, you must use a mutable reference. The example below illustrates mutable borrowing:
```rust theme={null}
struct Rectangle {
width: u32,
height: u32,
}
fn modify_dimensions(rect: &mut Rectangle) {
rect.width = 40;
rect.height = 60;
}
fn main() {
let mut rect1 = Rectangle {
width: 30,
height: 50,
};
modify_dimensions(&mut rect1); // Borrow rect1 mutably
println!("Modified Width: {}", rect1.width);
println!("Modified Height: {}", rect1.height);
}
```
Using `mut` on `rect1` allows its fields to be changed safely. Rust ensures only one mutable reference exists at any given time to prevent data races.
## Structs with Non-Copy Fields
When a struct contains non-copy types (e.g., `String`), the ownership rules become more pronounced.
```rust theme={null}
struct Owner {
name: String,
}
struct House {
owner: Owner,
rooms: u32,
}
fn main() {
let owner1 = Owner {
name: String::from("Alice"),
};
let house1 = House {
owner: owner1, // Move ownership of owner1 to house1
rooms: 3,
};
// println!("Owner: {}", owner1.name); // Error: owner1 is no longer valid
println!("House owner: {}", house1.owner.name);
println!("Number of rooms: {}", house1.rooms);
}
```
After moving `owner1` into `house1`, attempting to access `owner1` directly will result in a compile-time error. Access the owner's name via `house1.owner.name` instead.
## Printing Structs
By default, custom structs cannot be printed using the `{}` formatter because they do not implement the `Display` trait.
### Using the Debug Trait
The simplest solution to print a struct is to derive the `Debug` trait and use the `{:?}` formatter:
```rust theme={null}
#[derive(Debug)]
struct Point {
x: i32,
y: i32,
}
fn main() {
let p = Point { x: 5, y: 10 };
println!("{:?}", p); // Outputs: Point { x: 5, y: 10 }
}
```
### Implementing the Display Trait
For customized formatting, manually implement the `Display` trait:
```rust theme={null}
use std::fmt;
struct Point {
x: i32,
y: i32,
}
impl fmt::Display for Point {
fn fmt(&self, f: &mut fmt::Formatter) -> fmt::Result {
write!(f, "({}, {})", self.x, self.y)
}
}
fn main() {
let p = Point { x: 5, y: 10 };
println!("{}", p); // Outputs: (5, 10)
}
```
Implementing `Display` gives you full control over how the struct is printed.
***
We will continue our discussion in upcoming lessons by exploring traits and their implementations in greater detail. Happy coding!