> ## Documentation Index
> Fetch the complete documentation index at: https://notes.kodekloud.com/llms.txt
> Use this file to discover all available pages before exploring further.
# Vectors
> This article explores vectors in Rust, covering their creation, manipulation, iteration, and the ownership and borrowing rules associated with them.
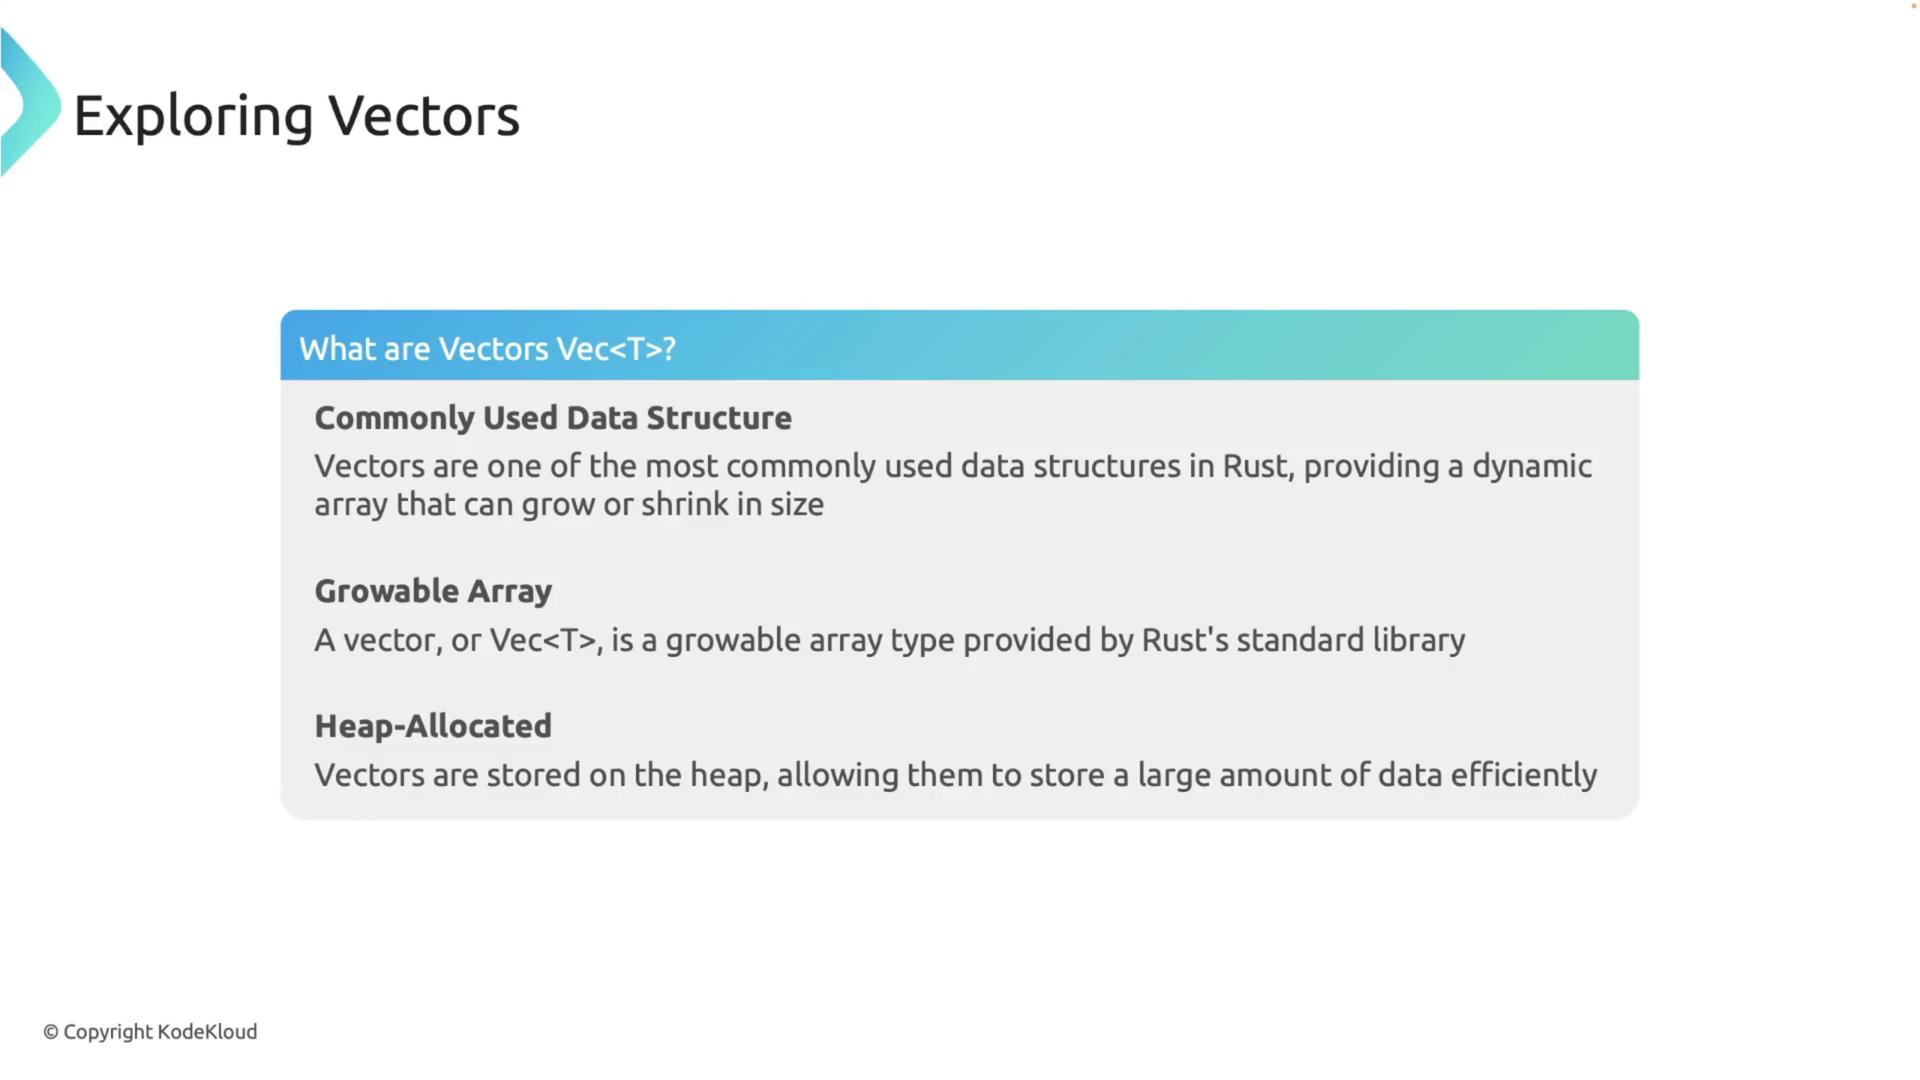
In this article, we dive into vectors in Rust—a versatile, dynamic array data structure that grows and shrinks as needed. Vectors are one of the most commonly used data structures in Rust since they provide efficient, heap-allocated storage for a variable amount of data. By the end of this article, you will understand how to create, update, iterate, and manipulate vectors in Rust while respecting its ownership and borrowing rules.
## Creating Vectors
There are several ways to create vectors in Rust. One straightforward method is using the `Vec::new()` function to generate an empty vector and then adding elements with the `push` method:
```rust theme={null}
fn main() {
let mut v: Vec = Vec::new(); // Creates an empty vector that can hold i32 values
v.push(1);
v.push(2);
v.push(3);
println!("{:?}", v); // Output: [1, 2, 3]
}
```
Alternatively, you can initialize a vector with predefined values using the `vec!` macro:
```rust theme={null}
fn main() {
let v = vec![1, 2, 3];
println!("{:?}", v); // Output: [1, 2, 3]
}
```
## Updating Vectors
Vectors are dynamic, allowing you to modify them using methods like `push`, `pop`, and `insert`:
* The `push` method appends an element to the end of the vector.
* The `pop` method removes the last element and returns it (returning `None` if the vector is empty).
* The `insert` method adds an element at a specified index, shifting other elements to the right.
### Examples
```rust theme={null}
fn main() {
// Using push
let mut v = vec![1, 2, 3];
v.push(4);
println!("{:?}", v); // Output: [1, 2, 3, 4]
}
```
```rust theme={null}
fn main() {
// Using pop
let mut v = vec![1, 2, 3, 4];
v.pop();
println!("{:?}", v); // Output: [1, 2, 3]
}
```
```rust theme={null}
fn main() {
// Using insert
let mut v = vec![1, 2, 4];
v.insert(2, 3);
println!("{:?}", v); // Output: [1, 2, 3, 4]
}
```
When accessing elements by index, using an out-of-bound index will cause the program to panic. Instead, you can use the `get` method which returns an `Option`, allowing for safer access:
```rust theme={null}
fn main() {
let v = vec![1, 2, 3];
// Accessing using indexing (may panic if out of bounds)
let third: &i32 = &v[2];
println!("The third element is {}", third); // Output: The third element is 3
}
```
```rust theme={null}
fn main() {
let v = vec![1, 2, 3];
// Accessing using get (returns Some if within bounds, otherwise None)
match v.get(2) {
Some(third) => println!("The third element is {}", third),
None => println!("There is no third element."),
}
}
```
## Iterating Over Vectors
There are various ways to iterate through a vector. You can use a simple `for` loop to iterate by reference:
```rust theme={null}
fn main() {
let v = vec![1, 2, 3];
for i in &v {
println!("{},", i);
}
}
```
Alternatively, use the `iter` method to obtain an iterator over references to the elements:
```rust theme={null}
fn main() {
let v = vec![1, 2, 3];
for i in v.iter() {
println!("{}", i);
}
}
```
If you need to modify each element while iterating, use mutable references:
```rust theme={null}
fn main() {
let mut v = vec![1, 2, 3];
for i in &mut v {
*i += 1;
}
println!("{:?}", v); // Output: [2, 3, 4]
}
```
## Common Vector Methods
### Length and Empty Check
You can check the size and emptiness of a vector with the `len` and `is_empty` methods:
```rust theme={null}
fn main() {
let v = vec![1, 2, 3];
println!("Length of the vector: {}", v.len());
}
```
```rust theme={null}
fn main() {
let v: Vec = Vec::new();
println!("Is the vector empty? {}", v.is_empty()); // Output: true
}
```
### Checking for an Element
To verify if a vector contains a specific element, use the `contains` method:
```rust theme={null}
fn main() {
let v = vec![1, 2, 3];
println!("Does the vector contain 2? {}", v.contains(&2)); // Output: true
}
```
### Removing Elements
Remove an element at a specific index with the `remove` method, which also returns the removed element:
```rust theme={null}
fn main() {
let mut v = vec![1, 2, 3, 4];
let removed = v.remove(2);
println!("Removed element: {}", removed); // Output: 3
println!("Vector after removal: {:?}", v); // Output: [1, 2, 4]
}
```
### Extending a Vector
Append elements from any iterator to the end of a vector using the `extend` method:
```rust theme={null}
fn main() {
let mut v = vec![1, 2, 3];
v.extend(vec![4, 5, 6]);
println!("{:?}", v); // Output: [1, 2, 3, 4, 5, 6]
}
```
## Ownership and Borrowing
Rust’s ownership and borrowing rules apply to vectors too. When a vector is assigned to a new variable, ownership is transferred (moved), and the original variable becomes invalid. For instance:
```rust theme={null}
fn main() {
let v = vec![1, 2, 3];
let v2 = v; // Moves v to v2
// println!("{:?}", v); // Uncommenting this line will cause a compile-time error as v is no longer valid
println!("{:?}", v2); // Output: [1, 2, 3]
}
```
To work with vectors without transferring ownership, borrow the vector or its elements using references:
```rust theme={null}
fn main() {
let v = vec![1, 2, 3];
let first = &v[0]; // Borrowing the first element
println!("The first element is {}", first); // Output: 1
println!("The vector is {:?}", v); // Output: [1, 2, 3]
}
```
### Borrowing an Entire Vector in a Function
When passing a vector to a function without transferring ownership, use a reference parameter. This way, the original vector remains valid after the function call:
```rust theme={null}
fn print_vector(v: &Vec) {
println!("The vector is: {:?}", v);
}
fn main() {
let v = vec![10, 20, 30, 40];
// Borrow the entire vector
print_vector(&v);
// The original vector is still accessible
println!("The original vector is still accessible: {:?}", v);
}
```
Understanding Rust's ownership and borrowing model is crucial when working with vectors. It helps prevent common bugs related to memory safety.
This concludes our exploration of vectors in Rust. By mastering the creation, updating, iteration, and manipulation of vectors—and by understanding Rust’s ownership and borrowing rules—you can unlock the full potential of this flexible data structure in your Rust programs.
## Further Reading
* [Rust Ownership](https://doc.rust-lang.org/book/ch04-00-understanding-ownership.html)
* [Vector Documentation](https://doc.rust-lang.org/std/vec/struct.Vec.html)