> ## Documentation Index
> Fetch the complete documentation index at: https://notes.kodekloud.com/llms.txt
> Use this file to discover all available pages before exploring further.
# Using println and logging
> This article explores debugging techniques in Rust using the println! macro and advanced logging for efficient application troubleshooting and monitoring.
In this article, we continue our debugging series in Rust by exploring two essential techniques: quick debugging with the `println!` macro and advanced logging for larger applications. These techniques are beneficial for both beginners and seasoned developers seeking to efficiently troubleshoot and monitor their applications.
***
## Quick Debugging with println!
The `println!` macro is a straightforward way to print text and variable values to the console, making it ideal for quick and simple debugging tasks. By inserting `println!` statements in your code, you can trace execution, verify variable contents, and troubleshoot conditional logic.
### Basic println! Usage
The example below illustrates how to print the values of variables using `println!`:
```rust theme={null}
fn main() {
let x = 5;
println!("The value of x is: {}", x);
let y = 10;
println!("The value of y is: {}", y);
let z = x + y;
println!("x + y = {}", z);
}
```
Incorporate `println!` statements at strategic points in your code to verify that your logic and variable states are as expected.
### Common Use Cases for println!
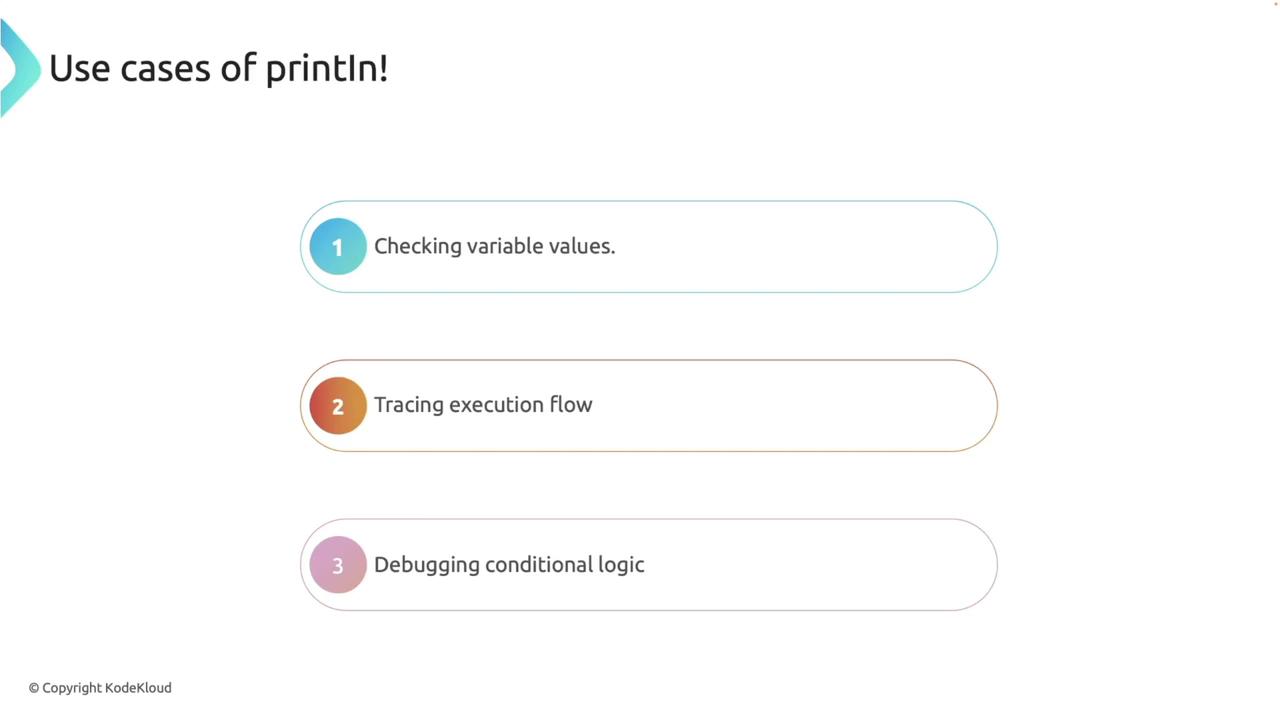
* **Printing Variable Values:** Insert print statements to display values at critical stages.
* **Tracing Execution Paths:** Log the sequence of executed code segments.
* **Evaluating Conditional Branches:** Debug if-else blocks by indicating which branch is executed.
***
## Advanced Debugging with Logging
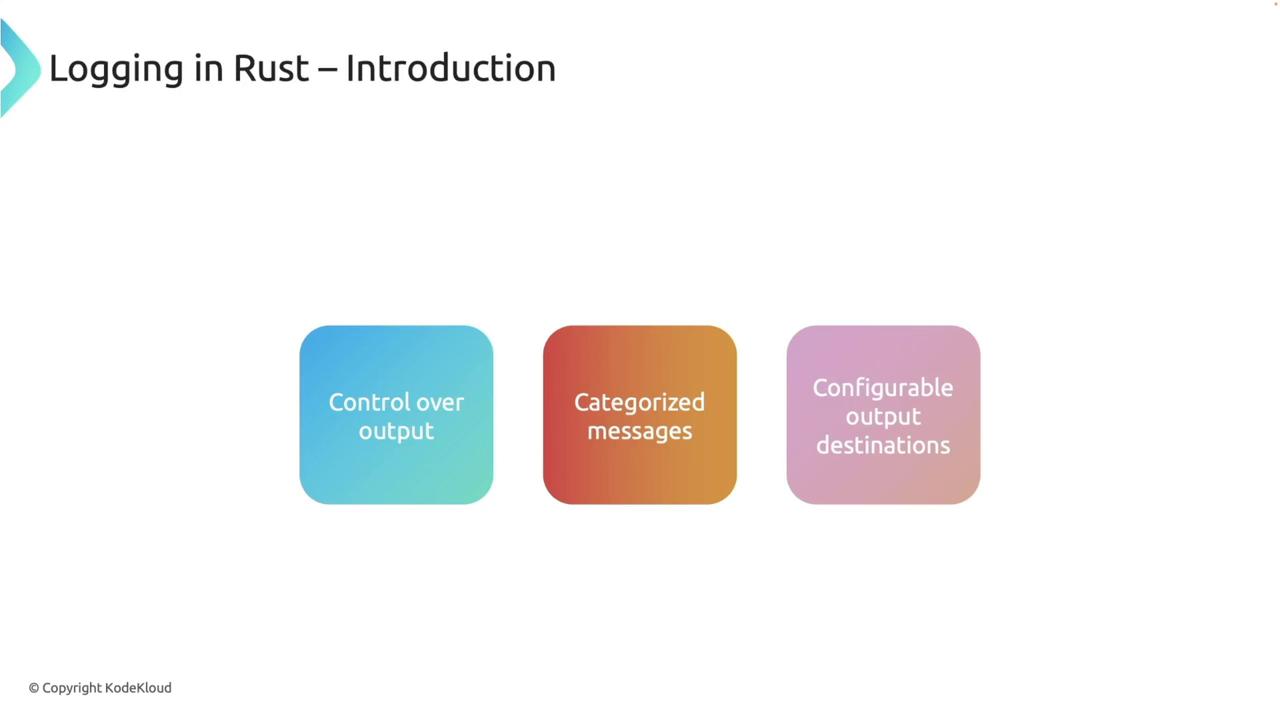
For more robust and scalable debugging, leveraging logging capabilities is essential. Logging provides finer control over the output, allowing you to define levels of verbosity, categorize messages, and choose specific output destinations.
### Why Use Logging?
* **Control Output Levels:** Filter messages based on severity (e.g., errors, warnings, debug).
* **Categorize Messages:** Utilize log levels such as info, warn, error, and debug.
* **Flexible Output Destinations:** Direct logs to the console, files, or remote systems for further analysis.
### Leveraging Rust’s Logging Ecosystem
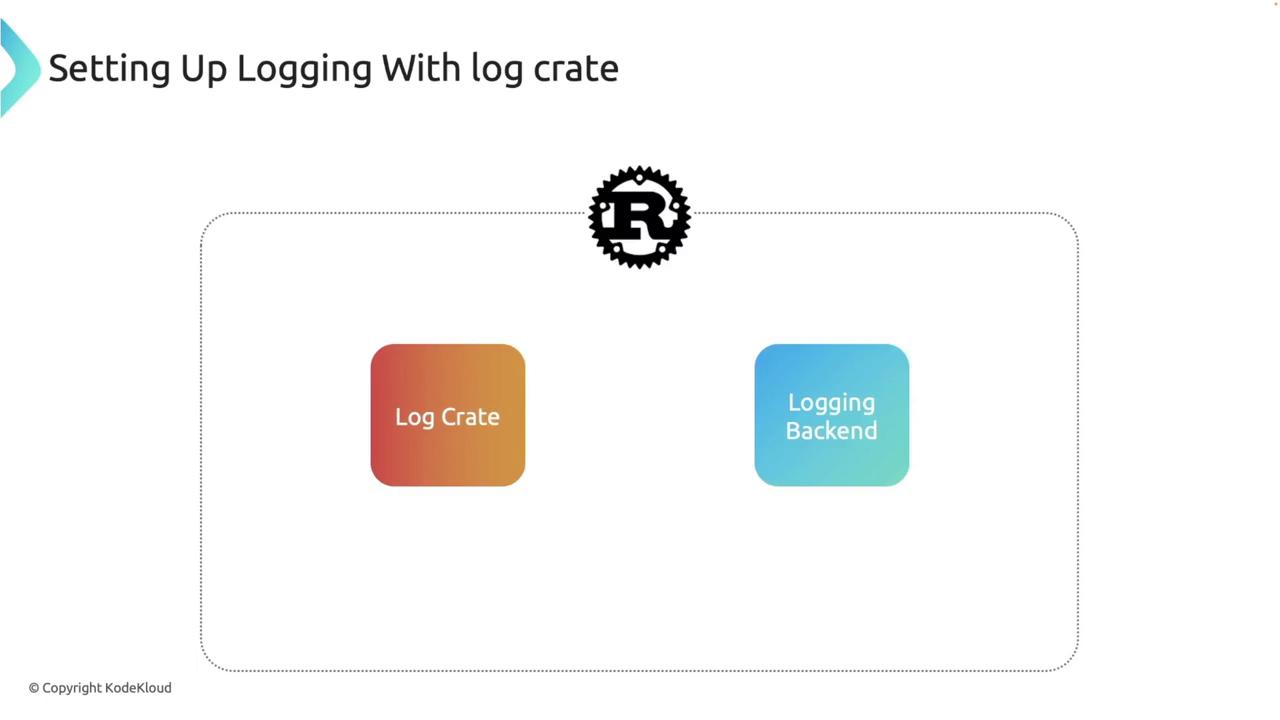
Rust offers a powerful logging ecosystem with the [log crate](https://docs.rs/log) acting as a facade. When paired with logging backends like `env_logger` or `fern`, you can build a robust logging framework tailored to your application's needs.
***
## Setting Up Logging in Your Project
To begin using logging, add the `log` and `env_logger` crates to your `Cargo.toml` file:
```toml theme={null}
[dependencies]
env_logger = "0.11.5"
log = "0.4.22"
```
Once added, building your project might output messages indicating the installation of related dependencies:
```bash theme={null}
Adding is_terminal_polyfill v1.70.1
Adding memchr v2.7.4
Adding regex v1.11.1
...
debug_rust on 'master' [?] is v0.1.0 via v1.82.0 took 3s
```
The `log` crate provides logging macros such as `info!`, `warn!`, `error!`, and `debug!`, while `env_logger` handles formatting and output based on the environment configuration.
### Basic Logging Example
The following code demonstrates how to initialize the logger and output various log messages:
```rust theme={null}
use env_logger;
use log::{debug, error, info, warn};
fn main() {
env_logger::init(); // Initialize the logger
info!("Application started");
warn!("This is a warning message");
error!("An error occurred");
debug!("This is a debug message");
}
```
By default, `env_logger` only prints log messages at the error level and above. To view more detailed logs, set the `RUST_LOG` environment variable:
```bash theme={null}
# Run with info level logging
RUST_LOG=info cargo run --quiet
```
To include debug messages, use:
```bash theme={null}
RUST_LOG=debug cargo run --quiet
```
Remember that the default settings in `env_logger` filter out debug messages when the log level is set to info.
***
## Logging with Application Logic
Enhance your application by combining logging with business logic. Consider the following example where configuration status is checked and a division function is utilized to demonstrate error handling with appropriate logging:
```rust theme={null}
use env_logger;
use log::{debug, error, info, warn};
fn main() {
env_logger::init(); // Initialize the logger
info!("Application started");
let config_loaded: bool = false; // Simulate whether the config file is loaded
if !config_loaded {
warn!("Configuration not loaded; using defaults");
}
let result: Result = divide(10, 0); // Attempt division by zero
match result {
Ok(value) => info!("Division successful: {}", value),
Err(e) => error!("Failed to divide: {}", e),
}
debug!("Application finished");
}
fn divide(a: i32, b: i32) -> Result {
if b == 0 {
Err(String::from("Division by zero"))
} else {
Ok(a / b)
}
}
```
Run the application with debug logging enabled:
```bash theme={null}
RUST_LOG=debug cargo run --quiet
```
Expected output:
```plaintext theme={null}
[2024-11-23T21:14:22Z INFO debug_rust] Application started
[2024-11-23T21:14:22Z WARN debug_rust] Configuration not loaded; using defaults
[2024-11-23T21:14:22Z ERROR debug_rust] Failed to divide: Division by zero
[2024-11-23T21:14:22Z DEBUG debug_rust] Application finished
```
***
## Customizing Log Format with env\_logger and chrono
For more control over how logs are formatted, you can customize `env_logger` with the help of the `chrono` crate. This allows you to include timestamps and format messages to your preference.
First, add the `chrono` crate:
```bash theme={null}
cargo add chrono
```
Then, set up your custom logger as follows:
```rust theme={null}
use chrono::Local;
use env_logger::Builder;
use log::{debug, error, info, warn, LevelFilter};
use std::io::Write;
fn main() {
// Initialize the logger with customized settings
Builder::new()
.filter(None, LevelFilter::Debug) // Default log level set to Debug
.format(|buf, record| {
writeln!(
buf,
"{} [{}] - {}",
Local::now().format("%Y-%m-%d %H:%M:%S"), // Timestamp
record.level(), // Log level
record.args() // Log message
)
})
.init();
info!("Application started");
let config_loaded: bool = false; // Simulate configuration loading
if !config_loaded {
warn!("Configuration not loaded; using defaults");
}
let result: Result = divide(10, 0);
match result {
Ok(value) => info!("Division successful: {}", value),
Err(e) => error!("Failed to divide: {}", e),
}
debug!("Application finished");
}
fn divide(a: i32, b: i32) -> Result {
if b == 0 {
Err(String::from("Division by zero"))
} else {
Ok(a / b)
}
}
```
Run the program with debug logging:
```bash theme={null}
RUST_LOG=debug cargo run --quiet
```
Sample output:
```plaintext theme={null}
2024-11-24 02:51:30 [INFO] - Application started
2024-11-24 02:51:30 [WARN] - Configuration not loaded; using defaults
2024-11-24 02:51:30 [ERROR] - Failed to divide: Division by zero
2024-11-24 02:51:30 [DEBUG] - Application finished
```
***
## Redirecting Logs to a File
Redirecting logs to a file can be useful for persistent logging. The following example demonstrates how to write logs to a file named `output.log`:
```rust theme={null}
use std::fs::OpenOptions;
use std::io::Write;
use env_logger::Builder;
use chrono::Local;
use log::{debug, error, info, warn, LevelFilter};
fn main() {
// Open or create the log file
let file = OpenOptions::new()
.create(true) // Create the file if it doesn't exist
.write(true) // Open the file for writing
.append(true) // Append messages to the file
.open("output.log")
.unwrap(); // Be sure to handle errors appropriately in production
// Initialize the logger with custom settings directing output to the file
Builder::new()
.filter(None, LevelFilter::Debug)
.format(|buf, record| {
writeln!(
buf,
"{} [{}] - {}",
Local::now().format("%Y-%m-%d %H:%M:%S"),
record.level(),
record.args()
)
})
.target(env_logger::Target::Pipe(Box::new(file))) // Redirect logs to output.log
.init();
info!("Application started");
let config_loaded: bool = false; // Simulate configuration status
if !config_loaded {
warn!("Configuration not loaded; using defaults");
}
let result: Result = divide(10, 0);
match result {
Ok(value) => info!("Division successful: {}", value),
Err(e) => error!("Failed to divide: {}", e),
}
debug!("Application finished");
}
fn divide(a: i32, b: i32) -> Result {
if b == 0 {
Err(String::from("Division by zero"))
} else {
Ok(a / b)
}
}
```
After running this application, all log output will be written to `output.log` instead of the terminal.
***
## Best Practices for Logging in Rust
Implement these best practices to ensure your logging system is both effective and secure:
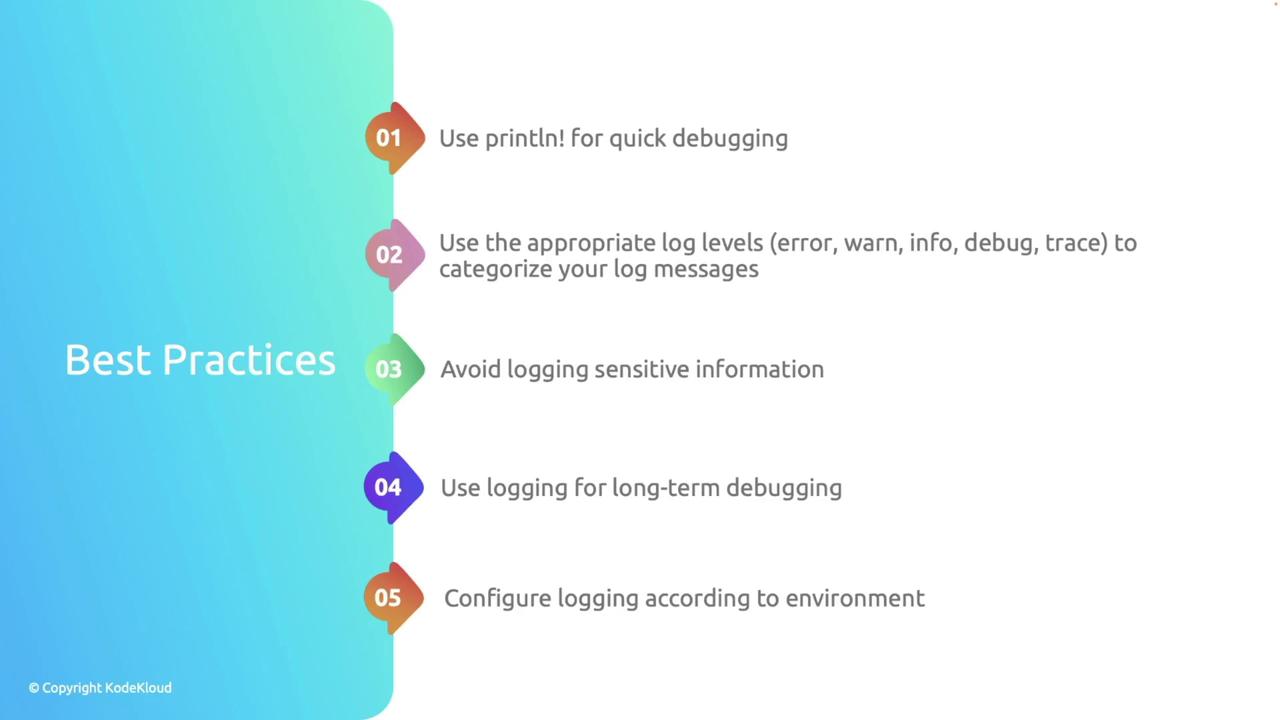
| Best Practice | Description |
| ----------------------------------- | ---------------------------------------------------------------------------------------------- |
| Use println! for Quick Debugging | Ideal for small tests; avoid overusing it in larger, production-grade applications. |
| Categorize Message Levels | Use appropriate levels like info, warn, error, and debug for better filtering. |
| Avoid Logging Sensitive Data | Ensure that sensitive or personal data is not inadvertently logged, especially in production. |
| Use Logging for Long-term Debugging | Rely on a robust logging system for ongoing maintenance instead of temporary print statements. |
| Environment-specific Configuration | Apply verbose logging in development and restrict output in production environments. |
Always ensure that sensitive data, including credentials and personal information, is never logged to avoid security risks.
By tailoring your logging system to match your application's needs, you can significantly improve real-time debugging and production monitoring.
Happy debugging and coding in Rust!