> ## Documentation Index
> Fetch the complete documentation index at: https://notes.kodekloud.com/llms.txt
> Use this file to discover all available pages before exploring further.
# Setting up the Development Environment
> This guide explains how to set up a Rust development environment on various operating systems and create a simple Rust project.
In this guide, you will learn how to set up your Rust development environment on Windows, macOS, Linux, or any UNIX-like operating system. Rust is a modern, high-performance programming language known for its safety and speed. Follow the steps below to install Rust and set up an integrated development environment (IDE) optimized for Rust development.
## Installing Rust with Rustup
The recommended method to install Rust is by using Rustup, the official toolchain installer. This tool manages the installation, update, and uninstallation of Rust components.
1. Open your terminal and run the following command to start the installation:
```bash theme={null}
curl --proto '=https' --tlsv1.2 -sSf https://sh.rustup.rs | sh
```
This command launches the installation process and prompts you to choose your installation options. Proceed with the standard installation.
2. Once installed, verify the installation by checking the versions of the Rust compiler (`rustc`) and the package manager (`cargo`). Run:
```bash theme={null}
rustc --version
cargo --version
```
You should see output similar to:
```bash theme={null}
rustc 1.81.0 (eeb90cda1 2024-09-04)
cargo 1.81.0 (2dbb1af80 2024-08-20)
```
3. Update your Rust toolchain to the latest stable version:
```bash theme={null}
rustup update
```
The terminal will display updates for the Rust compiler, Cargo, and Rustup itself. For example:
```bash theme={null}
info: syncing channel updates for 'stable-aarch64-apple-darwin'
info: checking for self-update
stable-aarch64-apple-darwin unchanged - rustc 1.81.0 (eeb90cda1 2024-09-04)
info: cleaning up downloads & tmp directories
```
4. To access the comprehensive local Rust documentation via your default web browser, run:
```bash theme={null}
rustup doc
```
Alternatively, you can open the Cargo-generated documentation with:
```plaintext theme={null}
cargo doc --open
```
## Setting Up Your Integrated Development Environment (IDE)
An efficient IDE boosts your productivity when working with Rust. We recommend Visual Studio Code (VS Code) in combination with the Rust Analyzer extension.
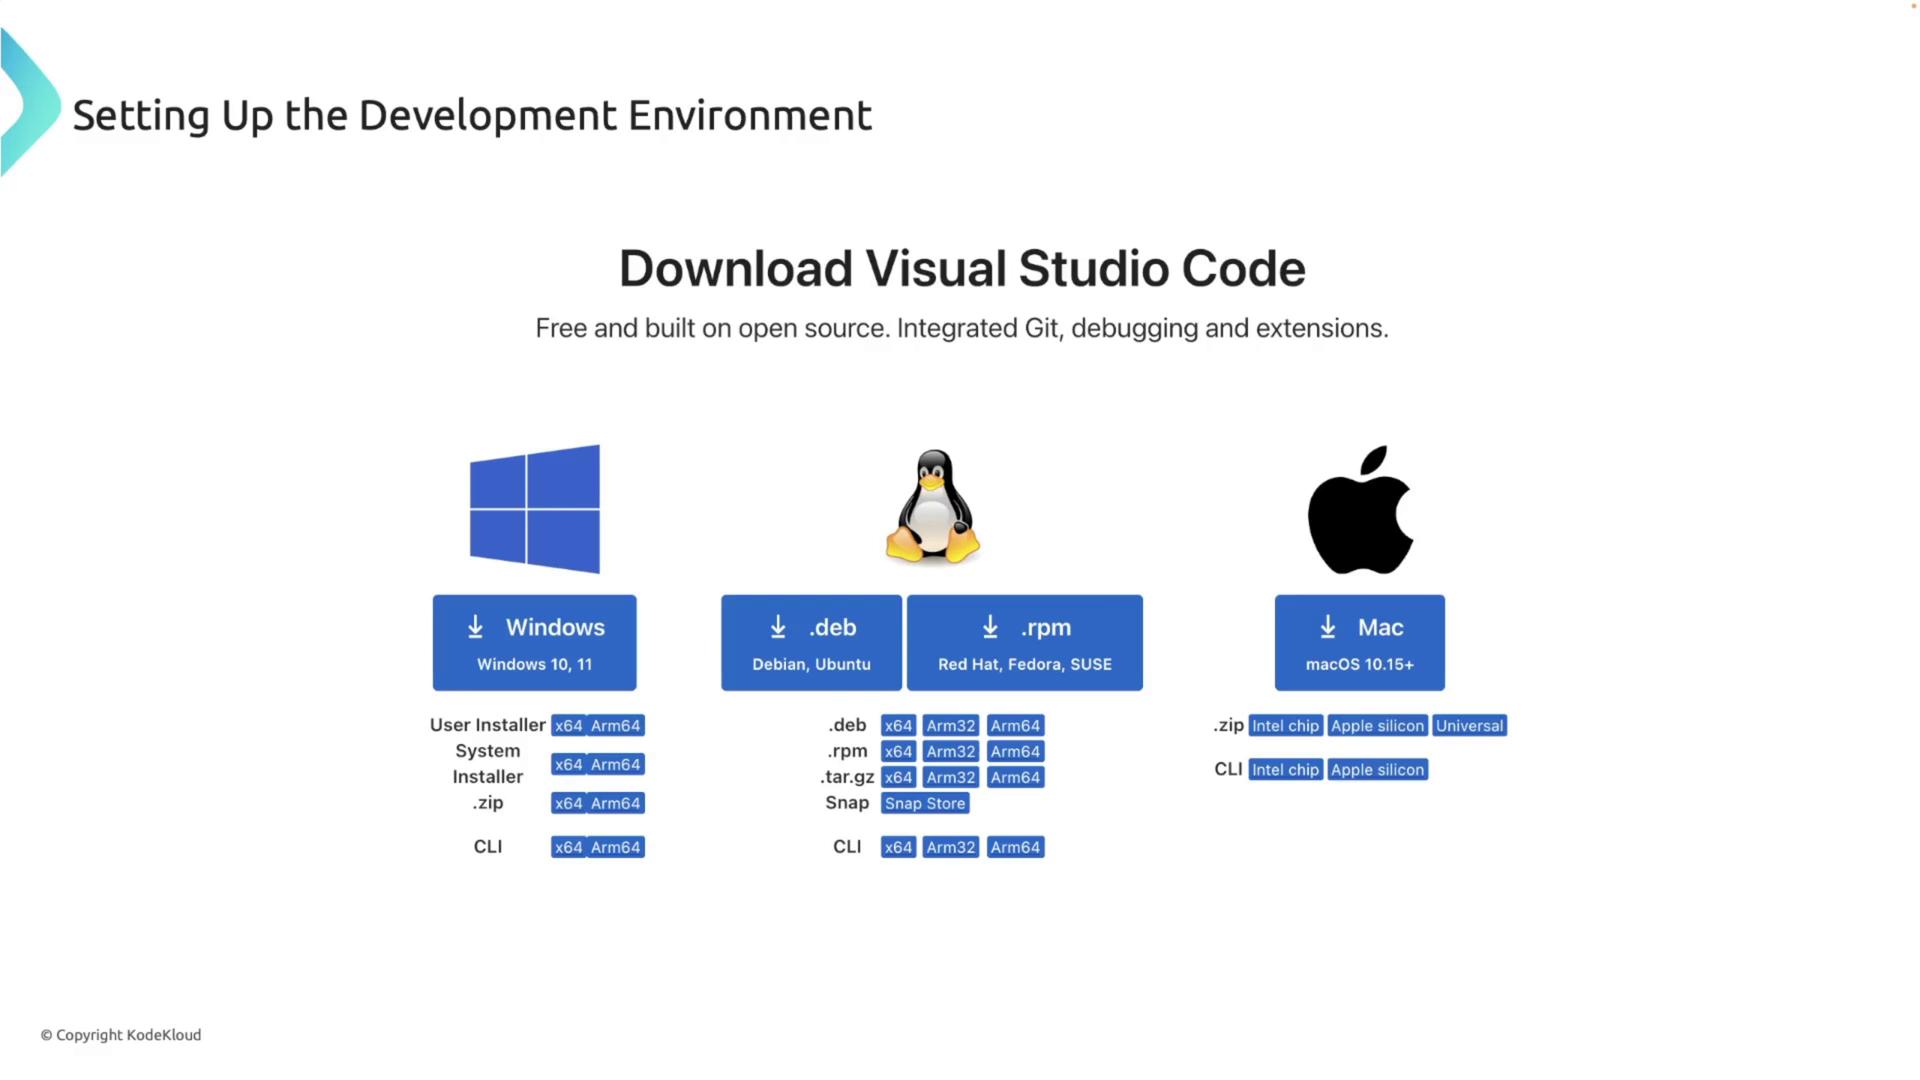
1. Download and install VS Code from its official website.
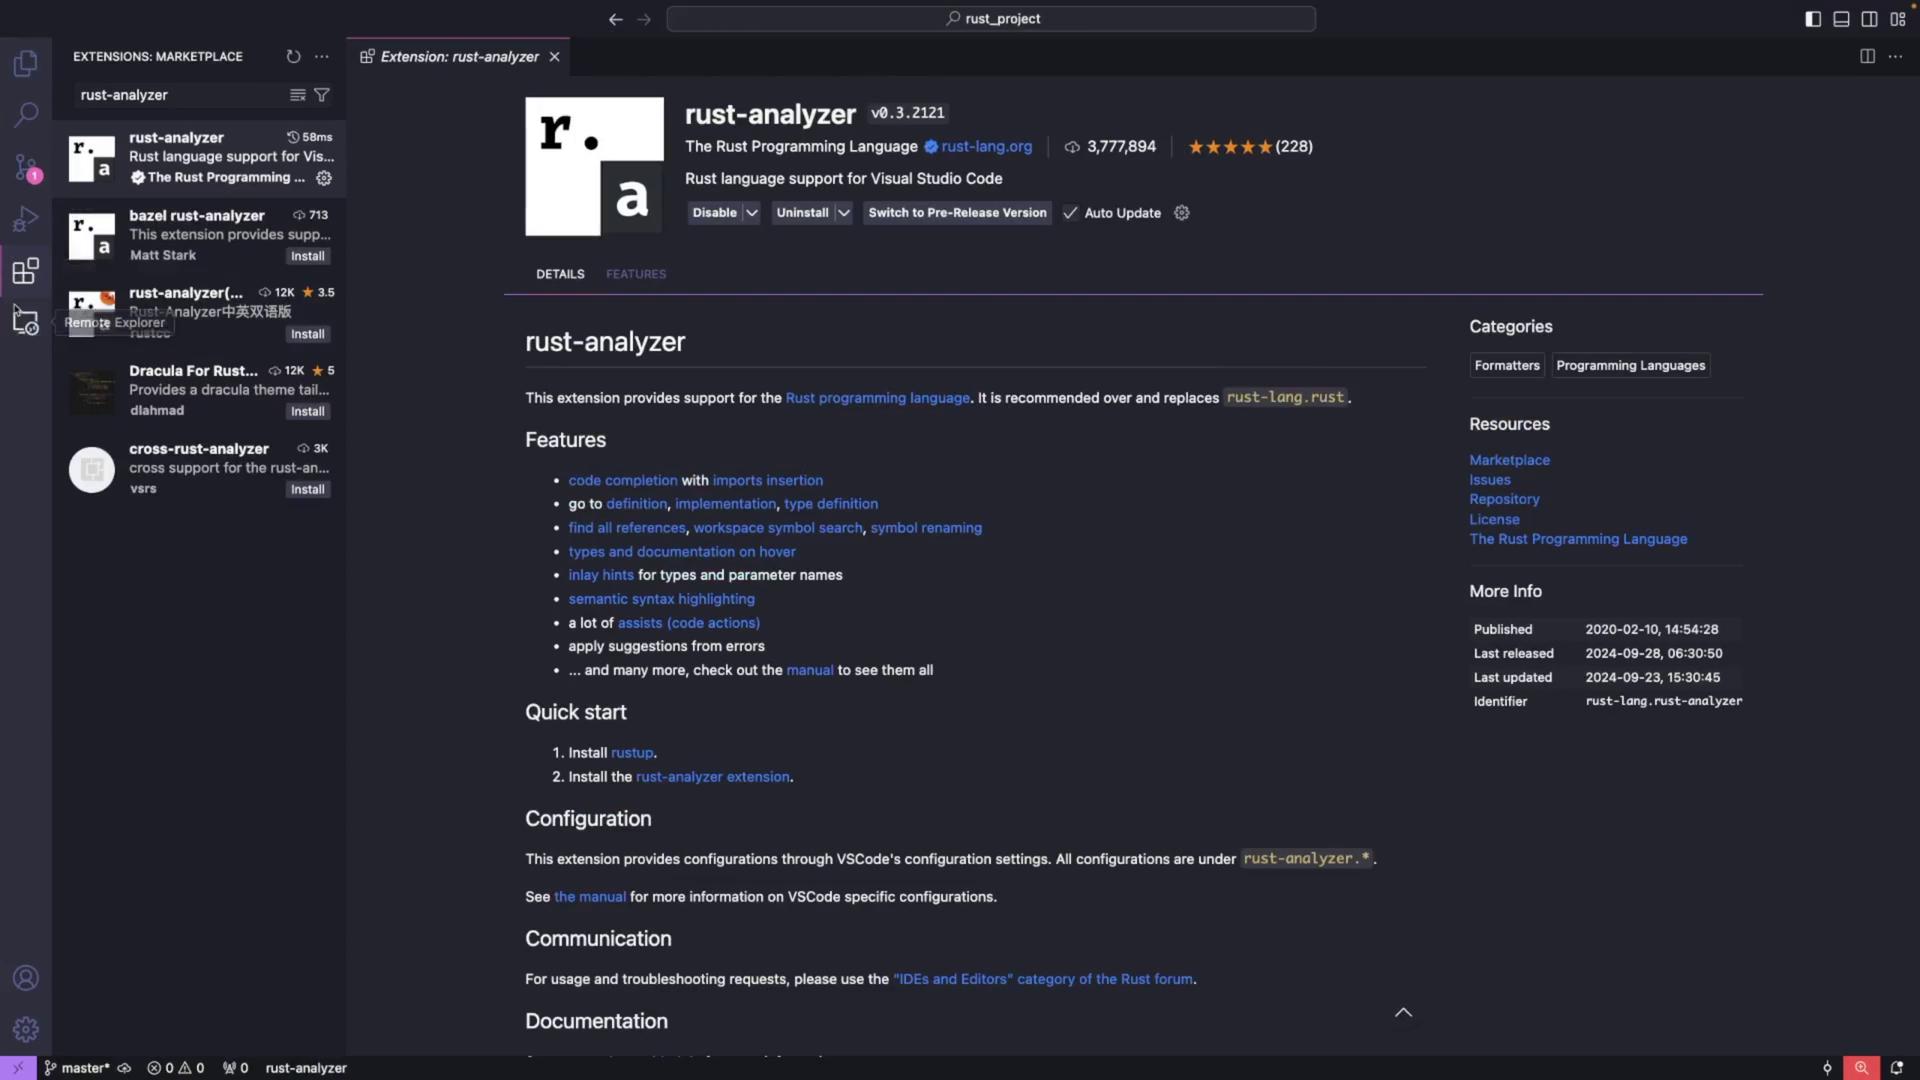
2. Open VS Code, navigate to the extensions view by clicking the extensions icon, and search for "Rust Analyzer." Install the extension provided by the Rust team.
## Creating and Running a Rust Project
After setting up Rust and your IDE, it's important to test the setup by creating a simple Rust project.
### Step 1: Create Your Project Directory
Open your terminal and navigate to your preferred projects directory. For example, to create a directory named "projects" in your home directory:
```bash theme={null}
cd ~
mkdir projects
```
Inside the "projects" directory, create a new directory for your Rust project (e.g., "HelloRust"):
```bash theme={null}
cd ~/projects
mkdir HelloRust
cd HelloRust
```
### Step 2: Create the Source File
Open the project directory in VS Code. Then, using the integrated terminal, create a new file named `main.rs`:
```bash theme={null}
touch main.rs
```
### Step 3: Write a "Hello, world!" Program
Edit `main.rs` and add the following Rust code:
```rust theme={null}
fn main() {
println!("Hello, world!");
}
```
### Step 4: Compile and Run Your Program
Compile your program using the Rust compiler:
```bash theme={null}
rustc main.rs
```
After successful compilation, an executable file will be generated in your project directory. Run the executable:
```bash theme={null}
./main
```
The terminal should display:
```bash theme={null}
Hello, world!
```
This confirms that your Rust development environment is set up correctly.
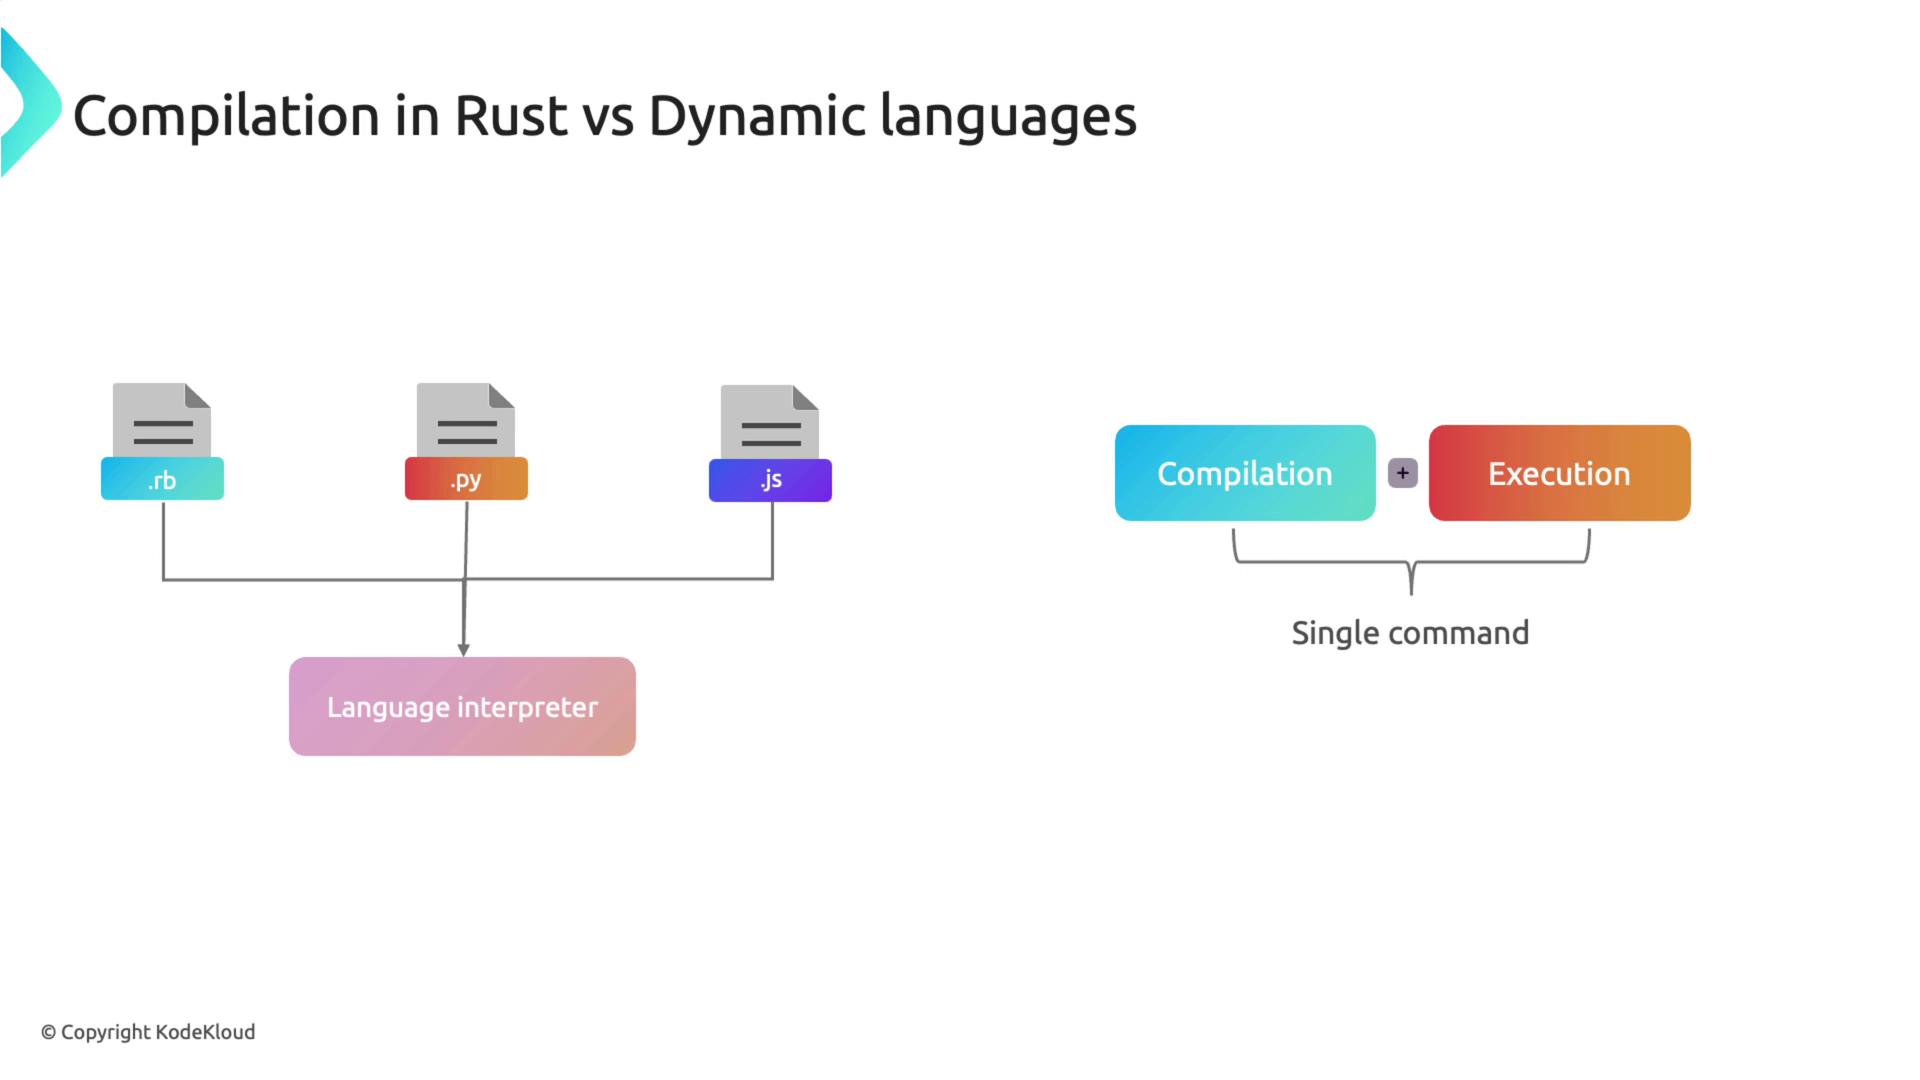
Unlike dynamic languages such as Ruby, Python, or JavaScript, which are interpreted on the fly, Rust requires ahead-of-time compilation. The Rust compiler (`rustc`) converts your source code into an executable, enabling it to run on any compatible system without needing Rust installed.
## Managing Projects with Cargo
For small programs, compiling with `rustc` is sufficient. However, as your projects grow, managing dependencies and builds manually can become challenging. Cargo, Rust's package manager and build system, simplifies this process by managing project dependencies, compiling code, and generating documentation.
Cargo streamlines project management, allowing you to focus more on development. We'll delve deeper into Cargo in a subsequent lesson.
Integrate Cargo into your workflow early, as it not only manages dependencies but also simplifies tasks such as testing, building, and documentation generation.
Congratulations! You have successfully configured your Rust development environment and created your first Rust project. With both Rust and VS Code set up, you are now ready to explore the powerful features of Rust programming.