> ## Documentation Index
> Fetch the complete documentation index at: https://notes.kodekloud.com/llms.txt
> Use this file to discover all available pages before exploring further.
# Building TCP Clients and Servers
> This article teaches how to build a TCP client and server using Rusts standard libraries.
Welcome back to this lesson. In this session, we will build a TCP client and server using Rust's standard libraries. TCP (Transmission Control Protocol) is a reliable, connection-oriented protocol that guarantees data is transmitted accurately and in order. This reliability is crucial for applications where data integrity is essential, such as web servers, database communications, or real-time data exchanges.
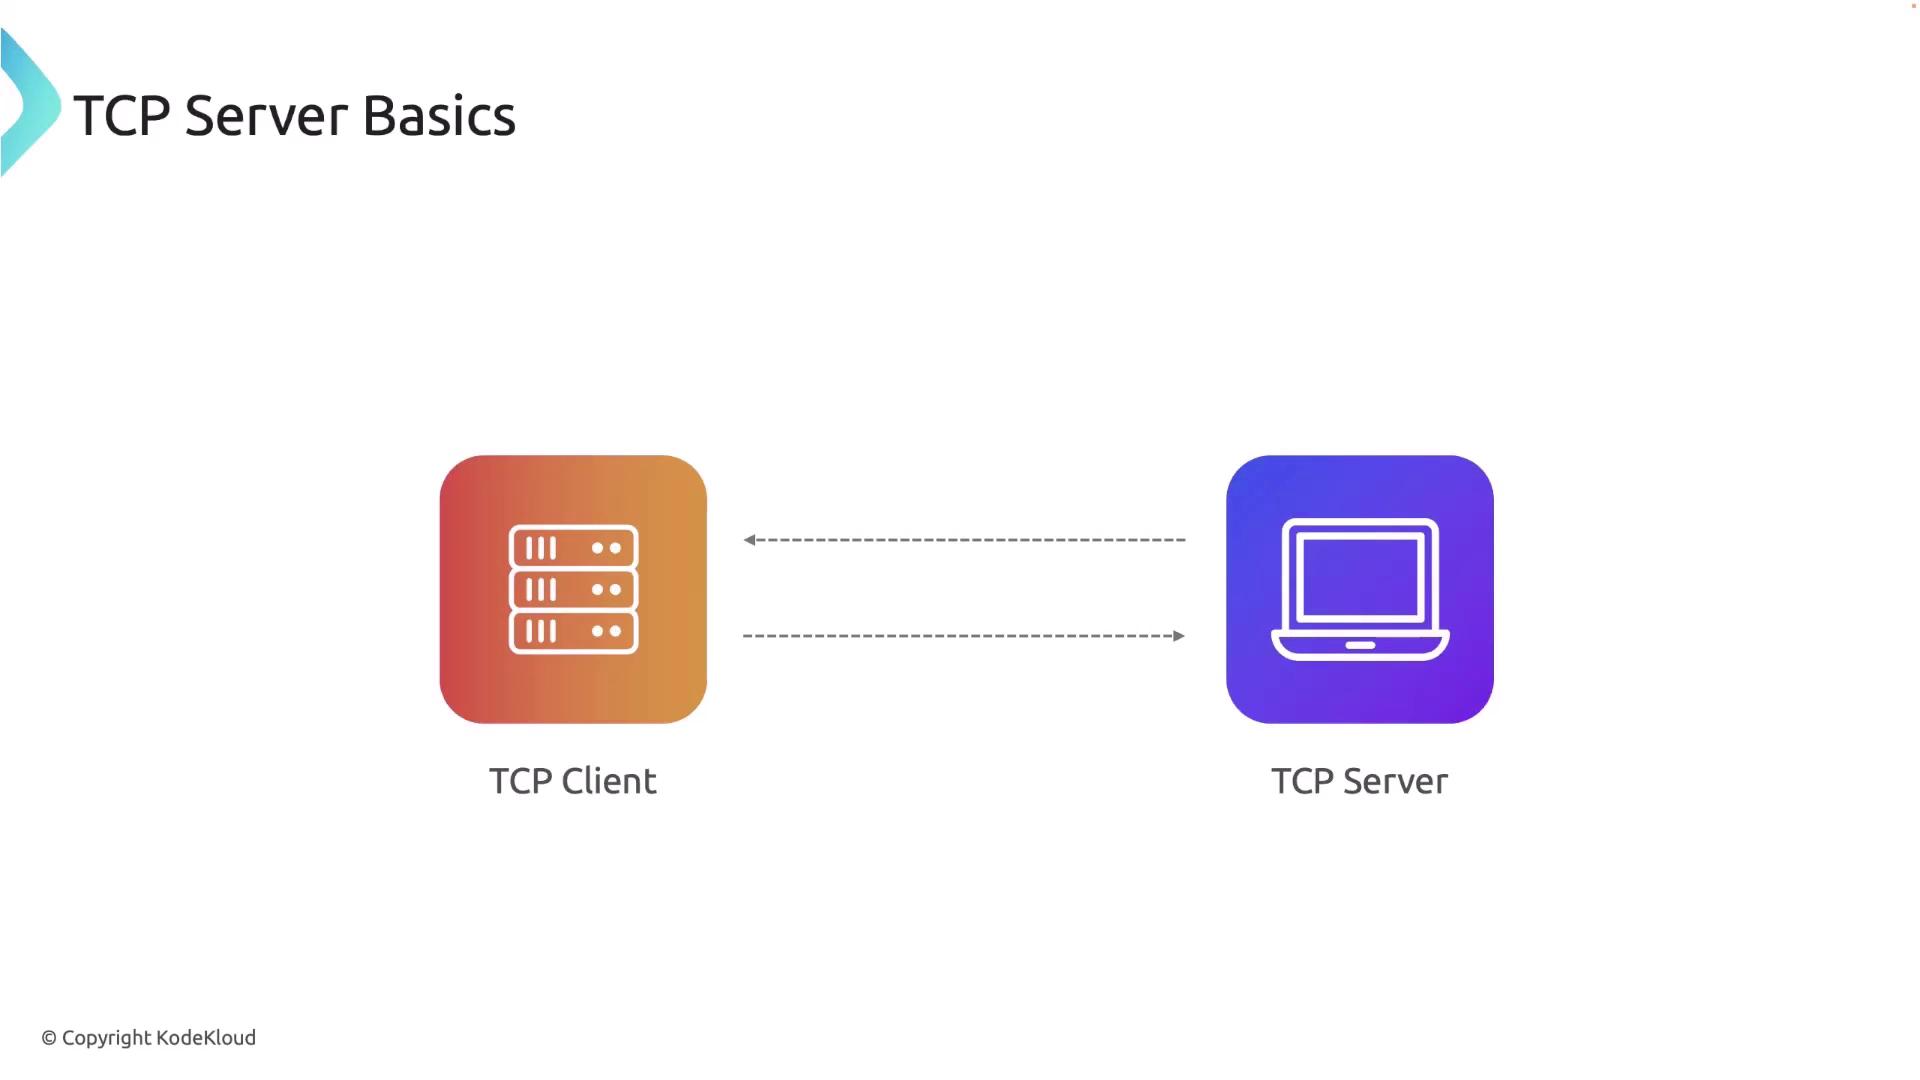
Our tutorial begins with creating a basic TCP server that listens for incoming connections. Afterward, we will develop a TCP client that connects to the server.
***
## Setting Up a Simple TCP Server
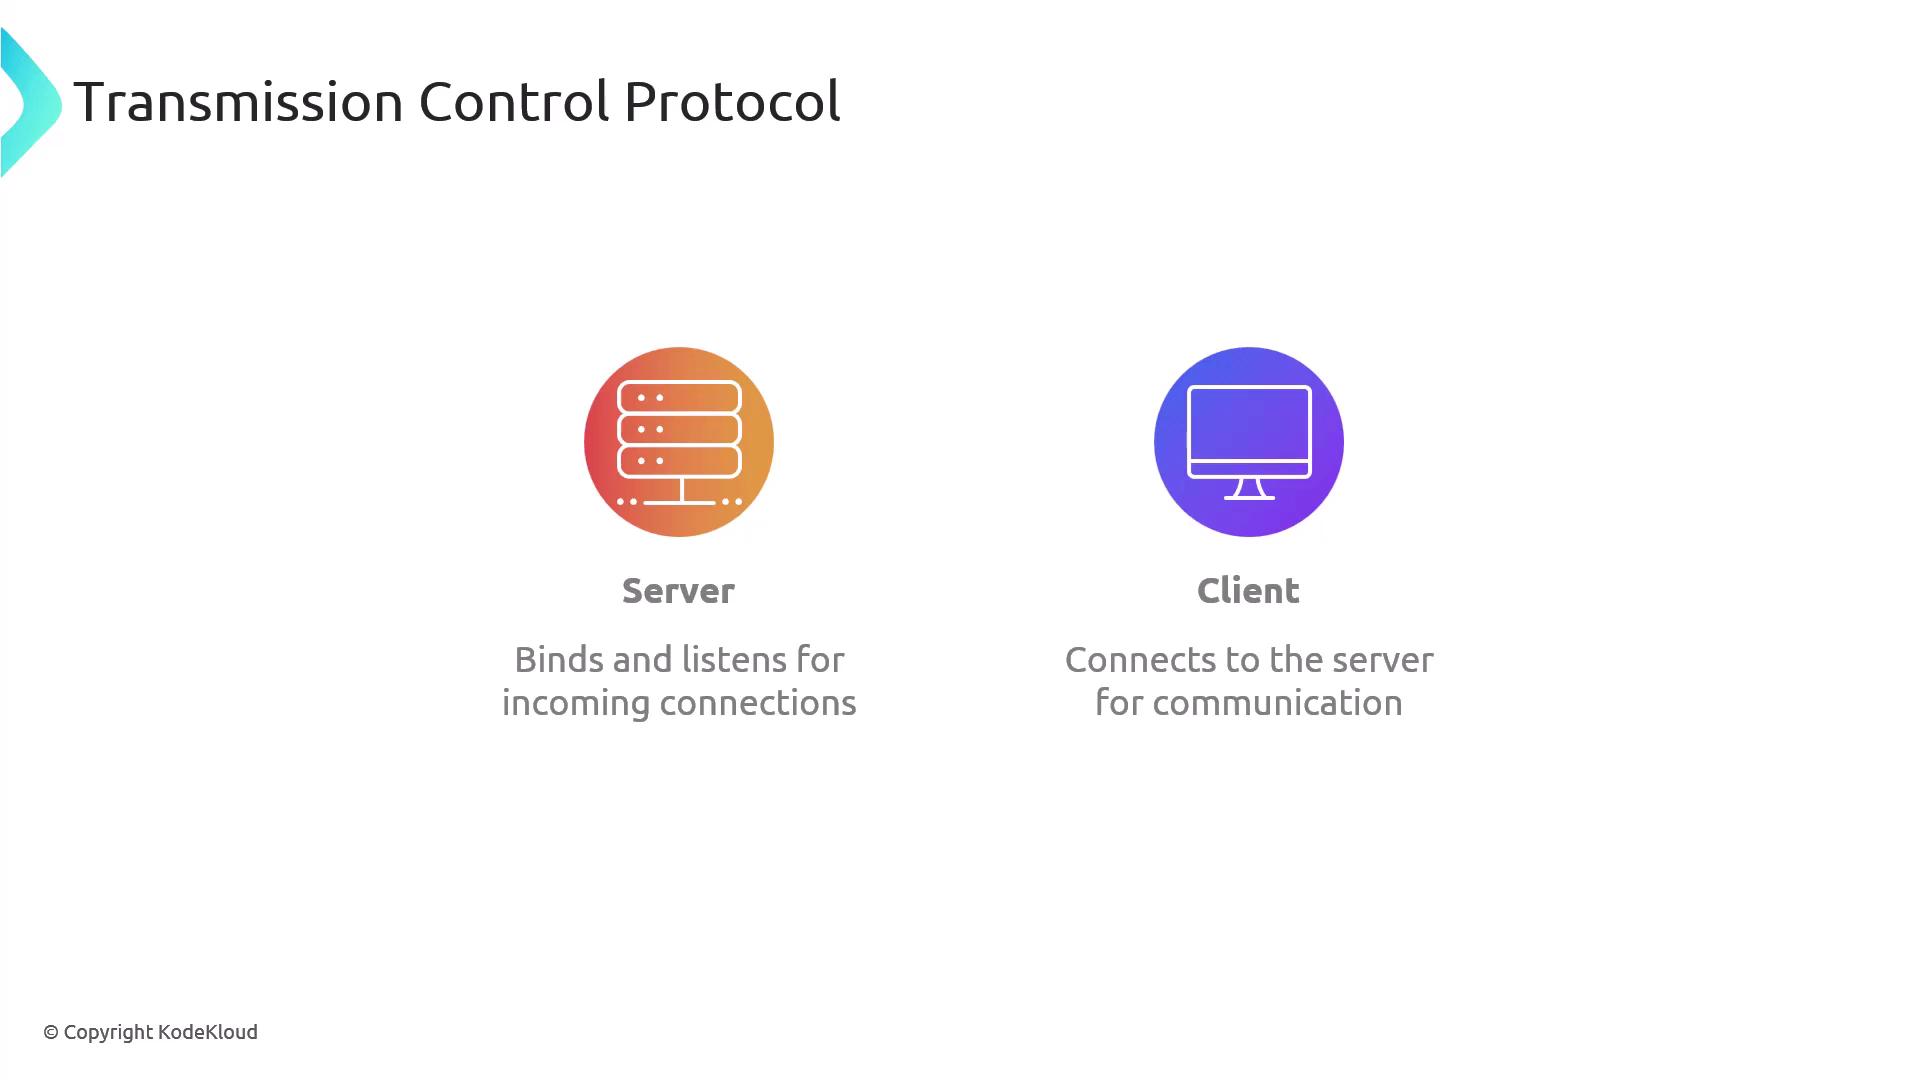
A TCP server waits on a specified address and port for incoming connections. Once a connection is established, it can both send and receive data. Follow these steps to create a simple TCP server:
1. Open your terminal and create a new Cargo project for the TCP server:
```bash theme={null}
cargo new my_tcp_server
```
2. Open the project in Visual Studio Code and navigate to the `main.rs` file. Begin by importing the necessary modules: `TcpListener` for listening to incoming connections, `TcpStream` for handling the connection, and the I/O traits `Read` and `Write` for data streaming.
3. Implement the function to handle client communication. This function continuously reads data from the TCP stream into a 512-byte buffer. If a client disconnects or an error occurs, the connection is gracefully terminated. Otherwise, the server echoes the received data back to the client and prints it to the console.
```rust theme={null}
use std::net::{TcpListener, TcpStream};
use std::io::{Read, Write};
// Function to handle communication with a client
fn handle_client(mut stream: TcpStream) {
let mut buffer = [0; 512]; // Buffer to hold incoming data
loop {
match stream.read(&mut buffer) {
Ok(0) => break, // Connection closed by client
Ok(n) => {
stream.write(&buffer[0..n]).unwrap(); // Echo the received data back
println!("Received: {}", String::from_utf8_lossy(&buffer[0..n])); // Log the received data
}
Err(e) => {
println!("Error reading stream: {}", e); // Log any errors
break;
}
}
}
}
fn main() {
let listener = TcpListener::bind("127.0.0.1:7878").unwrap();
println!("Server listening on port 7878");
for stream in listener.incoming() {
match stream {
Ok(stream) => {
println!("New connection: {}", stream.peer_addr().unwrap());
handle_client(stream);
}
Err(e) => {
println!("Connection failed: {}", e);
}
}
}
}
```
This server is configured to listen on `127.0.0.1:7878`. Every time a client connects, the server reads the incoming data, echoes it back, and logs the details to the console. Any errors or disconnections are recorded appropriately.
Compile your TCP server using the following command:
```bash theme={null}
cargo build --quiet
```
After building, run the server and prepare to test it.
***
## Creating the TCP Client
Now, let’s develop the TCP client. Follow these steps:
1. Create a new Cargo project for the TCP client by running:
```bash theme={null}
cargo new my_tcp_client
```
2. Open the project in Visual Studio Code and edit the `main.rs` file. Import the required modules for `TcpStream` and I/O operations.
3. The TCP client will attempt to connect to the server at `127.0.0.1:7878`. Upon a successful connection, it sends a message ("Hello, server!") to the server and waits for the echoed response.
```rust theme={null}
use std::io::{Read, Write};
use std::net::TcpStream;
fn main() {
match TcpStream::connect("127.0.0.1:7878") {
Ok(mut stream) => {
println!("Successfully connected to server");
let msg = b"Hello, server!";
stream.write(msg).unwrap();
println!("Sent: Hello, server!");
let mut buffer = [0; 512];
match stream.read(&mut buffer) {
Ok(n) => {
println!("Received: {}", String::from_utf8_lossy(&buffer[..n]));
}
Err(e) => {
println!("Failed to receive data: {}", e);
}
}
}
Err(e) => {
println!("Failed to connect: {}", e);
}
}
}
```
This code connects the client to the server, sends the greeting message, and then reads the echoed message from the server, printing it to the console.
Build the TCP client using:
```bash theme={null}
cargo build --quiet
```
Make sure to run the TCP client after starting the TCP server.
When the client runs, you should see the following logs:
```bash theme={null}
Successfully connected to server
Sent: Hello, server!
Received: Hello, server!
```
Meanwhile, the server logs will show:
```bash theme={null}
Server listening on port 7878
New connection: 127.0.0.1:
Received: Hello, server!
```
Each client connection results in a unique socket address, which is logged by the server.
***
## Recap
In this lesson, you learned how to:
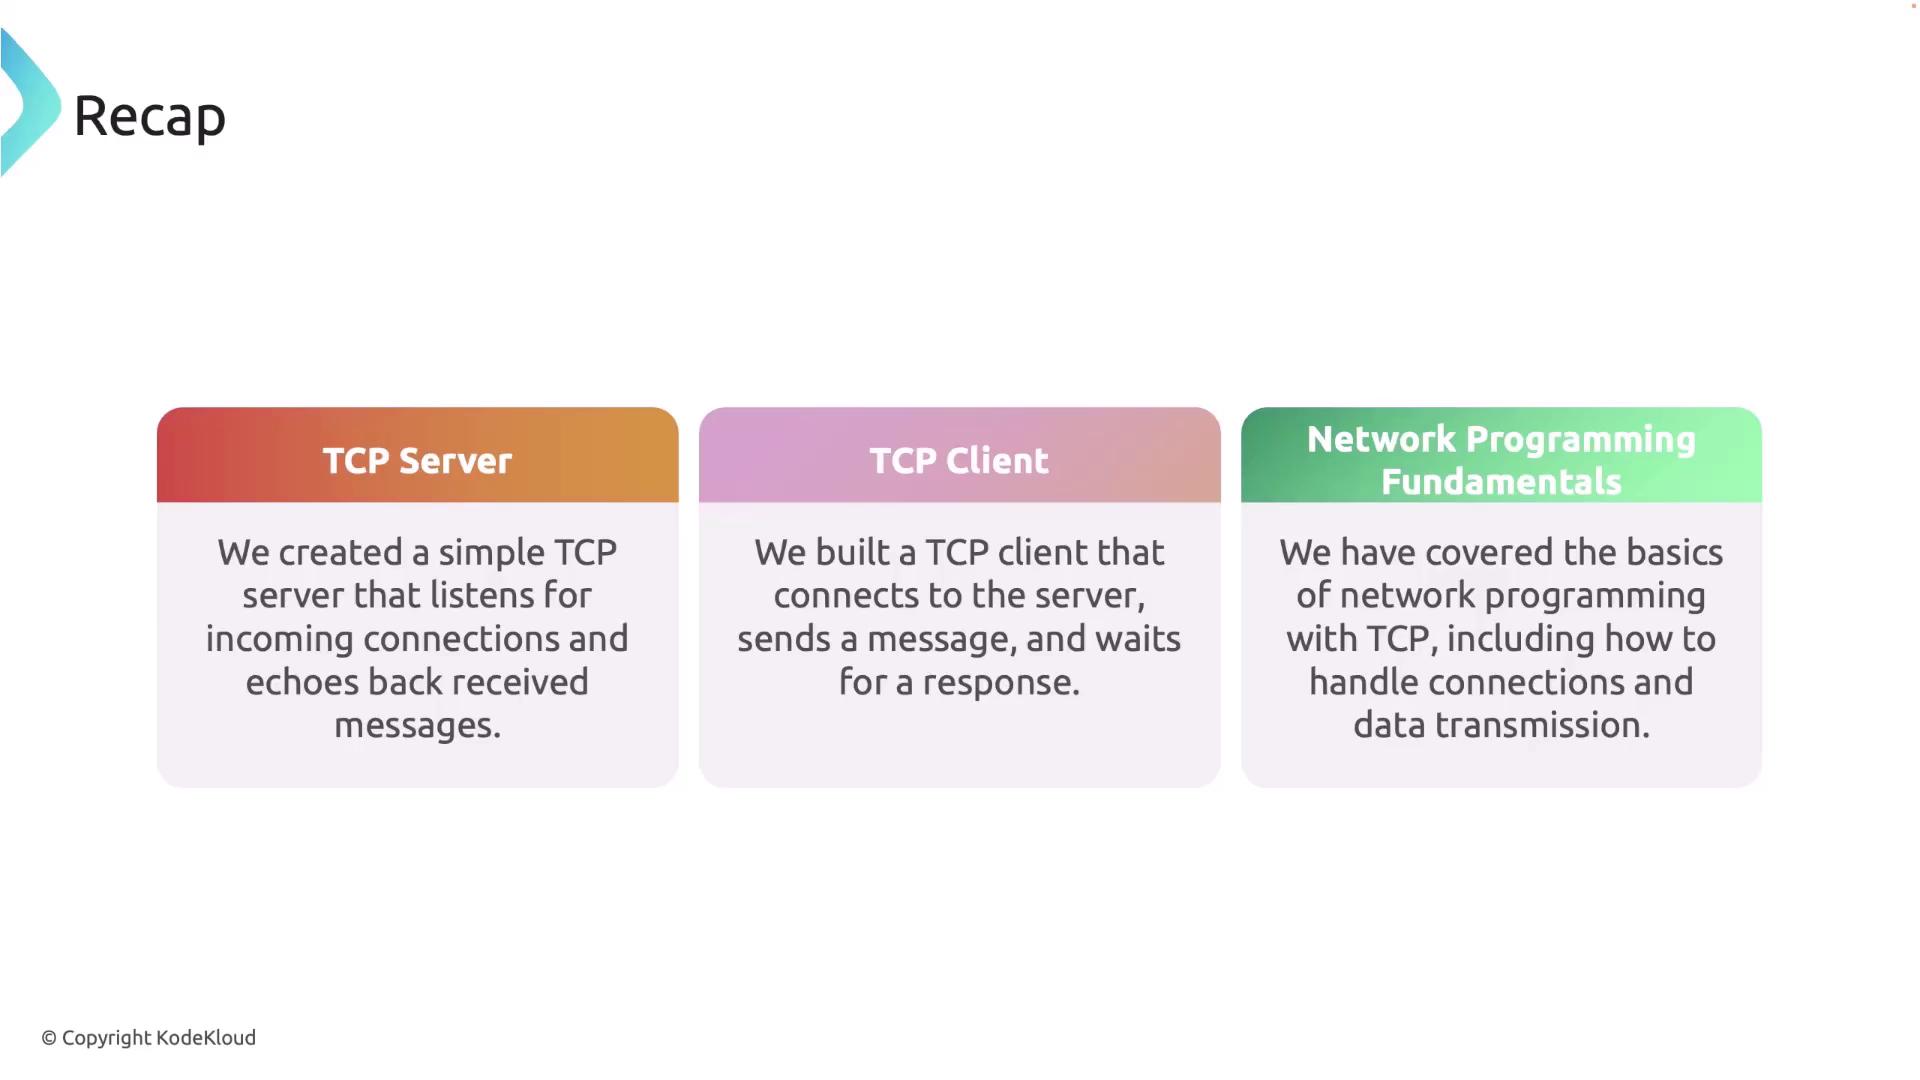
1. **Build a TCP Server in Rust**
* Listens on `127.0.0.1:7878`.
* Uses a 512-byte buffer to read client data.
* Echoes the received data back to the client.
* Logs connection details and errors.
2. **Develop a TCP Client in Rust**
* Connects to the TCP server on `127.0.0.1:7878`.
* Sends a greeting message ("Hello, server!") to the server.
* Receives and logs the echoed message from the server.
With these foundational concepts in TCP networking using Rust, you are ready to explore more complex network applications. In the next lesson, we will discuss UDP and its differences from TCP.
See you in the next lesson!